
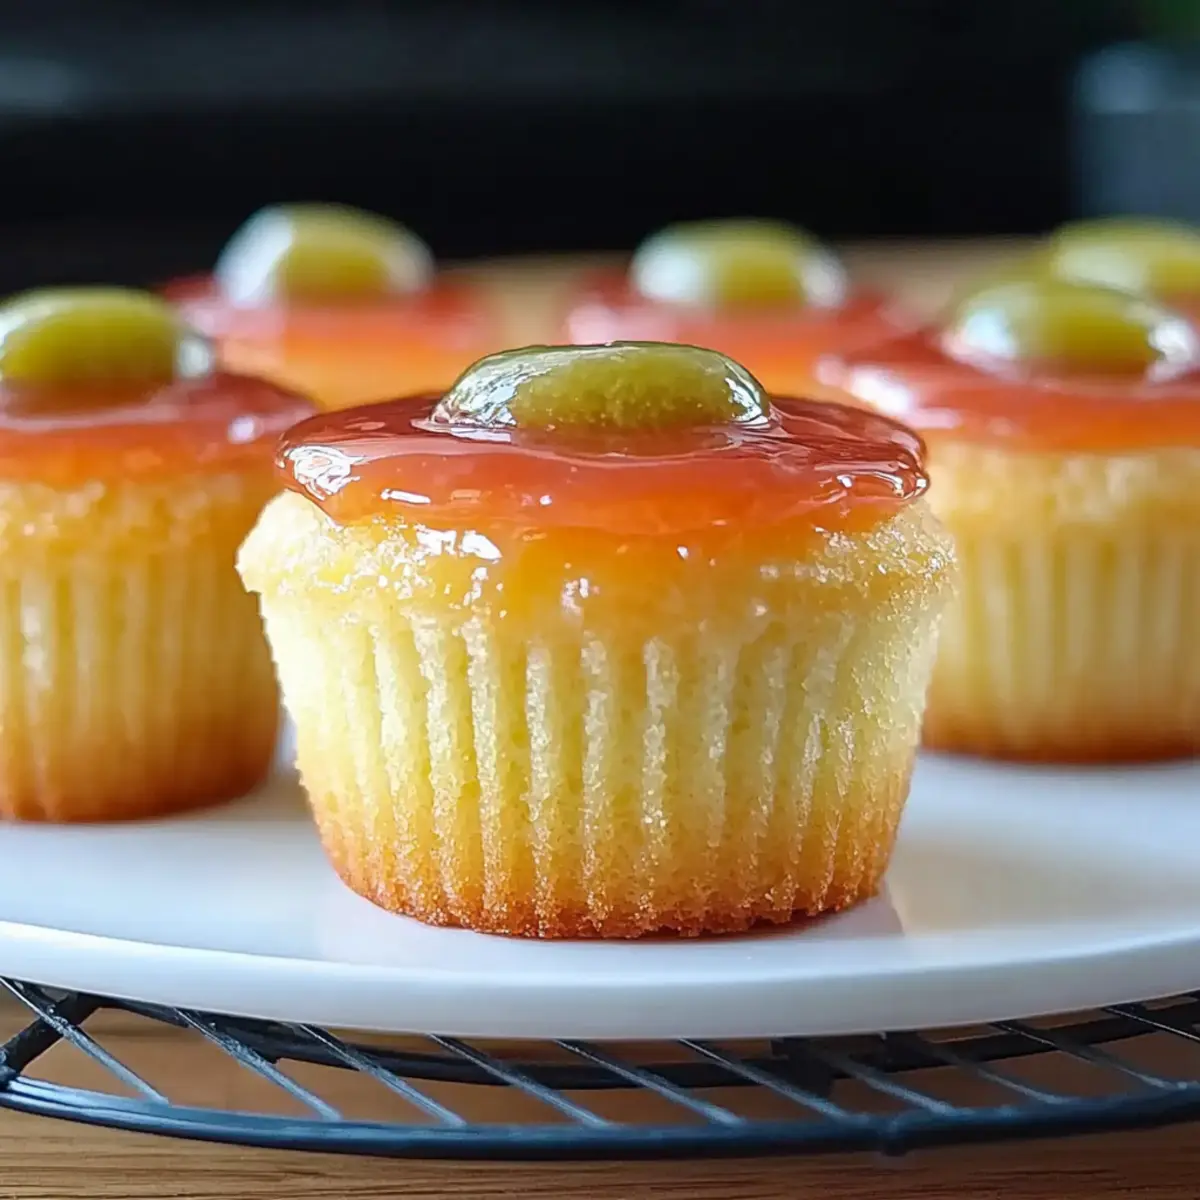
As I took a bite of the Hawaiian Mini Guava Cakes, I was transported to a sun-drenched beach, the gentle sound of waves crashing in the background. These delightful little treats are not just cakes; they promise a taste of the tropics with every moist, flavorful bite. What makes them truly stand out is the creamy topping that perfectly balances the sweet and tangy notes of guava, making them an irresistible addition to any gathering. Plus, they’re super easy to whip up—ideal for both seasoned bakers and those just starting out. Perfect for parties or a simple cozy night in, these mini cakes are a crowd-pleaser that won’t last long on your dessert table. Ready to bring a slice of paradise into your kitchen? Let’s get baking!
Why Try Hawaiian Mini Guava Cakes?
Tropical Escape: Each bite transports you to paradise, infused with the vibrant flavors of guava and a hint of coconut.
Creamy Indulgence: The luscious cream cheese topping perfectly balances the cake’s sweetness, creating a melt-in-your-mouth experience.
Easy to Make: With simple ingredients and straightforward steps, even beginners will shine in the kitchen.
Perfect for Gatherings: These charming mini cakes are guaranteed to impress your guests, making them an ideal choice for parties or special occasions. If you love delightful treats like these, check out our Coconut Cream Pancakes for another tropical-inspired recipe!
Make Ahead Friendly: Bake and chill, allowing for a stress-free dessert option that saves you time before hosting a get-together.
Hawaiian Mini Guava Cakes Ingredients
Unlock the secrets to these delightful mini treats!
For the Cake Base
- Strawberry cake mix – A vibrant base for the cake; feel free to swap with vanilla or coconut for a unique twist.
- Guava nectar/juice (1 ⅓ cups + 2 cups) – Infuses the cake with tropical goodness; fresh guava can be used if pureed and strained for an authentic taste.
- Eggs (3, room temperature) – Provides the necessary structure and moisture for fluffy cakes.
- Coconut oil (⅓ cup, liquid) – Adds richness and a delightful coconut flavor; ensure it’s in liquid form for accurate measuring.
For the Glaze
- Sugar (½ cup for glaze + ¼ cup for topping) – Sweetens both the cake and cream cheese topping, creating a harmonious blend.
- Cornstarch (¼ cup) – Works wonders for thickening the guava glaze for a luscious finish.
- Water (3 tbsp) – Combines with cornstarch to create a slurry, ensuring a smooth glaze texture.
For the Creamy Topping
- Cream cheese (6 oz, softened) – Forms the base of the topping, offering a tangy richness; use full-fat for the best results.
- Vanilla extract (1 tsp) – Elevates the flavor of the cream topping, making it irresistible.
- Cool Whip (6 oz, thawed) – Lightens the cream cheese mixture for a fluffy texture; substitute with freshly whipped cream if you prefer.
These Hawaiian Mini Guava Cakes bring a touch of the tropics to your table, bound to be a favorite at your next party!
Step‑by‑Step Instructions for Hawaiian Mini Guava Cakes
Step 1: Preheat and Prepare
Begin by preheating your oven to 350°F (175°C) while lining a jumbo or regular cupcake pan with liners. This ensures an even bake and prevents sticking, allowing your Hawaiian Mini Guava Cakes to rise beautifully in their cozy wrappers.
Step 2: Mix the Batter
In a large mixing bowl, combine the strawberry cake mix, 1 ⅓ cups of guava juice, room temperature eggs, and liquid coconut oil. Start mixing on low speed for 30 seconds to blend the ingredients, then switch to medium and continue mixing for 2 minutes until the batter is smooth and well combined, showcasing a lovely pink hue.
Step 3: Fill the Cupcake Liners
Carefully spoon the cake batter into the prepared cupcake liners, filling each about one-third full. This ensures ample room for rising without overflow. Place the pan in the preheated oven and bake for 19-22 minutes, or until the cakes turn light golden and a toothpick inserted into the center comes out clean.
Step 4: Cool the Cakes
Once baked, remove the Hawaiian Mini Guava Cakes from the oven and set them on a wire rack. Allow them to cool completely, which will take about 20-30 minutes. This step is crucial for ensuring that the cream cheese topping adheres perfectly when added later.
Step 5: Prepare the Guava Glaze
In a medium saucepan, bring 2 cups of guava juice and ½ cup of sugar to a boil over medium heat. While it heats, mix the cornstarch and water in a small bowl to create a slurry. Once the juice is boiling, whisk the slurry into the mixture, and allow it to boil for another minute until thickened. Remove from heat and let cool in the refrigerator.
Step 6: Make the Cream Cheese Topping
In a mixing bowl, beat the softened cream cheese using an electric mixer until fluffy, approximately 1-2 minutes. Gradually add the ¼ cup of sugar and vanilla extract, mixing until fully incorporated. Gently fold in the thawed Cool Whip until the mixture is smooth, then chill until ready to use, allowing the flavors to meld beautifully.
Step 7: Assemble the Cakes
Once the cakes are completely cooled, take the cream cheese mixture and spread a generous spoonful on top of each mini guava cake. This creamy layer will add a delightful indulgence, ensuring each bite bursts with flavor. Chill the cakes again for 15-20 minutes to set the topping before adding the glaze.
Step 8: Add the Guava Glaze
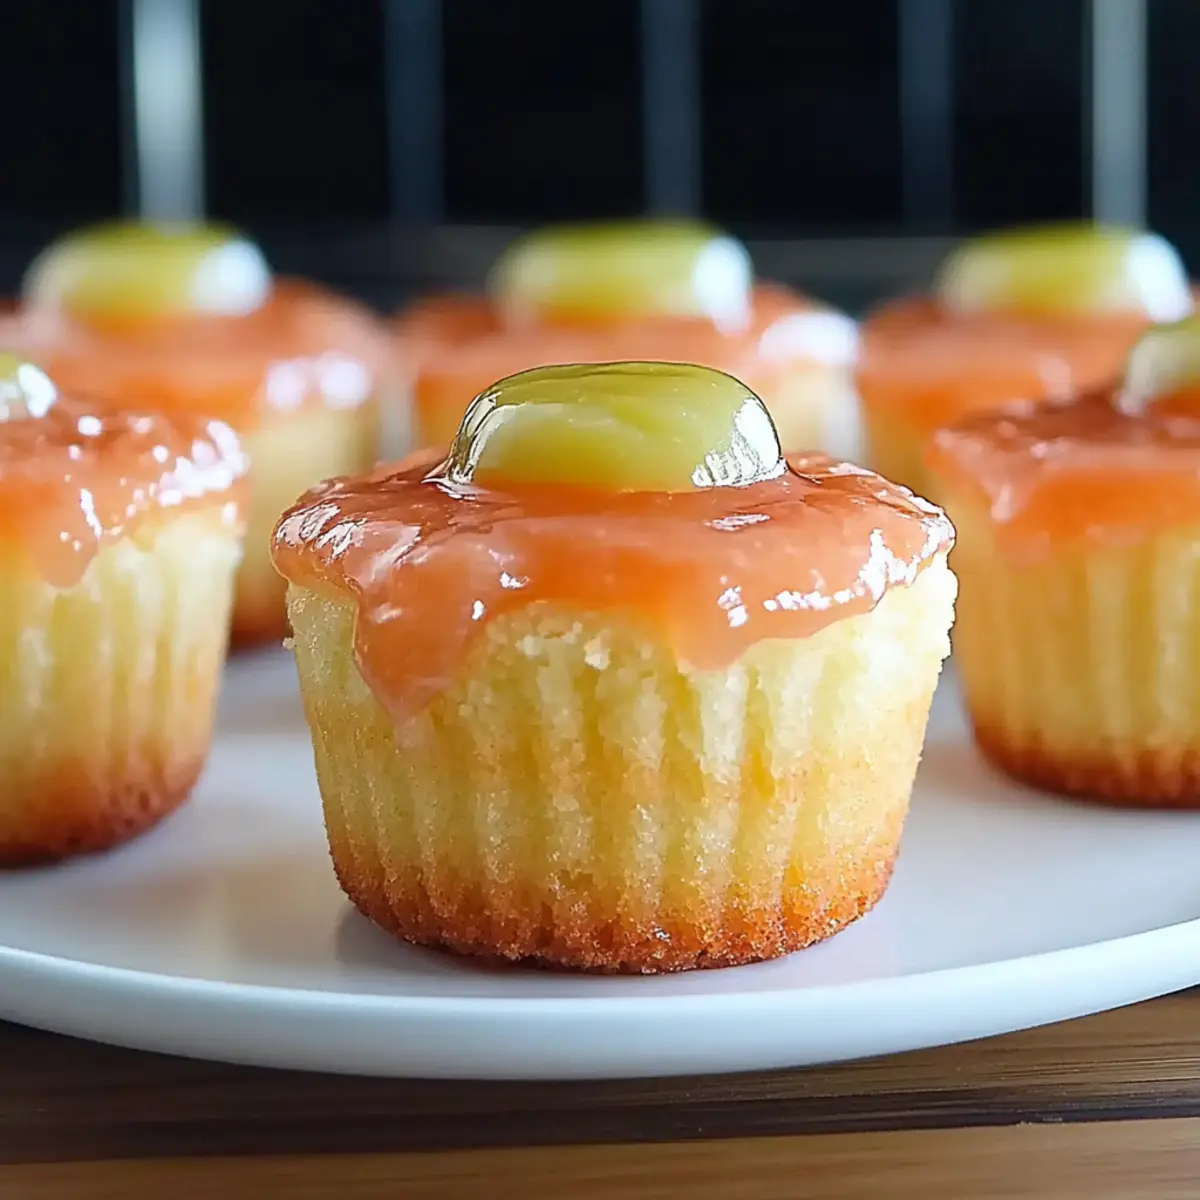
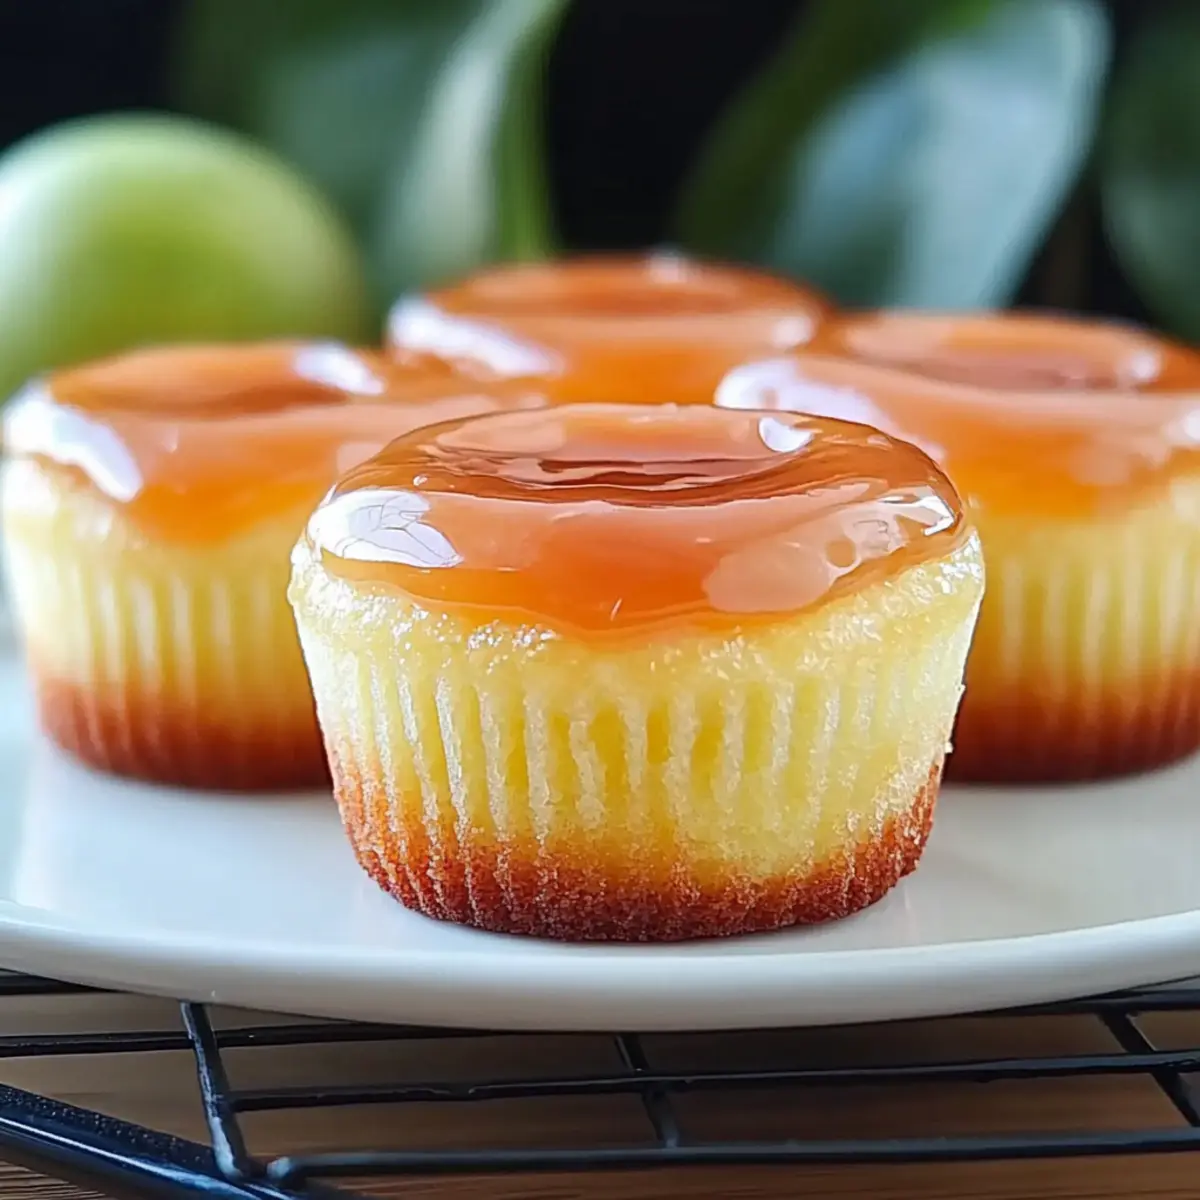
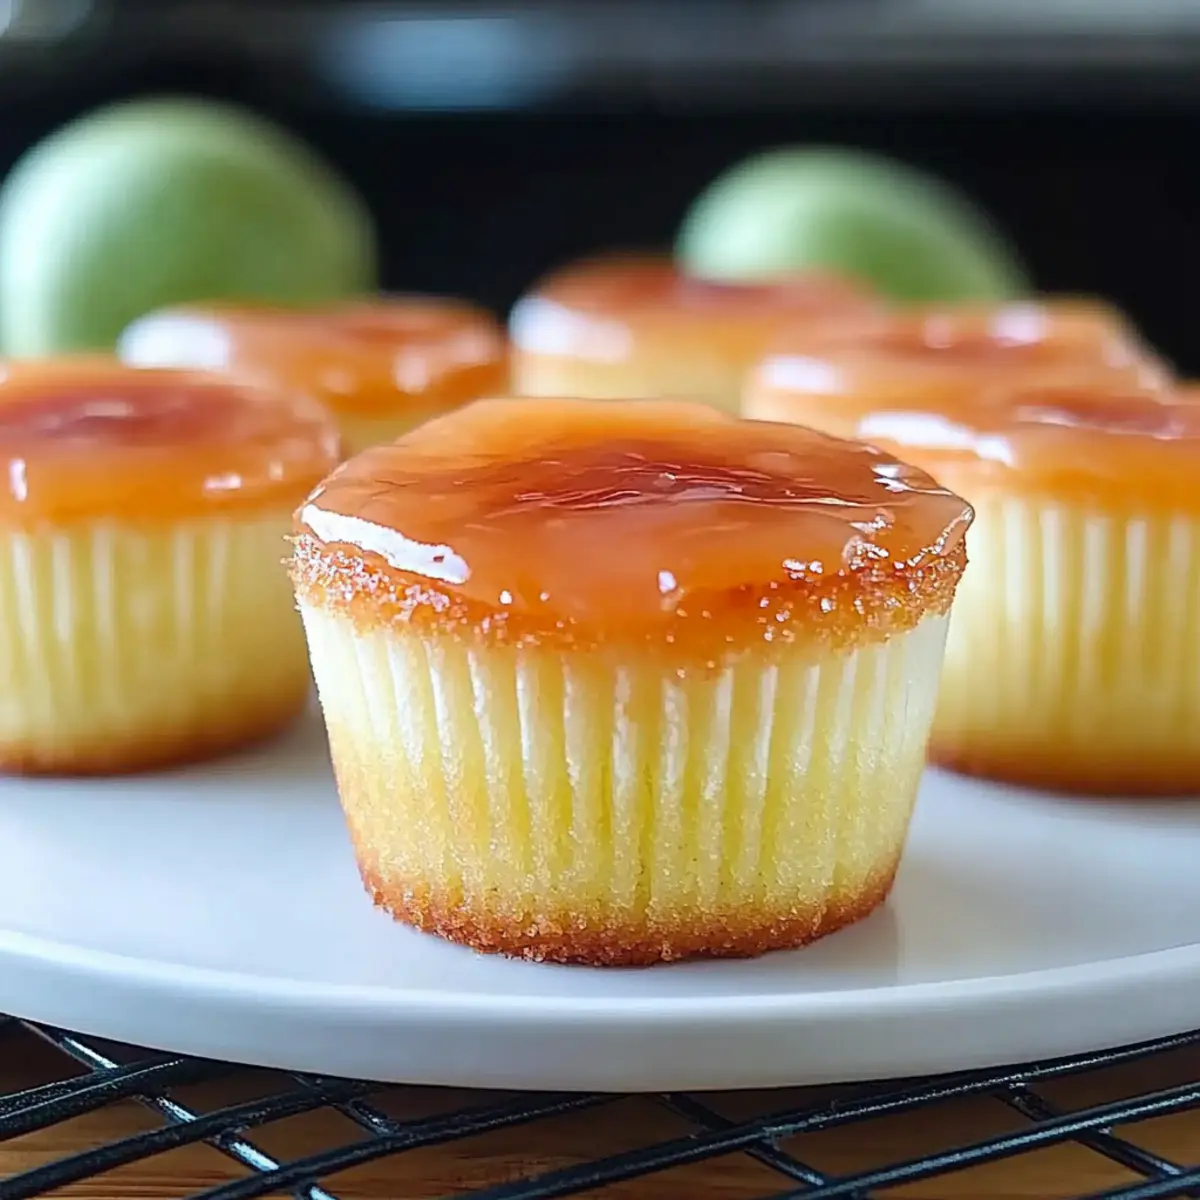
After the topping has set, spoon the cooled guava glaze over the top of each cake, allowing it to drizzle down the sides for a beautiful presentation. Return the Hawaiian Mini Guava Cakes to the refrigerator for another 30 minutes or until ready to serve, ensuring everything is chilled for a delightful experience.
Expert Tips for Hawaiian Mini Guava Cakes
- Room Temperature Eggs: Using eggs at room temperature helps to create a well-emulsified batter, ensuring a light and fluffy texture in your Hawaiian Mini Guava Cakes.
- Don’t Overfill: Make sure to fill cupcake liners only 1/3 full to prevent overflow while baking. This allows the cakes to rise beautifully without losing their shape.
- Chill Before Serving: Chill the cakes after assembly to allow the cream topping to set and enhance the flavors. This step is crucial for achieving the best taste experience.
- Substituting Ingredients: Feel free to swap the strawberry cake mix for vanilla or coconut; it adds a fun twist without compromising on the tropical vibe.
- Storing Leftovers: Keep any leftover cakes in an airtight container in the refrigerator for up to 3-4 days to maintain their delightful freshness.
What to Serve with Hawaiian Mini Guava Cakes
To create a memorable meal experience, consider these delightful pairings that complement the tropical essence of your cakes.
- Fresh Fruit Salad: A refreshing mix of tropical fruits offers a zesty contrast, enhancing the cake’s guava flavor.
- Toasted Coconut Flakes: Sprinkling toasted coconut over the cakes adds a delightful crunch, harmonizing with the coconut notes in the recipe.
- Vanilla Ice Cream: This classic pairing elevates your dessert, providing a creamy richness that balances the tangy sweetness of the guava.
For a complete tropical experience, consider serving these cakes alongside a glass of iced hibiscus tea. The floral notes bring a lovely acidity that brightens the palate. Alternatively, a sweet coconut mojito could add a fun twist, merging well with the tropical flavors and making it the perfect party drink.
Hawaiian Mini Guava Cakes Variations
Feel free to let your creativity shine as you customize these delightful little cakes!
-
Flavor Swap: Substitute the strawberry cake mix with vanilla or coconut for a delightful twist in flavor.
-
Add Coconut: Mix in shredded coconut to the cream cheese topping for an extra layer of tropical texture.
-
Fruity Garnish: Top with fresh fruit slices like kiwi or berries for vibrant color and added freshness.
-
Nutty Crunch: Incorporate toasted nuts, such as macadamia or almonds, into the batter or on top for a lovely crunch.
-
Dairy-Free: Use a dairy-free cream cheese alternative and coconut whipped cream for a vegan-friendly option that everyone can enjoy.
-
Double the Guava: For a more intense guava flavor, add an additional splash of guava nectar to both the batter and the glaze.
-
Spicy Kick: Add a dash of cayenne pepper or chopped jalapeños to the cake batter for a surprising heat that contrasts beautifully with the sweetness.
-
Jungle Vibes: Try incorporating passionfruit puree into the glaze for an exotic and tangy tropical finish.
Discovering variations can make baking even more enjoyable, and if you’re in the mood for another tropical treat, don’t miss out on our scrumptious Coconut Cream Pancakes or other delightful recipes that will take your dessert game to the next level!
Make Ahead Options
These Hawaiian Mini Guava Cakes are perfect for busy home cooks looking to save time! You can bake the cakes up to 24 hours in advance, allowing them to cool completely before refrigerating them in an airtight container. The creamy topping can also be prepared up to 2 days ahead; simply store it in the fridge in a sealed container to maintain its fluffy texture. When it’s time to serve, just spread the cream cheese mixture on each mini cake and drizzle the cooled guava glaze over the top. This way, you’ll have a deliciously tropical treat ready to impress your guests with minimal last-minute effort!
How to Store and Freeze Hawaiian Mini Guava Cakes
Fridge: Store leftover Hawaiian Mini Guava Cakes in an airtight container in the refrigerator for up to 3-4 days, keeping them fresh and ready for a delightful treat anytime.
Freezer: To freeze, ensure the mini cakes are completely cooled, then wrap each cake tightly in plastic wrap and place them in a freezer-safe container. They can be stored for up to 2 months.
Reheating: When ready to enjoy, thaw the cakes in the refrigerator overnight, then let them come to room temperature before serving for the best texture and flavor.
Chilling: For optimum taste, serve your cakes chilled, allowing the creamy topping to shine and make the tropical flavors come alive with every bite.
Hawaiian Mini Guava Cakes Recipe FAQs
How should I select ripe guava for the recipe?
Absolutely! When selecting guava, look for fruits that are slightly soft to the touch and have a sweet, fruity smell. They should have a vibrant skin color without dark spots all over. If you can’t find fresh guava, using guava nectar or juice works perfectly as a substitute.
What’s the best way to store leftovers?
Very! To keep your Hawaiian Mini Guava Cakes fresh, store any leftovers in an airtight container in the refrigerator. They can last for 3 to 4 days, but I recommend enjoying them within the first couple of days for the best flavor and texture.
Can I freeze Hawaiian Mini Guava Cakes?
Absolutely! To freeze, first ensure the cakes are completely cooled. Wrap each cake tightly in plastic wrap and then place them in a freezer-safe container. They can be frozen for up to 2 months. When you’re ready to indulge, thaw them in the refrigerator overnight and enjoy them at room temperature for the best taste.
What if my glaze is too runny or too thick?
If the glaze is too runny, you can simmer it on low heat for a few more minutes to allow it to thicken. Conversely, if it’s too thick, add a splash of guava juice or water to adjust the consistency until it’s just right. It should beautifully drizzle without being overly runny.
Are there any allergy considerations I should be aware of?
Certainly! This recipe contains eggs, dairy (from the cream cheese and Cool Whip), and gluten (from the cake mix), so it may not be suitable for those with allergies to these ingredients. If you need a gluten-free version, look for a cake mix specifically labeled as gluten-free or use almond flour with a gluten-free starch blend.
Can I make these vegan-friendly?
Absolutely, you can! To make vegan Hawaiian Mini Guava Cakes, substitute eggs with flax eggs (1 tablespoon of ground flaxseed mixed with 2.5 tablespoons of water per egg) and swap the cream cheese with a vegan alternative. Ensure to use plant-based Cool Whip as well, or make your own whipped coconut cream for a delightful topping!
Delightful Hawaiian Mini Guava Cakes for Your Next Party
Ingredients
Equipment
Method
- Preheat your oven to 350°F (175°C) and line a cupcake pan with liners.
- In a large mixing bowl, combine the strawberry cake mix, 1 ⅓ cups of guava juice, eggs, and coconut oil. Mix on low speed for 30 seconds, then on medium for 2 minutes until smooth.
- Fill cupcake liners about one-third full with the batter. Bake for 19-22 minutes, or until a toothpick comes out clean.
- Remove from oven and cool on a wire rack for 20-30 minutes.
- In a saucepan, bring 2 cups of guava juice and ½ cup of sugar to a boil. Mix cornstarch and water in a bowl to create a slurry, then whisk it into the boiling mixture. Let cool in the refrigerator.
- Beat the softened cream cheese until fluffy. Gradually add ¼ cup of sugar and vanilla extract. Fold in Cool Whip until smooth and chill.
- Spread the cream cheese mixture on top of each cooled cake. Chill for 15-20 minutes.
- Spoon the cooled guava glaze over each cake and return to the refrigerator for 30 minutes before serving.
Leave a Reply