
Autumn whispers through the air, and with it comes the sweet promise of cozy baking and the irresistible aroma of apples. As I gathered fresh Granny Smith and Honeycrisp varieties from my local farm, the thought of making Apple Pie Bars struck me like a delicious epiphany. These delightful bars bring all the comforts of traditional apple pie but with the convenience of a simple, no-fuss recipe. Perfect for snacking or serving at gatherings, they are quick to whip up and even easier to share. Plus, they can be made gluten-free for those looking for a healthier alternative without sacrificing taste. So, what do you say—are you ready to fill your kitchen with that warm, spiced scent and create a treat that will leave everyone asking for seconds?
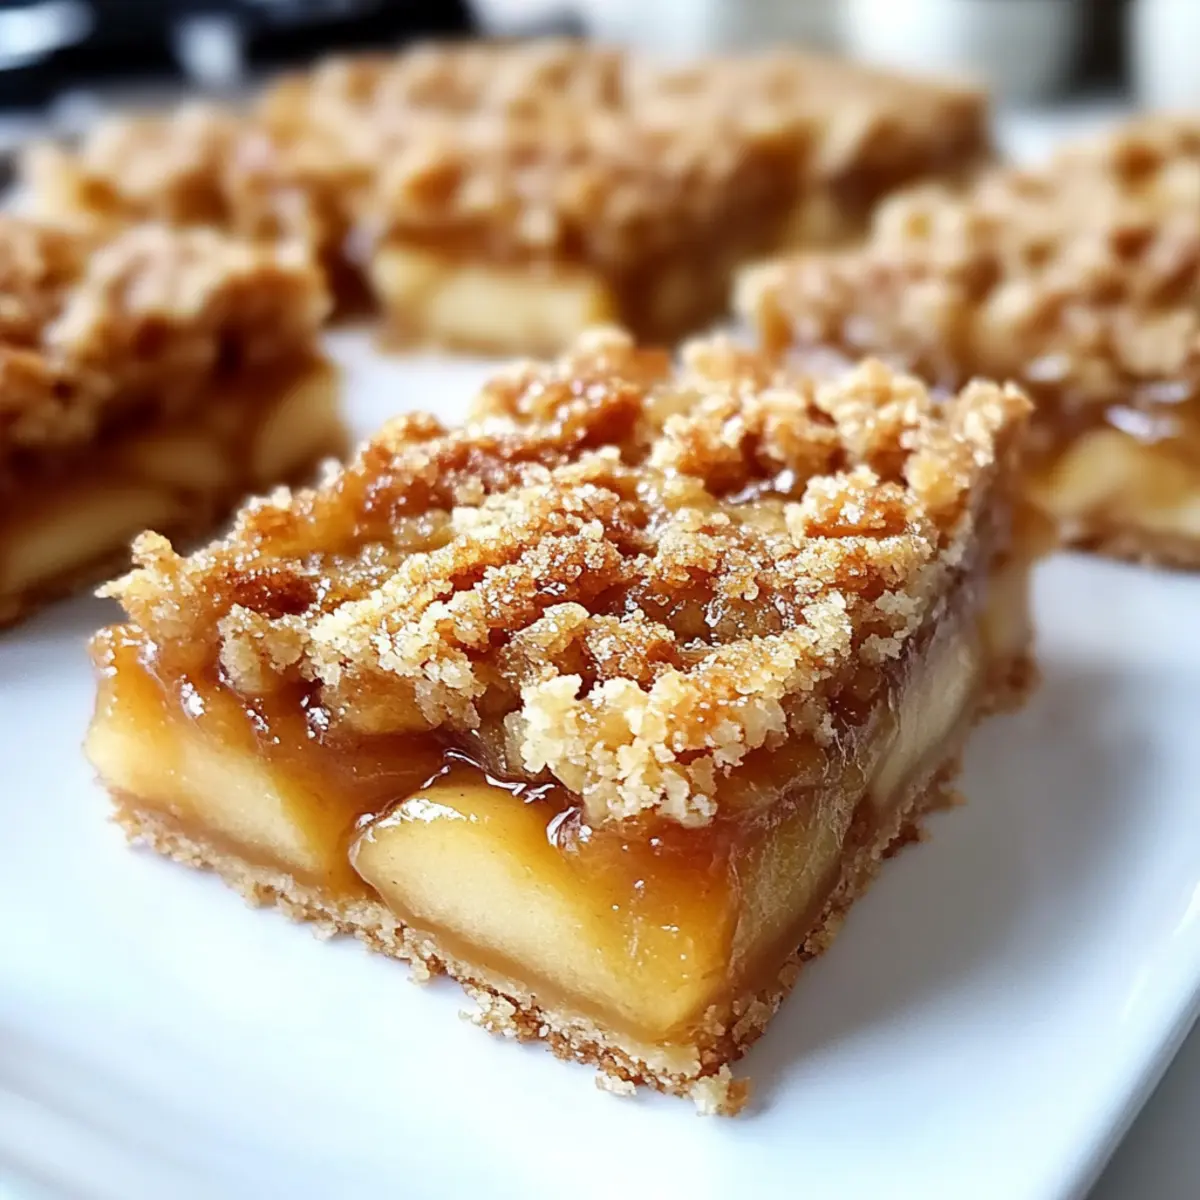
Why Are These Apple Pie Bars Unforgettable?
Comforting Flavor: The combination of tart and sweet apples creates a mouthwatering filling that dances with cinnamon and nutmeg.
Easily Customizable: Whether you stick with the classic recipe or explore substitutions like gluten-free flour, these bars adapt beautifully to your needs.
Quick to Make: In just a few simple steps, you’ll have a scrumptious treat ready to serve, making it perfect for spontaneous gatherings or cozy weekends at home.
Crowd-Pleasing Delight: These bars are always a hit at potlucks, ensuring that everyone gets to enjoy that comforting apple pie flavor. For another delightful fall treat, check out these Pumpkin Pie Tacos.
Perfectly Portable: The easy-to-slice nature of these bars makes them perfect for on-the-go snacking or casual get-togethers. Enjoy warm with vanilla ice cream or a drizzle of caramel for extra indulgence!
Apple Pie Bars Ingredients
For the Crust and Topping
• All-purpose flour – Provides structure for the crust and crumble; substitute with gluten-free flour for a gluten-free version.
• Granulated sugar – Adds just the right amount of sweetness to the crust.
• Salt – Enhances flavor, making both crust and filling more delicious.
• Cold butter – Helps create a flaky, tender crust; remember to chill before cutting in for the best results.
For the Apple Filling
• Brown sugar – Sweetens the apple filling while adding rich depth.
• Cinnamon – Infuses a warm, cozy flavor that balances the natural sweetness of the apples.
• Nutmeg – Provides a hint of aromatic spice, elevating the filling.
• Cornstarch – Thickens the apple filling, ensuring a nice texture that holds together.
• Lemon juice – Brightens the apple flavors, enhancing their freshness.
• Vanilla extract – Enhances sweetness and adds a lovely aroma to the filling.
• Apples (mixed varieties) – A combination of Granny Smith for tartness and Honeycrisp for sweetness gives the filling a well-rounded flavor that’s simply irresistible.
Step‑by‑Step Instructions for Apple Pie Bars
Step 1: Preheat and Prepare the Pan
Begin by preheating your oven to 350°F (175°C). While the oven warms up, take a 9×13 inch baking pan and line it with parchment paper, allowing the edges to overhang. This will make it easy to lift out the bars once baked. Set the pan aside as we prepare the crust.
Step 2: Make the Crust Mixture
In a large mixing bowl, combine all-purpose flour, granulated sugar, and a pinch of salt. Cut in chilled, cubed butter using a pastry cutter or your fingers until the mixture resembles coarse crumbs, with some larger pea-sized bits still intact. This flaky mixture is the base for your Apple Pie Bars, so ensure it’s well combined.
Step 3: Form the Crust
Press about two-thirds of the crumb mixture evenly into the bottom of the prepared baking pan. Use your fingers or the bottom of a measuring cup to pack it down firmly. The crust should form a solid base, ready to greet the decadent apple filling. Bake this for 15 minutes, until you see it turning lightly golden.
Step 4: Prepare the Apple Filling
While the crust is baking, wash, peel, and slice your apples. In a separate bowl, toss these sliced apples with brown sugar, cinnamon, nutmeg, cornstarch, lemon juice, and vanilla extract. Ensure each slice is coated evenly; this will create a wonderfully spiced and sweet filling that’s bursting with flavor in your Apple Pie Bars.
Step 5: Assemble the Bars
Once the crust has cooled slightly, layer the apple mixture evenly over it. Use a spatula to spread the apples out gently, making sure to cover the crust right to the edges. Then, crumble the reserved crust mixture on top of the apples, sprinkling it generously to create a delightful topping that will bake to perfection.
Step 6: Bake to Golden Perfection
Place the assembled Apple Pie Bars back into the oven and bake for 35-40 minutes. You’ll want the topping to turn a lovely golden brown and the apple filling to be bubbling gently. When done, remove the pan from the oven and allow it to cool slightly in the pan so the filling can set.
Step 7: Slice and Serve
Let the Apple Pie Bars cool completely in the pan for easy slicing. Once cool, use the parchment overhang to lift the bars out of the pan. Transfer them to a cutting board and slice into squares or rectangles, ready to serve warm or at room temperature with a scoop of ice cream or a drizzle of caramel for that extra touch.
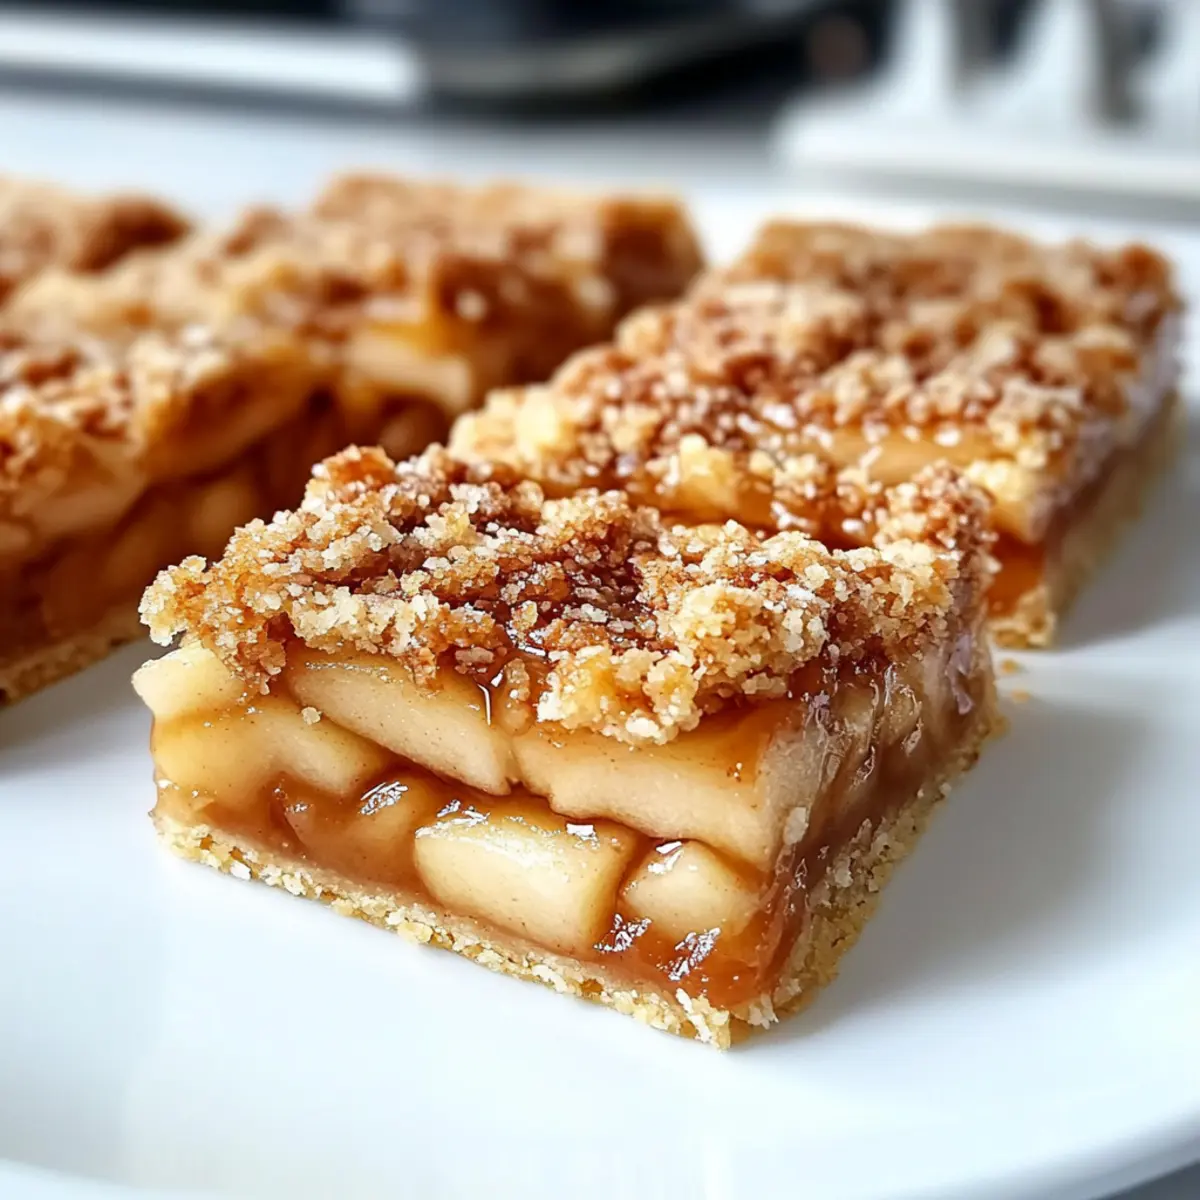
What to Serve with Easy Apple Pie Bars
Autumn gatherings call for cozy flavors that warm the heart, and these bars are just the beginning of memorable meals.
-
Vanilla Ice Cream: The classic pairing with warm apple pie bars adds a creamy contrast that melts in your mouth, enhancing the spiced filling.
-
Caramel Sauce: Drizzling warm caramel on top takes these bars to the next level, adding a luscious sweetness that complements the apples beautifully.
-
Whipped Cream: Light and airy, a dollop of whipped cream serves as a lovely finish, elevating every bite with its smooth texture.
-
Hot Coffee: This comforting drink brings out the cozy fall flavors, making each sip and bite a delightful experience. Perfect for those chilly evenings!
-
Cider: A glass of warm apple cider enhances the apple flavors and adds a delightful spice that matches perfectly with your bars.
-
Pecan Tarts: For an elegant touch, serve mini pecan tarts alongside. Their nutty richness balances the sweet and spiced notes of the apple bars.
-
Sweet Tea: A refreshing glass of sweet tea provides a Southern twist, offering a bright contrast to the warm, buttery bars.
-
Chocolate Drizzle: For an indulgent flair, drizzle with melted chocolate for a sweet touch that adds a deeper flavor profile to the dish.
-
Pumpkin Spice Latte: Capturing the essence of fall, this seasonal favorite pairs well to create an irresistibly cozy coffee moment.
Apple Pie Bars Customization Ideas
Feel free to mix things up and create your own delightful twist on these Apple Pie Bars that will warm your heart and home!
- Gluten-Free: Use a gluten-free flour blend to make these bars friendly for those avoiding gluten, ensuring everyone can indulge.
- Sweetener Swap: Replace granulated sugar with coconut sugar for a lower glycemic option, adding a subtle depth of caramel flavor.
- Fruit Varieties: Experiment with different apples like Fuji or Braeburn for varied sweetness or toss in some fresh berries for a fruity surprise.
- Spiced Up: Add a sprinkle of pumpkin pie spice or ginger for an exciting twist that brings a little zest to the traditional cinnamon.
- Nutty Crunch: Incorporate finely chopped nuts like pecans or walnuts into the crumble for an added texture that enhances every bite.
- Caramel Drizzle: Drizzle with warm caramel sauce post-baking for a luscious touch that elevates the dessert to an irresistible level.
- Ice Cream Pairing: Serve with a scoop of vanilla or cinnamon ice cream for an extra cozy experience; there’s nothing like a warm dessert with ice cream melting beautifully on top. For another great fall dessert, check out these Baked Apple Cinnamon.
Expert Tips for Apple Pie Bars
-
Choose the Right Apples: Use a mix of tart and sweet apples for a balanced flavor that enhances the filling in your Apple Pie Bars.
-
Keep Ingredients Cold: Ensure your butter is very cold to create a flaky crust. Any warmth can lead to a dense texture, which we want to avoid.
-
Don’t Overmix: When combining the crust ingredients, mix just until they resemble coarse crumbs. Overmixing can lead to tough bars.
-
Allow to Cool Completely: Let the Apple Pie Bars cool in the pan for easy slicing. Cooling helps the filling set and makes serving a breeze.
-
Store Properly: These bars can be made ahead and stored in an airtight container. For long-term storage, freeze them after cooling completely.
Make Ahead Options
These Easy Apple Pie Bars are a dream come true for meal prep enthusiasts! You can prepare the crust mixture and apple filling up to 24 hours in advance. Simply mix the crust ingredients and store them in the refrigerator, ensuring the butter remains chilled for optimal flakiness. The apple filling can be combined ahead of time, but for best results, toss it with lemon juice just before baking to prevent browning. When you’re ready to bake, just assemble the bars by layering the apple mixture over the crust and crumbling the topping on top. Pop them in the oven, and you’ll have a delicious dessert with minimal effort, perfect for those busy weeknights!
How to Store and Freeze Apple Pie Bars
Fridge: Store your Apple Pie Bars in an airtight container for up to 7 days. This keeps them fresh and ready for snacking.
Freezer: For longer storage, freeze the bars in an airtight container with parchment paper between layers. They can be kept for up to 3 months without losing flavor.
Reheating: To enjoy at their best, reheat frozen bars in the oven at 350°F for about 10-15 minutes until warmed through, or microwave for 30-60 seconds.
Make-Ahead: These bars can be prepared a day in advance. The flavors deepen as they sit, making them even more delicious!
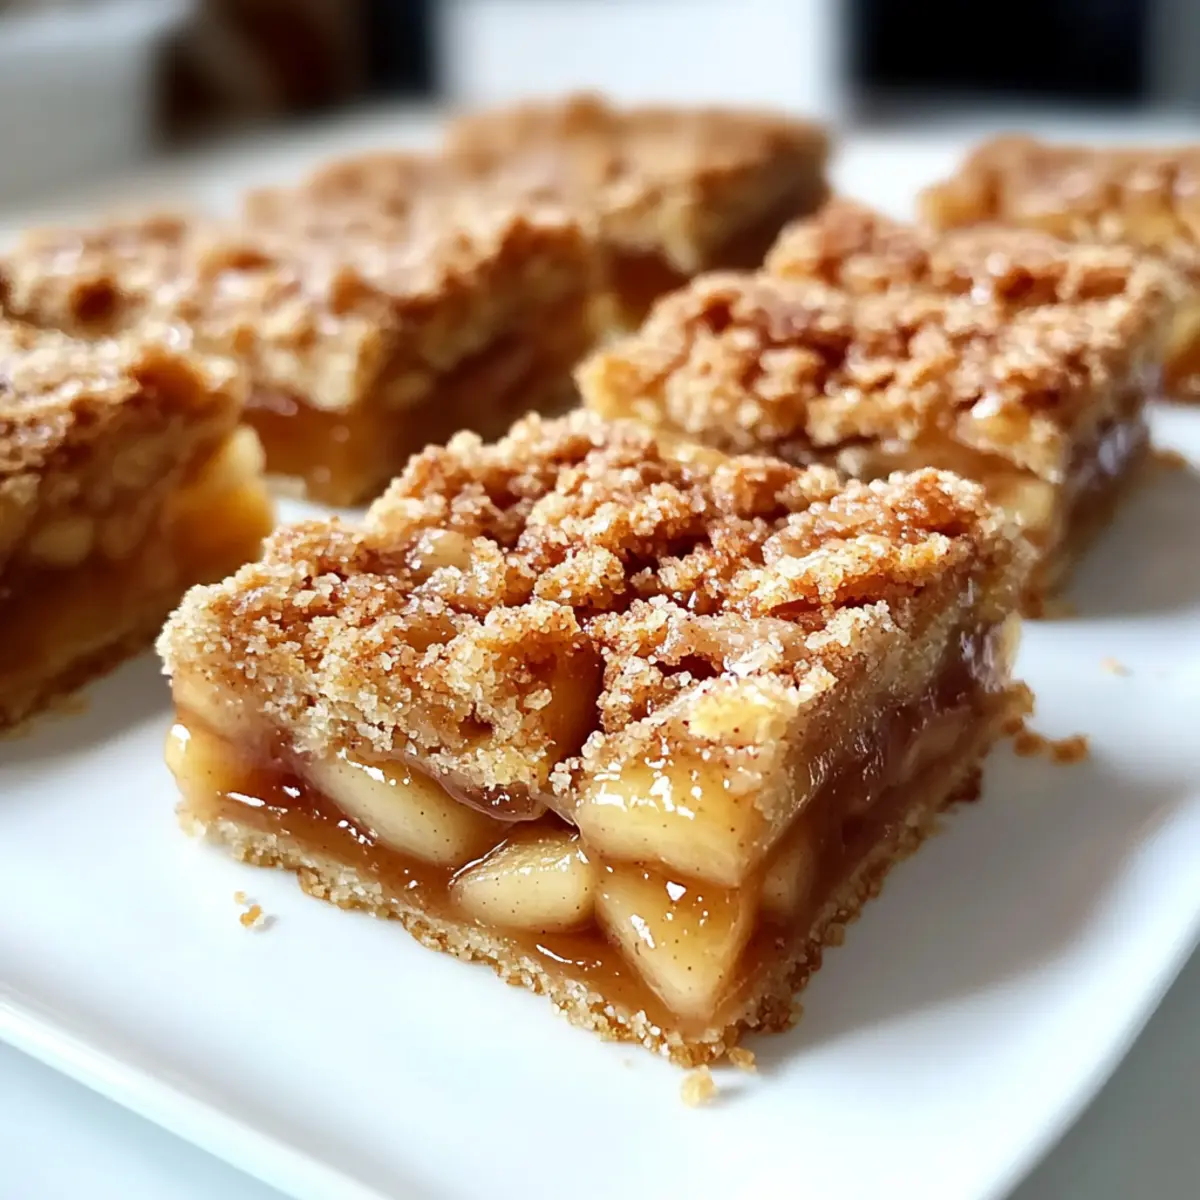
Apple Pie Bars Recipe FAQs
How do I choose the right apples for my Apple Pie Bars?
Absolutely! For the best flavor, I recommend using a mix of tart and sweet apples. A combination of Granny Smith apples for their tartness and Honeycrisp for their sweetness works beautifully. This balance enhances the overall filling, creating that delightful contrast in taste that is characteristic of traditional apple pie.
How should I store my Apple Pie Bars?
To keep your Apple Pie Bars deliciously fresh, store them in an airtight container in the fridge for up to 7 days. This method preserves their flavor and texture, making them a perfect on-the-go snack or sweet treat whenever the craving strikes.
Can I freeze Apple Pie Bars?
Very much! For freezing, make sure your Apple Pie Bars have cooled completely. Then, layer them in an airtight container with parchment paper between the bars to prevent sticking. They can be stored in the freezer for up to 3 months. When you’re ready to enjoy them again, simply reheat in the oven at 350°F for about 10-15 minutes or microwave for 30-60 seconds!
What should I do if my bars turn out too crumbly?
If you find your bars are a bit too crumbly, it may be due to overmixing the crust or not pressing it firmly enough into the baking pan. Make sure to mix until just combined for a tender base, and pack the crust firmly when pressing into the pan to ensure stability. Another tip is to add a bit more butter; this can help bind the dry ingredients better.
Are these Apple Pie Bars gluten-free?
Yes, you can absolutely make these Apple Pie Bars gluten-free! Simply substitute the all-purpose flour with a gluten-free flour blend of your choice. I recommend checking for a blend that includes xanthan gum to help with structure and texture.
Can I make these bars a day in advance?
Absolutely! In fact, making these Apple Pie Bars a day in advance can be beneficial as the flavors deepen and meld together overnight. Just store them in an airtight container at room temperature, and they’ll be ready to enjoy when you are!
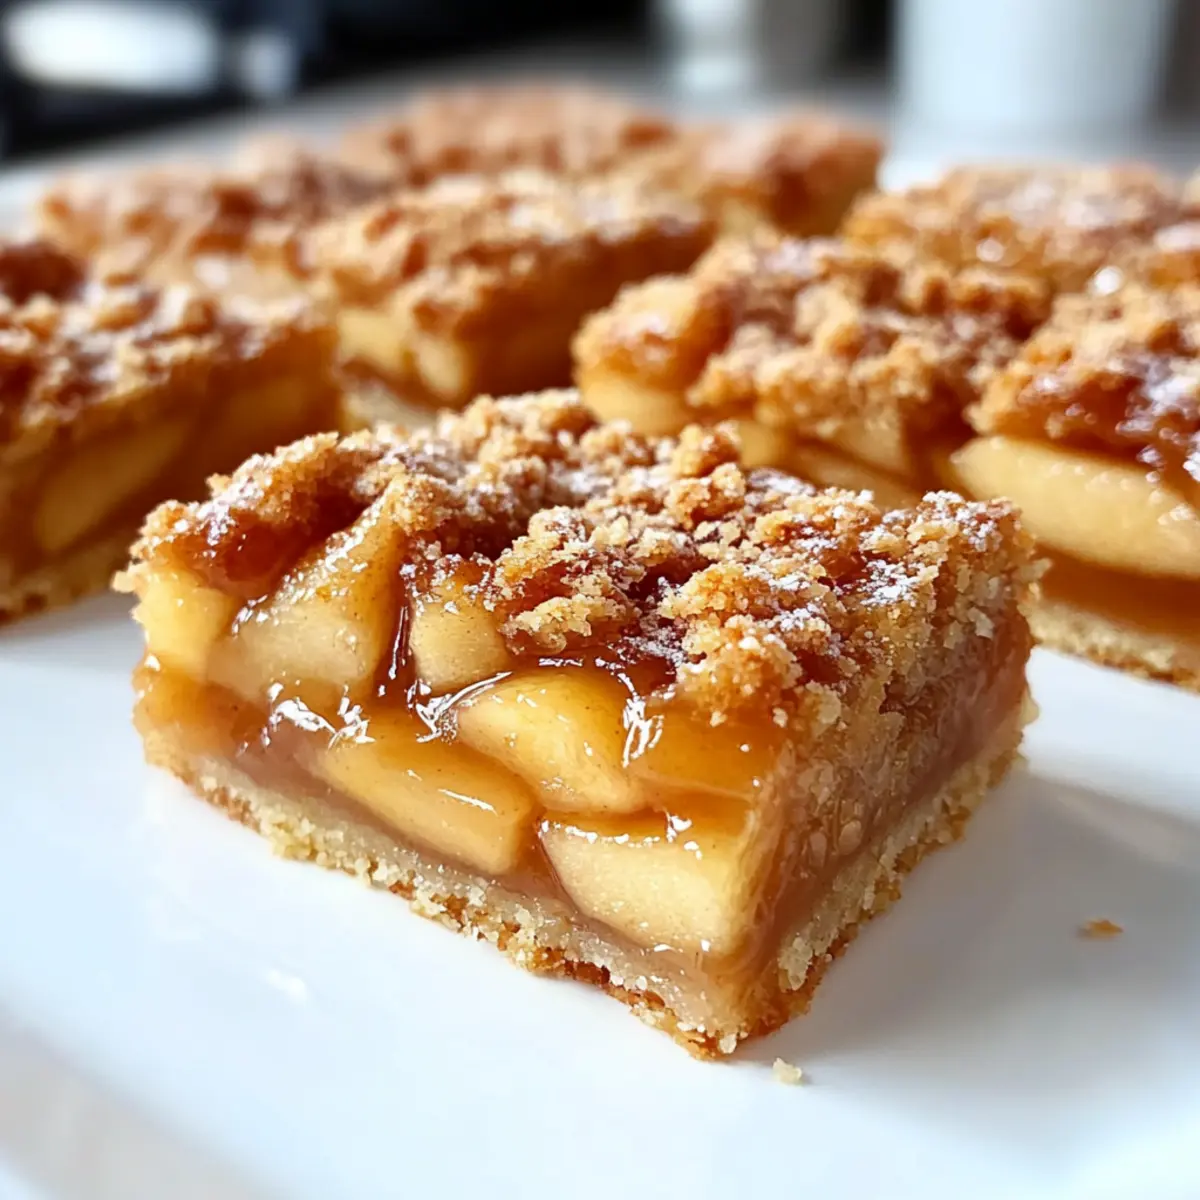
Delicious Apple Pie Bars for Cozy Fall Moments
Ingredients
Equipment
Method
- Preheat your oven to 350°F (175°C) and prepare a 9x13 inch baking pan by lining it with parchment paper.
- In a large mixing bowl, combine all-purpose flour, granulated sugar, and a pinch of salt. Cut in chilled butter until it resembles coarse crumbs.
- Press about two-thirds of the crumb mixture into the bottom of the prepared pan and bake for 15 minutes until lightly golden.
- Wash, peel, and slice the apples. Toss with brown sugar, cinnamon, nutmeg, cornstarch, lemon juice, and vanilla extract.
- Layer the apple mixture evenly over the crust, then crumble the reserved mixture on top.
- Bake for 35-40 minutes until the topping is golden brown and the filling is bubbling.
- Let cool in the pan for easy slicing, then transfer to a cutting board and slice into bars.
Leave a Reply