
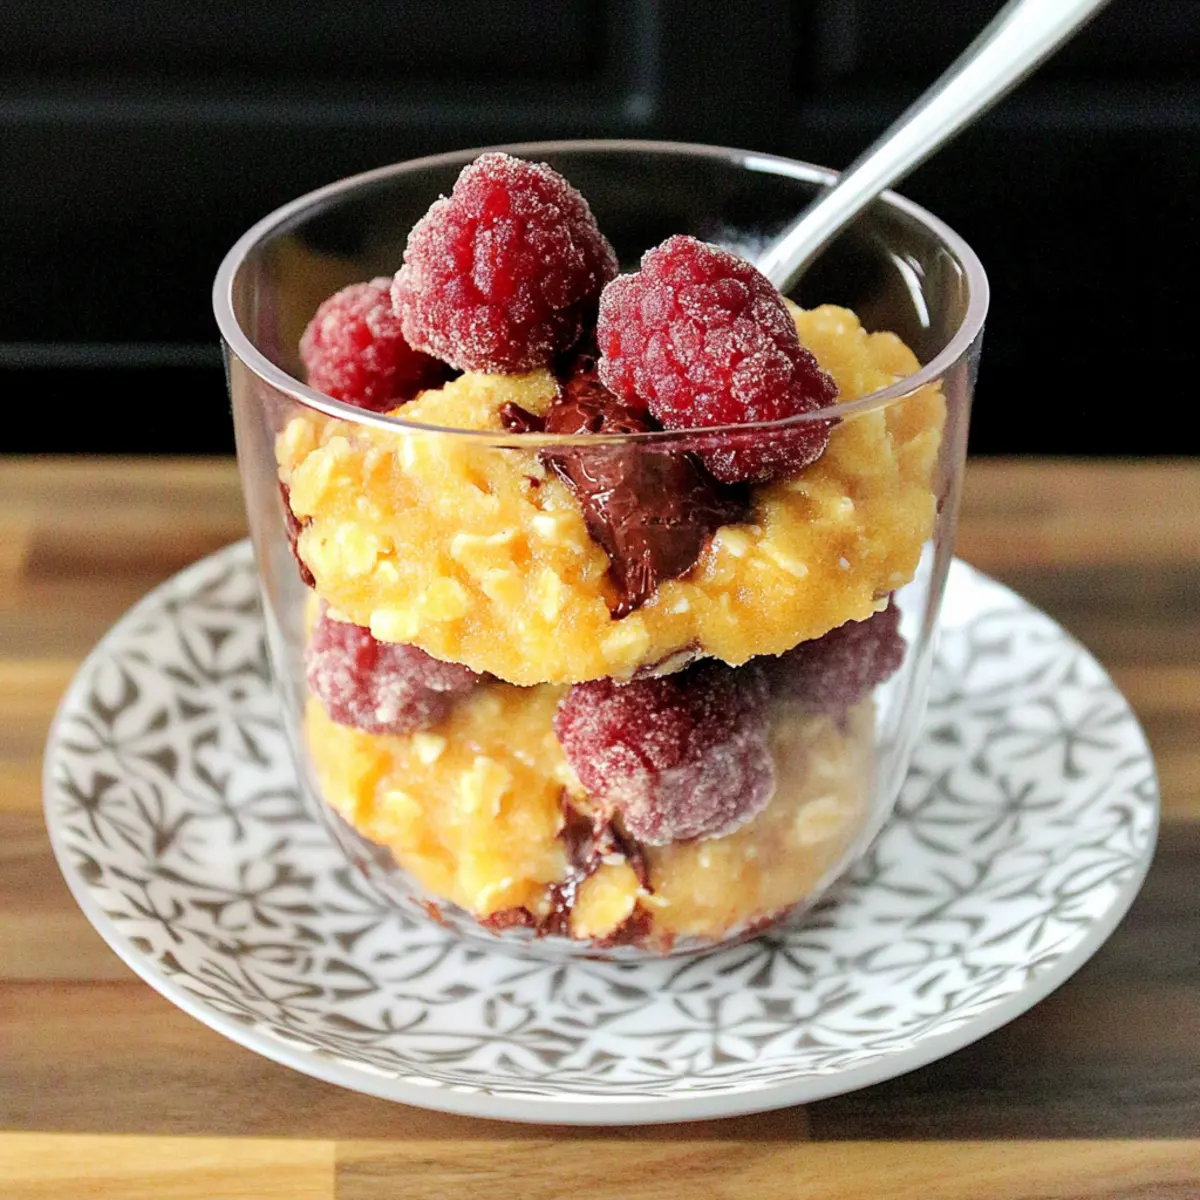
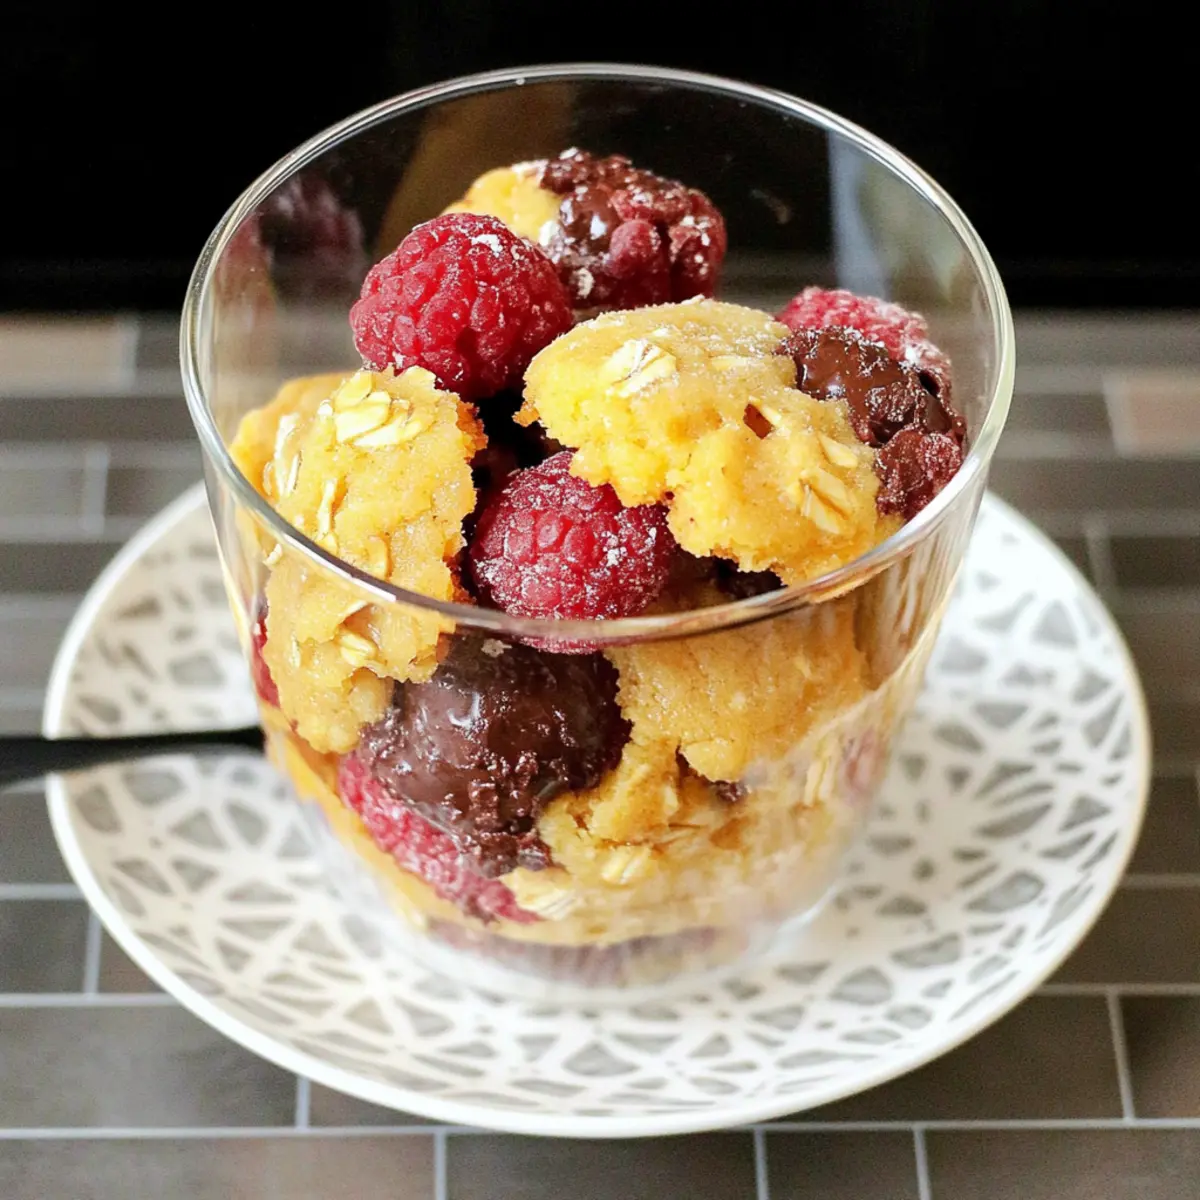
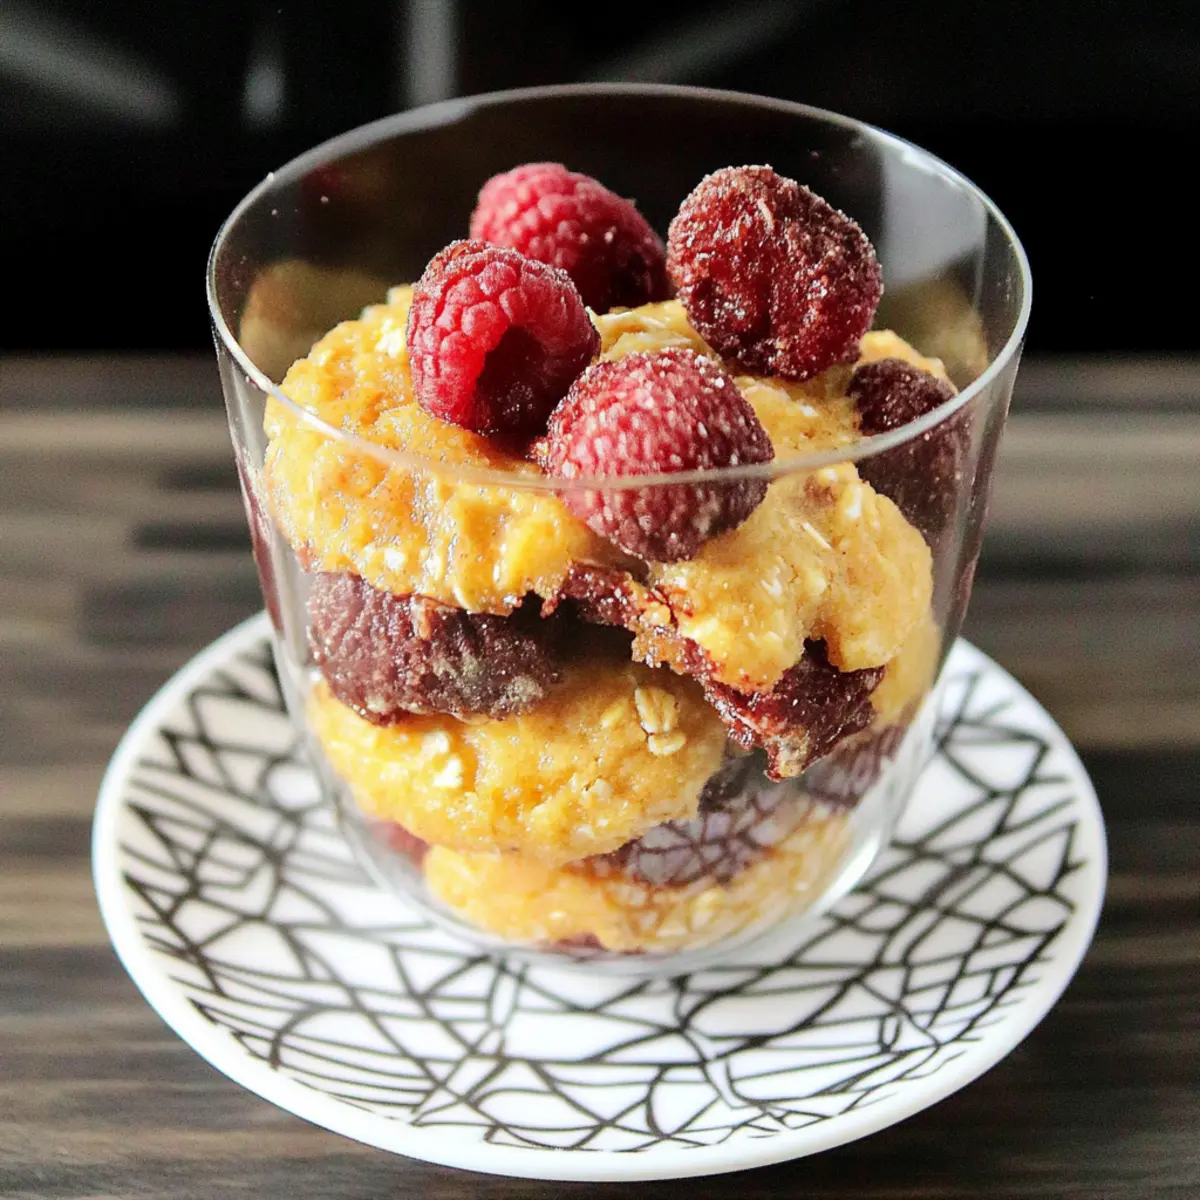
The smell of freshly baked cookies wafting through the kitchen can transport me back to childhood memories of lazy afternoons spent with family. Today, I’m excited to share my go-to recipe for 4-Ingredient Crispy Chocolate Oat Cookies. These delightful treats combine a satisfying crunch with a chewy center, making them the perfect guilt-free snack. With just four simple ingredients, I promise they’re quick to whip up, ensuring you can satisfy those sweet cravings without a trip to the store. Plus, they’re great for health-conscious bakers, as they’re naturally gluten-free and free of refined sugars! Whether you enjoy them solo or share them with friends, what’s your favorite twist to add, like nuts or dried fruits? Let’s dive in!
Why are These Cookies so Irresistible?
Simplicity at Its Finest: With only four ingredients, this recipe is perfect for anyone, from busy parents to novice bakers.
Healthy Indulgence: Guilt-free snacking is easy with these delicious cookies made without refined sugar and gluten, appealing to health-conscious fans.
Flavor Versatility: Enjoy them as-is or jazz them up with your favorite additions: nuts, seeds, or chewy dried fruits, just like you might in a Coconut Shrimp Sweet dish!
Quick Baking: Whip these up in just 12 minutes, making them an easy last-minute delight, perfect for unexpected guests or weekend cravings.
Crowd-Pleasing Treat: Whether you serve them warm with almond milk or as an after-school snack, these cookies are sure to win everyone’s hearts!
Chocolate Oat Cookie Ingredients
• These simple ingredients make a delicious treat!
For the Cookies
- Oats – Provide structure and chewiness; rolled oats offer heartiness, while quick oats deliver a softer bite.
- Banana – Acts as a natural sweetener and binder; for fewer calories, try using unsweetened applesauce instead.
- Nut Butter (e.g., almond or peanut) – Adds richness and moisture; any nut or seed butter works, just check for allergens.
- Cocoa Powder – Delivers rich chocolate flavor; swap with carob powder for a caffeine-free option.
Optional Mix-ins
- Chopped Nuts – Add ½ cup for extra crunch and delightful texture.
- Dried Fruits – Incorporate ¼ cup of favorites like cranberries or raisins for added sweetness and chewiness.
Feel free to experiment with these variations to create your perfect batch of chocolate oat cookies!
Step-by-Step Instructions for 4-Ingredient Crispy Chocolate Oat Cookies
Step 1: Preheat the Oven
Begin by preheating your oven to 350°F (175°C). While it heats up, grab a baking sheet and line it with parchment paper to prevent the cookies from sticking. This simple step ensures that your cookies will bake evenly, giving them that delightful crispy edge and chewy center.
Step 2: Prepare the Banana
In a large mixing bowl, take your ripe banana and mash it with a fork until it reaches a smooth, creamy consistency. This should only take a minute or two. The riper the banana, the sweeter the taste in your 4-Ingredient Crispy Chocolate Oat Cookies, so make sure to use one that’s fully ripe for the best flavor.
Step 3: Mix in Nut Butter and Cocoa
Add your nut butter of choice, whether it’s almond, peanut, or another nut or seed option, into the bowl with the mashed banana. Then, sprinkle in the cocoa powder. Stir everything together until well combined, creating a rich, chocolatey mixture that will be the base of your cookies.
Step 4: Fold in the Oats
Slowly add the oats to the chocolatey mixture, folding them gently until they are fully incorporated. This step is crucial; avoid overmixing to maintain the chewy texture of your cookies. The dough should be thick and sticky, ready to form into delightful cookie shapes.
Step 5: Form the Cookies
Using a spoon, drop generous spoonfuls of the cookie dough onto the prepared baking sheet. Aim for evenly spaced dollops, flattening them slightly with the back of the spoon to promote even baking. This small adjustment helps ensure that each cookie cooks uniformly and achieves that perfect balance of crisp and chewy.
Step 6: Bake the Cookies
Place the baking sheet in your preheated oven and bake the cookies for 10-12 minutes. Keep an eye on them, as they should be lightly golden around the edges while remaining soft in the center. This visual indicator shows that they are baked to perfection, ready to satisfy your cravings.
Step 7: Cool and Enjoy
Once baked, remove the cookies from the oven and allow them to cool on the baking sheet for about 5 minutes. This cooling time helps them set up and makes them easier to transfer. After cooling, gently move them to a wire rack to cool completely and enjoy the delightful taste of your freshly baked 4-Ingredient Crispy Chocolate Oat Cookies!
What to Serve with 4-Ingredient Crispy Chocolate Oat Cookies
Pair these delightful cookies with refreshing sides and beverages, creating a comforting snack experience.
-
Almond Milk: A glass of chilled almond milk complements the chocolatey richness while balancing the sweetness of the cookies.
-
Greek Yogurt Parfait: Layer this creamy delight with fresh fruits and granola for a delightful texture contrast and added nutrition.
-
Fresh Fruit Salad: Bright, juicy fruits like strawberries and oranges provide a refreshing, zesty bite that pairs beautifully with the cookies’ sweetness.
-
Nut Butter Dip: Serve some creamy almond or peanut butter on the side. The nutty flavors enhance the cookies’ richness and boost protein!
-
Homemade Smoothie: Blend some bananas, mango, and spinach for a healthy, vibrant smoothie that echoes the banana flavors in the cookies.
-
Coffee or Tea: Enjoy these indulgent cookies with a cup of your favorite coffee or herbal tea to enhance the cozy snack vibe.
These pairings not only complement the cookies but also create a satisfying, wholesome snack spread that the whole family will love!
Expert Tips for 4-Ingredient Crispy Chocolate Oat Cookies
Ripe Bananas Matter: Ensure your bananas are fully ripe for maximum sweetness and smoother mixing, turning each cookie into a flavorful treat.
Watch the Mixing: Don’t overmix the dough—this is key to achieving that perfect chewy texture in your cookies while avoiding a dense result.
Baking Time Alert: Check your cookies at the minimum baking time of 10 minutes; they should feel slightly soft in the center to ensure they remain deliciously chewy.
Experiment Wisely: Feel free to add your favorite mix-ins like nuts or dried fruits, but keep in mind the overall balance of wet and dry ingredients to avoid affecting the dough consistency.
Storage Savvy: Store your cookies in an airtight container at room temperature for up to a week; they also freeze beautifully for long-term enjoyment!
How to Store and Freeze Chocolate Oat Cookies
Room Temperature: Store your chocolate oat cookies in an airtight container at room temperature for up to 1 week to keep them fresh and chewy.
Fridge: If you prefer, you can refrigerate them for a slightly firmer texture; they’ll still taste great for up to 2 weeks.
Freezer: For longer storage, freeze the cookies in a single layer on a baking sheet, then transfer them to an airtight container or freezer bag for up to 3 months.
Reheating: To enjoy your frozen cookies, simply thaw them at room temperature or gently warm them in the oven at 350°F (175°C) for a few minutes.
Make Ahead Options
These 4-Ingredient Crispy Chocolate Oat Cookies are perfect for meal prep enthusiasts looking to save time! You can prepare the dough up to 24 hours in advance; simply mix all the ingredients and store it in an airtight container in the refrigerator. This not only helps streamline your baking process but also enhances the flavors as they meld overnight. When you’re ready to bake, scoop the chilled dough onto a lined baking sheet and bake as directed, adding a minute or two to the baking time if the dough is particularly cold. This way, you can enjoy fresh, homemade cookies whenever the craving strikes, without the fuss!
Chocolate Oat Cookies Variations
Feel free to get creative and customize these cookies with delightful twists that excite your palate!
- Nutty Crunch: Add ½ cup of your favorite chopped nuts for an extra layer of crunch. Walnuts or pecans will complement the chocolate beautifully.
- Fruity Surprise: Incorporate ¼ cup of dried fruits like cranberries or raisins to add a natural sweetness depth. They provide a chewy texture that contrasts nicely with the cookies’ crisp edges.
- Coconut Flakes: Stir in ¼ cup of unsweetened coconut flakes for a tropical touch, echoing flavors from a refreshing Sweet Coconut Cream dessert.
- Spicy Kick: Sprinkle in a dash of cinnamon or cayenne pepper for a warming flavor boost that complements the chocolate. The spice will awaken your senses and add an unexpected twist.
- Nut Butter Swap: Try different nut butters like cashew or sunflower seed butter for varied flavor profiles. Each nut brings its own unique richness, making every batch special.
- Dairy-Free: Opt for dairy-free dark chocolate chips instead of cocoa powder if you’re looking for a melty chocolate experience. They will provide a delightful surprise in every bite.
- Chocoloate Chip Intensity: Add ½ cup of dark chocolate chips for extra indulgence. Melty chocolate bits elevate your cookie to a whole new level of deliciousness.
- Oat Variation: Use quick oats for a softer texture, or even add in some old-fashioned oats for a heartier, chewier cookie. Balancing these will give you a new dimension to explore!
No need to settle for the ordinary when these variations can easily take your cookies to the next level!

Chocolate Oat Cookies Recipe FAQs
How can I choose the perfect oats for this recipe?
Absolutely! I recommend using rolled oats for a heartier texture in your cookies. They provide structure and chewiness. If you prefer a softer cookie, quick oats will also work just fine. Just ensure no instant oats are used, as they may yield a different texture.
How should I store chocolate oat cookies to keep them fresh?
To keep your cookies fresh and chewy, store them in an airtight container at room temperature for up to 1 week. If you’d like to keep them longer, refrigerating them can maintain their quality for up to 2 weeks. Just remember to bring them back to room temperature for that perfect bite!
Can I freeze my chocolate oat cookies?
Absolutely! To freeze, first lay the cookies out in a single layer on a baking sheet. Once they’re frozen, transfer them into an airtight container or freezer bag, where they can stay fresh for up to 3 months. When you’re ready to enjoy them, simply thaw at room temperature or reheat in the oven at 350°F (175°C) for a few minutes.
What should I do if my cookie dough is too dry?
If your cookie dough feels too dry, try adding a splash of water or a little more nut butter. Also, ensure your bananas are fully ripe, as this can really help with moisture content. If you find your dough is too wet, gradually add more oats until you achieve a thick yet sticky consistency.
Are there any allergy considerations for this recipe?
Yes, definitely! While this recipe is naturally gluten-free if you use certified gluten-free oats, be sure to check the labels on your nut butters to avoid allergens. If anyone has a nut allergy, you can substitute with sunbutter made from sunflower seeds, which works wonderfully in this recipe without compromising flavor.
Can I add other flavors or mix-ins to the cookies?
Very! Feel free to jazz things up by adding ½ cup of your favorite chopped nuts or ¼ cup of dried fruits like cranberries or raisins for extra flavor and crunch. Just keep in mind that any additions may affect the cookie texture, so adjust the wet ingredients accordingly if needed.
Mango Coconut Sherbet with Raspberries: A Tropical Treat
Ingredients
Equipment
Method
- Preheat your oven to 350°F (175°C) and line a baking sheet with parchment paper.
- Mash the ripe banana in a mixing bowl until smooth.
- Mix in your chosen nut butter and cocoa powder until combined.
- Fold in the oats gently until fully incorporated.
- Drop spoonfuls of dough onto the prepared baking sheet, flatten slightly.
- Bake for 10-12 minutes until golden and soft in the center.
- Let them cool on the baking sheet for 5 minutes before transferring to a wire rack.
Leave a Reply