
As I stood in my kitchen, the sweet aroma of melting sugar filled the air, evoking memories of family celebrations and the laughter that accompanied them. This Decadent Gluten Free Caramel Cake isn’t just a dessert; it’s a reason to gather and create lasting moments. Perfectly rich and moist, this cake delights both those with gluten sensitivities and everyone else at the table. With its layers generously laced with luscious caramel, it’s bound to impress at birthdays, anniversaries, or simply as a sweet treat after a long day. Best of all, it’s surprisingly simple to whip up, making it an ideal choice for novice and experienced bakers alike. Are you ready to elevate your dessert game and indulge in this heavenly gluten-free creation? Let’s dive in!
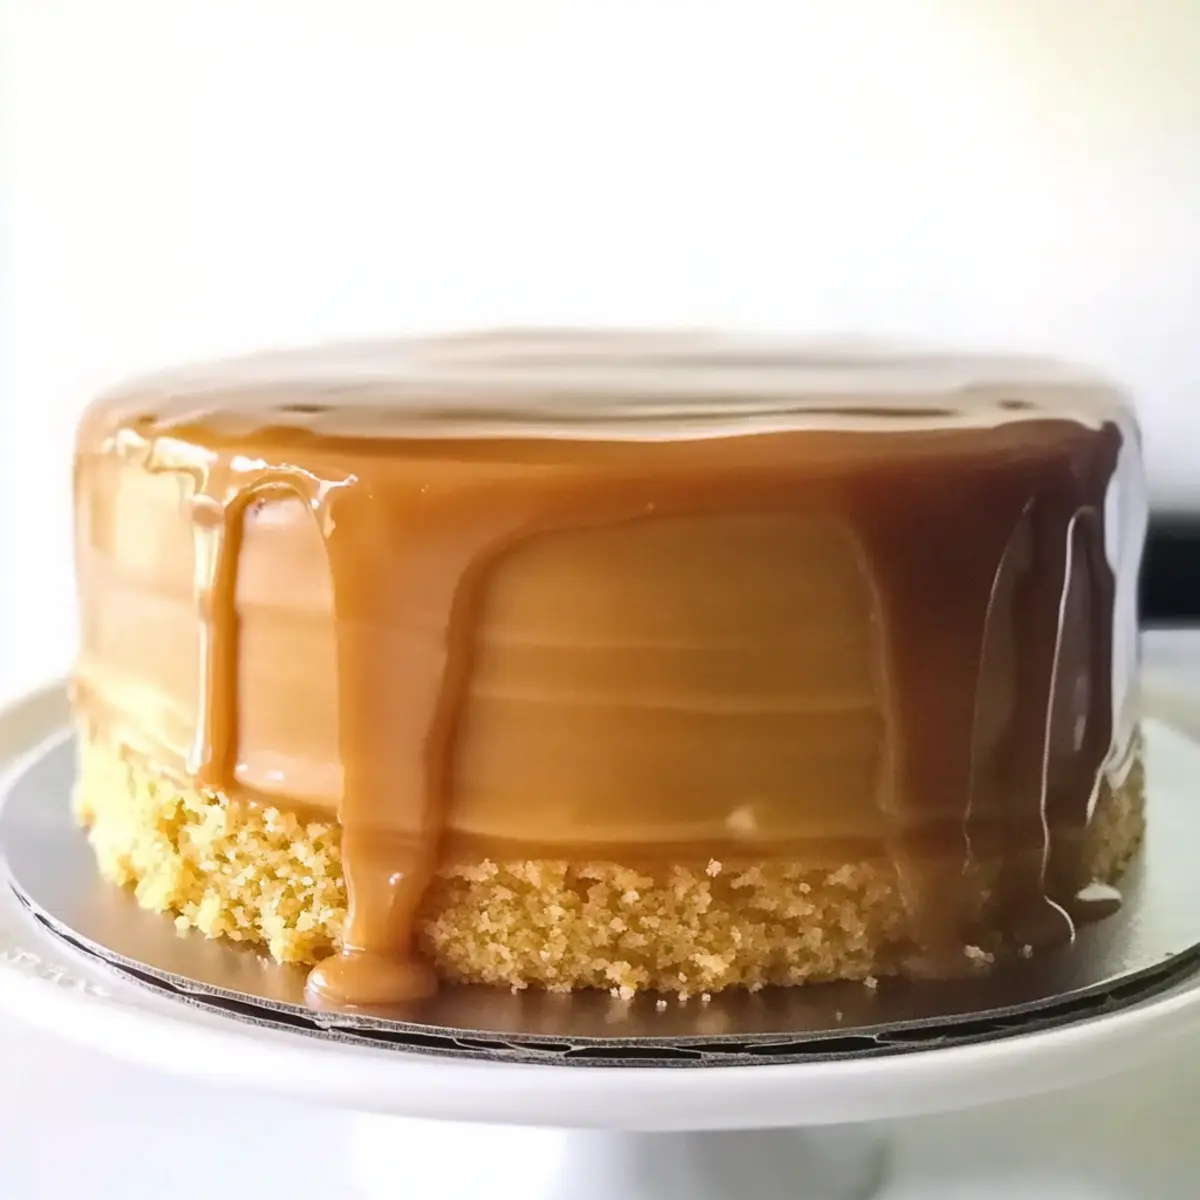
Why is this gluten-free cake a must-try?
Irresistible Flavor: Each layer of this moist cake is drenched in a rich caramel that’s bound to make your taste buds sing!
Celebration-Ready: Perfect for birthday parties, anniversaries, or any festive gathering, it adds a touch of sweetness to every occasion.
Simple to Make: Even beginner bakers can create this showstopper with ease, making it an ideal choice for a last-minute dessert.
Versatile Options: Feel free to transform it into mini caramel cupcakes or mix in chocolate chips for a twist.
Remember to pair it with a scoop of ice cream or a dollop of whipped cream for that extra indulgence!
Gluten Free Caramel Cake Ingredients
• For an unforgettable baking experience, gather these!
For the Cake
• Kim’s Gluten Free Flour Blend – Ensures optimal texture for gluten-free baking, providing the cake’s structure.
• Cornstarch – Adds lightness; if unavailable, tapioca starch can be used for similar results.
• Baking Powder – Acts as a leavening agent; check for gluten-free certification to keep it safe.
• Kosher Salt – Balances sweetness and enhances flavor; regular salt works in a pinch.
• Milk – Adds richness; for a dairy-free option, use almond milk or your favorite non-dairy milk.
• Heavy Cream – Adds creaminess to the caramel; coconut cream serves as a wonderful dairy-free alternative.
• Vanilla Extract – Infuses the cake with deep flavor; vanilla bean paste can elevate it even more.
• Butter – Provides moisture and a rich taste; use lactose-free butter or vegan alternatives if preferred.
• Granulated Sugar – Sweetens the cake beautifully; brown sugar adds depth and warmth.
• Eggs – Essential for moisture and structure; consider flax eggs for a vegan option.
For the Caramel
• Light Brown Sugar – Creates a richer flavor profile for the caramel compared to regular sugar.
• Light Corn Syrup – Helps prevent crystallization in caramel; substitute with honey or maple syrup for a slightly different taste.
• Flake Salt – Not only for garnishing; it enhances the sweetness and balances flavors in your cake.
With these gluten-free caramel cake ingredients, you’re ready to make a sensational dessert that everyone will adore!
Step‑by‑Step Instructions for Gluten Free Caramel Cake
Step 1: Preheat and Prepare Pans
Preheat your oven to 350°F (175°C). While the oven is warming up, prepare three 8-inch round cake pans by greasing them with butter and lining the bottoms with parchment paper. This ensures your delicious gluten-free caramel cake layers will release effortlessly after baking.
Step 2: Combine Dry Ingredients
In a large mixing bowl, whisk together the gluten-free flour blend, cornstarch, baking powder, and kosher salt until combined. This step is key to evenly distributing the leavening agents, ensuring your cake rises beautifully. Set the bowl aside as you prepare the wet ingredients.
Step 3: Mix Wet Ingredients
In a separate measuring cup, combine the milk, heavy cream, and vanilla extract. Stir these together gently until fully blended. Set this mixture aside as the creamy goodness will add rich moisture to your gluten-free caramel cake batter in the next steps.
Step 4: Cream Butter and Sugar
In a stand mixer, add the softened butter and granulated sugar. Beat these ingredients together on medium speed until the mixture is light and fluffy, which should take about 3-5 minutes. Then, add the eggs one at a time, ensuring each one is fully incorporated before adding the next for the best texture.
Step 5: Alternate Adding Dry and Wet Ingredients
Gradually add the dry ingredient mixture to the creamed butter and sugar, alternating with the milk mixture. Start and finish with the dry ingredients for the best results. Mix on low speed until just combined; overmixing can lead to a dense cake, which we want to avoid.
Step 6: Allow the Batter to Rest
Once your batter is well mixed, cover the bowl with a clean kitchen towel and let it rest for 15-20 minutes. This hydration period allows the gluten-free flour to absorb the liquids fully, ensuring a moist and tender texture in your gluten-free caramel cake.
Step 7: Bake the Cake Layers
Divide the batter evenly among the prepared cake pans. Place them in the preheated oven and bake for 45-50 minutes, or until a toothpick inserted in the center comes out clean. The tops should be lightly golden and spring back when touched, signaling they are ready to cool.
Step 8: Cool the Cakes
Once baked, remove the cake layers from the oven. Let them cool in the pans for 10 minutes, then carefully transfer them to a wire rack to cool completely. Cooling is essential, as it ensures that the frosting won’t melt right away when applying the luscious caramel.
Step 9: Make the Caramel Sauce
In a heavy-bottomed saucepan, combine the heavy cream, light brown sugar, corn syrup, and flake salt. Heat this mixture over medium heat while stirring until it comes to a soft boil. Keep stirring until everything is dissolved, then get ready to make your caramel perfection!
Step 10: Boil the Caramel
Once at a boil, clip a candy thermometer to the side of the pot and continue boiling, stirring constantly, until the mixture reaches 234°F (113°C). This stage is crucial; you want that thick, glossy texture that you’ll later spread between the layers of your gluten-free caramel cake.
Step 11: Add Vanilla to Caramel
Remove the saucepan from heat once the caramel has reached the desired temperature. Stir in the vanilla extract. Allow the caramel to cool slightly—this cooling step is vital, as it prepares the sauce to be spreadable without melting your beautiful cake layers.
Step 12: Assemble the Cake
Once the cake layers and caramel are fully cooled, carefully place one layer on a serving plate. Spread a generous amount of caramel between the layers as you stack them. Drizzle the remaining caramel over the top layer, allowing it to cascade down the sides. Your stunning gluten-free caramel cake is now ready to share!
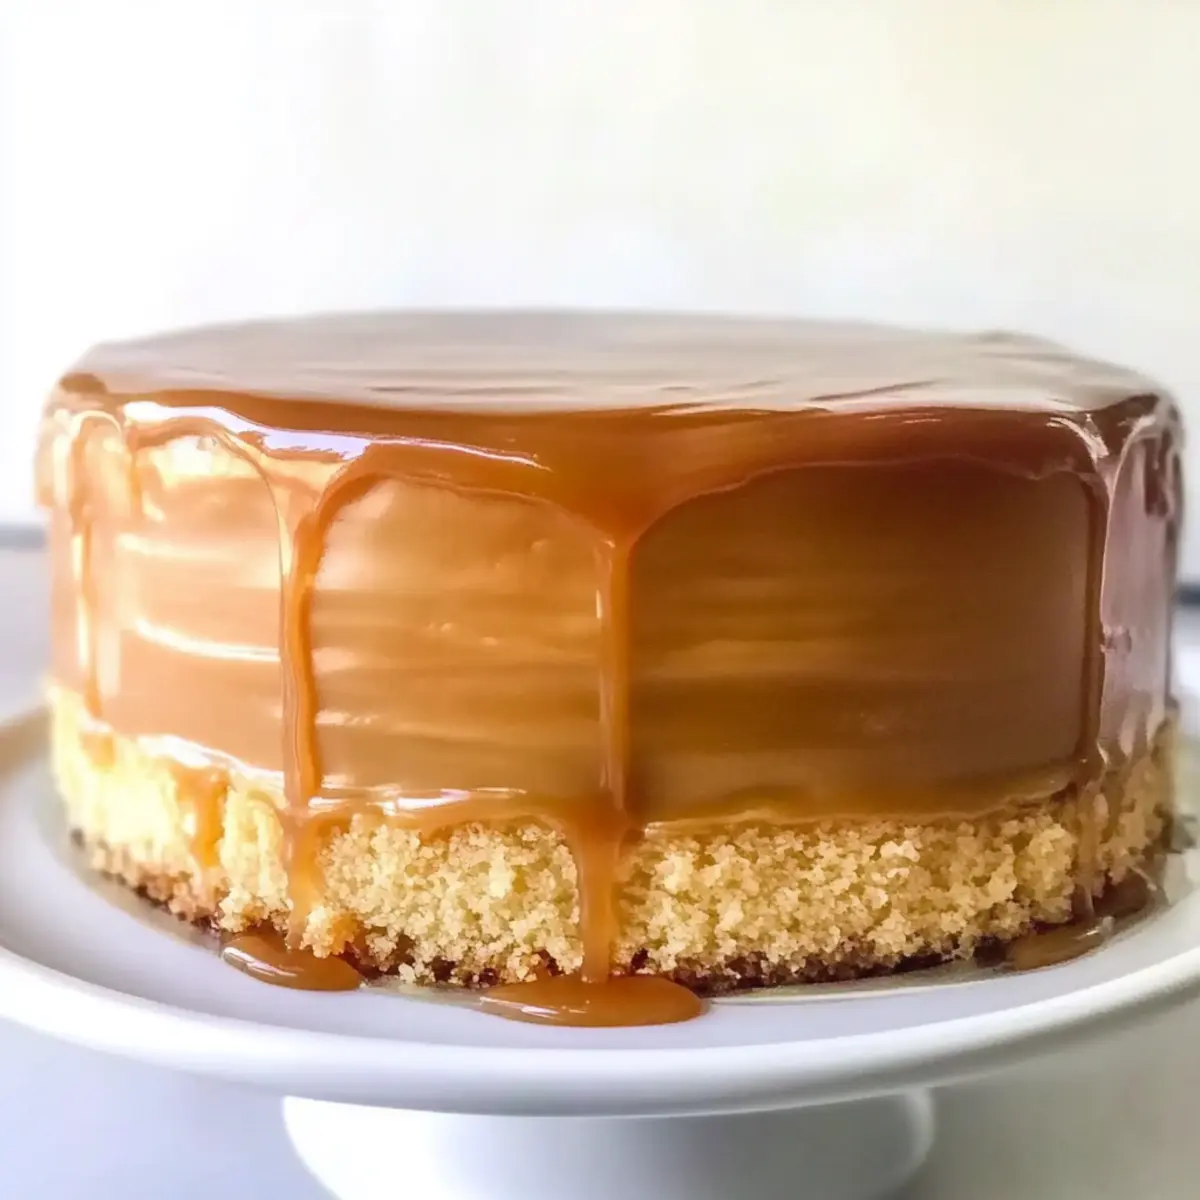
How to Store and Freeze Gluten Free Caramel Cake
Room Temperature: Store your gluten-free caramel cake at room temperature for up to 3 days in an airtight container to keep it moist and fresh.
Fridge: For extended freshness, refrigerate your cake, well-covered, for up to 5 days. Be mindful that refrigeration may slightly alter its texture.
Freezer: If you need to store it for longer, freeze the cake layers wrapped tightly in plastic wrap and a layer of aluminum foil for up to 3 months. Thaw in the fridge before serving.
Reheating: Gently reheat individual slices in the microwave for about 15-20 seconds, just until warm, to restore some of its original softness without losing the delicious caramel flavor.
Make Ahead Options
Preparing this Gluten Free Caramel Cake ahead of time can be a game-changer for busy home cooks! You can bake the cake layers up to 24 hours in advance; just cool them completely, wrap them tightly in plastic wrap, and refrigerate to maintain their moisture. The caramel can also be made up to 3 days ahead; store it in an airtight container in the fridge. When you’re ready to serve, simply warm the caramel slightly to make it spreadable again. Assembling the cake is a breeze—just layer the cooled cake with your delicious caramel and drizzle any remaining sauce on top. This way, you can enjoy a stunning dessert without the last-minute rush!
What to Serve with Gluten Free Caramel Cake?
Creating a memorable meal that features this lush dessert will enchant your taste buds and elevate your dining experience.
- Whipped Cream: A dollop of fresh whipped cream adds a light and airy contrast that complements the cake’s richness perfectly.
- Vanilla Ice Cream: The classic pairing of vanilla ice cream enhances the caramel’s sweetness, creating a delightful melt-in-your-mouth moment.
- Fresh Berries: Juicy strawberries or raspberries offer a tart balance to the cake’s sweetness, adding a refreshing touch to each bite.
- Coffee: A warm cup of coffee brings a cozy bitterness that pairs wonderfully with the cake’s caramel flavors, perfect for your afternoon treat.
- Chocolate Sauce: Drizzling a bit of chocolate sauce on the plate adds an indulgent twist, creating a beautiful contrast with the golden caramel.
- Coconut Cream: For a tropical touch, spoon some coconut cream alongside the cake to add a hint of creaminess that beautifully complements the flavors.
- Almond Milkshake: An almond milkshake serves as a creamy, nutty beverage that harmonizes well with the rich cake, making it a treat for all ages.
- Nuts: Toasted pecans or walnuts sprinkled on top provide a delicious crunch, adding texture and depth to the overall experience.
- Lemon Sorbet: A scoop of lemon sorbet offers a bright, zesty contrast to the caramel, refreshing your palate between bites.
- Chocolate-Covered Strawberries: These decadent treats elevate your dessert game and add elegance to any gathering where the cake is served.
Gluten Free Caramel Cake Variations
Feel free to explore these delightful variations to personalize your gluten-free caramel cake, adding your unique twist!
-
Mini Cupcakes: Transform the batter into mini caramel cupcakes for easy sharing. These bites of joy are perfect for parties or a sweet indulgence whenever the craving strikes.
-
Chocolate Delight: Stir in cocoa powder to half of the flour blend for a gluten-free chocolate caramel cake. The rich chocolate complements the caramel beautifully, creating a decadent dessert experience.
-
Nutty Crunch: Toss in chopped nuts or chocolate chips into the batter for added texture and flavor. Walnuts or pecans add a lovely crunch that pairs nicely with the soft cake.
-
Spicy Caramel: Add a pinch of cinnamon or cayenne pepper to the caramel for a subtle spicy kick. The warmth of the spice enhances the caramel’s sweetness, making for an intriguing flavor profile.
-
Fruit Fusion: Layer in some fresh or dried fruit, like sliced bananas or berries, in between the layers. The fruity surprise makes each bite refreshing and delicious.
-
Dairy-Free Option: Substitute all dairy ingredients with almond milk and coconut cream for a scrumptious dairy-free version. It still delivers on flavor with the same luscious caramel goodness!
-
Caramel Drizzle: Elevate your cake by drizzling a homemade chocolate ganache over the top, in addition to the caramel. The combination is pure bliss!
-
Flavored Extracts: Instead of vanilla extract, try using almond or orange extract for a flavor twist. It brings a new dimension to the beloved caramel cake experience.
With these tempting variations, you can easily adapt the recipe to suit your taste or dietary needs while still enjoying the decadence of a gluten-free caramel cake. Consider pairing it with a scoop of vanilla ice cream or a dollop of whipped cream for that extra touch of indulgence, just like with my delightful Coconut Cream Pancakes!
Expert Tips for Gluten Free Caramel Cake
• Use Quality Flour: Choose a gluten-free flour blend made for baking to ensure the best texture and flavor in your cake.
• Room Temperature Ingredients: Allow butter, eggs, and milk to reach room temperature; this helps them blend smoothly, resulting in a better cake rise.
• Avoid Overmixing: Mix the batter until just combined to prevent a dense cake. Overmixing can lead to gummy textures, which we want to avoid in your gluten free caramel cake.
• Monitor Caramel Temperature: Use a candy thermometer to avoid burning your caramel; cooking it to exactly 234°F ensures a perfect spreadable consistency.
• Cooling Time is Key: Let both the cake layers and caramel cool adequately to prevent the caramel from melting the cake layers when assembling.
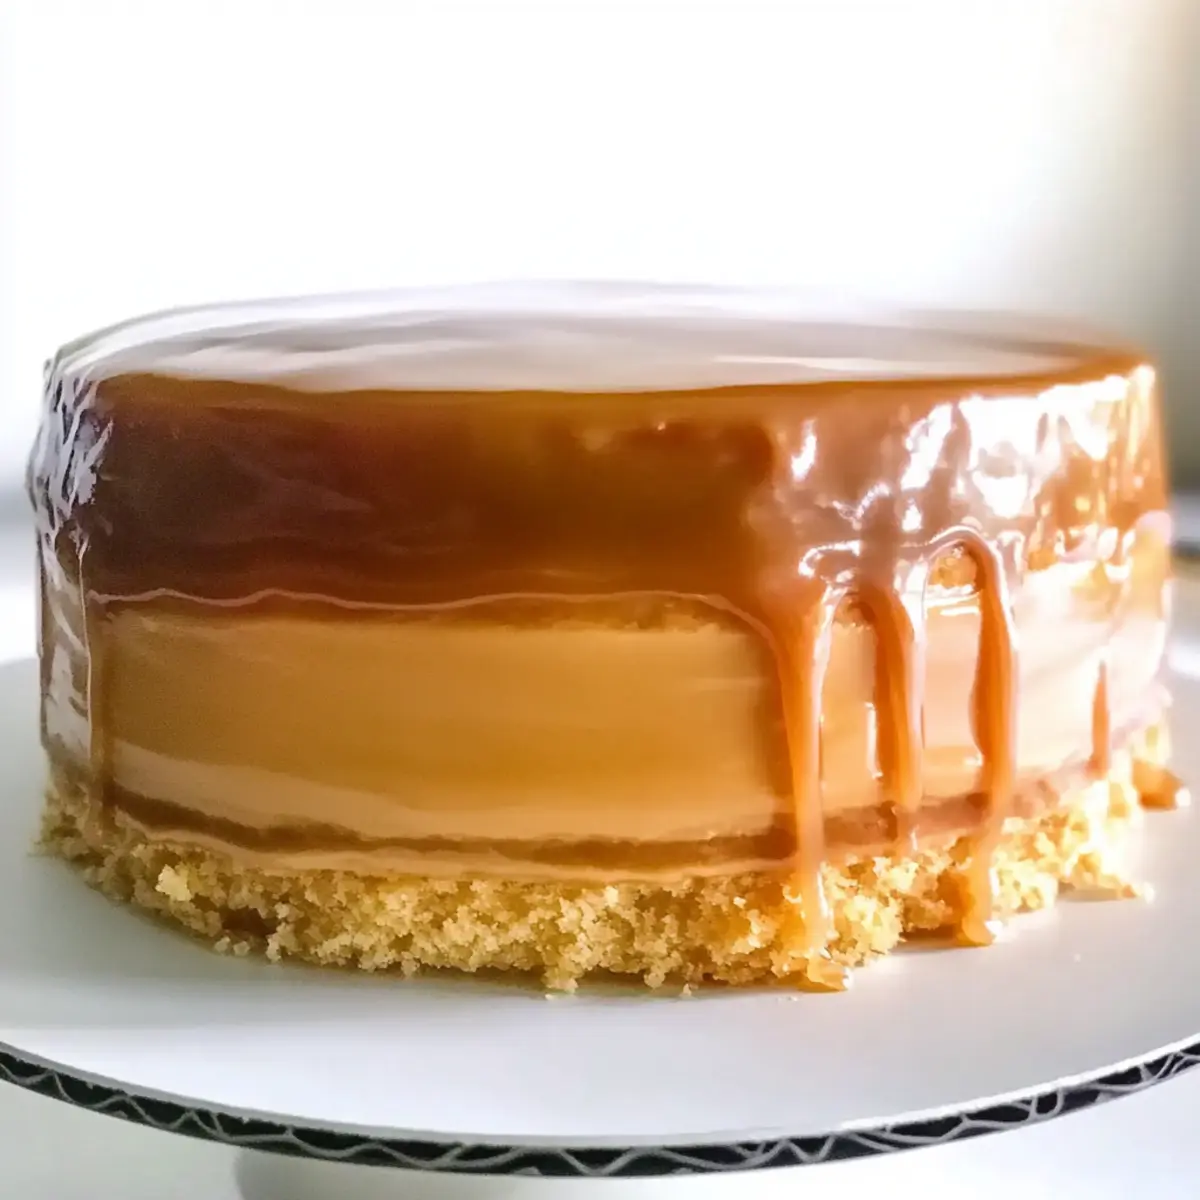
Gluten Free Caramel Cake Recipe FAQs
How do I choose the right gluten-free flour blend?
Absolutely! When selecting a gluten-free flour blend for this Gluten Free Caramel Cake, look for one that includes a mix of starches (like tapioca or cornstarch) and whole grains (like brown rice or sorghum). This combination lends the best texture and structure, mimicking traditional wheat flour. I often recommend using a blend specifically designed for baking, as they contain just the right ratios.
How should I store leftover gluten-free caramel cake?
To keep your delectable cake fresh, store it at room temperature in an airtight container for up to 3 days. If you want to keep it longer, refrigerate it for about 5 days, ensuring it’s well-covered to prevent it from drying out. Just a heads up: refrigeration may slightly alter the cake’s texture, but it will remain delicious!
Can I freeze gluten-free caramel cake?
Yes, you can! If you need to store your gluten-free caramel cake for an extended period, wrap the cooled layers tightly in plastic wrap, followed by aluminum foil. This method will keep your cake fresh in the freezer for up to 3 months. When you’re ready to enjoy it, thaw the layers in the fridge overnight, and they’ll be ready to frost and serve!
What if my caramel sauce doesn’t thicken?
If your caramel doesn’t reach the desired consistency, ensure you monitor the temperature closely with a candy thermometer. The perfect temperature for smooth caramel is 234°F. If your caramel is still too thin after boiling, return it to medium heat and simmer while stirring for a few more minutes. Remember to keep an eye on it—stirring continuously is key to preventing scorching!
Are there any dietary considerations I should be aware of?
Yes, definitely! For those with dairy allergies, simply substitute the heavy cream and butter with coconut cream and dairy-free butter. If you’re looking for a vegan option, consider using flax eggs instead of real eggs and ensure your sugar is unrefined. Always check labels for gluten-free certification on all ingredients to avoid any gluten contamination.
How can I tell when my cake is done baking?
To check if your gluten-free caramel cake is fully baked, insert a toothpick into the center of the cake. If it comes out clean or with a few moist crumbs (not wet batter), your cake is done! Keep an eye on the time as baking can vary based on oven calibration and pan types. Happy baking!
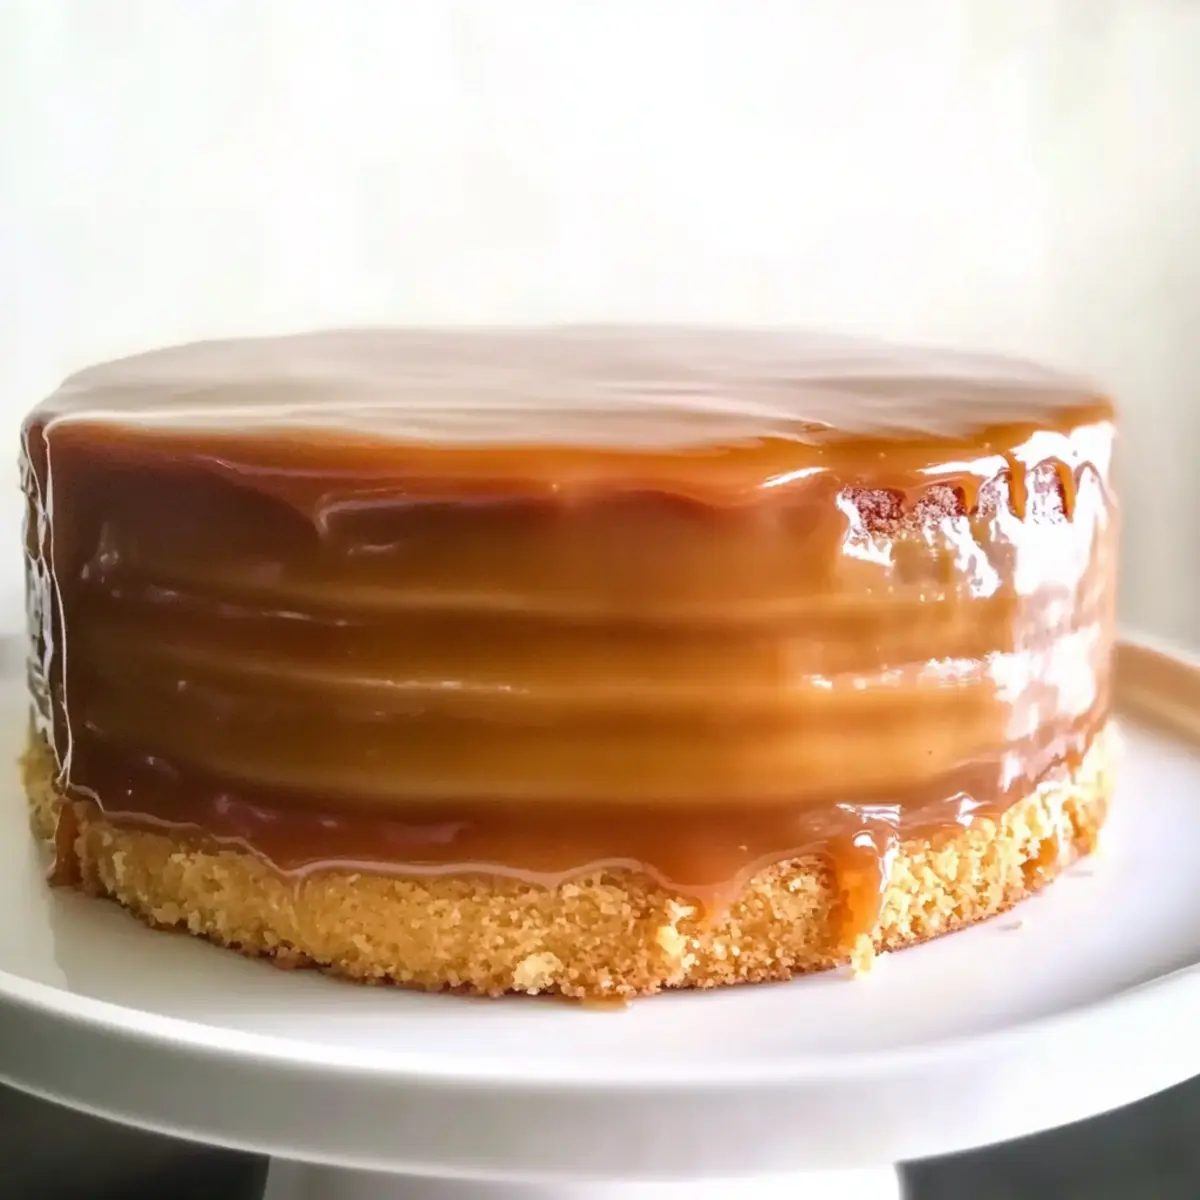
Irresistible Gluten Free Caramel Cake for Sweet Celebrations
Ingredients
Equipment
Method
- Preheat your oven to 350°F (175°C) and prepare three 8-inch round cake pans by greasing them and lining with parchment.
- In a large bowl, whisk together the gluten-free flour blend, cornstarch, baking powder, and kosher salt.
- In a separate cup, mix the milk, heavy cream, and vanilla extract until blended.
- In a stand mixer, cream together softened butter and granulated sugar until light and fluffy, about 3-5 minutes. Add eggs one at a time.
- Gradually add the dry ingredients to the creamed mixture, alternating with the milk mixture.
- Cover the batter and let it rest for 15-20 minutes.
- Divide the batter among the prepared cake pans and bake for 45-50 minutes.
- Cool the cakes in the pans for 10 minutes before transferring to a cooling rack.
- In a saucepan, combine heavy cream, light brown sugar, corn syrup, and flake salt over medium heat until boiling.
- Boil until the mixture reaches 234°F (113°C), stirring constantly.
- Remove from heat and stir in vanilla extract; allow caramel to cool slightly.
- Assemble the cake by layering with caramel between the cake layers and drizzling it over the top.
Leave a Reply