
There’s nothing quite like the warmth of a homemade meal to evoke memories of bustling streets filled with the inviting aroma of sizzling goodness. Japanese Katsu Bowls with Tonkatsu Sauce bring that experience right to your kitchen, delivering crispy, golden chicken over fluffy rice that feels like a warm embrace. This straightforward recipe not only indulges your comfort food cravings but also promises to impress your loved ones with its authentic flavors. The homemade tonkatsu sauce offers a delightful tanginess that elevates each bite, making it a perfect pick for any weeknight dinner or special occasion. Plus, the joy of creating a restaurant-quality dish at home is truly unmatched! Are you ready to dive into this delightful culinary adventure?
What makes Japanese Katsu Bowls special?
Satisfying Crunch: Each bite of crispy, golden chicken delivers a delightful crunch that contrasts beautifully with the fluffy rice beneath it.
Homemade Sauce: The rich tonkatsu sauce is easy to whip up and adds a tangy complexity that ties all the flavors together beautifully.
Heartwarming Dish: This recipe evokes the comforting essence of traditional Japanese cooking, making it perfect for cozy family dinners or entertaining friends.
Quick to Prepare: Ready in under 30 minutes, these katsu bowls are a fantastic way to enjoy authentic flavors without sacrificing time.
Versatile Option: Feel free to customize your bowls with veggies or your favorite protein, whether it’s chicken, pork, or even tofu! You might also enjoy pairing your meal with some classic Fish Tacos Cilantro or serving a side of Pumpkin Spice Frosting for a sweet twist.
Japanese Katsu Bowls Ingredients
For the Katsu
- Chicken Breasts – The main protein providing a hearty base; chicken thighs also work well for added flavor.
- Panko Breadcrumbs – Adds a light, crispy texture essential for a perfect katsu.
- Eggs – Acts as a binding agent for breadcrumbs; an egg substitute can be used for vegan options.
- All-Purpose Flour – Creates a dry coating; gluten-free flour is a suitable alternative if needed.
For the Tonkatsu Sauce
- Soy Sauce – Provides salty umami flavor; consider low-sodium varieties to keep it lighter.
- Mirin or Rice Vinegar – Adds sweetness and acidity; rice vinegar can replace mirin if needed.
- Brown Sugar – Sweetens the sauce, balancing all flavors; white sugar or honey are good substitutes.
For Cooking
- Vegetable Oil – Used for frying the chicken; opt for oils with a high smoke point for best results.
For Serving
- Cooked Rice – The hearty base for your katsu bowl; white or brown rice works beautifully.
- Green Onions and Sesame Seeds – Adds garnish and flavor; you can substitute with chives or omit altogether.
Get ready to bring the delightful essence of Japanese Katsu Bowls with Tonkatsu Sauce to your dinner table!
Step‑by‑Step Instructions for Japanese Katsu Bowls with Tonkatsu Sauce
Step 1: Prepare Chicken
To start your Japanese Katsu Bowls, place the chicken breasts between two sheets of plastic wrap. Using a meat mallet or a rolling pin, pound the chicken to about 1/2 inch thickness. This helps ensure even cooking and tender meat, which will turn out juicy and delicious when fried.
Step 2: Dredge Chicken
Set up a dredging station with three shallow bowls: one with all-purpose flour, the second with beaten eggs, and the third with panko breadcrumbs. Coat each chicken breast by first dipping it into the flour, then the egg mixture, and finally pressing it into the panko to create a thick, crispy coating. This layering is the secret to perfect texture.
Step 3: Heat Oil
In a large skillet, pour enough vegetable oil to cover the bottom to about 1/4 inch deep. Heat the oil over medium-high heat until it reaches 350°F (175°C). To check if the oil is hot enough, you can sprinkle a few panko crumbs into the oil; if they sizzle immediately, it’s ready for frying your katsu.
Step 4: Fry Chicken
Carefully add the coated chicken breasts to the hot oil, ensuring not to overcrowd the pan. Fry each piece for about 3-4 minutes on one side until it’s golden brown and crispy. Flip the chicken and fry for an additional 3-4 minutes until both sides are beautifully browned and the internal temperature registers 165°F (75°C).
Step 5: Make Tonkatsu Sauce
While the chicken is frying, you can whip up the homemade tonkatsu sauce. In a bowl, whisk together soy sauce, mirin (or rice vinegar), and brown sugar with a splash of water until the sugar is dissolved and the ingredients are well combined. This sauce adds a rich, tangy flavor that elevates your katsu bowls immensely.
Step 6: Assemble Bowls
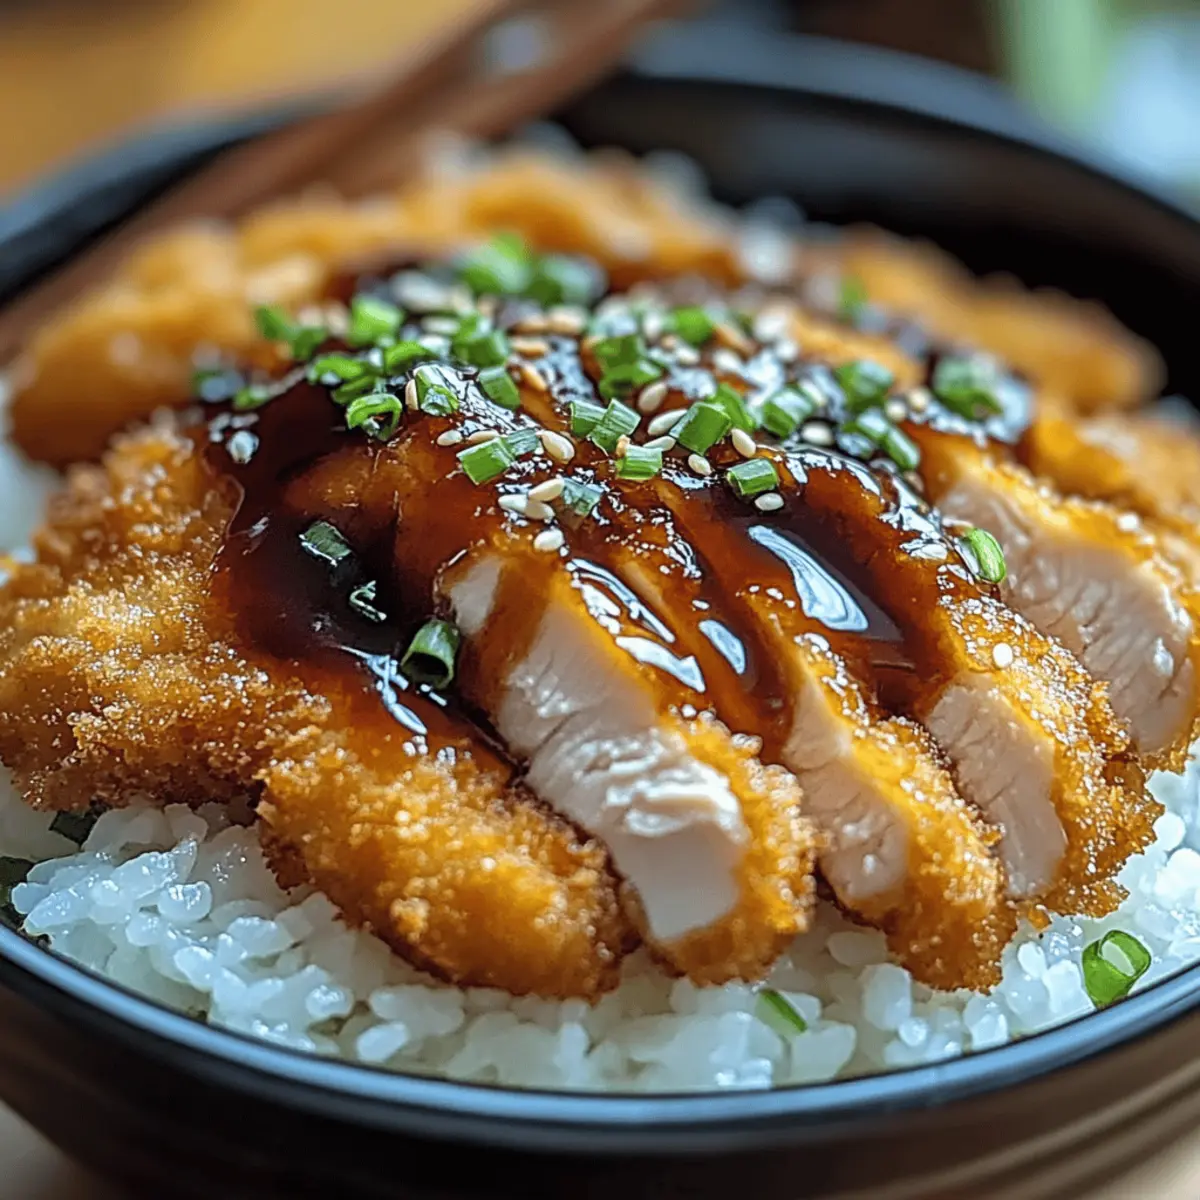
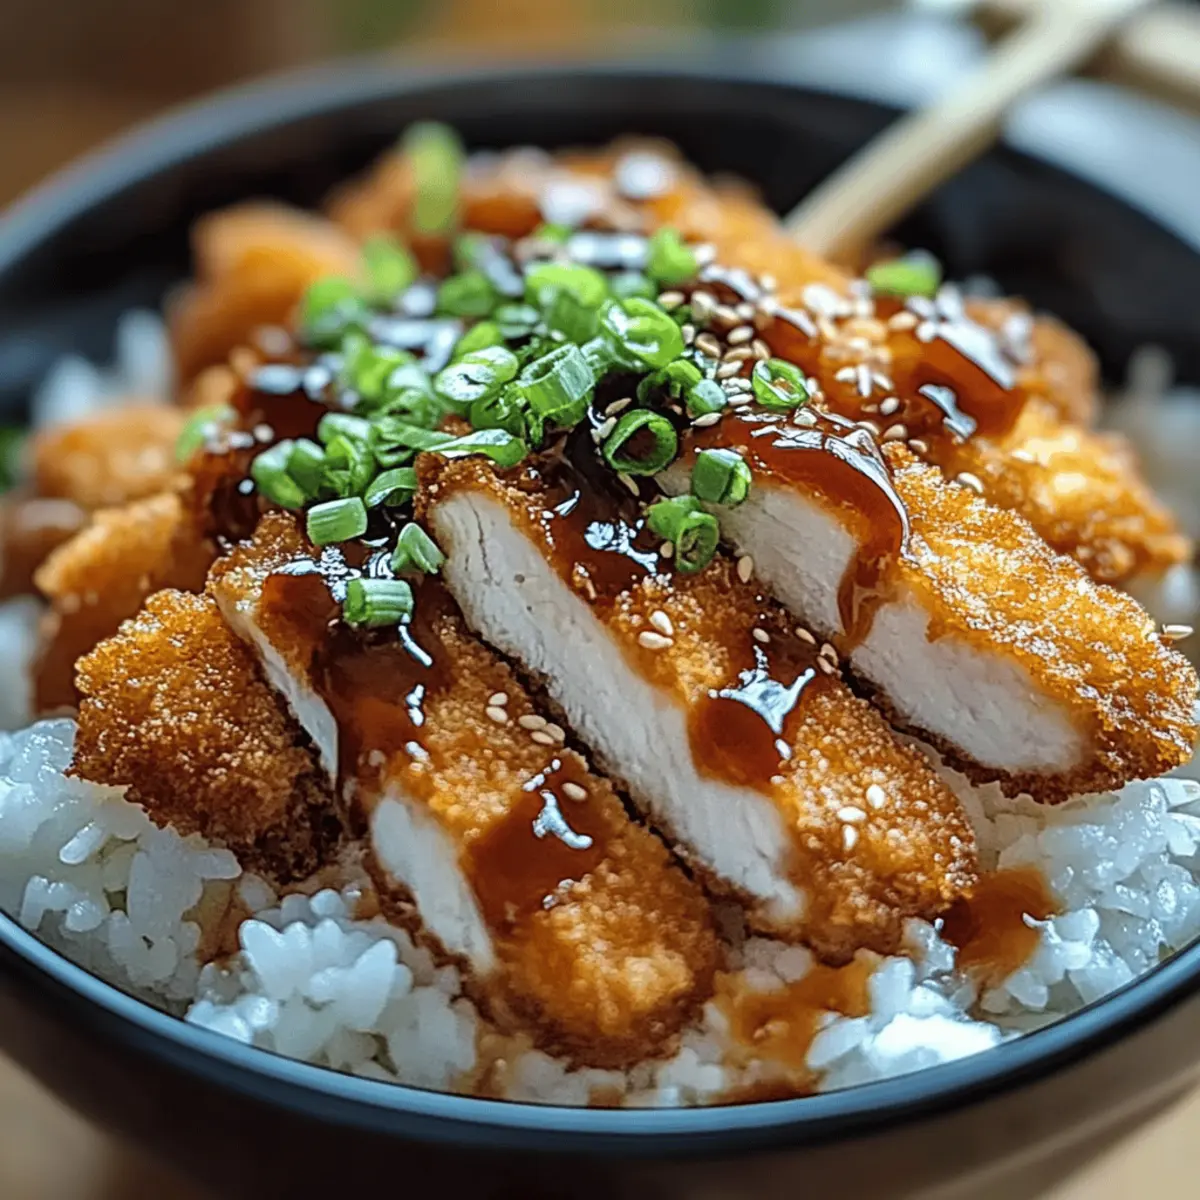
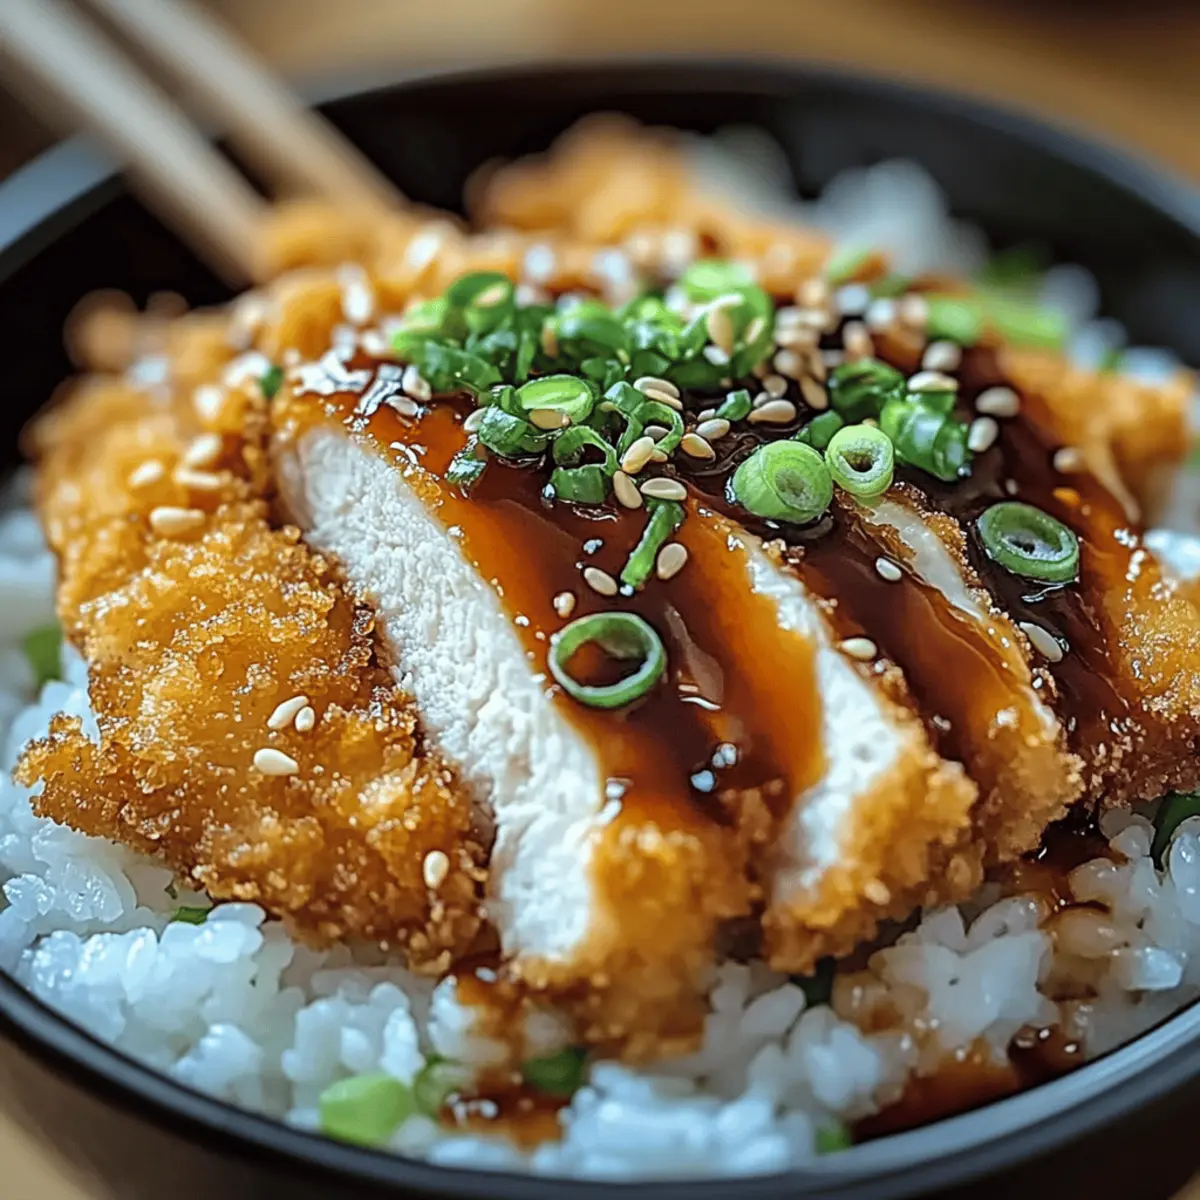
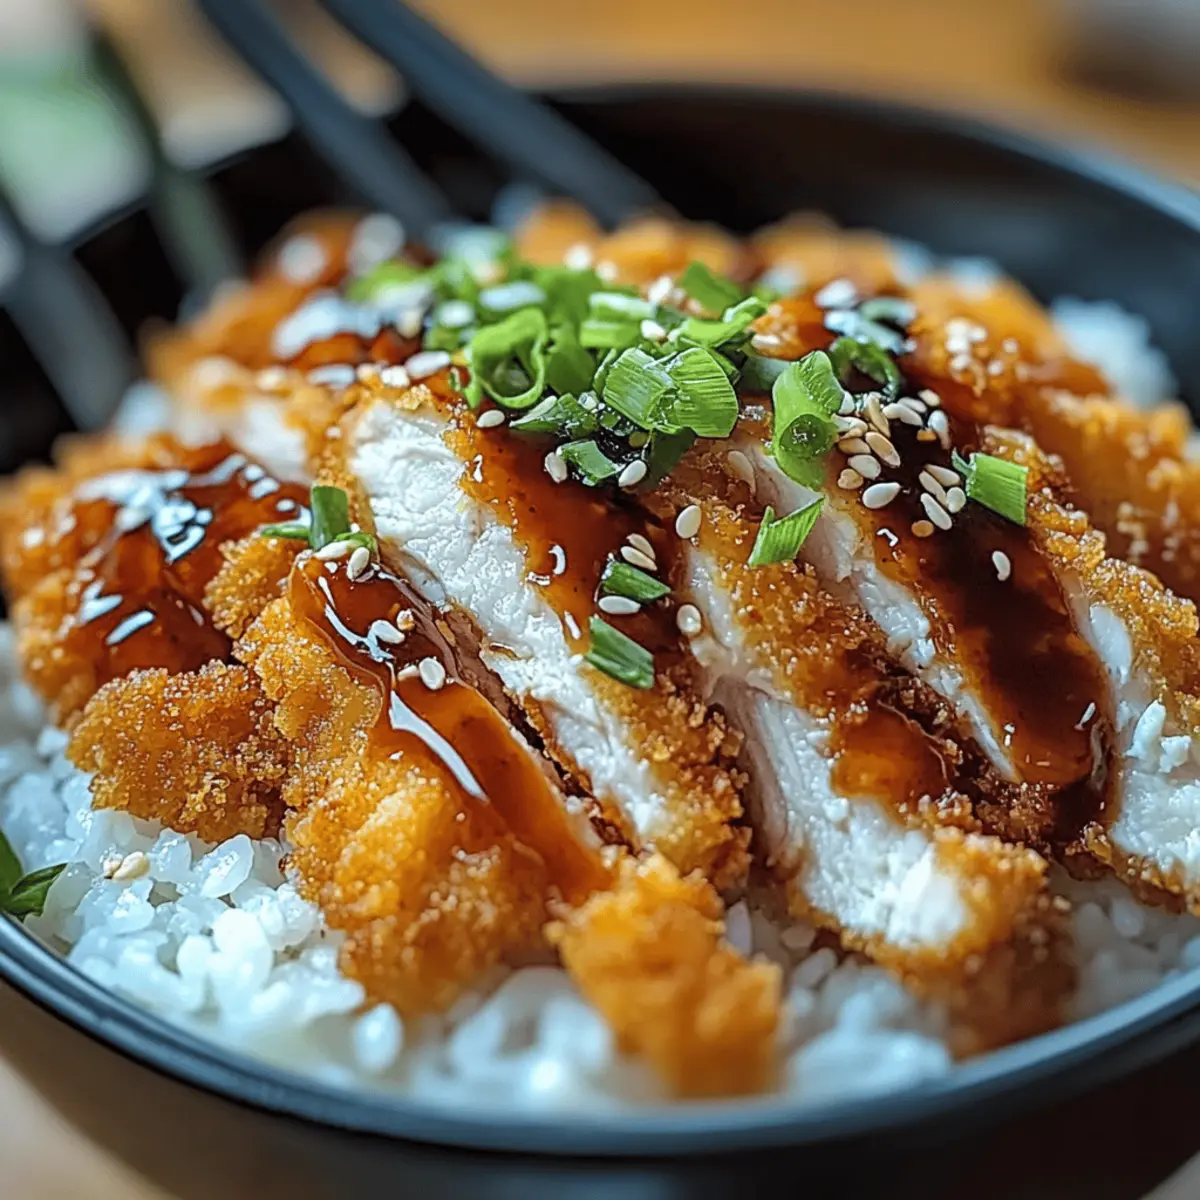
Once the chicken is fried to a crispy perfection, slice it into strips. Serve warm, fluffy cooked rice in bowls and top each with the sliced chicken. Generously drizzle the tonkatsu sauce over the chicken, and finish with a sprinkle of chopped green onions and sesame seeds for an extra touch of flavor and color that complements the dish beautifully.
Expert Tips for Japanese Katsu Bowls
-
Perfectly Pounded Chicken: Ensure your chicken is evenly flattened to about 1/2 inch for consistent cooking. This prevents any dry or undercooked spots.
-
Oil Temperature Check: Use a thermometer to monitor the oil’s temperature. Start frying at 350°F (175°C) for that ideal crispy texture in your katsu.
-
Panko Usage: Opt for Panko breadcrumbs instead of standard ones for a wonderfully crispy finish. They absorb less oil, resulting in a lighter bite.
-
Sauce Balance: Taste your tonkatsu sauce before serving! Adjust with more sugar for sweetness or soy sauce for saltiness to suit your palate.
-
Avoid Overcrowding: Fry chicken in batches if necessary. Overcrowding the pan lowers the oil temperature, leading to soggy chicken instead of crispy Japanese Katsu Bowls.
What to Serve with Japanese Katsu Bowls with Tonkatsu Sauce
Craving the perfect companions for your crispy katsu that will elevate your meal to new heights?
- Miso Soup: This comforting and umami-rich soup enhances the flavors of the katsu. Its warm, savory broth is the ultimate soothing starter.
- Pickled Vegetables: Adding a refreshing crunch and acidity, pickled daikon or cucumbers help balance the richness of the katsu. They bring a delightful contrast that brightens each bite.
- Steamed Broccoli: This vibrant green side offers a nutritional boost while adding a tender texture that pairs perfectly with the crispy chicken. Its mild flavor complements the dish beautifully.
- Asian Slaw: A crunchy mix of cabbage and carrots dressed in sesame dressing provides a sweet, tangy crunch that enlivens the meal. It’s refreshing and adds a fun twist to your katsu bowls.
- Green Tea: A light, soothing beverage like green tea rounds off the meal wonderfully, enhancing the Japanese dining experience with its earthy notes.
- Chocolate Mochi Ice Cream: For dessert, these chewy rice cakes filled with ice cream provide a sweet ending that’s light yet indulgent, capturing the essence of Japanese treats.
Japanese Katsu Bowls Variations & Substitutions
Customize your Japanese Katsu Bowls for an even more delightful experience by exploring these fun variations and substitutions!
-
Protein Swap: Use pork or tofu instead of chicken for a unique twist on the classic katsu. Pork loin can be just as crispy and delicious, while tofu offers a delightful and hearty vegetarian option.
-
Flour Alternatives: Try almond or chickpea flour for a gluten-free coating that brings its own nuanced flavor and texture to the dish. It’s an easy way to cater to gluten-sensitive diners.
-
Veggie Boost: Add sautéed broccoli or colorful bell peppers for extra nutrition and flavor. Toss them in with the rice or serve them as a side for a homey touch.
-
Spicy Kick: Incorporate sriracha or chili oil into your tonkatsu sauce for those who crave a bit of heat. A few drops can elevate the flavor profile and satisfy spice lovers!
-
Unique Sauces: Experiment with hoisin sauce or wasabi mayo as alternative toppings. These condiments add a flavorful twist while keeping that delightful tang.
-
Rice Variations: Swap out white rice for quinoa or cauliflower rice for a lower-carb or higher-protein alternative that complements the dish beautifully without losing its charm.
-
Seasoned Breadcrumbs: Enhance panko with herbs and spices like garlic powder or Italian seasoning for an added flavor burst. It’s a simple yet effective way to put your signature twist on these classic Katsu Bowls.
-
Toppings Upgrade: Instead of sesame seeds, use crispy onions or crushed peanuts for an extra crunch and distinct flavor. You can even mix and match for delightful texture!
Feel free to also serve these bowls alongside a refreshing side like Coconut Shrimp Mayo or finish with a sweet note using a drizzle of Frozen Greek Yogurt if you’re in the mood for a creative dessert pairing!
Storage Tips for Japanese Katsu Bowls
Fridge: Store leftovers in an airtight container for up to 3 days. Keeping the chicken and rice separate will help retain their textures.
Freezer: If you want to freeze the chicken, wrap it well in plastic wrap and aluminum foil for up to 2 months. Reheat from frozen in the oven to keep the coating crispy.
Reheating: Gently reheat in a skillet over medium heat for optimum results, maintaining that delightful crunch of your Japanese Katsu Bowls with Tonkatsu Sauce.
Room Temperature: While it’s best to refrigerate leftovers, you can leave katsu out for up to 2 hours during meals before refrigeration to prevent food safety issues.
Make Ahead Options
These Japanese Katsu Bowls with Tonkatsu Sauce are perfect for meal prep enthusiasts! You can prepare the chicken by coating it with flour, egg, and panko breadcrumbs up to 24 hours in advance. Store the breaded chicken in the refrigerator to keep it fresh and ensure the coating stays crispy when cooked. Additionally, the tonkatsu sauce can be made up to 3 days ahead; just whisk together the ingredients and refrigerate. When it’s time to serve, simply heat oil and fry the chicken until golden brown. This way, you’ll enjoy restaurant-quality results with minimal effort, making weekday dinners a joy.
Japanese Katsu Bowls with Tonkatsu Sauce Recipe FAQs
How do I choose the right chicken for my katsu?
Absolutely! For a juicy base, I recommend using chicken breasts that are plump and firm. If you’re after more flavor, chicken thighs are a fantastic alternative. When selecting, look for chicken with a fresh pink color; avoid those with dark spots or a slimy texture.
How should I store leftovers from my Japanese Katsu Bowls?
You’ll want to store any leftovers in an airtight container in the fridge, where they can last for up to 3 days. To keep the chicken crispy, it’s best to separate it from the rice before storing—this way, each component retains its texture when reheated.
Can I freeze the katsu after cooking?
Yes! To freeze your cooked katsu, wrap it tightly in plastic wrap and then in aluminum foil to prevent freezer burn. It can be stored for up to 3 months. When ready to enjoy, reheat it from frozen in the oven at 400°F (200°C) for about 15-20 minutes, ensuring you still have that delightful crunch.
What can I do if my coating isn’t crispy?
Very often, the secret lies in the oil temperature. Make sure your oil is at 350°F (175°C) before adding the chicken; too low, and the coating will absorb oil, leading to a soggy mess. Additionally, ensure you’re using panko breadcrumbs, which provide that signature crunch. If your chicken is overcrowding the pan, fry in batches to keep that temperature steady.
Is this recipe suitable for those with allergies?
For sure! You can easily adapt this recipe for dietary needs. If gluten is a concern, substitute all-purpose flour for gluten-free flour, and use gluten-free panko. For vegan options, opt for chicken substitutes like tofu or tempeh, and replace eggs with a suitable egg substitute. Just ensure that your soy sauce is also gluten-free if needed.
How long does the homemade tonkatsu sauce last?
The tonkatsu sauce can last in a sealed jar in the refrigerator for up to 2 weeks. It actually gets better as the flavors meld! Just give it a good stir before using it again.
Irresistible Japanese Katsu Bowls with Homemade Tonkatsu Sauce
Ingredients
Equipment
Method
- Prepare Chicken: Pound chicken breasts to about 1/2 inch thickness.
- Dredge Chicken: Set up shallow bowls with flour, beaten eggs, and panko. Coat chicken sequentially.
- Heat Oil: Pour vegetable oil in skillet and heat to 350°F (175°C).
- Fry Chicken: Fry the coated chicken for 3-4 minutes on each side until golden brown and internal temp reaches 165°F (75°C).
- Make Tonkatsu Sauce: Whisk together soy sauce, mirin (or rice vinegar), and brown sugar until smooth.
- Assemble Bowls: Slice fried chicken and serve on rice, drizzle with tonkatsu sauce, and garnish with green onions and sesame seeds.
Leave a Reply