
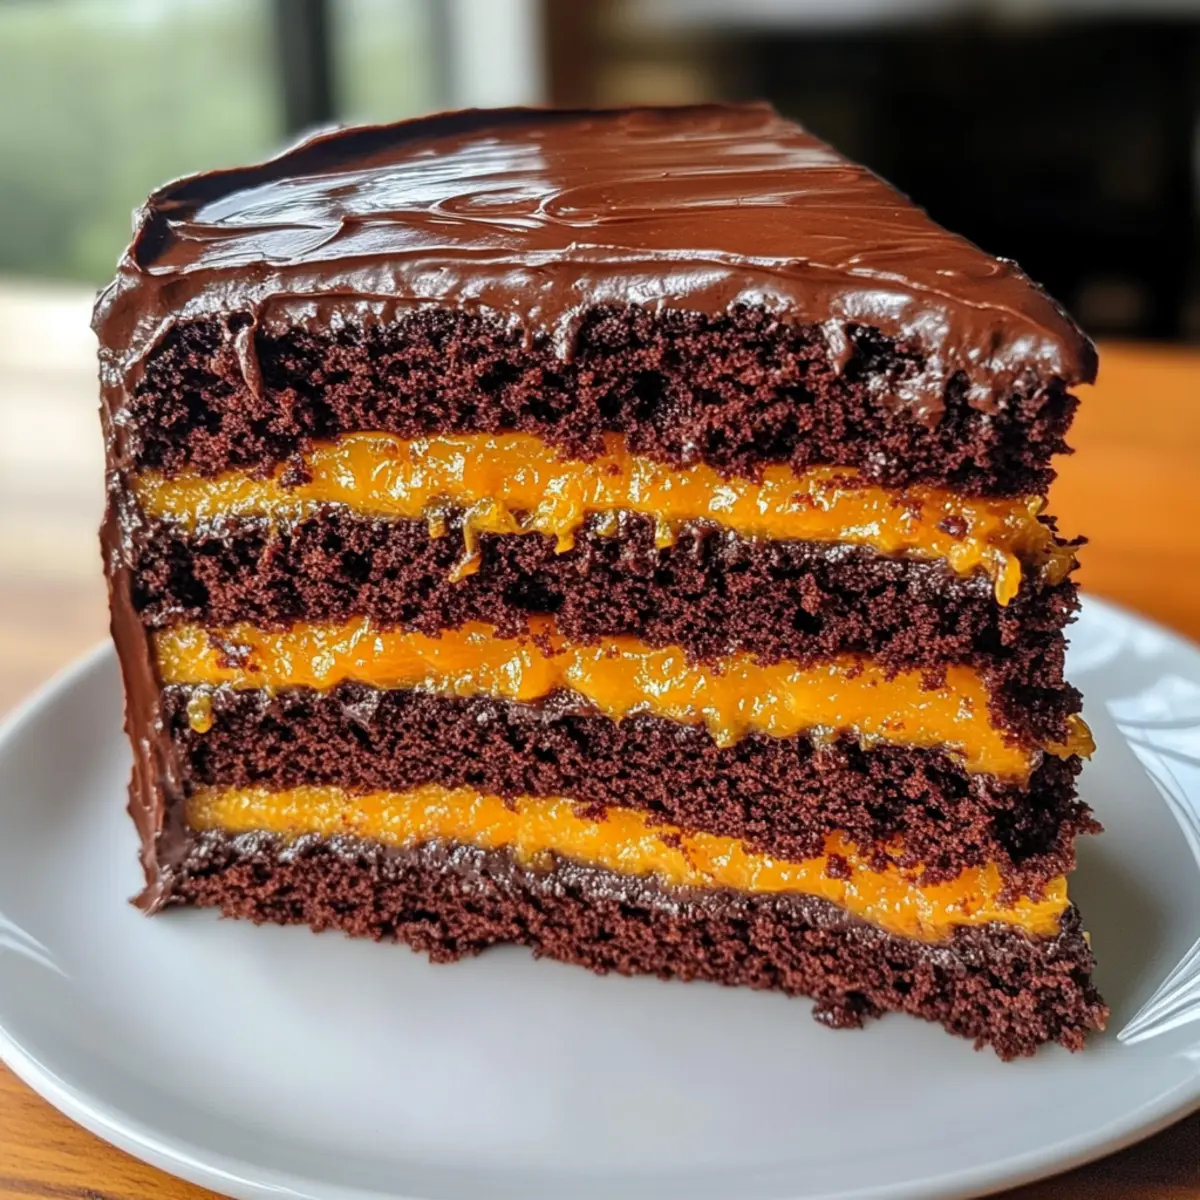
A delightful aroma filled my kitchen, weaving together rich chocolate and zesty orange, reminding me of the joyful moments spent around the table with loved ones. That’s the magic of my Chocolate Orange Layer Cake with Ganache! This dessert not only boasts a stunning visual appeal but also delivers a satisfying richness that will leave you and your guests craving more. What I love most about this recipe is how effortlessly it transforms an ordinary occasion into a memorable celebration, all while being surprisingly simple to whip up. Plus, it’s vegetarian-friendly and makes for a perfect centerpiece at birthdays or spontaneous gatherings. Curious to create this showstopper? Let’s dive into the decadence of baking together!
Why is this cake a must-try?
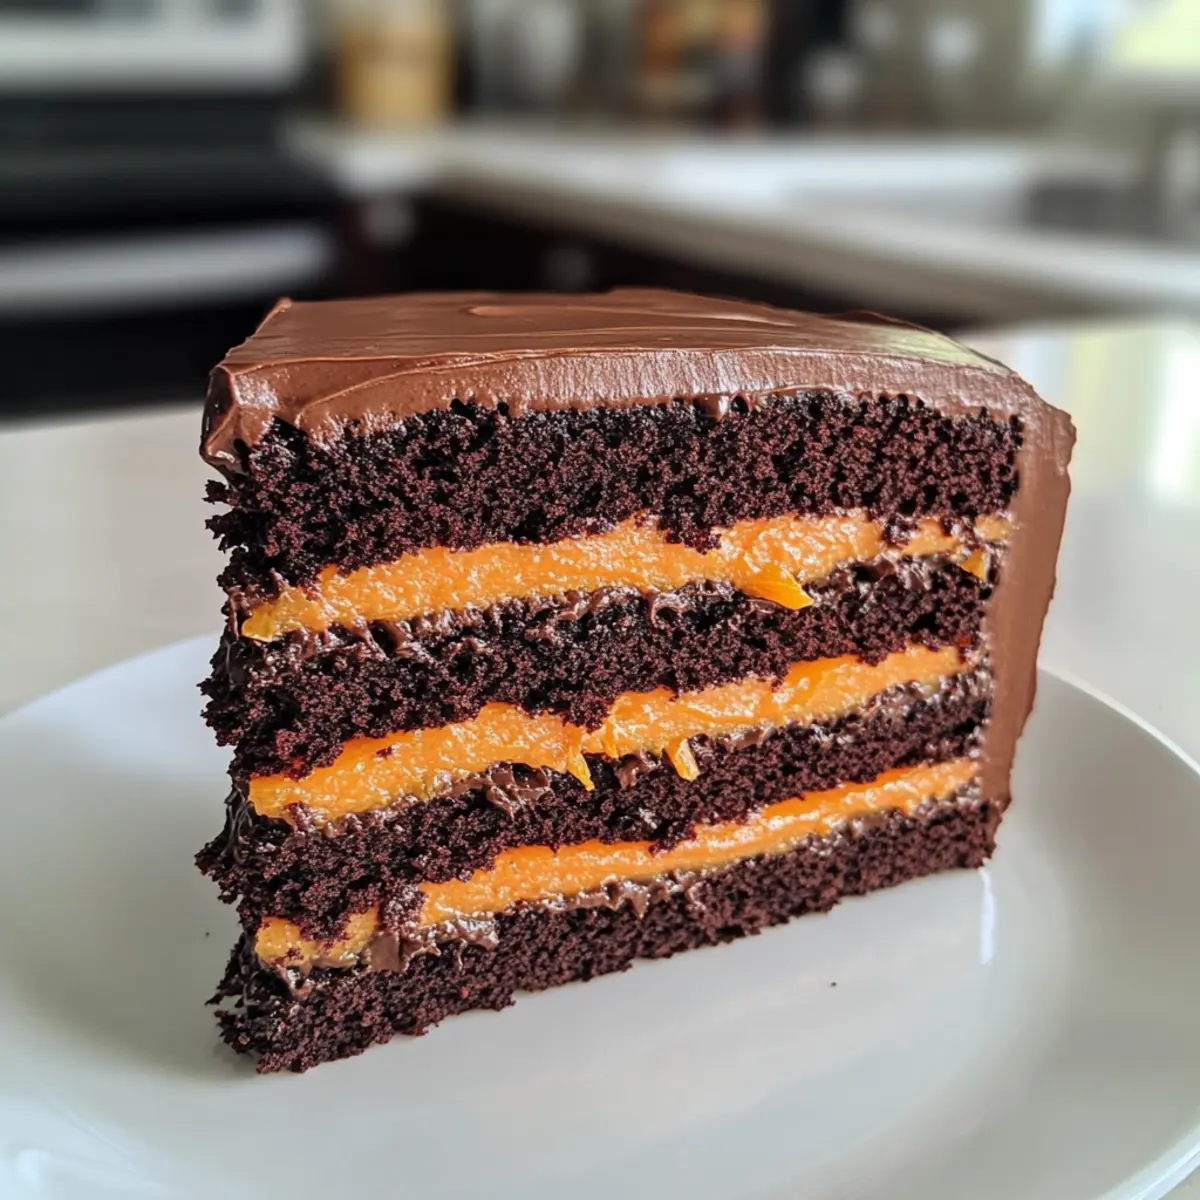
Indulgent Flavors: The combination of rich chocolate and vibrant orange creates a decadent layer cake that tantalizes your taste buds.
Simple Preparation: With easy-to-follow steps, you can whip this up in no time, leaving you more moments to enjoy with loved ones.
Impressive Presentation: The glossy ganache and vibrant orange filling will impress guests, making it the perfect centerpiece for any gathering.
Versatile Choices: Feel free to swap ingredients like almond milk or egg replacer for dietary preferences, ensuring everyone can enjoy a slice.
Crowd-Pleasing Delight: This cake is designed to share! Its delightful flavors and textures keep your friends and family coming back for more, much like the irresistible Oreo Cheesecake Cookie Cups you might also love!
Chocolate Orange Layer Cake Ingredients
For the Cake
- All-Purpose Flour – Provides the essential structure; no substitutions for integrity.
- Unsweetened Cocoa Powder – Delivers that deep chocolate flavor; use Dutch-process cocoa for a milder taste.
- Granulated Sugar – Sweetens the cake; brown sugar can add a richer flavor.
- Baking Powder – This leavening agent ensures your cake rises properly, so always check it’s fresh!
- Baking Soda – Aids in browning while contributing to the cake’s rise.
- Salt – Balances sweetness and enhances the overall flavor profile.
- Large Eggs – Binds ingredients for the desired texture; use egg replacer for a vegan version.
- Whole Milk – Adds moisture to your cake; swap with almond milk for a dairy-free option.
- Vegetable Oil – Ensures tenderness; can be replaced with melted coconut oil.
- Vanilla Extract – Elevates flavor depth; it’s optional but highly recommended!
- Hot Coffee – Intensifies chocolate flavor dramatically; feel free to substitute with hot water if necessary.
For the Orange Filling
- Granulated Sugar (for Filling) – Sweetens the refreshing orange cream filling.
- Cornstarch – Thickens the orange filling; no substitutes for optimal texture!
- Egg Yolks (for Filling) – Adds richness; for a vegan option, consider using thick cashew cream.
- Freshly Squeezed Orange Juice – Imparts a tangy zest; substitute with lemon juice if needed.
- Butter (for Filling) – Adds a rich creaminess; vegan butter works well as a substitute.
For the Ganache
- Heavy Cream – A key ingredient for ganache richness; can substitute with coconut cream for a dairy-free version.
- Chopped Dark Chocolate – The star of the ganache, providing that indulgent chocolate flavor; semi-sweet options yield a milder taste.
Transform your gatherings with this delightful Chocolate Orange Layer Cake masterpiece that combines elegance and flavor!
Step‑by‑Step Instructions for Chocolate Orange Layer Cake
Step 1: Preheat Oven
Begin by preheating your oven to 350°F (175°C). While the oven heats up, take three 8-inch round cake pans, generously grease them with butter or cooking spray, and line the bottoms with parchment paper for easy cake removal later. This will ensure your Chocolate Orange Layer Cake layers come out perfectly!
Step 2: Mix Dry Ingredients
In a large mixing bowl, sift together 2 cups of all-purpose flour, 3/4 cup of unsweetened cocoa powder, 2 cups of granulated sugar, 1 1/2 teaspoons of baking powder, 1 1/2 teaspoons of baking soda, and a teaspoon of salt. Use a whisk to combine these dry ingredients thoroughly, ensuring there are no clumps. This blend will serve as a solid foundation for your delicious cake.
Step 3: Combine Wet Ingredients
Create a well in the center of the dry ingredients and add 3 large eggs, 1 cup of whole milk, 1/2 cup of vegetable oil, and 2 teaspoons of vanilla extract. Beat these wet ingredients together using an electric mixer on medium speed for about 2 minutes until the mixture is smooth and creamy. The batter will be thick, but that’s just what you want for your Chocolate Orange Layer Cake!
Step 4: Add Coffee
Next, carefully stir in 1 cup of hot coffee, blending until fully combined. The hot coffee enhances the rich chocolate flavor, making your batter thin but perfectly cohesive. Take a moment to enjoy the aroma, as your Chocolate Orange Layer Cake comes together beautifully.
Step 5: Bake
Pour the batter evenly into the prepared cake pans, smoothing the tops with a spatula. Place them in the preheated oven and bake for 25-30 minutes. To test for doneness, insert a toothpick into the center of the cakes; it should come out clean. Once done, remove the cakes and let them cool in the pans for about 10 minutes.
Step 6: Cool
After a brief cooling period in the pans, carefully transfer the cakes to a wire rack to cool completely. Allow at least 30 minutes for the layers to cool down to room temperature. This step is crucial for your Chocolate Orange Layer Cake, as frosting a warm cake can cause the ganache to melt and slide!
Step 7: Prepare Orange Filling
In a medium saucepan, whisk together 1/2 cup of granulated sugar, 2 tablespoons of cornstarch, and 3 large egg yolks. Gradually add in 1 cup of freshly squeezed orange juice over medium heat, stirring continuously until the mixture thickens—about 5-7 minutes. Once thick, stir in 2 tablespoons of butter and some fresh orange zest for added flavor.
Step 8: Make Ganache
For the ganache, heat 1 cup of heavy cream in a small saucepan until it’s steaming, but not boiling. Pour this hot cream over 8 ounces of chopped dark chocolate in a bowl, letting it sit for a few minutes. Stir until the chocolate is fully melted and the ganache is smooth and glossy, a perfect topping for your Chocolate Orange Layer Cake.
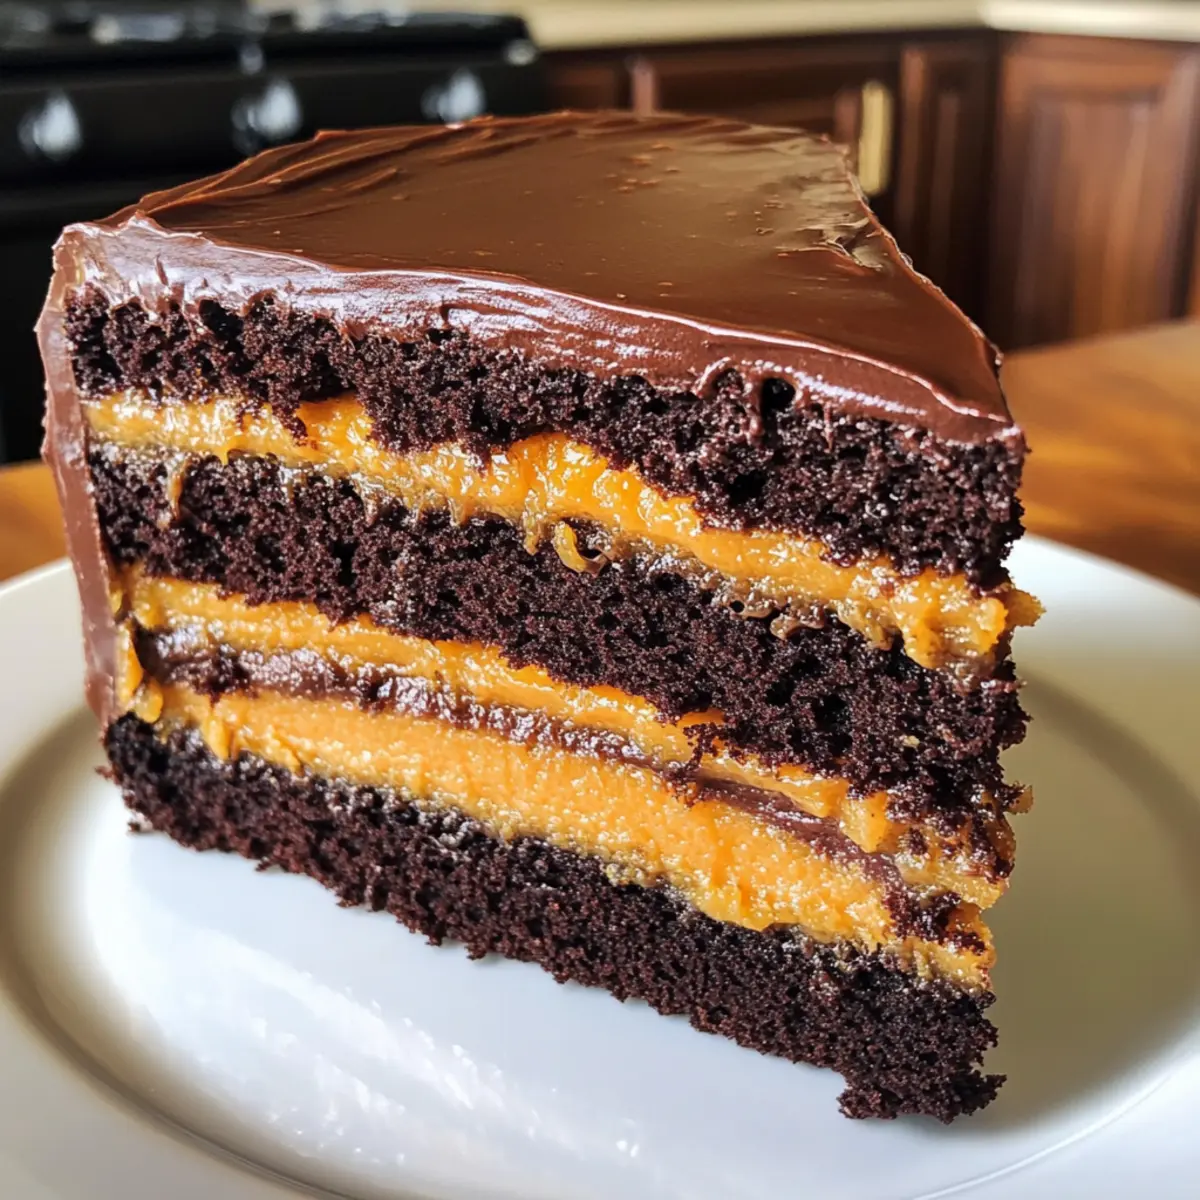
Step 9: Assemble Cake
Once your layers are completely cool, layer the first cake round on a serving plate. Spread a generous amount of the orange filling on top, followed by the second cake layer. Repeat with more filling and place the top layer on. Pour the ganache evenly over the assembled cake, letting it drape over the edges for a dramatic effect.
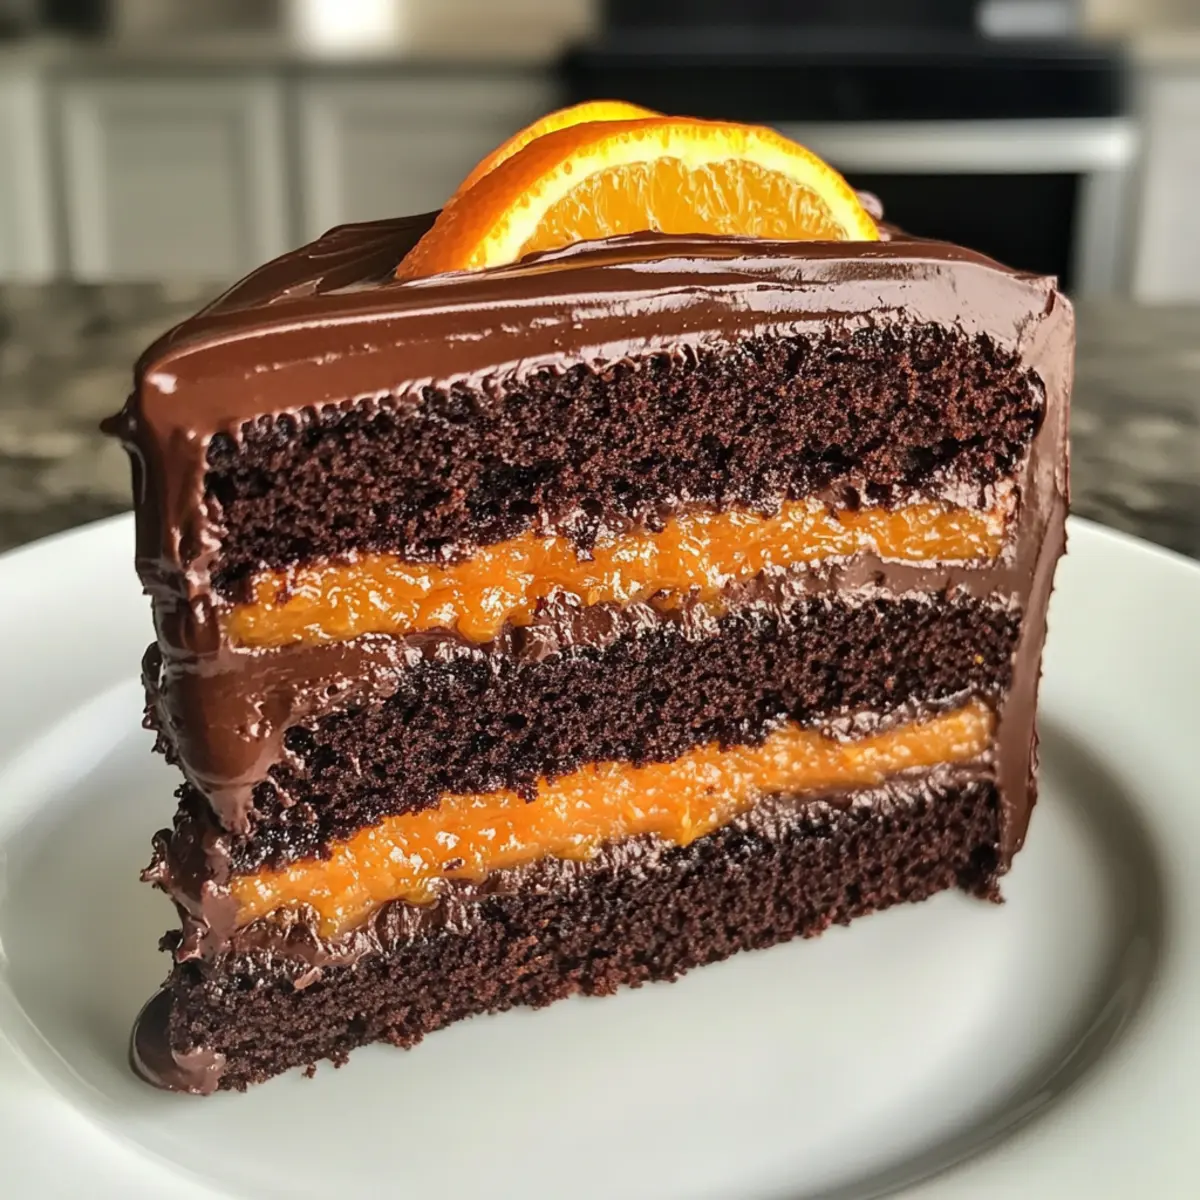
Step 10: Garnish
To finish off your beautiful Chocolate Orange Layer Cake, garnish with fresh orange slices or candied orange peel. This adds a lovely touch of color and zest. Let this stunning cake sit for a few minutes before serving, allowing the ganache to set slightly for the best presentation.
Storage Tips for Chocolate Orange Layer Cake
-
Room Temperature: Keep the cake at room temperature for up to 1 day, covered loosely with foil or a cake dome to maintain freshness.
-
Fridge: Store leftover slices in an airtight container in the refrigerator for up to 3-4 days. This will help preserve the rich flavors of your Chocolate Orange Layer Cake.
-
Freezer: Wrap unassembled layers tightly in plastic wrap and then in aluminum foil to freeze for up to three months. Thaw in the fridge before assembling and frosted.
-
Reheating: If you prefer warm cake, microwave individual slices for about 10-15 seconds. Pair with a scoop of ice cream for an extra indulgent treat!
Make Ahead Options
Preparing the Chocolate Orange Layer Cake ahead of time is a fantastic way to save time and delight your guests effortlessly! You can bake the cake layers up to 24 hours in advance; just ensure they cool completely before wrapping them in plastic wrap to keep them moist. The orange filling can also be made up to 3 days ahead and stored in the refrigerator, simply reheat it gently before spreading it between layers. For the ganache, prepare it the day of serving as it tastes best fresh; however, you can keep it at room temperature for a few hours after making. When you’re ready to assemble, layer the cakes, add the filling, and pour the ganache over the top for a beautiful and delicious finished dessert!
Expert Tips for Chocolate Orange Layer Cake
-
Measure Accurately: Ensure you measure your ingredients correctly, especially flour and cocoa powder, to avoid a dry cake. Use a kitchen scale for precision if possible.
-
Cooling Layers: Always let your cake layers cool completely before frosting; this prevents the ganache from melting and slipping off the cake.
-
Fresh Ingredients: Check that your baking powder and baking soda are fresh. Stale leavening agents can lead to a dense Chocolate Orange Layer Cake that doesn’t rise properly.
-
Alternative Mildness: If you’re sensitive to strong flavors, consider using semi-sweet chocolate for the ganache instead of dark chocolate for a gentler taste.
-
Continuous Stirring: When cooking the orange filling, stir continuously to ensure it thickens evenly and prevent lumps from forming in your filling.
Chocolate Orange Layer Cake Variations
Feel free to customize your Chocolate Orange Layer Cake to suit your taste and dietary preferences; let your creativity shine!
-
Lemon Twist: Replace orange juice with freshly squeezed lemon juice for a refreshingly tangy flavor. This bright twist will awaken your palate and bring new life to your cake!
-
Nutty Addition: Fold in chopped nuts like walnuts or hazelnuts into the batter for added crunch and richness. The delightful nutty flavor pairs beautifully with chocolate, creating an unforgettable texture.
-
Dairy-Free Delight: Swap the whole milk for almond milk and the butter for vegan butter to create a completely dairy-free cake. Your friends with dietary restrictions will love this scrumptious version!
-
Different Citrus: Try using grapefruit or blood orange juice instead of the orange juice for an exciting taste adventure. Grapefruit lends a unique bitterness, while blood orange provides a beautiful color!
-
Chocolate Chip Surprise: Add chocolate chips to the batter for pockets of gooey chocolate bliss. This twist will satisfy any chocolate lover’s cravings, making every bite a heavenly indulgence.
-
Gluten-Free Option: Substitute all-purpose flour with a gluten-free blend for those needing gluten-free alternatives. Just be sure to check that other ingredients like baking powder are also gluten-free.
-
Pumpkin Spice Enhancement: Incorporate pumpkin puree and seasonal spices like cinnamon and nutmeg into the batter for a fall-inspired cake. Enjoy a delightful variation that adds warmth and coziness!
-
Spicy Kick: If you enjoy a bit of heat, consider adding a pinch of cayenne pepper or some chili powder to the ganache. This unexpected kick will surprise and intrigue your taste buds while beautifully complementing the chocolate!
Look for more delicious ideas like this and similar treats at Frozen Greek Yogurt Peanut Butter Bites or treat yourself to a cozy Spice Gooey Cake. Each variation opens up a world of flavor possibilities—happy baking!
What to Serve with Chocolate Orange Layer Cake
For a memorable dining experience, enhance your Chocolate Orange Layer Cake with delightful pairings that elevate your dessert to new heights.
-
Vanilla Ice Cream: The creamy, cool contrast perfectly balances the rich chocolate and zesty orange, creating a luscious dessert experience. A scoop on the side adds an inviting touch, inviting each guest to savor the harmony of flavors.
-
Whipped Cream: Light and airy, a dollop of whipped cream adds a lovely texture that complements the cake’s rich layers. Consider infusing it with a hint of orange zest to echo the cake’s vibrant flavors.
-
Fresh Orange Segments: Bright, juicy orange segments introduce a refreshing burst of flavor that cuts through the cake’s richness, providing both a visual and taste contrast that’s irresistible.
-
Espresso or Coffee: A robust cup of espresso or brewed coffee amplifies the chocolate notes, enhancing the indulgent experience while adding warmth to your dessert table.
-
Chocolate-Covered Almonds: These add a delightful crunchy texture, and the nutty flavor plays beautifully with the cake’s chocolate elements. A small bowl of these sweet treats can serve as an appealing garnish.
-
Candied Orange Peel: Use it as a garnish on top of your cake, bringing an exquisite taste and making every bite a luxurious experience. It captures the essence of your cake, wrapping each slice in a fragrant surprise.
-
Chocolate Mousse: A rich, creamy mousse adds another layer of indulgence that chocolate lovers will adore. It can be served in small cups alongside the cake for a sophisticated touch.
With these delightful pairings, your Chocolate Orange Layer Cake will shine even brighter, creating a feast both for the eyes and the palate!
Chocolate Orange Layer Cake Recipe FAQs
How do I select the best oranges for the filling?
Absolutely! Look for oranges that feel heavy for their size and have a slightly firm skin. Avoid any oranges with dark spots or mushiness, as this indicates overripeness. Freshly squeezed juice from perfectly ripened oranges will impart a vibrant and zesty flavor that elevates your filling.
What is the best way to store leftover Chocolate Orange Layer Cake?
Very! Store leftover slices in an airtight container in the refrigerator for up to 3-4 days. To maintain freshness, keep it covered loosely with foil. If you want to keep it longer, wrap unassembled layers tightly in plastic wrap and then in aluminum foil to freeze for up to three months. Just remember to thaw it in the fridge before assembling for best results!
Can I freeze the Chocolate Orange Layer Cake?
Certainly! First, allow your cake to cool completely, then wrap each layer tightly in plastic wrap followed by aluminum foil. This double layer of protection will prevent freezer burn. When you’re ready to enjoy, simply thaw in the refrigerator overnight, and assemble with the filling and ganache before serving.
Why did my cake sink in the middle?
It’s a bit of a letdown, isn’t it? A sinking cake could be a sign of underbaking or using too much liquid in the batter. Make sure to measure accurately and always check for doneness a few minutes earlier than the recipe suggests. If the toothpick comes out with wet batter, it’s not ready yet. Always give your cake enough time to bake!
Is this Chocolate Orange Layer Cake suitable for people with dietary restrictions?
Very! This cake can easily accommodate various dietary preferences. For a vegan version, use an egg replacer, almond milk, and vegan butter. Also, make sure to use dairy-free cream for the ganache. Always check ingredient labels for allergens like nuts or gluten if guests have specific allergies, ensuring everyone can indulge in this delightful treat.
Chocolate Orange Layer Cake: A Zesty Delight to Savor
Ingredients
Equipment
Method
- Preheat your oven to 350°F (175°C). Grease three 8-inch round cake pans and line them with parchment paper.
- In a large mixing bowl, sift together the flour, cocoa powder, sugar, baking powder, baking soda, and salt. Whisk to combine thoroughly.
- Create a well in the center and add the eggs, milk, oil, and vanilla. Beat on medium speed until smooth and creamy.
- Stir in the hot coffee until fully combined. Enjoy the aroma as your batter comes together.
- Pour the batter evenly into the prepared pans and bake for 25-30 minutes, or until a toothpick comes out clean.
- Cool the cakes in the pans for 10 minutes, then transfer to a wire rack to cool completely.
- For the filling, whisk together the sugar, cornstarch, and egg yolks. Gradually add the orange juice and cook over medium heat until thickened.
- For the ganache, heat the cream until steaming, then pour over the chocolate. Stir until smooth.
- Assemble the cake by layering the first cake with orange filling, followed by the second layer. Repeat with filling and pour ganache over the top.
- Garnish with fresh orange slices or candied orange peel before serving.
Leave a Reply