
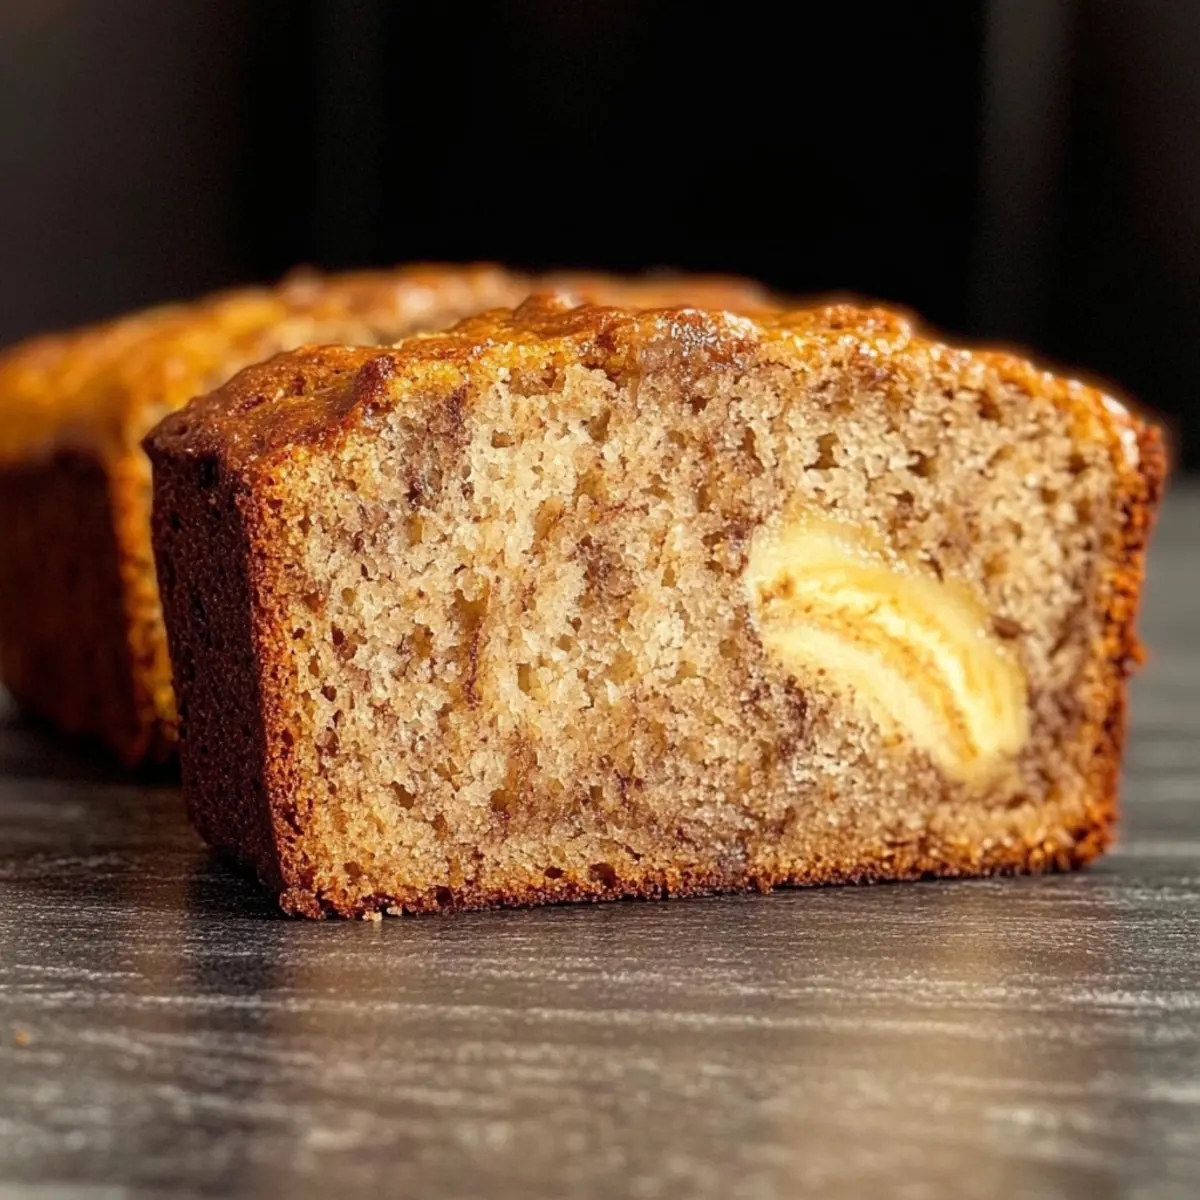
As I stood in my kitchen, the sweet aroma of overripe bananas began to dance through the air, bringing back memories of my grandmother’s kitchen and her legendary Perfect Banana Bread. This recipe is not only a nostalgic trip down memory lane but also an easy one-bowl method that requires no mixer, making it an absolute delight for busy cooks. The result? A moist banana bread with a tender crumb and a lovely mahogany crust that’s sure to charm anyone who tastes it. Plus, you’ll be amazed at how quickly this recipe comes together, proving that homemade comfort food doesn’t have to be complicated. Are you ready to impress your friends and family with your new baking prowess? Let’s dive in!
Why is this banana bread a must-try?
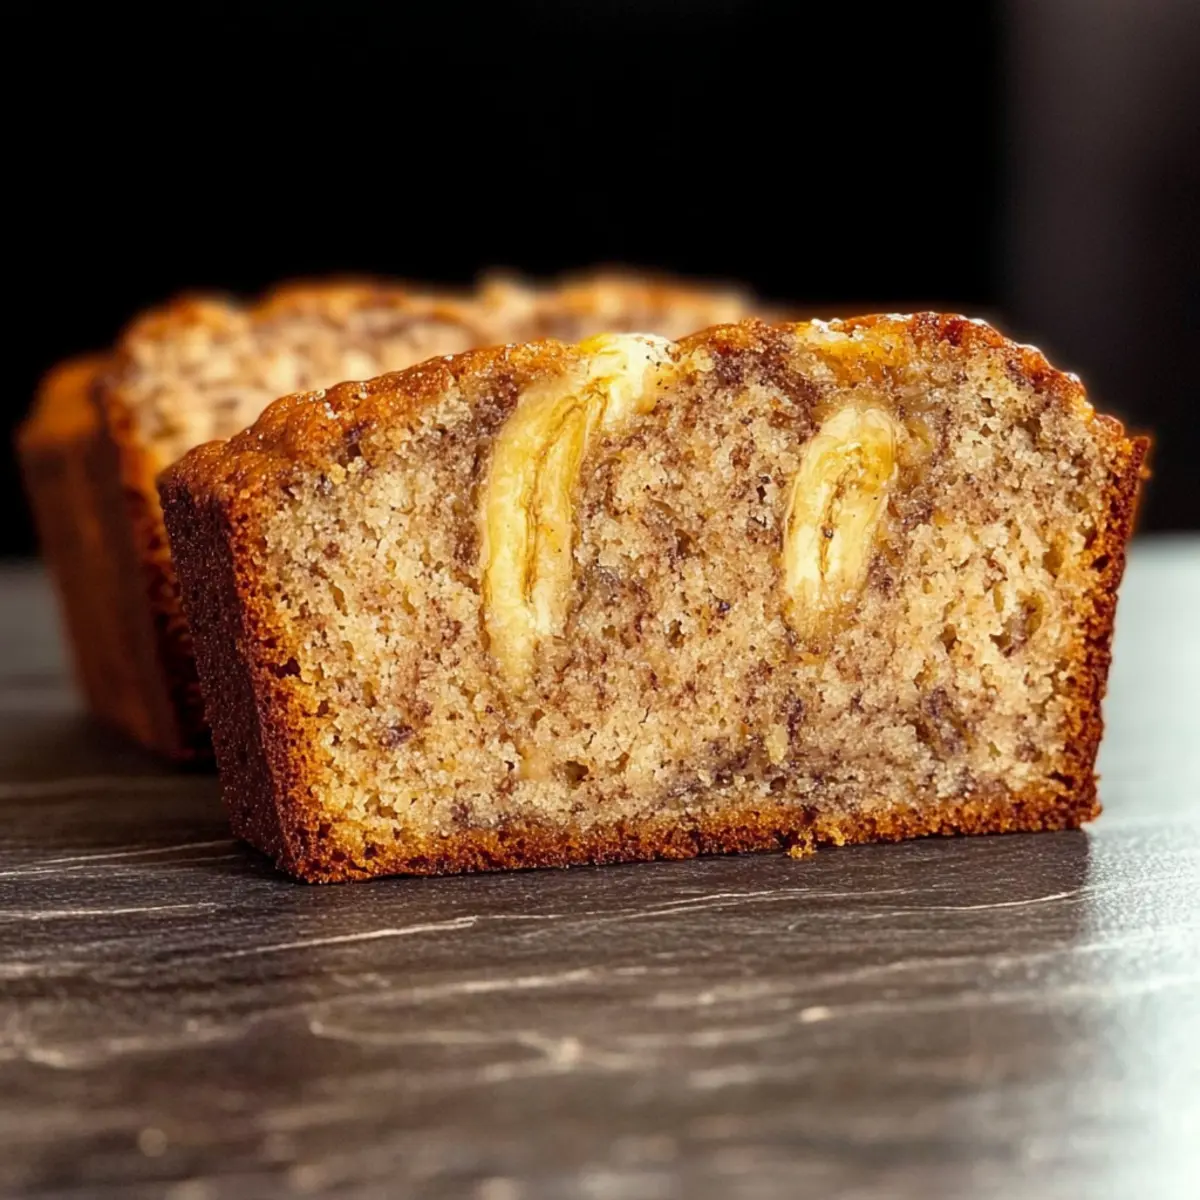
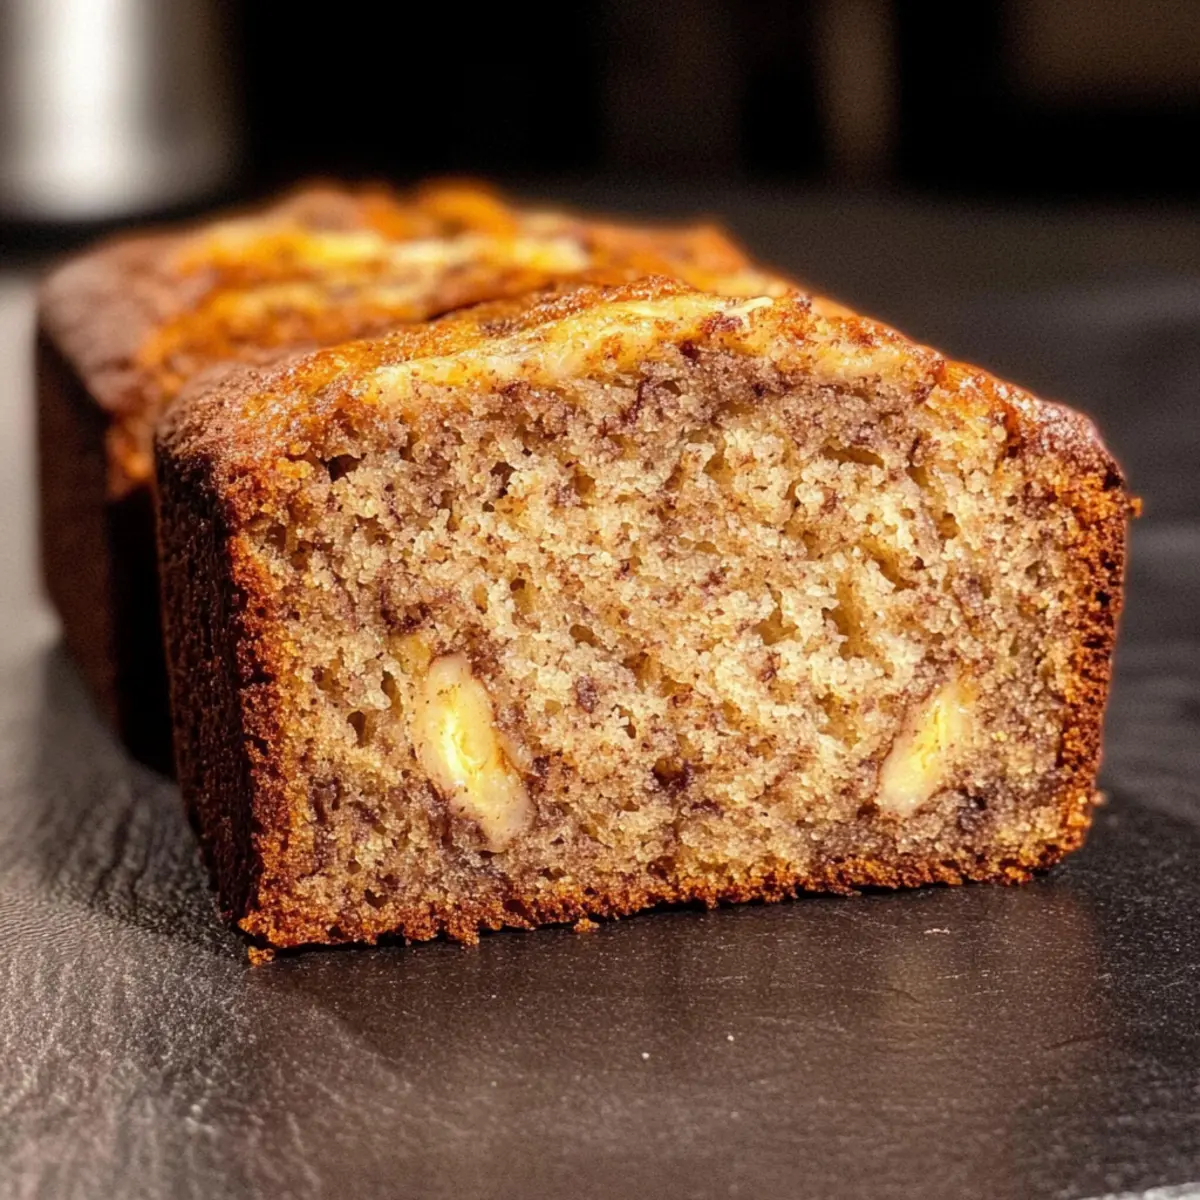
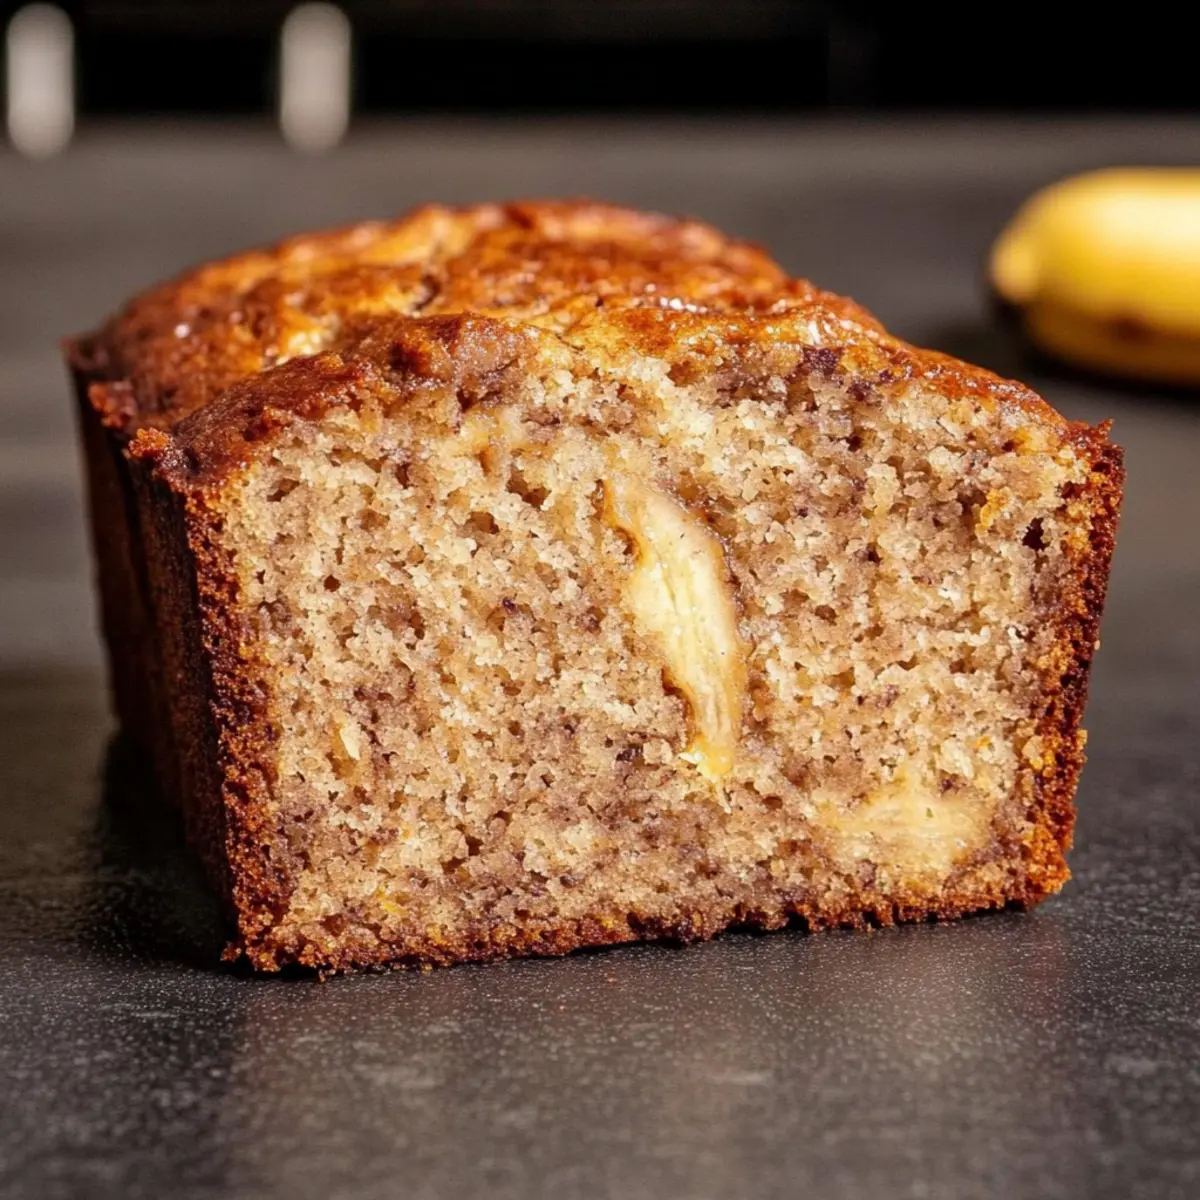
Moist texture: This Perfect Banana Bread boasts an incredibly moist texture that melts in your mouth.
One-bowl convenience: With just one bowl required, this recipe keeps cleanup easy and hassle-free, perfect for busy home chefs.
Versatile variations: Feel free to mix in chocolate chips, nuts, or dried fruits to customize your banana bread.
Nostalgic flavors: Combining ripe bananas and warm spices evokes cozy memories, making each slice a delightful treat.
Quick to bake: In under an hour, you can whip up a delicious, homemade bread that will impress your family and friends.
Whether you’re enjoying it warm with butter or over a cup of coffee, this banana bread is a winner. For more easy recipes, check out our delicious Air Fryer Churro and Sausage Egg Ups for tasty breakfast options!
Perfect Banana Bread Ingredients
For the Batter
• Very Ripe Medium-Sized Bananas – These provide natural sweetness and moisture; aim for about 2 cups, or 4 bananas for the best flavor.
• Plain Greek Yogurt – Adds richness and moisture; you can also substitute it with sour cream for a similar texture.
• Granulated Sugar – Sweetens the bread beautifully; consider using coconut sugar for a lighter option.
• Brown Sugar – Enhances the flavor with hints of caramel; dark brown sugar delivers a richer taste.
• Oil – Ensures a moist texture; you can substitute with melted butter for a different flavor, though it may be less moist.
• Eggs – Bind the ingredients and provide structure; use a flax egg for a vegan alternative.
• Vanilla Extract – Offers aromatic flavor; try almond extract for a delightful twist.
• Cinnamon (optional) – Adds warmth and depth to the flavor; adjust according to your preference.
• Kosher Salt – Balances sweetness; table salt can be used, but be cautious with the measurements.
• Baking Soda – Acts as a leavening agent helping the bread rise, ensuring a light texture.
• All-Purpose Flour – Creates structure for the bread; whole wheat flour is a great substitute for a denser loaf.
Step‑by‑Step Instructions for Perfect Banana Bread
Step 1: Preheat and Prepare
Start by preheating your oven to 350°F (175°C). While the oven warms up, grab an 8×5-inch or 9×5-inch loaf pan and lightly grease it with baking spray to ensure easy release. If you prefer smaller loaves, you can use three 3×6-inch pans instead. Setting the stage with this preparation is key to baking the Perfect Banana Bread to perfection.
Step 2: Mash the Bananas
In a large mixing bowl, take your very ripe bananas—about 4 medium-sized—and peel them. Using a potato masher, mash the bananas until they reach a smooth consistency, with minimal lumps remaining. The aroma of the ripe bananas will fill the air, signaling your journey to delicious banana bread has begun.
Step 3: Combine Sugars and Oil
Add granulated sugar, brown sugar, and oil to the mashed bananas in the bowl. Using a whisk, mix these ingredients together until they are fully combined, and the mixture looks smooth. This blend adds sweetness and moisture to your Perfect Banana Bread, setting a solid foundation for wonderful flavor.
Step 4: Mix in Eggs and Yogurt
Next, incorporate the eggs, plain Greek yogurt, and vanilla extract into the banana mixture. Whisk everything together until the mixture appears creamy and well-blended. The yogurt adds richness, ensuring that your banana bread is moist and delightful.
Step 5: Add Baking Soda and Salt
Sprinkle baking soda and kosher salt over the mixture in the bowl. Stir gently, ensuring that all elements are evenly distributed throughout the batter. This step is crucial for achieving a perfect rise in your banana bread, making it fluffy and light.
Step 6: Fold in the Flour
With care, gently fold in the all-purpose flour until just combined. You should see streaks of flour still visible—avoid over-mixing as it can make your bread dense. This is the moment your Perfect Banana Bread begins to take shape, so keep it tender and light.
Step 7: Transfer the Batter
Pour the banana bread batter into the prepared loaf pan, using a spatula to ensure all of it makes its way into the pan. Set the pan on a sheet pan for extra stability, which will help prevent any spills while baking. Your delectable loaf is ready for the oven!
Step 8: Bake to Perfection
Place the banana bread in the preheated oven and bake for 55-65 minutes. It’s done when a toothpick inserted into the center comes out clean. Keep an eye on it; the bread will turn a lovely golden brown as it bakes, and the aroma will fill your kitchen with warmth.
Step 9: Adjust for Smaller Pans
If you opted for the smaller 3×6-inch pans, check them for doneness after 25-35 minutes of baking. The smaller loaves will cook more quickly, and knowing when they’re ready will ensure a perfect texture without overcooking.
Step 10: Cool and Store
Once baked, remove the banana bread from the oven and let it cool in the pan for about 10-15 minutes. Then gently transfer it to a wire rack to cool completely. Proper cooling is essential to maintain its moist texture, and once cooled, it can be stored wrapped in plastic or placed in an airtight container.
Expert Tips for Perfect Banana Bread
Use Ripe Bananas: Ensure your bananas are very ripe with plenty of black spots. This gives the Perfect Banana Bread its natural sweetness and moisture.
Mash with Care: A fork or potato masher works wonders—mash until smooth with small lumps for texture, keeping your recipe in one bowl.
Don’t Over-Mix: When folding in the flour, mix just until incorporated. Over-mixing can lead to dense banana bread, so be gentle!
Check Doneness: Use a toothpick to test if your banana bread is done. It should come out clean from the center, ensuring it’s perfectly baked.
Cool Completely: Allow the banana bread to cool in the pan for a bit before transferring to a wire rack. This helps maintain that lovely moist texture.
Storing Leftovers: Wrap leftover banana bread tightly in plastic wrap at room temperature or freeze for longer storage without losing moisture.
Perfect Banana Bread Variations
Feel free to personalize this banana bread recipe to suit your taste and dietary needs while adding a little flair.
-
Nuts & Seeds: Mix in chopped walnuts or sunflower seeds for extra crunch and nutrition. They add delightful texture, making every bite a little adventure.
-
Chocolate Love: Add chocolate chips or chunks to the batter for a rich, indulgent twist. The melty chocolate pairs beautifully with the banana, making for a decadent treat.
-
Fruity Addition: Stir in dried fruits like cranberries or raisins for a subtle sweetness. This variation not only enhances flavor but also brings a colorful surprise in each slice.
-
Tropical Bliss: Incorporate crushed pineapple or shredded coconut for a sunny, tropical vibe. Picture yourself on a beach while enjoying a slice—it’s a mini-vacation in your kitchen!
-
Gluten-Free Option: Substitute all-purpose flour with a gluten-free blend to accommodate dietary preferences. Ensure your blend includes xanthan gum for the best texture.
-
Spice It Up: Add a pinch of nutmeg or cardamom for a unique flavor profile. These spices work in harmony with the bananas, creating a warmth that’s just irresistible.
-
Sugar Swap: Use honey or maple syrup instead of granulated sugar for a natural sweetening touch. This will not only alter the flavor slightly but also make the bread a tad moister.
-
Vegan Delight: Replace eggs with a flax egg (1 tablespoon ground flaxseed mixed with 2.5 tablespoons water). This simple swap makes a delicious plant-based banana bread that everyone can enjoy.
Remember, the beauty of this banana bread lies in its versatility. You can experiment with these variations while enjoying your baking adventures! And if you’re looking for more indulgent recipes, check out our tempting Homemade Butter Chicken for a delightful dinner option.
Make Ahead Options
These Perfect Banana Bread options are ideal for busy home cooks looking to save time during the week! You can mash the bananas and combine the sugars and oil up to 24 hours in advance, storing the mixture in an airtight container in the refrigerator to keep it fresh. Additionally, you can measure out your dry ingredients (flour, baking soda, salt, etc.) and have them ready to go—this way, you’ll have everything prepped for quick assembly. When you’re ready to bake, simply mix in the eggs, yogurt, and dry ingredients, then bake as directed for delightful, homemade banana bread just like grandma used to make! Enjoy the time-saving benefits while indulging in that warm, sweet aroma.
Storage Tips for Perfect Banana Bread
Room Temperature: Wrap your banana bread tightly in plastic wrap, and it will stay fresh at room temperature for up to 3 days. This method preserves its delightful moisture.
Fridge: If you prefer a longer shelf-life, store the banana bread in an airtight container in the fridge for up to 1 week. Be sure to let it come to room temperature before serving for optimal flavor.
Freezer: For extended storage, slice the bread and wrap each piece tightly in plastic wrap before placing them in a freezer-safe bag. It can be frozen for up to 3 months, allowing you to enjoy perfect banana bread whenever the craving strikes!
Reheating: To enjoy your banana bread warm, simply reheat individual slices in the microwave for about 15-20 seconds, or pop them in a toaster for a delightful toastiness.
What to Serve with Perfect Banana Bread
Serving up slices of delicious banana bread isn’t just about the bread itself—it’s an invitation to create a warm, comforting meal experience that’ll delight your senses.
- Creamy Greek Yogurt: Adds a refreshing tang that balances the sweetness of the bread, making each bite delightful.
- Fresh Berries: Strawberries or blueberries offer bright flavors and a pop of color, enhancing both taste and presentation.
- Honey Butter: A rich honey butter spread complements the moistness of banana bread and elevates it to a decadent treat.
- Coffee or Tea: A steaming cup of coffee or herbal tea wraps the meal in warmth, enhancing the cozy vibe of enjoying homemade goodness.
- Whipped Cream: Dolloped on top, whipped cream adds lightness and a creamy contrast, turning your banana bread into a dessert star.
- Peanut Butter: Spread some peanut butter for a protein boost; the nutty flavor crowns the banana bread in a delightful way.
- Ice Cream: For indulgence, a scoop of vanilla ice cream turns banana bread into an unforgettable dessert, creating a delightful temperature contrast.
- Chopped Nuts: Whether walnuts or pecans, these crunchy elements bring textural contrast and a nutty richness that pairs beautifully.
- Chocolate Drizzle: A warm chocolate drizzle not only elevates the flavor but adds a gourmet touch to your homemade dessert.
- Apple Cider: On a chilly day, a warm glass of spiced apple cider enhances the cozy experience of enjoying your Perfect Banana Bread.
Perfect Banana Bread Recipe FAQs
What kind of bananas should I use for the Perfect Banana Bread?
Absolutely! For the best flavor and moisture, use very ripe medium-sized bananas. Aim for about 2 cups, which is typically 4 bananas. Look for ones with plenty of dark spots–the more ripe, the better!
How should I store my homemade banana bread?
After baking, wrap your banana bread tightly in plastic wrap or store it in an airtight container at room temperature. It stays fresh for up to 3 days. If you’d like to keep it longer, you can refrigerate it for up to a week.
Can I freeze banana bread?
Yes, definitely! To freeze, slice the banana bread and wrap each piece tightly in plastic wrap. Place the wrapped slices in a freezer-safe bag and store them for up to 3 months. When you’re ready to enjoy, just reheat slices in the microwave for about 15-20 seconds, or pop them in the toaster!
Why is my banana bread dense?
If your banana bread turns out dense, it could be due to over-mixing the batter when incorporating the flour. Remember, gentle folds are key! Also, make sure to use ripe bananas, as they provide the necessary moisture and sweetness for a lighter texture.
Can I make substitutions for dietary restrictions?
Very! You can substitute eggs with a flax egg (1 tablespoon ground flaxseed mixed with 2.5 tablespoons of water) for a vegan option. For those with gluten allergies, using gluten-free all-purpose flour works well. Just ensure your other ingredients are also gluten-free!
How do I know when my banana bread is done baking?
The best way to check for doneness is by inserting a toothpick into the center of the loaf. If it comes out clean or with just a few crumbs sticking to it, your Perfect Banana Bread is ready! Also, it should be nicely golden-brown on top.
Perfect Banana Bread That's Moist and Oh-So-Easy to Make
Ingredients
Equipment
Method
- Preheat your oven to 350°F (175°C) and grease an 8x5-inch or 9x5-inch loaf pan.
- Peel and mash 4 medium-sized bananas in a large mixing bowl until smooth with minimal lumps.
- Add granulated sugar, brown sugar, and oil to the mashed bananas; whisk until smooth.
- Incorporate eggs, Greek yogurt, and vanilla extract; whisk until creamy and blended.
- Sprinkle baking soda and kosher salt over the mixture and stir gently to combine evenly.
- Fold in all-purpose flour until just combined, leaving streaks of flour visible.
- Pour the batter into the prepared loaf pan and set on a sheet pan for stability.
- Bake in the preheated oven for 55-65 minutes, checking for doneness with a toothpick.
- For smaller 3x6-inch pans, check for doneness after 25-35 minutes of baking.
- Cool the banana bread in the pan for 10-15 minutes before transferring to a wire rack.
Leave a Reply