
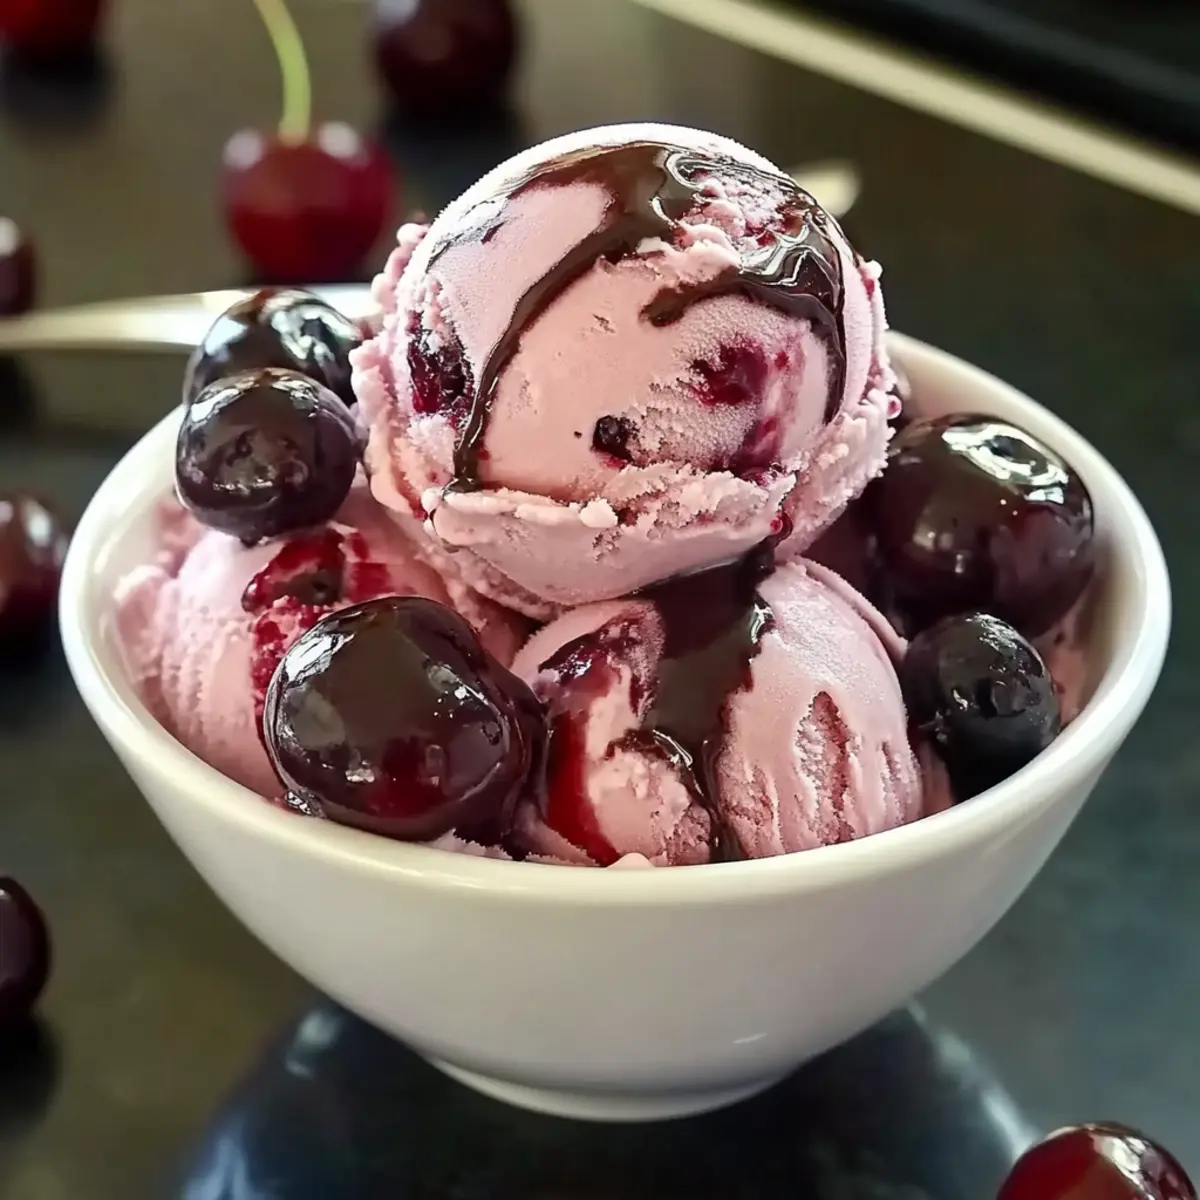
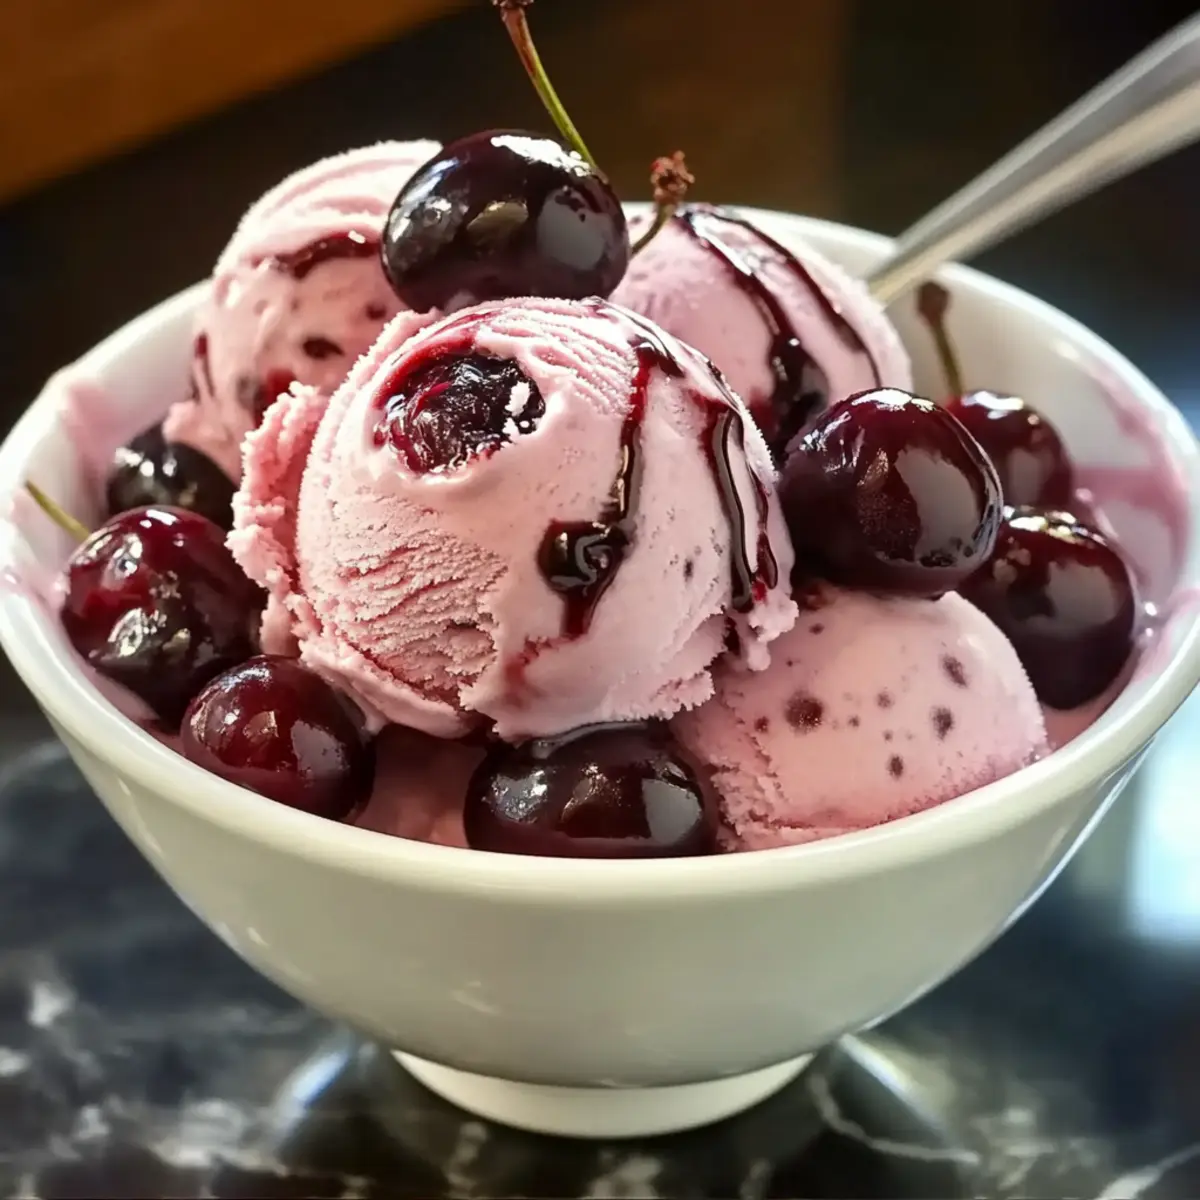
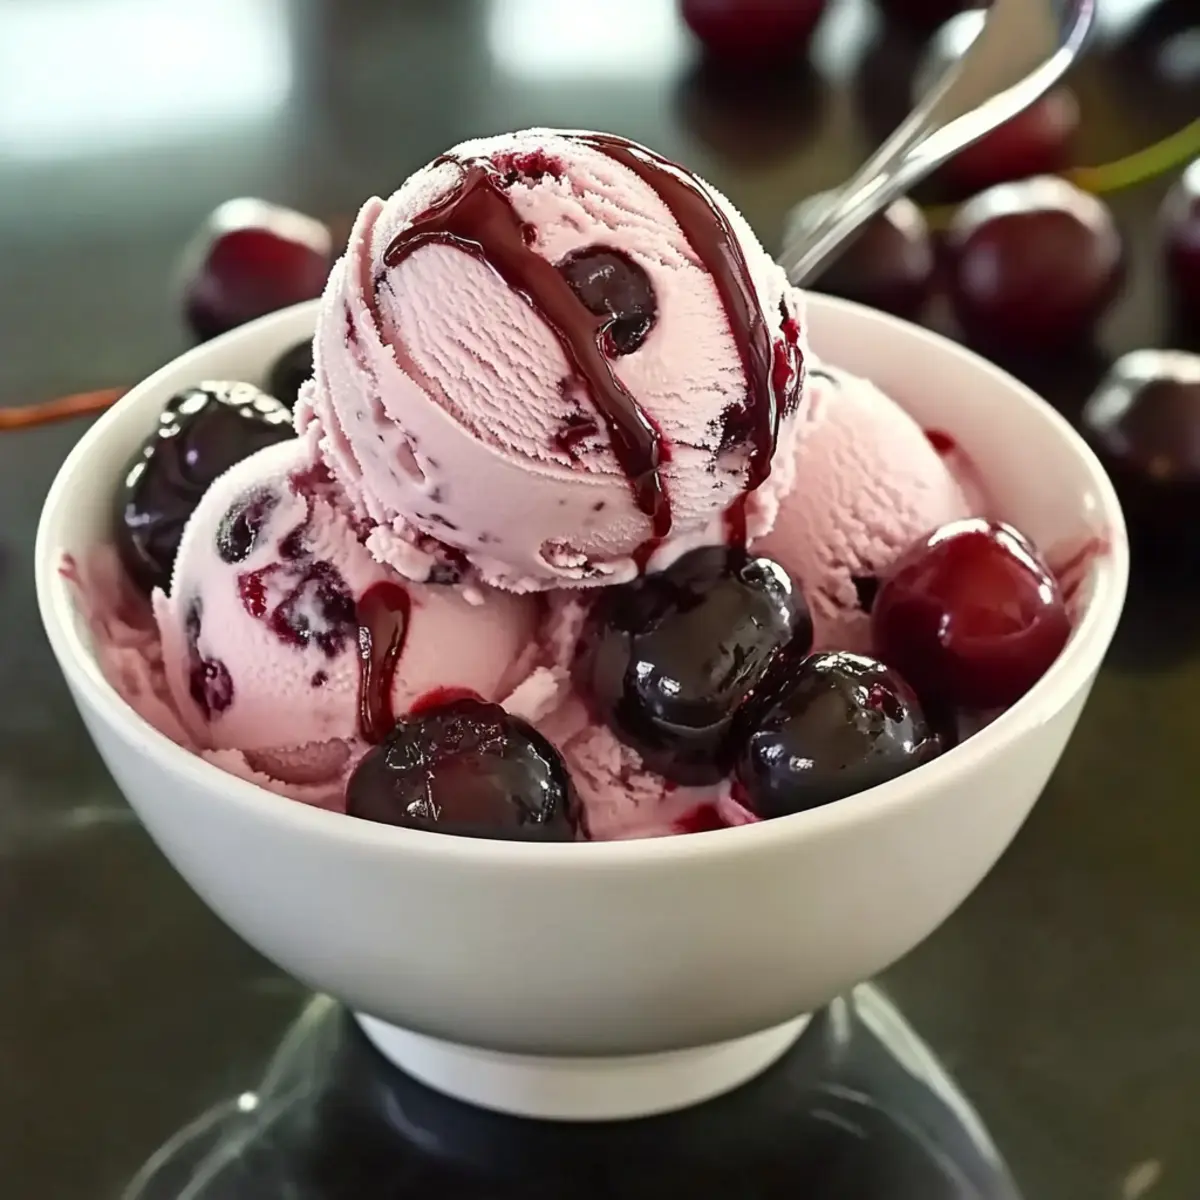
The moment I took my first bite of Homemade Cherry Ice Cream, I was transported back to warm summer days spent at family picnics, surrounded by laughter and sunshine. This delightful recipe captures the very essence of those nostalgic moments, offering a creamy texture infused with the natural sweetness and tartness of fresh cherries. Made with simple ingredients and no artificial flavors, this Cherry Ice Cream isn’t just a treat; it’s a homemade masterpiece that’s both a crowd-pleaser and a healthier alternative to store-bought options. Plus, with the possibility of crafting variations like Chocolate Cherry or a dairy-free delight, you can tailor it to suit every palate. Ready to scoop up some happiness? Let’s dive into this refreshing summer treat together!
Why Make Homemade Cherry Ice Cream?
Homemade Cherry Ice Cream delivers a taste of summer in each creamy scoop! Natural Ingredients ensure no artificial flavors, making it a wholesome choice. Versatile enough to try variations like Chocolate Cherry or dairy-free options, this recipe caters to everyone. Effortless to prepare, it’s perfect for hot days, and crowd-pleasing for family gatherings. Treat yourself to a delightful dessert that sparks joy and nostalgia!
Cherry Ice Cream Ingredients
• Discover the key ingredients that make this Cherry Ice Cream a delightful summer treat!
For the Ice Cream Base
- Cherries (2 cups, pitted and halved) – Offers natural sweetness and vibrant flavor, essential for a delicious Cherry Ice Cream.
- Heavy Cream (1 cup) – Adds richness and creates a creamy texture; for a dairy-free option, use coconut cream.
- Whole Milk (1 cup) – Balances creamy richness; switch to almond milk for a lighter, dairy-free alternative.
- Granulated Sugar (3/4 cup) – Sweetens the mix for that perfect dessert flavor; adjust according to your sweetness preference.
- Vanilla Extract (1 teaspoon) – Enhances the overall flavor for a richer taste; opt for pure vanilla for the best results.
- Salt (Pinch) – Balances sweetness and amplifies flavors; a small amount works wonders!
Optional Variation Ingredients
- Mini Chocolate Chips – Introduce a decadent twist for a Chocolate Cherry variation!
- Additional Fruits (Peaches, Berries, etc.) – Mix in other fruits for unique flavor combinations that keep things exciting.
Step‑by‑Step Instructions for Cherry Ice Cream
Step 1: Prepare the Cherries
In a medium saucepan over medium heat, combine the pitted and halved cherries with 1-2 tablespoons of granulated sugar. Cook for 5-7 minutes, stirring occasionally, until the cherries soften and release their delicious juices. Once cooked, remove the saucepan from heat and allow the mixture to cool completely at room temperature, filling your kitchen with the sweet aroma of summer.
Step 2: Make Cherry Purée (Optional)
If you prefer a smoother texture for your Cherry Ice Cream, take half of the cooled cherry mixture and blend it until smooth using a blender or immersion blender. This step will result in a creamy purée that adds to the overall richness of your ice cream. Set the purée aside, along with the remaining cherries for a lovely bit of texture in your finished treat.
Step 3: Make Ice Cream Base
In a large mixing bowl, whisk together 1 cup of heavy cream, 1 cup of whole milk, the remaining 3/4 cup of sugar, 1 teaspoon of vanilla extract, and a pinch of salt. Continue whisking until the sugar dissolves completely, which should take about 2-3 minutes. The resulting mixture will be rich and creamy, laying the foundation for your delightful Cherry Ice Cream.
Step 4: Combine and Chill
Carefully fold the cooled cherries and optional cherry purée into the prepared ice cream base. Ensure even distribution of the cherry goodness throughout the mixture. Cover the bowl with plastic wrap or a lid, then refrigerate for at least 2 hours or until the mixture is thoroughly chilled. This step is crucial for achieving a smooth and creamy Cherry Ice Cream when churning.
Step 5: Churn Ice Cream
Once the mixture is well chilled, pour it into your ice cream maker and churn according to the manufacturer’s instructions—typically around 20-25 minutes. As the mixture churns, you’ll notice it thickening and becoming fluffy. This is where the magic happens, transforming your base into a creamy, delicious Cherry Ice Cream filled with fruity flavor.
Step 6: Freeze
Transfer the churned ice cream into a freezer-safe container, smoothing the top with a spatula for an even surface. Seal it with an airtight lid and freeze for a minimum of 4 hours, or until firm. This final freezing stage is essential for setting the texture of your homemade Cherry Ice Cream, making it perfect for scooping.
Step 7: Serve
Before serving your delightful Cherry Ice Cream, allow it to sit at room temperature for 5-10 minutes. This waiting period softens the ice cream slightly, making it easier to scoop. Once ready, serve the creamy cherry goodness in bowls or ice cream cones, and soak in the smiles as you share this refreshing summer treat!

Expert Tips for Homemade Cherry Ice Cream
-
Fresh vs. Frozen: Use high-quality, ripe cherries for the best flavor, but frozen cherries can also work well if they’re pitted and thawed properly.
-
Sweetness Balance: Taste the cherry mixture before adding the sugar to adjust sweetness to your liking. Remember, you can always add more sugar, but you can’t take it out once added!
-
Churning Time: Don’t rush the churning process. Follow your ice cream maker’s instructions closely to achieve the right consistency for your Cherry Ice Cream.
-
Chunky Style: For a more textured ice cream, keep some cherry pieces larger instead of fully puréeing them. This adds delightful bursts of fruitiness.
-
Storage Solutions: Store your Cherry Ice Cream in an airtight container and press a piece of parchment paper against the surface to reduce ice crystals.
-
Dairy-Free Option: Substitute coconut cream and almond milk for a delicious dairy-free variation. Just ensure to blend your ingredients thoroughly.
What to Serve with Homemade Cherry Ice Cream
Indulging in a scoop of this cherry delight is just the beginning of your dessert adventure!
- Fresh Berries: Their natural tartness complements the sweet cherry flavor beautifully, creating a vibrant and refreshing contrast.
- Chocolate Brownies: The rich, fudgy texture of brownies pairs perfectly, making for an indulgent dessert duo that will satisfy every sweet tooth.
- Waffle Cones: Crispy and crunchy, waffle cones add an enjoyable texture to your cherry ice cream, enhancing the whole experience with each bite.
- Mint Chocolate Chip Cookies: The cool mintiness brings a refreshing twist to the decadent flavor of cherry, adding interest to your summertime treat.
- Chilled Lemonade: A glass of zesty lemonade acts as a spirited palate cleanser, balancing the sweetness of the cherry ice cream with its bright tartness.
- Almond Biscotti: These crunchy cookies provide a delightful crunch alongside the creamy ice cream, perfect for dipping and savoring.
- Pistachio Gelato: A scoop of this nutty gelato introduces a contrasting flavor profile, elevating your dessert experience with its unique taste.
- Sparkling Water: A sparkling beverage offers a refreshing cleanse between bites of rich cherry ice cream, keeping the experience light and fun.
- Whipped Cream: For added luxury, a dollop of lightly sweetened whipped cream can enhance the creaminess and indulgence of the delicious treat!
How to Store and Freeze Cherry Ice Cream
-
Fridge: Store your Cherry Ice Cream in the fridge for up to 2 days if you plan to consume it soon, but it’s best enjoyed straight from the freezer.
-
Freezer: Keep your Cherry Ice Cream in an airtight container for up to 2 weeks to maintain its creamy texture and flavor. Always press a piece of parchment paper against the surface to minimize ice crystals.
-
Reheating: If you find it too hard to scoop, let the Cherry Ice Cream sit at room temperature for 5-10 minutes before serving. This will soften it for better scooping.
-
Thawing: If it has been in the freezer longer than a week, thaw in the fridge for a few hours before serving to regain its creamy texture.
Cherry Ice Cream Variations & Substitutions
Feel free to get creative with this Cherry Ice Cream recipe and make it your own with these delightful variations! Each one is an opportunity to add your personal touch and flavor to this classic dessert.
-
Chunky Style: Keep some cherry pieces larger for bursts of fruitiness in each scoop. This adds a delightful texture to your ice cream!
-
Dairy-Free: Substitute coconut cream and almond milk for a rich, creamy dairy-free version that everyone can enjoy. Perfect for those with dietary restrictions!
-
Chocolate Cherry: Stir in mini chocolate chips or chunks just before freezing for a decadent twist. The combination of chocolate and cherries is a match made in heaven!
-
Fruit Mix: Experiment with other fruits like berries or peaches. Blend the additional fruits into the base for a unique flavor explosion. Your taste buds will thank you!
-
Sweeten to Taste: Adjust the sugar levels in the mixture according to your preferences. For a more intense cherry flavor, you might want to save some of the sugar for topping!
-
Nutty Addition: Mix in crushed nuts like almonds or walnuts for added texture and crunch. This pairs perfectly with the creamy ice cream and fruity cherries!
-
Spiced Delight: Add a pinch of cinnamon or nutmeg to the base for a unique, warm flavor. This is especially delightful during the cooler months or cozy evenings!
-
Ice Cream Sundae: Serve your Cherry Ice Cream on top of brownies or warm pie, drizzling with chocolate sauce or fresh fruit compote. It adds an indulgent touch that’s irresistibly good!
For more delightful dessert ideas, check out these recipes: Pumpkin Spice Gooey, Cookies Cream Dessert, or whip up a refreshing Sweet Coconut Cream. Enjoy mixing and matching!
Make Ahead Options
These Homemade Cherry Ice Cream preparations are perfect for busy home cooks looking to save time! You can prepare the cherry mixture and refrigerate it up to 24 hours in advance, which helps to deepen the flavors. Simply cook the cherries and let them cool completely before refrigerating. Additionally, you can make the ice cream base (heavy cream, milk, sugar, vanilla, and salt) and keep it in the fridge for up to 2 days. Just remember, for the best texture, mix the chilled cherry blend into the base before churning. When you are ready to churn and freeze, simply follow the final steps, and you’ll have a refreshing dessert that’s just as delicious as freshly made!
Homemade Cherry Ice Cream Recipe FAQs
How do I select the best cherries for my ice cream?
Absolutely! When choosing cherries, look for those that are plump, glossy, and free of blemishes. Ripe cherries should have a deep, vibrant color and feel firm to the touch. Avoid any with dark spots or wrinkles, as these can indicate overripeness. If fresh cherries are unavailable, high-quality frozen cherries work wonderfully too, just ensure they’re properly pitted.
What is the best way to store homemade cherry ice cream?
I recommend storing your Homemade Cherry Ice Cream in an airtight container in the freezer for up to 2 weeks. To maximize freshness and reduce ice crystal formation, press a sheet of parchment paper against the surface before sealing the container. This little trick helps keep your ice cream creamy and delicious!
Can I freeze homemade cherry ice cream for longer periods?
Yes, you can freeze it for up to 3 months! However, for the best texture and flavor, try to consume it within 2 weeks. When thawing, allow it to sit in the refrigerator for a few hours before serving to regain its delightful creamy consistency.
What should I do if my ice cream is too hard to scoop?
Very! If you find your Cherry Ice Cream is too hard after freezing, let it sit at room temperature for about 5-10 minutes before scooping. This brief thaw allows the ice cream to soften, giving you a much smoother and more enjoyable serving experience. Just remember, patience is key to enjoying it at its best!
Is this cherry ice cream recipe safe for those with allergies?
Absolutely! This recipe is a great option for vegetarians, and you can easily make it dairy-free by substituting heavy cream with coconut cream and whole milk with almond milk. Always check ingredient labels for potential allergens if you’re serving others, ensuring that the add-ins and substitutes align with dietary needs.
Can I customize the flavor of my cherry ice cream?
The more the merrier! You can certainly customize it. Consider adding mini chocolate chips for a Chocolate Cherry variant or mixing in other fruits like frozen berries or peaches for a unique twist. Just follow the same base recipe, and feel free to get creative with your mix-ins!
Delicious Cherry Ice Cream Recipe for a Magical Summer Treat
Ingredients
Equipment
Method
- In a medium saucepan, combine the pitted cherries with sugar and cook for 5-7 minutes until softened.
- For a smoother texture, blend half of the cooked cherry mixture until smooth.
- In a large bowl, whisk together heavy cream, whole milk, sugar, vanilla, and salt until well combined.
- Fold the cooled cherries and optional cherry purée into the ice cream base, then refrigerate for at least 2 hours.
- Churn the mixture in your ice cream maker according to the manufacturer's instructions for 20-25 minutes.
- Transfer the churned ice cream to a container, smooth the top, seal it, and freeze for a minimum of 4 hours until firm.
- Let the ice cream sit at room temperature for 5-10 minutes before serving for easier scooping.
Leave a Reply