
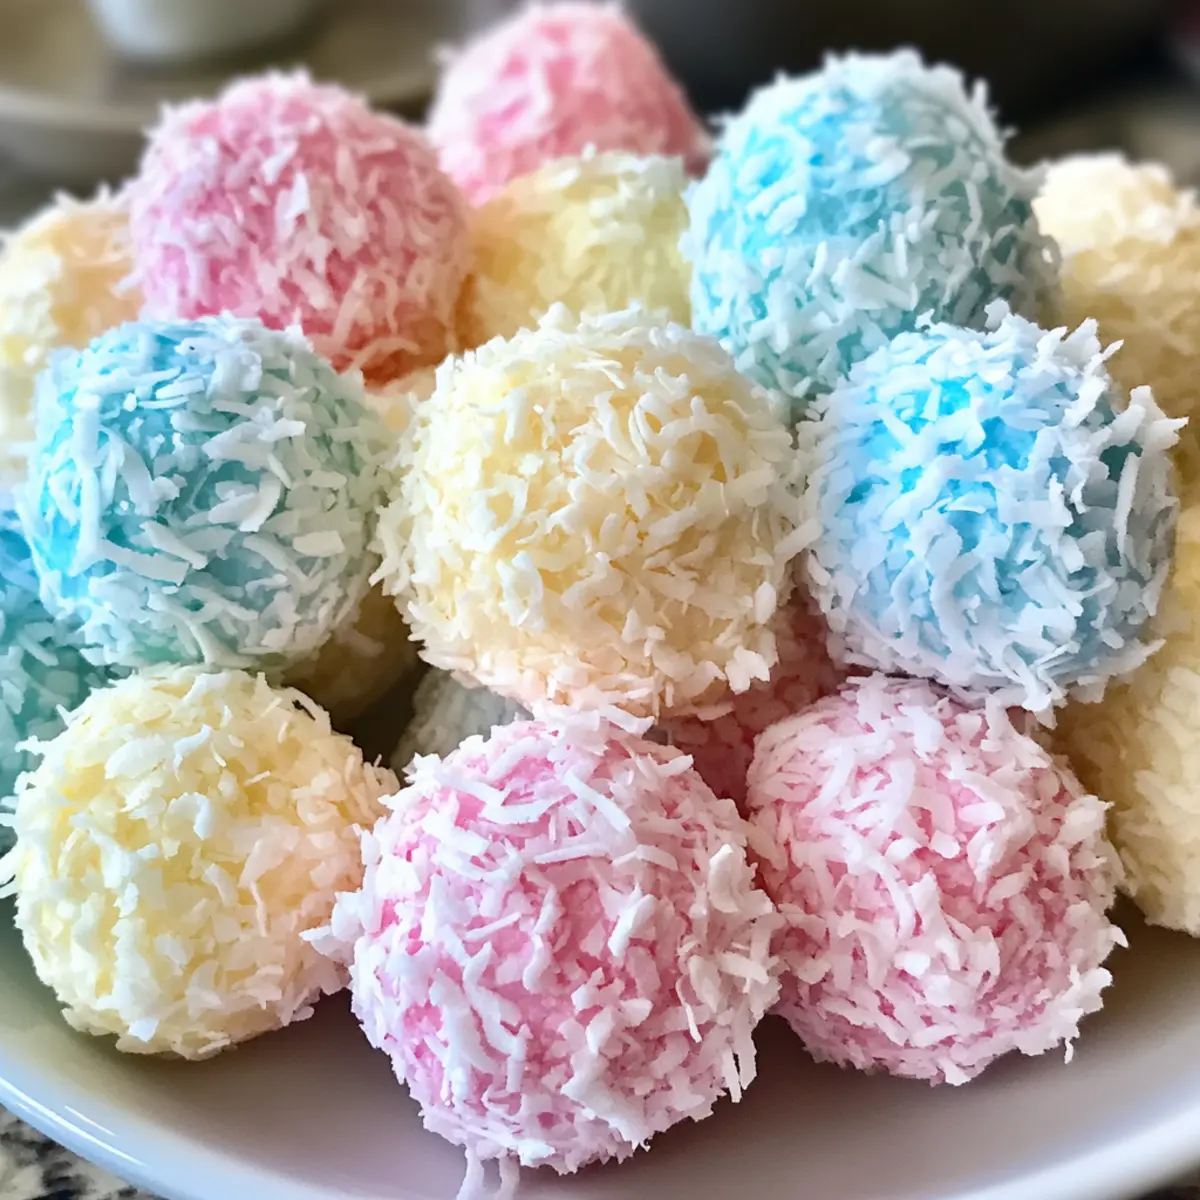
As I rummaged through my pantry, the vibrant colors of pastel coconut caught my eye, sparking a joyful idea for Easter. The recipe for Easter Bunny Coconut Tails sprang to mind— these adorable, no-bake treats are not only a fun activity for the kids, but they also add a delightful touch of whimsy to any spring celebration. With a soft, chewy texture and customizable sweetness, these colorful bites are perfect for satisfying that sweet tooth without relying on store-bought goodies. Whether you’re planning an Easter egg hunt or simply wishing to brighten your kitchen with festive cheer, these coconut tails promise to charm both young and old. Ready to dive into a bit of culinary magic this holiday?
Why are Easter Bunny Coconut Tails a must-try?
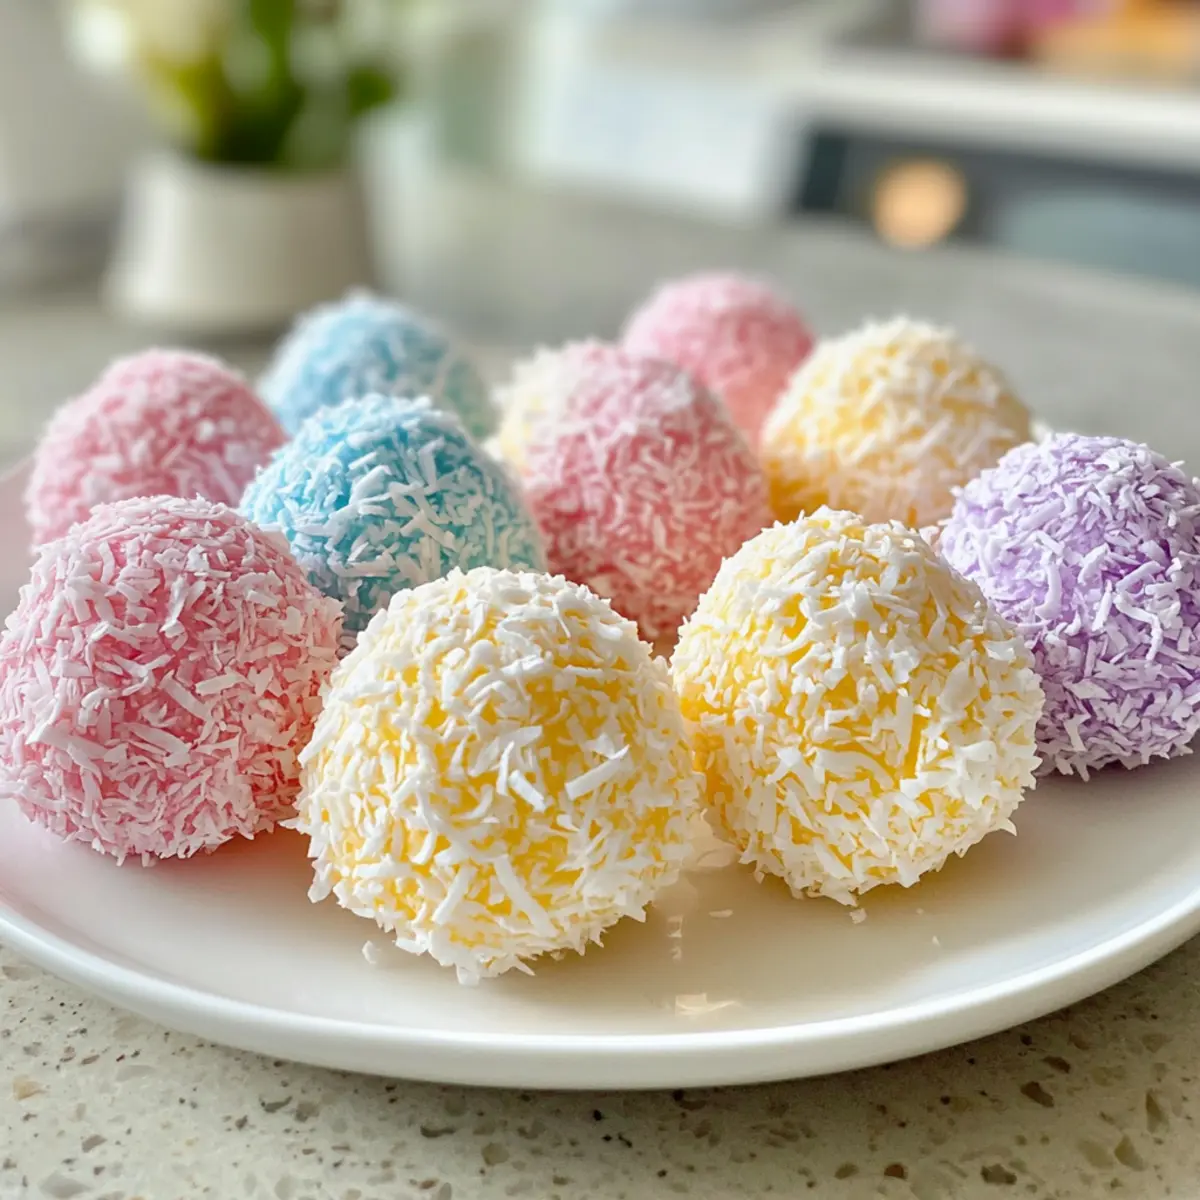
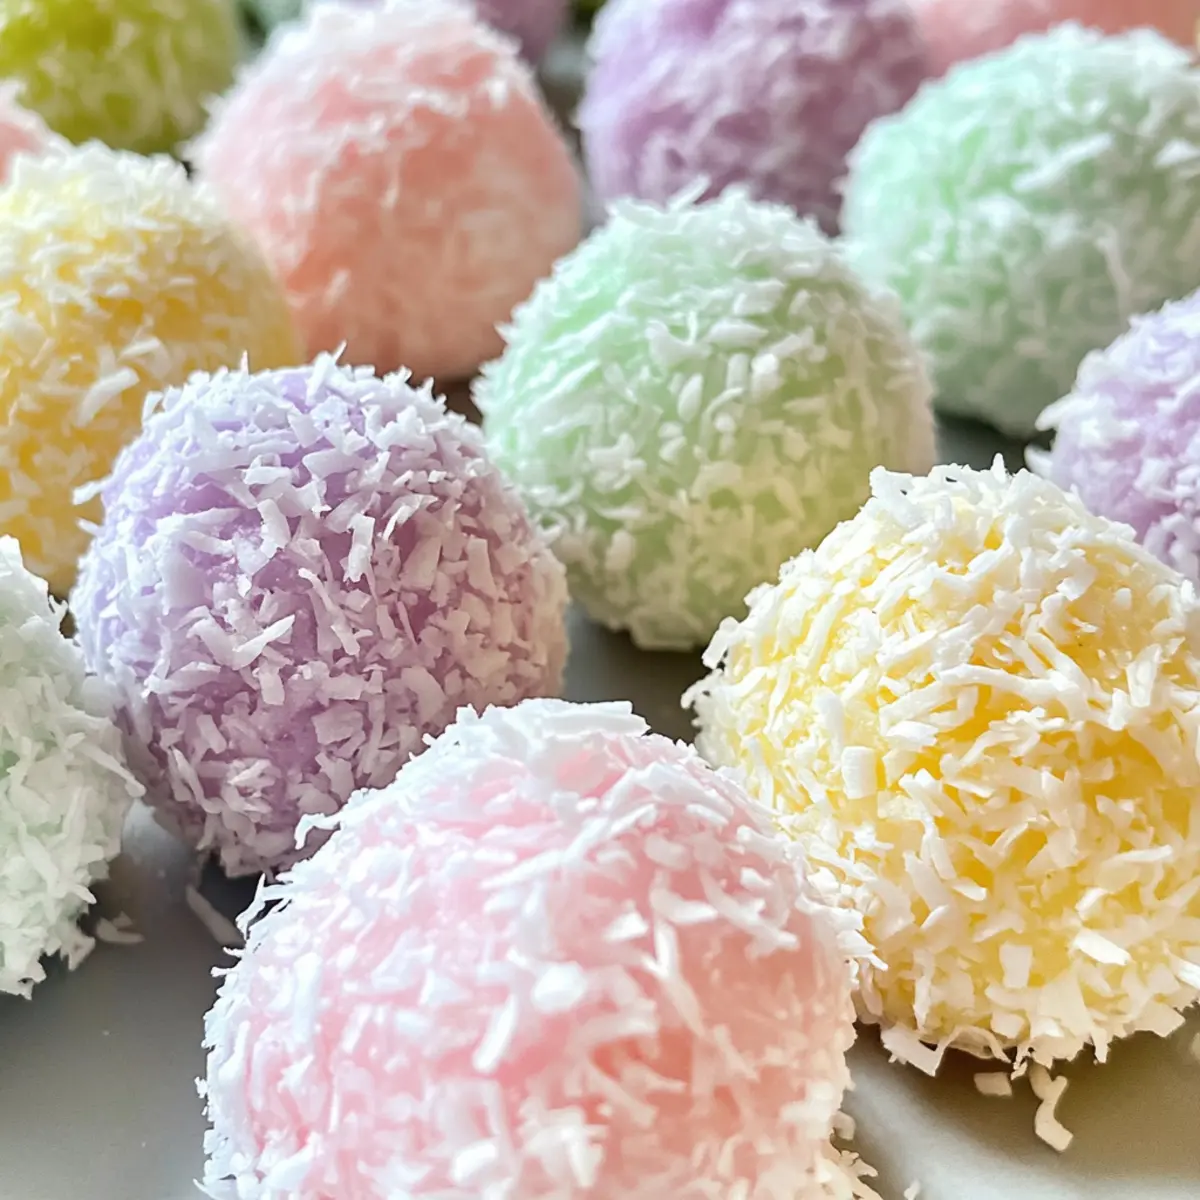
Delightful Visual Appeal: These treats are not just delicious; their vibrant pastel colors make them a festive centerpiece!
Kid-Friendly Fun: Perfect for little hands, making them an engaging activity to bring the family together.
No-Bake Convenience: Skip the oven! These simple treats come together quickly and easily, saving you time and effort.
Customizable Flavor: Feel free to mix in your favorite ingredients, like chocolate chips or nuts, for a unique twist. Check out our Coconut Shrimp Sweet for another fun recipe that kids will love!
Lasting Memories: Create lasting family memories as you make these together, ensuring they become a cherished Easter tradition.
Sweet Satisfaction: With a perfect balance of sweetness and coconut flavor, they’re guaranteed to satisfy any sweet tooth craving!
Easter Bunny Coconut Tails Ingredients
For the Coconut Mixture
- 5 cups medium shredded coconut – This provides the main texture and body for the treats, creating that delightful chewiness.
- 14 oz sweetened condensed milk – Acts as a binder, making the mixture sticky and sweet, perfect for these Easter Bunny Coconut Tails.
- 2 tbsp butter (melted and cooled) – Adds richness and enhances mouthfeel, giving the treats a more luxurious taste.
- 1 tsp vanilla extract – Introduces a sweet aromatic note that complements the coconut beautifully.
- ¼ cup confectioner’s sugar – Sweetens the mixture and helps to bind the ingredients for that perfect fluffy texture.
For the Coating
- 2 cups fine shredded coconut – This is used for coating each tail, allowing for a colorful and festive finish.
- Liquid food coloring – Employed to achieve those vibrant pastel colors for coating the coconut, making the treats visually appealing.
These Easter Bunny Coconut Tails are not only a feast for the senses but also a wonderful way to engage the whole family in the fun of cooking!
Step‑by‑Step Instructions for Easter Bunny Coconut Tails
Step 1: Combine Wet Ingredients
In a large bowl, whisk together 14 oz of sweetened condensed milk, 2 tablespoons of melted and cooled butter, and 1 teaspoon of vanilla extract until smooth and well-blended. This mixture will serve as the base for your Easter Bunny Coconut Tails, creating a rich and flavorful foundation. Ensure no lumps remain for the best texture.
Step 2: Mix in Coconut and Sugar
Add 5 cups of medium shredded coconut and ¼ cup of confectioner’s sugar to the wet ingredients, stirring vigorously until everything is well combined. The mixture will become thick and sticky, but this is exactly what you want for forming your adorable coconut tails. This step is crucial for achieving that delightful chewiness!
Step 3: Chill the Mixture
Cover the bowl with plastic wrap, and refrigerate the coconut mixture for about 15 minutes. This chilling period allows the mixture to firm up, making it easier to handle when shaping the Easter Bunny Coconut Tails. While it chills, you can prepare the colorful coating to add a festive touch.
Step 4: Prepare Colored Coconut
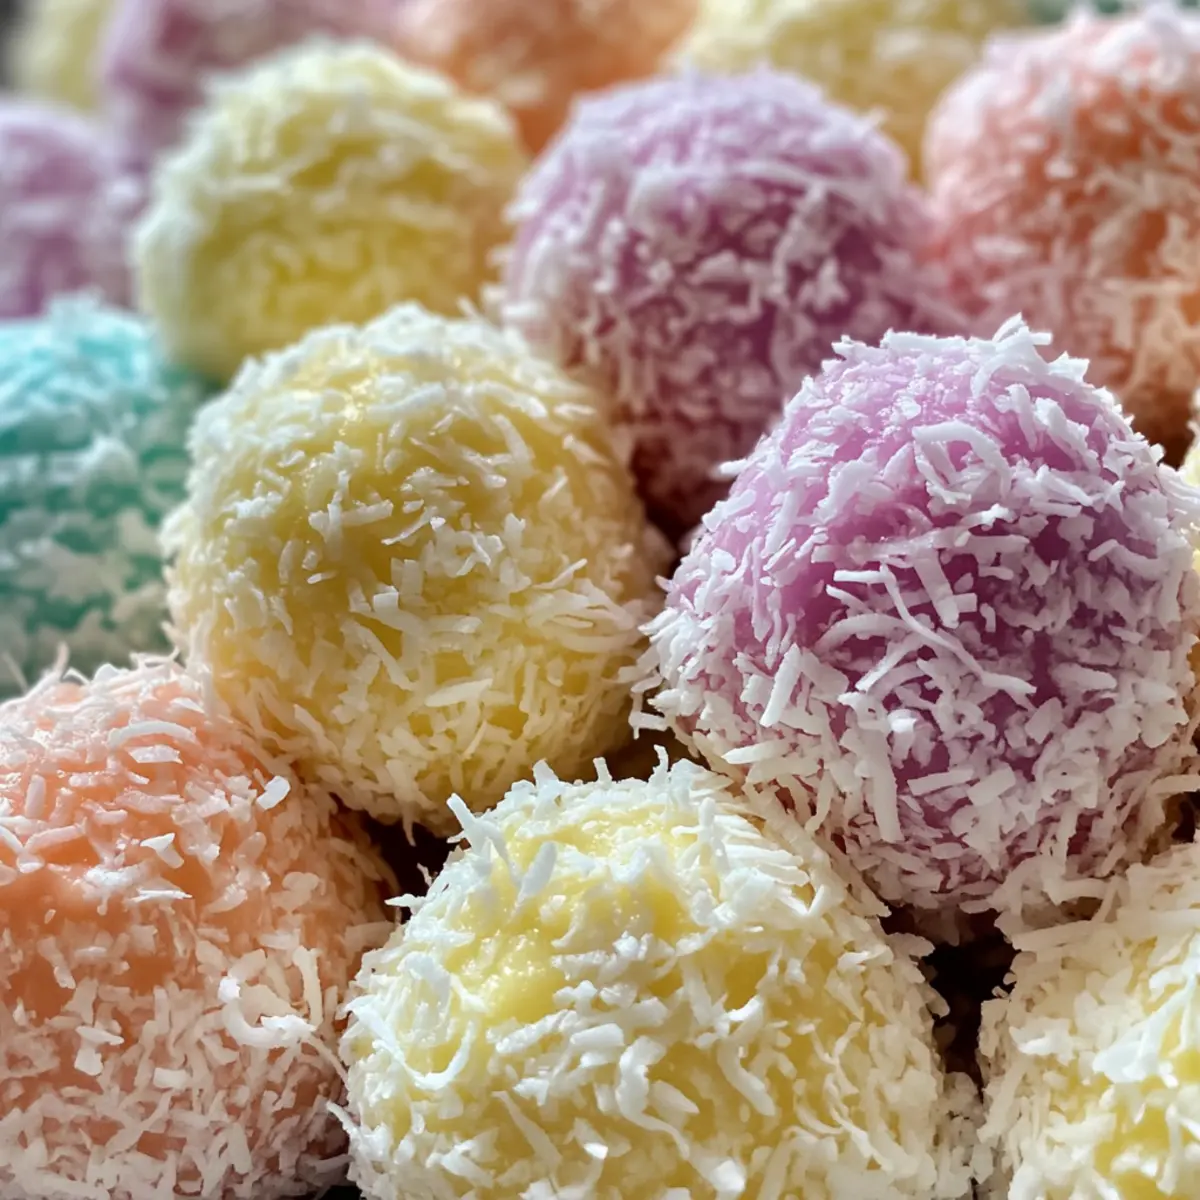
While the mixture chills, divide 2 cups of fine shredded coconut into separate bowls. Add a few drops of liquid food coloring to each bowl, mixing thoroughly until the coconut is evenly coated in pastel colors. This vibrant coating will give your Easter Bunny Coconut Tails their delightful appearance, making them perfect for the holiday.
Step 5: Shape the Coconut Mixture
Once the mixture has chilled, use a small cookie scoop to portion out 1½ teaspoon-sized balls from the bowl. Roll each scoop between your palms until they are smooth and rounded. This step is key for achieving that perfect bunny tail shape. Place them on your work surface as you go along to prepare for coating.
Step 6: Coat with Colored Coconut
Roll each shaped ball in the colored coconut, ensuring they are fully coated for a festive finish. Gently press the coconut flakes onto the balls so they adhere properly. The vibrant colors will make your Easter Bunny Coconut Tails eye-catching and fun, perfect for any spring celebration.
Step 7: Set the Coated Tails
Arrange the coated balls on a parchment-lined baking sheet. Once all the coconut tails are coated, refrigerate the tray for about 1 hour. This setting time allows the flavors to meld and ensures the treats hold their shape, ready to delight both kids and adults alike.
Step 8: Prepare for Serving
Keep the Easter Bunny Coconut Tails chilled until it’s time to serve them. Let them sit at room temperature for a few minutes before enjoying; this will enhance their soft and chewy texture. These adorable treats will surely be the star of your Easter festivities!
Make Ahead Options
These Easter Bunny Coconut Tails are perfect for meal prep! You can prepare the coconut mixture up to 24 hours in advance by mixing the sweetened condensed milk, melted butter, vanilla extract, medium shredded coconut, and confectioner’s sugar. Just cover the bowl tightly and refrigerate. Similarly, the colored coconut can also be prepared ahead of time—simply store the prepared bowls in an airtight container for up to 3 days. When you’re ready to shape and serve, scoop and roll the mixture into balls, coat them in the colored coconut, and refrigerate for at least 1 hour before enjoying. This way, you’ll have delicious, festive treats ready with minimal effort, just in time for your Easter celebrations!
Tips for the Best Easter Bunny Coconut Tails
-
Consistency Is Key: Ensure the sweetened condensed milk is well-blended with the butter and vanilla for a smooth mixture. This helps create the ideal sticky base for your Easter Bunny Coconut Tails.
-
Chilling Matters: Don’t skip the chilling step! It firms up the mixture for easier handling, making it simple to shape those adorable tails.
-
Color Mixing: When mixing food coloring into the fine shredded coconut, add a drop of water if necessary to help distribute the color evenly. This keeps your treats looking bright and vibrant.
-
Customize Flavor: Add chocolate chips or nuts to the coconut mixture for a unique flavor twist. This allows for a more personalized take on the classic Easter Bunny Coconut Tails.
-
Proper Storage: Store the finished treats in the refrigerator with parchment paper between layers. This prevents sticking and keeps them fresh until your Easter celebration.
Easter Bunny Coconut Tails Variations
Get ready to unleash your culinary creativity and customize these fun treats to match your festive spirit!
-
Flavor Boost: Add ½ cup chocolate chips to the mixture for a delightful surprise in each tail. Chocolate pairs beautifully with the sweetness of coconut!
-
Nutty Delight: Fold in ½ cup finely chopped nuts, like almonds or walnuts, for added texture and a satisfying crunch. This variation brings a whole new layer of flavor!
-
Naturally Sweet: Use honey or maple syrup instead of confectioner’s sugar for a more wholesome sweetness. This option not only reduces processed sugar but also adds a lovely depth of flavor.
-
Vegan Twist: Replace sweetened condensed milk with coconut cream and use plant-based butter for a completely vegan treat. This way, everyone can indulge in the joy of Easter Bunny Coconut Tails!
-
Coconut Cream: Consider using Sweet Coconut Cream for a rich and luscious filling that takes these tails to the next level of deliciousness!
-
Rainbow Sprinkles: Mix in some colorful sprinkles to the coconut coating for an extra festive touch. Kids love the additional color and crunch!
-
Curry Kick: For adventurous taste buds, try adding a pinch of curry powder to the coconut mixture for a unique twist that surprises the palate!
-
Spicy Kick: Include a dash of cayenne or chili powder for a fun, spicy surprise in every bite. This unexpected heat could be the talk of your Easter gathering!
With these variations, you can create Easter Bunny Coconut Tails that truly reflect your family’s tastes and traditions!
How to Store and Freeze Easter Bunny Coconut Tails
Fridge: Store the Easter Bunny Coconut Tails in an airtight container in the refrigerator for up to 1 week. Place parchment paper between layers to prevent sticking.
Freezer: For longer storage, you can freeze these treats for up to 3 months. Just ensure they are wrapped tightly in plastic wrap and placed in a freezer-safe container to maintain freshness.
Reheating: To enjoy them at their best, thaw the frozen coconut tails in the fridge overnight before serving. Allow them to sit at room temperature for a few minutes for the ideal texture.
Room Temperature: Though they taste best when chilled, you can leave them out at room temperature for about 30 minutes before serving for a softer, more enjoyable bite.
What to Serve with Easter Bunny Coconut Tails?
Elevate your spring celebration with delightful accompaniments that complement these whimsical no-bake treats!
-
Fresh Fruit Salad: A vibrant mix of berries and citrus adds a refreshing contrast to the sweetness of the coconut tails, making for a balanced dessert experience.
-
Chocolate Dipped Strawberries: The rich, luscious chocolate creates a delightful pairing with the chewy coconut flavor, enhancing the festive indulgence of your Easter spread.
-
Carrot Cupcakes: Soft and moist with a hint of spice, these charming cupcakes echo the spring theme and add a delicious touch alongside the coconut tails.
-
Creamy Vanilla Ice Cream: A scoop of smooth vanilla ice cream invites a comforting creaminess that pairs beautifully with the chewy texture of the Easter Bunny Coconut Tails.
-
Sparkling Lemonade: Bright and bubbly, this refreshing drink will keep your gathering lively and perfectly complements the sweetness of your coconut treats.
-
Mini Easter Cheesecakes: Silky, rich, and often topped with fruity flavors, these charming cheesecakes add a contrast of textures while keeping the festive spirit alive.
Explore these tasty combinations and turn your Easter gathering into a fabulous feast!
Easter Bunny Coconut Tails Recipe FAQs
What type of coconut should I use for the best flavor and texture?
I recommend using medium shredded coconut for the main mixture as it provides that delightful chewiness. If you prefer a sweeter flavor, feel free to substitute with sweetened shredded coconut. For coating, fine shredded coconut works best to achieve a colorful and festive finish!
How should I store the Easter Bunny Coconut Tails?
Store your Easter Bunny Coconut Tails in an airtight container in the refrigerator for up to 1 week. Just be sure to place parchment paper between layers to prevent them from sticking together. This way, they’ll stay fresh and delicious while you enjoy them!
Can I freeze the Easter Bunny Coconut Tails for later enjoyment?
Absolutely! You can freeze these treats for up to 3 months. Wrap each tail tightly in plastic wrap and place them in a freezer-safe container. When you’re ready to enjoy, simply thaw them in the fridge overnight and leave them at room temperature for a few minutes before serving for that perfect texture!
What can I do if my coconut mixture is too sticky to handle?
If your coconut mixture is too sticky after chilling, a little coconut oil on your hands can help! Just lightly grease your palms before rolling the mixture into balls. This little trick will make it easier to form those adorable shapes without a mess!
Are these treats suitable for kids with allergies?
It’s always wise to check! The Easter Bunny Coconut Tails contain condensed milk and butter, which are not suitable for dairy allergies. However, you can easily make a vegan version by using dairy-free condensed milk and plant-based butter. Always check ingredient labels for any additional allergens as well!
How can I customize the flavor of the Easter Bunny Coconut Tails?
The more the merrier! You can add chocolate chips, nuts, or even different flavored extracts like almond or coconut to the base mixture for a unique twist. Experimenting with colors and flavors not only enhances the taste but also adds fun to the festive experience!
Easter Bunny Coconut Tails: Fun No-Bake Treats for Spring
Ingredients
Equipment
Method
- In a large bowl, whisk together sweetened condensed milk, melted butter, and vanilla extract until smooth and well-blended.
- Add medium shredded coconut and confectioner’s sugar, stirring vigorously until well combined.
- Cover the bowl with plastic wrap, and refrigerate the coconut mixture for about 15 minutes.
- While the mixture chills, divide fine shredded coconut into separate bowls and add liquid food coloring, mixing until evenly coated.
- Once the mixture has chilled, use a small cookie scoop to portion out balls and roll each scoop into smooth rounds.
- Roll each ball in the colored coconut, pressing to adhere.
- Arrange the coated balls on a parchment-lined baking sheet and refrigerate for about 1 hour.
- Keep the coconut tails chilled until serving; let sit at room temperature for a few minutes before enjoying.
Leave a Reply