
The scent of warm sugar bubbling on the stove is something I’ll never forget. As I recently stirred a pot of simple ingredients, I was reminded of just how easy it is to whip up homemade Golden Syrup, a beloved British classic with just three components. This versatile syrup isn’t just for drizzling over pancakes; it can elevate both sweet and savory dishes or even serve as a secret ingredient in your favorite baking recipes. With its rich caramelized flavor and buttery finish, you’ll find it a worthy companion for your culinary adventures. Plus, the long shelf life means you get to savor your creations longer! Are you ready to bring this delightful syrup into your kitchen? Let’s get cooking!
Why is Golden Syrup a Kitchen Essential?
Simplicity: With just three ingredients, making homemade golden syrup is an effortless task, perfect for both novice cooks and seasoned chefs alike.
Versatile: This syrup is more than a pancake topper! It enhances flavors in everything from baked goods to savory sauces, allowing your creativity to shine.
Rich Flavor: The deep caramelized taste paired with a buttery finish adds a delightful twist to any dish, making it a pantry staple.
Long-lasting: Enjoy peace of mind with its exceptionally long shelf life, letting you relish in all your homemade creations!
Budget-friendly: Skip the store-bought options – this recipe is an economical way to create a premium ingredient right in your kitchen.
Now that you’re inspired, check out more tips on using golden syrup in baking to elevate your dessert game!
Golden Syrup Ingredients
For the Syrup
- Cane Sugar – The primary sweetener that provides the syrup’s signature flavor; if you’re adventurous, try substituting a bit of brown sugar for deeper richness!
- Water – Essential to dissolve the sugar; there’s no need for substitutes here, as this will ensure a smooth consistency.
- Lemon Juice (or Citric Acid) – This adds flavor and helps stabilize the syrup; fresh lemon juice is preferred for its vibrant taste, but citric acid works too if you want to skip the lemon flavor.
With just these three ingredients, making your own golden syrup at home is easier than you might think. You’ll be amazed at how simple yet satisfying this process is!
Step‑by‑Step Instructions for Homemade Golden Syrup
Step 1: Combine Ingredients
In a heavy-bottomed saucepan, combine 4 cups of cane sugar with 1 1/4 cups of water. Stir gently until the sugar is fully dissolved, ensuring no granules remain. Place the saucepan over medium heat, bringing the mixture to a boil. You’ll notice the syrup bubbling as it heats up, forming small bubbles on the surface—a sign that you’re on the right track!
Step 2: Add Lemon Juice
Once the mixture reaches a rolling boil, carefully stir in 2 tablespoons of fresh lemon juice or 1/2 teaspoon of citric acid. This step is crucial for enhancing the flavor and stabilizing the syrup. Reduce the heat to a gentle simmer, leaving the saucepan uncovered. Avoid any stirring at this point to prevent splashing while allowing the golden syrup to develop its rich color.
Step 3: Let It Simmer
Allow the syrup to gently simmer for 40 to 60 minutes, keeping a close eye on its color. As time passes, you’ll notice a beautiful amber hue developing. The syrup should become thick enough to coat the back of a spoon. If possible, use a digital thermometer to check that it reaches between 240-250°F, which indicates it’s ready!
Step 4: Assess the Thickness
As the syrup cooks, periodically check its thickness. If it appears too runny, continue simmering until it thickens to your desired consistency. Conversely, if it becomes too thick, carefully reheat it and stir in a small amount of water until you achieve the perfect drizzling consistency. This masterful making of homemade golden syrup requires a bit of patience, but the results are absolutely worth it!
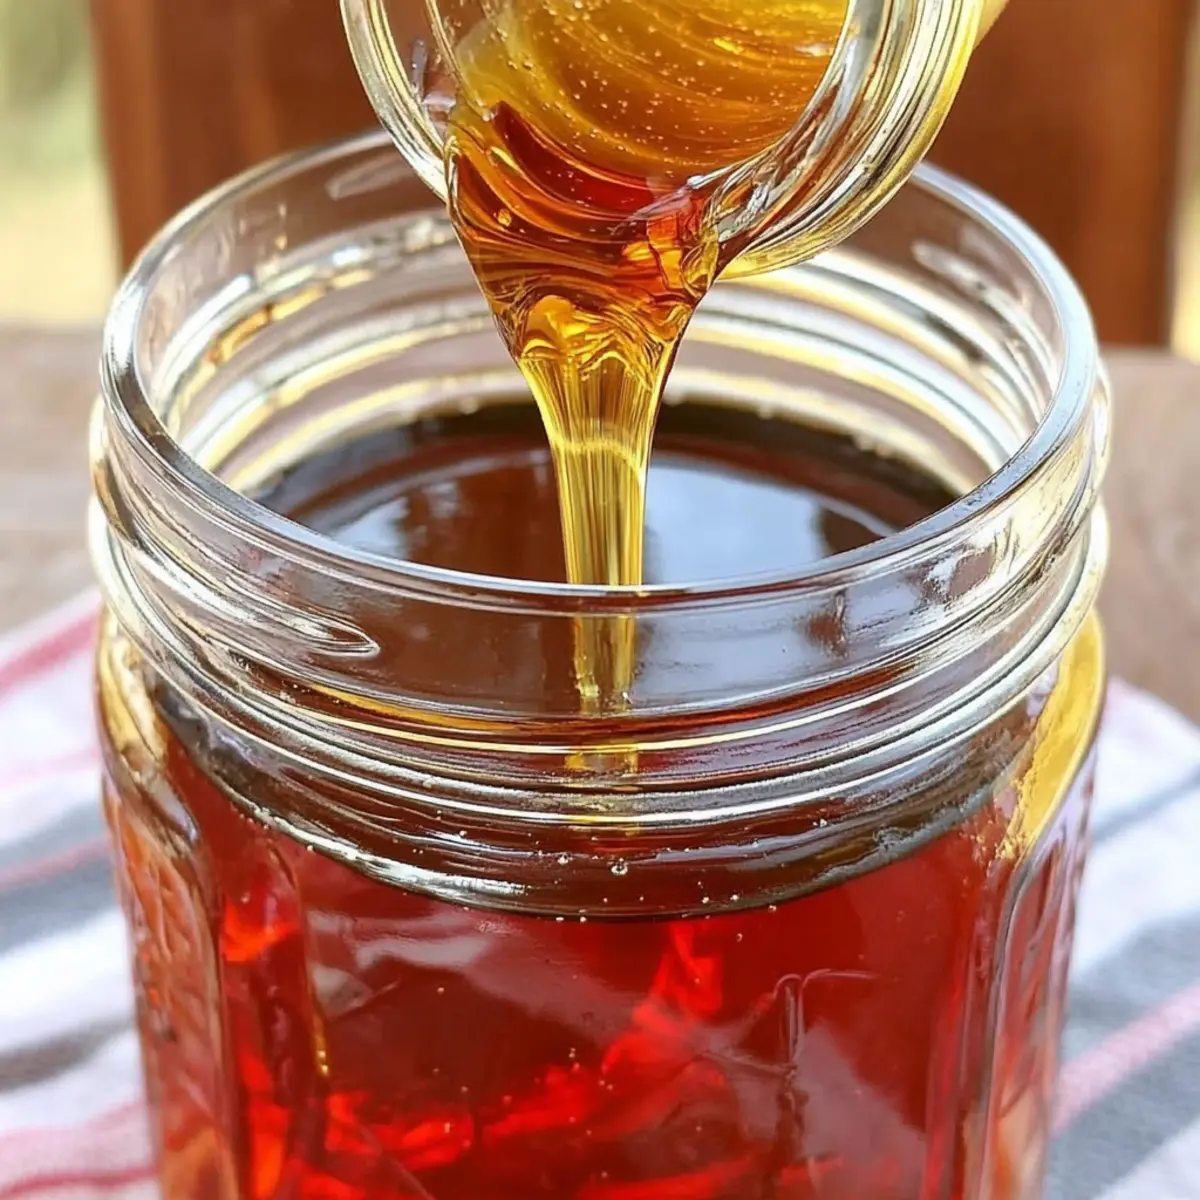
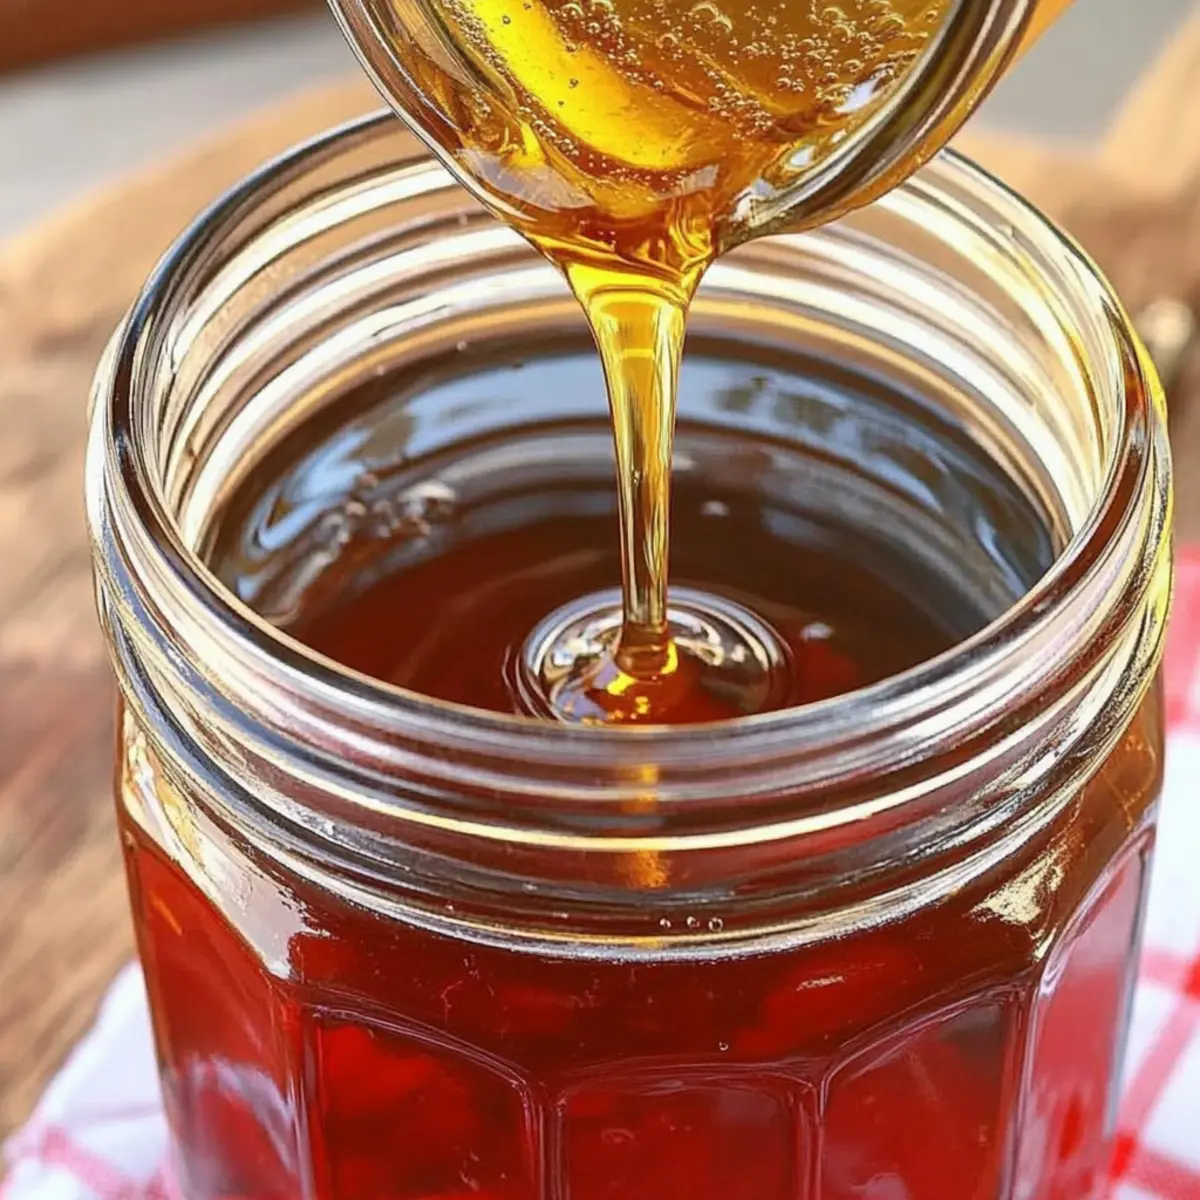
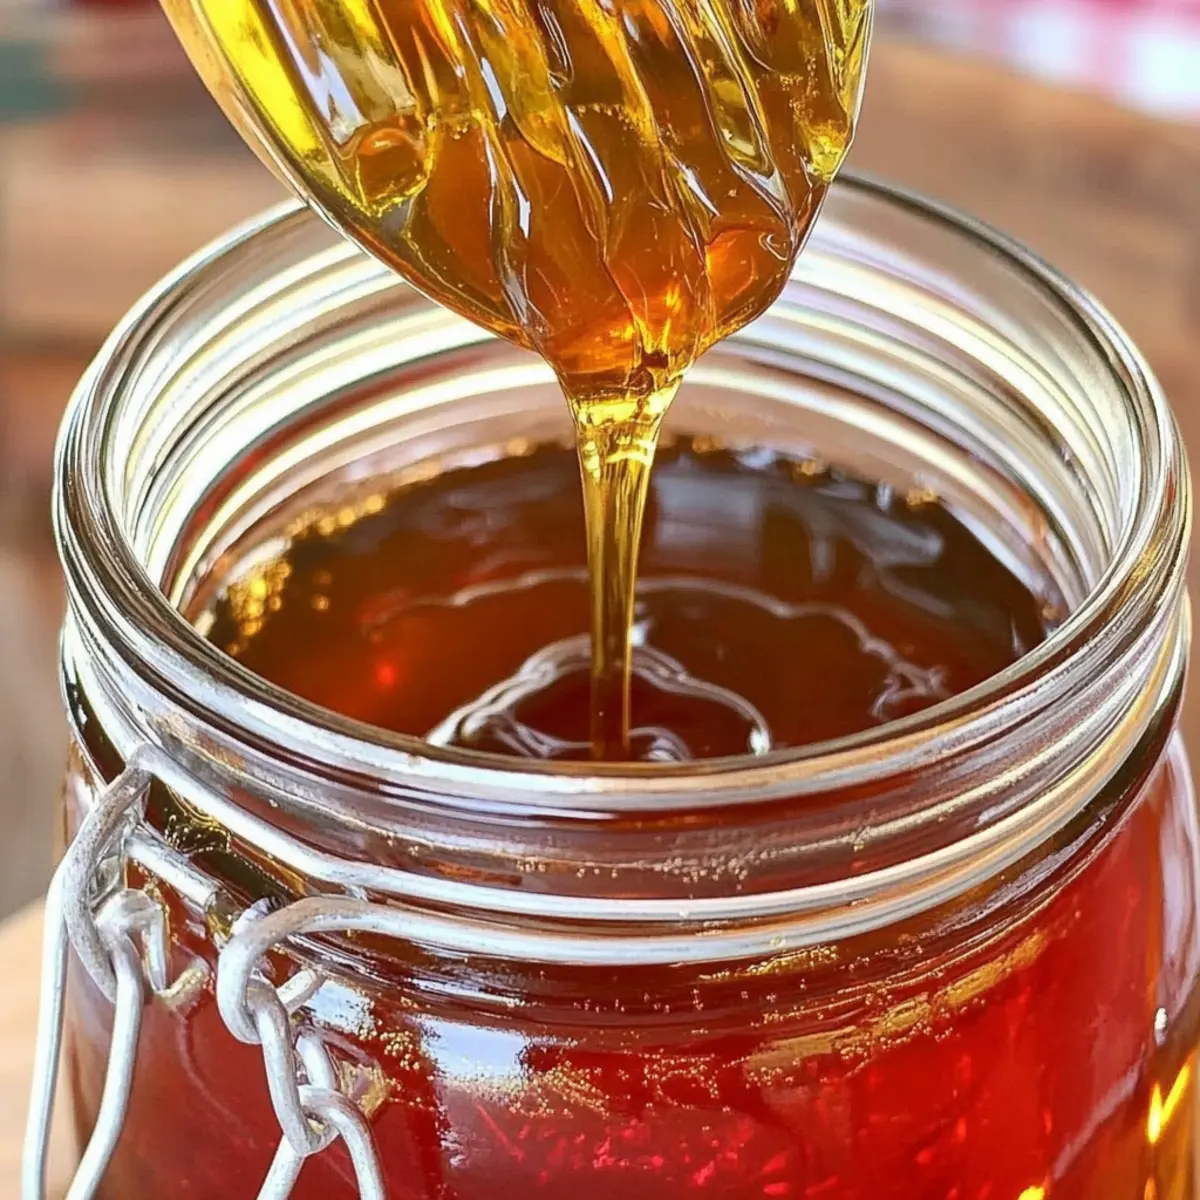
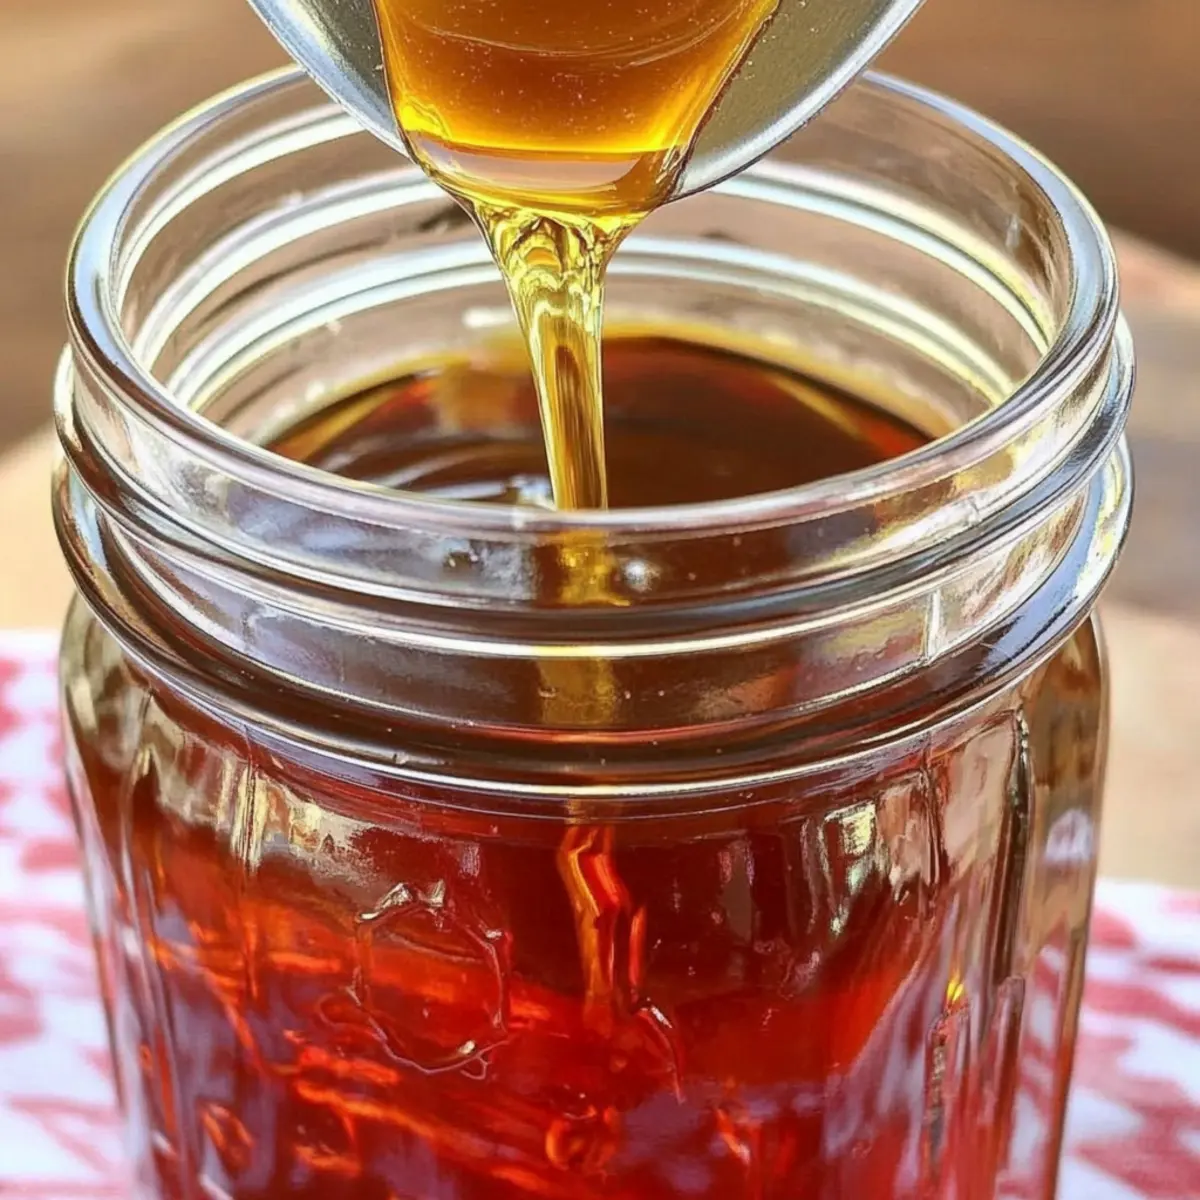
Step 5: Cool and Store
Once your golden syrup reaches that lovely amber color and thick texture, turn off the heat and let it sit for a few minutes. Carefully pour the syrup into a sterilized glass jar while it’s still warm. Allow it to cool completely before sealing with a lid. Your homemade golden syrup is now ready to enhance your favorite dishes or desserts!
Make Ahead Options
Making homemade golden syrup is great for meal prep enthusiasts! You can prepare the sugar and water mixture up to 24 hours in advance by dissolving 4 cups of cane sugar in 1 1/4 cups of water and storing it in the refrigerator in an airtight container. Just remember to stir well before continuing with the recipe to ensure a smooth consistency. Additionally, you can also juice your lemons ahead of time, keeping the juice refrigerated. When you’re ready to create your golden syrup, simply bring the mixture to a boil, add the lemon juice, and simmer until it reaches that rich amber hue. This way, you’ll save precious time on busy days while still enjoying that delicious homemade flavor!
Golden Syrup: Delicious Variations Await!
Feel free to get creative with your homemade golden syrup by trying out these delightful variations. Each twist can add a unique flair to this already amazing ingredient!
-
Brown Sugar Twist: Replace part of the cane sugar with brown sugar for a deeper, richer flavor. This alteration adds a luscious caramel undertone that simply elevates your syrup!
-
Rich Vanilla: Stir in a teaspoon of vanilla extract at the end of the cooking process. It transforms the syrup into a luxurious treat that’s perfect for drizzling over vanilla ice cream or banana bread.
-
Spicy Kick: Add a dash of cinnamon or nutmeg while simmering for a warm, spiced version of golden syrup. This variation is especially delightful during the fall months, bringing extra warmth to your recipes.
-
Citrus Zing: For a refreshing twist, incorporate the zest of a lemon or orange alongside the juice. This brightens the syrup, making it a fantastic addition to pancakes or breakfast desserts.
-
Honey-Like Sweetness: Substitute some of the cane sugar with agave syrup for a honey-like essence. This swap offers a different sweetness profile that pairs beautifully with baked goods.
-
Herbal Infusion: Infuse your syrup with fresh herbs (like thyme or rosemary). Simmer these herbs into the syrup for a unique flavor that compliments marinades and savory dishes wonderfully.
-
Maple Style: A small splash of maple syrup can give your golden syrup an earthy flavor twist. It’s a fantastic mixer for both desserts and breakfast staples such as waffles or oatmeal.
-
Molasses Depth: For a bold flavor, consider a hint of molasses. Just a tablespoon or two can impart a delightful richness and a darker color, perfect for adding character to your recipes.
Remember, these variations not only enhance the flavor but can also transform your baking and cooking. Don’t hesitate to experiment—perhaps you’d like to try using golden syrup as a secret ingredient in your buzz-worthy baked treats. Dive deeper into that idea with my tips on using golden syrup in baking. Happy cooking!
What to Serve with Homemade Golden Syrup
The luscious sweetness of homemade golden syrup opens a world of delicious serving options that can elevate even the simplest meals.
-
Fluffy Pancakes: Golden syrup drizzled over warm, fluffy pancakes creates a delightful sweetness that transforms breakfast into a special occasion.
-
Crispy Waffles: Use golden syrup as a topping for freshly made waffles. The syrup’s buttery flavor enhances every bite.
-
Oatmeal Delight: Stir a spoonful of syrup into your morning oats for a naturally sweet and creamy breakfast that comforts the soul.
-
Stuffed French Toast: A drizzle of golden syrup over your stuffed French toast adds an irresistible layer of flavor, making it a hit at brunch.
-
Homemade Pecan Pie: This classic dessert shines brighter with homemade golden syrup, providing a depth of flavor that complements its nutty richness perfectly.
-
Roasted Vegetables: A subtle drizzle of golden syrup over roasted carrots or sweet potatoes enhances their natural sweetness and brings out their caramelized flavors.
-
Milkshakes: Mix golden syrup into your favorite milkshake recipe for a sweet touch—a delightful surprise in each sip!
-
Vanilla Ice Cream: Pour warm golden syrup over a scoop of vanilla ice cream for an indulgent dessert that melts in your mouth.
-
Tea or Coffee: Sweeten your afternoon cup of tea or coffee with a touch of golden syrup, adding a unique twist that will pleasantly surprise your taste buds.
Expert Tips for Golden Syrup
- Monitor Color Closely: Keep an eye on the syrup as color changes quickly; check every 10 minutes to avoid burning.
- Use Digital Thermometer: For perfect consistency, a digital thermometer helps ensure your syrup achieves the ideal temperature range of 240-250°F.
- Avoid Stirring: Do not stir once it reaches a boil to prevent splashes—this is crucial for achieving a smooth texture in your golden syrup.
- Adjust Thickness: If your syrup turns out too thick post-cooking, gently reheat and stir in small amounts of water until the desired consistency is reached.
- Experiment with Flavors: Try adding vanilla extract or a dash of salt at the end for a unique twist on traditional homemade golden syrup!
Storage Tips for Golden Syrup
Airtight Container: Store your homemade golden syrup in a sterilized glass jar with a tight-sealing lid to keep it fresh for months.
Room Temperature: Golden syrup can be kept at room temperature for up to a year without refrigeration, ensuring it’s ready whenever you need it.
Reheating: If the syrup thickens too much during storage, gently reheat it on low heat, stirring in a small amount of water until it reaches your desired consistency.
Check for Freshness: Although it has a long shelf life, always check for any unusual odors or changes in texture before using your golden syrup.
Homemade Golden Syrup Recipe FAQs
What type of sugar should I use for golden syrup?
Absolutely! The primary sweetener in golden syrup is cane sugar, which provides its signature flavor. If you’re feeling adventurous, you can substitute a bit of cane sugar with brown sugar for a deeper, caramel-like taste. Just keep a close eye on it as the cooking time can be affected by the sugar type.
How should I store my homemade golden syrup?
To maintain freshness, store your homemade golden syrup in a sterilized glass jar with a tight-sealing lid. It can be kept at room temperature for up to a year without refrigeration, making it a convenient pantry staple. Just ensure to check for any unusual odors or changes in texture before using it!
Can I freeze golden syrup?
I often recommend against freezing golden syrup since its consistency may change upon thawing. However, if you prefer to freeze it, pour the syrup into an airtight freezer-friendly container, leaving some space for expansion. It should last for up to three months in the freezer. When you’re ready to use it, let it defrost in the refrigerator and reheating gently on low if it thickens.
What should I do if my golden syrup becomes too thick or too runny?
Don’t worry! If your golden syrup turns out too thick, simply reheat it on low heat, adding small amounts of water until it reaches your desired consistency. On the other hand, if it’s too runny, continue simmering it (uncovered) until it thickens to that beautiful amber drizzle you’re looking for. The key is patience and close monitoring!
Is golden syrup safe for those with dietary restrictions?
Yes, golden syrup is not vegan as it contains sugar, and it won’t suit gluten-sensitive diets since it typically contains cane sugar produced alongside gluten-containing grains. Always double-check labels if using different brands, but overall, this syrup remains a versatile ingredient in your baking and cooking adventures!
How can I enhance the flavor of my golden syrup?
Very! For a unique twist, consider adding a splash of vanilla extract or a dash of sea salt at the end of the cooking process. This small addition can elevate the flavor profile of your homemade golden syrup and make it even more versatile for both sweet and savory recipes!
Homemade Golden Syrup: A Sweet British Classic to Savor
Ingredients
Equipment
Method
- In a heavy-bottomed saucepan, combine 4 cups of cane sugar with 1 1/4 cups of water. Stir gently until fully dissolved and bring to a boil.
- Once boiling, stir in 2 tablespoons of fresh lemon juice or 1/2 teaspoon of citric acid and reduce heat to a gentle simmer.
- Allow to simmer for 40 to 60 minutes, checking color and thickness occasionally.
- Assess thickness, reheat if necessary, and stir in water to achieve desired consistency.
- Turn off heat, let sit, then pour into a sterilized jar and cool completely before sealing.
Leave a Reply