
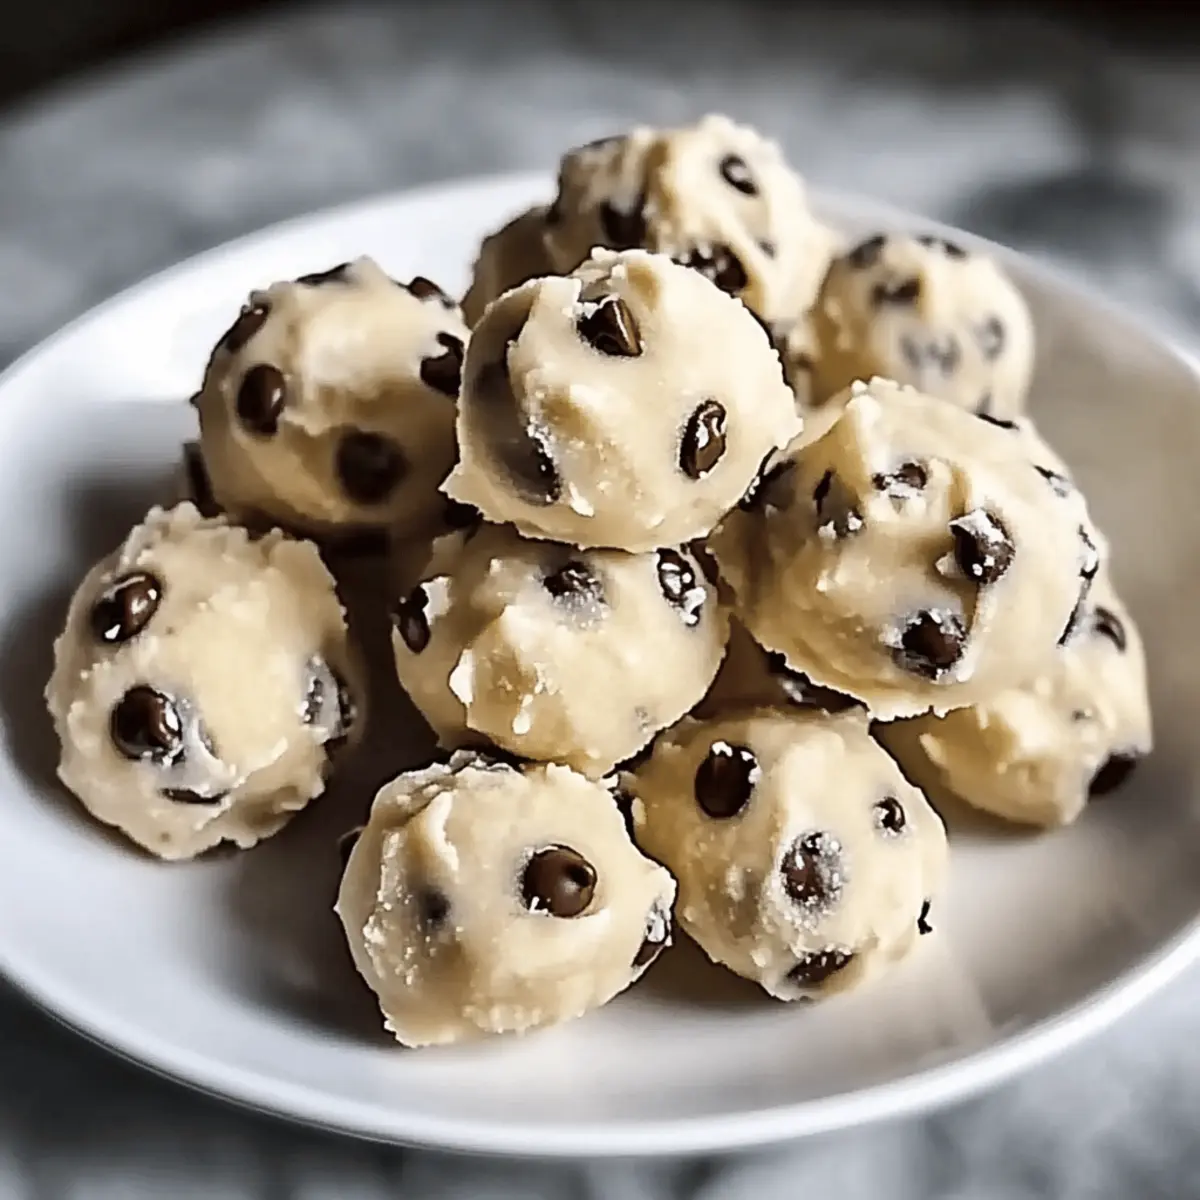
Who says you can’t enjoy dessert while staying on the healthier side? With these Greek Yogurt Cookie Dough Bites, I’ve turned a classic indulgence into a guilt-free delight! These no-bake treats are not only a perfect protein-packed snack, but they also cater to your sweet tooth without the refined sugars. They’re a breeze to prepare, and with optional add-ins like nuts or coconut, you can customize them to your heart’s desire. Imagine opening your fridge to find these soft, chewy bites waiting for you—a truly satisfying way to curb those cravings! What flavor twist will you choose for your own batch?

Why Are Greek Yogurt Bites a Must-Try?
Deliciously Adaptable: These bites are incredibly easy to customize! Feel free to mix in your favorite nuts, chocolate types, or even protein powder for a personal touch.
Nutritious Indulgence: With Greek yogurt as the base, you’re not just satisfying your sweet tooth, but also enjoying a protein-rich snack that nourishes your body.
No-Bake Convenience: Say goodbye to complicated baking processes! These no-bake bites can be ready to chill in no time, making them perfect for quick cravings.
Crowd Pleaser: Whether it’s an after-school snack for the kids or a pick-me-up for your afternoon break, everyone will love these versatile treats!
Feel-Good Ingredients: Made without refined sugars and with gluten-free options, these bites cater to a healthier lifestyle, allowing you to indulge guilt-free.
Create some for your next gathering and pair them with a side of fresh berries or even a sprinkle of shredded coconut for a fun twist!
Greek Yogurt Cookie Dough Bites Ingredients
For the Base
• Plain Greek Yogurt – Provides creaminess and protein; use full-fat for a richer texture.
• Almond Flour – Acts as a low-carb, gluten-free structure; can substitute with oat flour for a nut-free option.
• Peanut Butter (or Almond Butter) – Adds healthy fats and flavor enhancement; swap with sunflower seed butter for a nut-free version.
• Maple Syrup – A natural sweetener that balances flavors; adjust the quantity to your taste.
• Vanilla Extract – Contributes depth of flavor; fresh vanilla or vanilla beans can provide a gourmet touch.
• Salt – Enhances sweetness and balances flavors; just a pinch does the trick.
For the Mix-ins
• Mini Chocolate Chips – Offers that classic cookie dough taste; dark chocolate or carob chips can serve as alternatives.
• Optional Add-Ins – Feel free to include crushed nuts, shredded coconut, cinnamon, or protein powder to elevate texture and nutrition.
These Greek Yogurt Cookie Dough Bites are not just delicious but also incredibly versatile, making them the perfect healthier dessert option.
Step‑by‑Step Instructions for Greek Yogurt Cookie Dough Bites
Step 1: Mix Ingredients
In a large mixing bowl, combine 1 cup of plain Greek yogurt, ½ cup of almond flour, ¼ cup of peanut butter, 2 tablespoons of maple syrup, 1 teaspoon of vanilla extract, and a pinch of salt. Stir the mixture thoroughly using a spatula until you achieve a thick, cookie dough-like consistency—about 2-3 minutes. The dough should hold its shape without being overly sticky.
Step 2: Incorporate Mix-ins
Gently fold in ½ cup of mini chocolate chips into the dough, ensuring they’re evenly dispersed throughout. If you want to add any optional mix-ins, like crushed nuts or shredded coconut, do so at this stage. Be careful not to overmix, as you want to maintain the rich texture of your Greek Yogurt Cookie Dough Bites while integrating those delicious flavors.
Step 3: Chill Dough
Transfer the mixture into a covered container or bowl and place it in the freezer for about 20 minutes. This step helps the dough firm up, making it easier to scoop and roll. After the time is up, check the consistency; it should be slightly firmer but still soft enough to shape into bites.
Step 4: Form Bites
Once the dough is chilled, use a cookie scoop or a tablespoon to portion out small amounts of the mixture. Roll each portion into bite-sized balls—about 1 inch in diameter. Lay the formed bites onto a parchment-lined tray, leaving space between them to avoid sticking together as they chill further.
Step 5: Storage
After shaping all the bites, you can either enjoy them immediately or store them for later. Place the tray in the fridge if you prefer a softer texture, or transfer them to an airtight container and store in the freezer for longer shelf life. These Greek Yogurt Cookie Dough Bites can be kept in the refrigerator for up to a week or in the freezer for several months, making them a delightful and convenient snack option.

Greek Yogurt Cookie Dough Bites Variations
Feel free to unleash your creativity and make these cookie dough bites your own with delightful twists!
- Nut-Free Delight: Substitute almond flour with oat flour for a nut-free version, perfect for those with allergies.
- Protein Boost: Mix in 1–2 tablespoons of protein powder into the dough for an extra punch of nutrition that doesn’t compromise on taste.
- Chocolate Lovers: Try rolling the bites in melted dark chocolate for a decadent treat or use white chocolate for a sweeter option.
- Coconut Creaminess: Incorporate shredded coconut into the mix or roll the bites in it for a tropical flavor upgrade.
- Warm Spice: Add a sprinkle of cinnamon or nutmeg for a warm and inviting flavor that enhances the cookie dough experience.
- Fruit Fusion: Toss in some dried fruit like cranberries or raisins for a chewy texture and a sweet burst of flavor.
- Crunchy Add-Ins: Fold in crushed nuts or seeds for added crunch and an extra layer of texture to each bite.
Explore these variations and don’t forget to check out ideas like Sweet Air Fryer Churro Bites or Cinnamon Apple Cottage Cheese Bites for even more deliciousness!
How to Store and Freeze Greek Yogurt Cookie Dough Bites
Fridge: Store your Greek Yogurt Cookie Dough Bites in an airtight container in the fridge for up to 1 week. This keeps them soft and ready for snacking anytime.
Freezer: For longer storage, place the bites in a single layer on a tray, freeze until firm, and then transfer to an airtight container. They can be kept in the freezer for up to 3 months.
Thawing: When you’re ready to enjoy your frozen bites, simply remove a few and let them thaw in the fridge for about 30 minutes before indulging.
Reheating: Enjoy these bites cold or at room temperature. If you prefer them slightly softened, leave them out for 10-15 minutes before serving.
Expert Tips for Greek Yogurt Cookie Dough Bites
-
Firmness Matters: If you want a firmer texture, let the mixture chill longer in the freezer before scooping and rolling. This helps maintain bite shape.
-
Avoid Excess Moisture: Ensure your Greek yogurt is well-drained, especially if homemade. Extra moisture can lead to a sticky and unmanageable dough.
-
Mix Gently: When adding mini chocolate chips and optional ingredients, fold them in gently to prevent overmixing, which can alter the texture of your Greek Yogurt Cookie Dough Bites.
-
Add Flavor Personalization: Don’t hesitate to experiment with different mix-ins like nuts, seeds, or spices. This is your chance to customize each batch to your liking.
-
Storage Tips: Store your bites in an airtight container in the fridge or freezer. For added convenience, prep multiple batches to enjoy throughout the week!
What to Serve with Greek Yogurt Cookie Dough Bites
Elevate your snacking experience with delightful sides that enhance these creamy bites, creating a well-rounded treat.
-
Fresh Berries: Juicy strawberries or blueberries add a refreshing pop of flavor, beautifully contrasting with the rich cookie dough bites. These vibrant fruits can also add a burst of color to your snack plate, making it visually appealing.
-
Nutty Granola: A crunchy granola blend brings added texture and wholesome goodness. Try topping your yogurt cookie dough bites with a sprinkle for a delightful crunch and satisfying chew.
-
Coconut Flakes: Shredded coconut rolled over the bites introduces a sweet, tropical flair. Its chewy texture complements the soft consistency of the bites perfectly, enhancing the overall flavor experience.
-
Dip in Greek Yogurt: Serve a small bowl of plain or flavored Greek yogurt for dipping. It offers a creamy contrast and keeps the indulgent theme while adding an extra layer of protein to your snack.
-
Milk Alternatives: Pair with almond or oat milk for a nutritious beverage option that’s compatible with the healthy theme. A cool glass does wonders to cleanse the palate and enhance your snacking moment.
-
Chocolate Drizzle: A light drizzle of dark or white chocolate elevates the sweetness without overwhelming. This decadent touch not only looks inviting but also adds an elegant flair to your homemade dessert.
Enjoy these combinations to create the perfect snacking experience, showcasing the wonderful flavors of your Greek Yogurt Cookie Dough Bites!
Make Ahead Options
Get a head start on your snacking with these Greek Yogurt Cookie Dough Bites! You can easily prepare the dough up to 24 hours in advance. Simply follow the mixing and incorporating steps, then refrigerate the mixture in a covered container to keep it fresh. When you’re ready to enjoy, scoop and roll the bites as directed and chill them briefly in the freezer for about 20 minutes. If you prefer, these bites can be rolled and stored in an airtight container in the fridge for up to 7 days or frozen for several months, ensuring that you always have a healthy treat on hand, just as delicious as when freshly made!
Greek Yogurt Cookie Dough Bites Recipe FAQs
How do I choose the right Greek yogurt?
Absolutely! For the best flavor and texture, opt for full-fat plain Greek yogurt. It creates a richer, creamier base for your Greek Yogurt Cookie Dough Bites. If you’re looking for a lower-calorie option, you can use non-fat yogurt, but be aware that it may produce a slightly different consistency.
How long can I store these bites in the fridge?
Simply keep your Greek Yogurt Cookie Dough Bites in an airtight container in the fridge for up to 1 week. They make for a delightful and soft snack, always ready when that sweet craving hits!
Can I freeze the cookie dough bites?
Certainly! To freeze your Greek Yogurt Cookie Dough Bites, place the bites in a single layer on a parchment-lined tray and freeze until solid, which takes about 1-2 hours. Then, transfer them to an airtight container or freezer bag, and they will stay fresh for up to 3 months. When you’re ready to enjoy, just thaw them in the fridge for about 30 minutes.
What should I do if my dough is too sticky?
If you find that your dough is overly sticky, it could be due to too much moisture in your Greek yogurt or not enough dry ingredients. Mix in an additional tablespoon of almond flour at a time until you achieve a thicker consistency. Also, chilling the dough for a bit longer in the freezer can firm it up for easier handling.
Are there any allergy concerns with these bites?
Definitely! Since these Greek Yogurt Cookie Dough Bites contain common allergens like nuts and dairy, it’s important to consider allergies before enjoying them. For nut-free options, you can substitute peanut butter with sunflower seed butter and almond flour with oat flour. Always check labels for any hidden allergens if you’re serving them to others.
How can I customize these bites further?
The more the merrier! You can add a variety of optional healthy mix-ins, such as shredded coconut, cinnamon, or even protein powder, to enhance flexibility and nutrition. These bites are all about your individual taste preferences, so don’t hesitate to explore different combinations!
Creamy Greek Yogurt Cookie Dough Bites for Guilt-Free Snacking
Ingredients
Equipment
Method
- In a large mixing bowl, combine 1 cup of plain Greek yogurt, ½ cup of almond flour, ¼ cup of peanut butter, 2 tablespoons of maple syrup, 1 teaspoon of vanilla extract, and a pinch of salt. Stir thoroughly until you achieve a thick, cookie dough-like consistency—about 2-3 minutes.
- Gently fold in ½ cup of mini chocolate chips into the dough, ensuring they’re evenly dispersed. Add any optional mix-ins at this stage, but avoid overmixing.
- Transfer the mixture into a covered container or bowl and place it in the freezer for about 20 minutes.
- Use a cookie scoop or tablespoon to portion out small amounts of the mixture and roll into 1-inch balls. Lay the formed bites onto a parchment-lined tray.
- Store the bites in the fridge for a softer texture, or in an airtight container in the freezer for longer shelf life.
Leave a Reply