
As I stood in my kitchen, the nostalgic smell of freshly blended Oreos filled the air, transporting me back to summer nights spent savoring dessert on the porch. There’s something magical about an Oreo milkshake that makes it the perfect creamy treat, ideal for hot days or a sweet finish to a cozy movie marathon. With just three easy ingredients, this Ultimate Oreo Milkshake is not only super quick to whip up but also a crowd-pleaser any time of the year. Whether you enjoy it as a simple indulgence or use it as a base for fun variations like a Peanut Butter Oreo Shake or a Boozy Adult Shake, every sip promises a delightful blend of cookies and cream flavor. Ready to dive into this rich and satisfying experience? Let’s make your taste buds dance!
Why is this Oreo Milkshake a must-try?
Indulgence at Its Core: This creamy treat combines simplicity and deliciousness, making it an ideal dessert for any occasion.
Easy to Make: With just three ingredients, you’ll have a decadent milkshake ready in minutes.
Endless Variations: Customize your shake with unique twists like the Peanut Butter Oreo Shake or a Boozy Adult Shake, ensuring there’s something for everyone.
Total Crowd-Pleaser: Whether you’re serving a gathering or enjoying a quiet moment, this milkshake is guaranteed to impress family and friends.
Creamy Texture: Each sip is a dreamy blend of thick, cookie-filled goodness that satisfies even the strongest cravings.
Nostalgic Treat: It evokes fond memories of childhood and summer fun, bringing a comforting vibe to every occasion.
Oreo Milkshake Ingredients
• Ready to whip up this creamy delight?
For the Milkshake
- Oreo cookies – The star of the milkshake, adding rich flavor and delightful texture. Substitution: Use Golden Oreos for a lighter twist.
- Vanilla ice cream – Provides creaminess and sweetness, making each sip indulgent. Substitution: Opt for chocolate ice cream for a deeper chocolate flavor.
- Whole milk – Combines with ice cream to create a smooth and silky consistency. Substitution: Use a non-dairy milk for a vegan option.
For the Toppings
- Whipped cream – Adds a light and fluffy topping for that extra indulgence. Substitution: Whipped coconut cream for a delightful dairy-free alternative.
- Chocolate syrup – A sweet drizzle that elevates the presentation and flavor. Feel free to use homemade chocolate sauce for a personal touch.
- Extra Oreos – Crushed or whole for garnish, adding crunch and visual appeal. Optional based on personal preference, but definitely enhances the treat!
Dive into this Oreo milkshake, where every sip is an experience worth savoring!
Step‑by‑Step Instructions for Oreo Milkshake
Step 1: Crush the Oreos
Begin by placing about 8 Oreo cookies into a sturdy plastic bag. Using a rolling pin, gently crush the cookies until you achieve fine crumbs, taking about 2-3 minutes. This will release the cookies’ rich flavor, making your Oreo milkshake even more delicious. Set the bag aside once fully crushed, and prepare for blending.
Step 2: Blend Ingredients
In a blender, pour in 1 cup of whole milk followed by 2 cups of vanilla ice cream. Next, add the crushed Oreo cookies from your bag into the mix. Blend on medium speed for about 30-45 seconds or until the mixture is smooth and creamy, ensuring to stop when you still see small bits of Oreo for delightful texture in your milkshake.
Step 3: Pour and Prepare Toppings
Once you have a luscious Oreo milkshake, grab your favorite glasses and pour the shake evenly into them, filling each glass about three-quarters full. While you prepare to indulge, whip up some cream if desired or use store-bought whipped cream, ready for topping.
Step 4: Top and Garnish
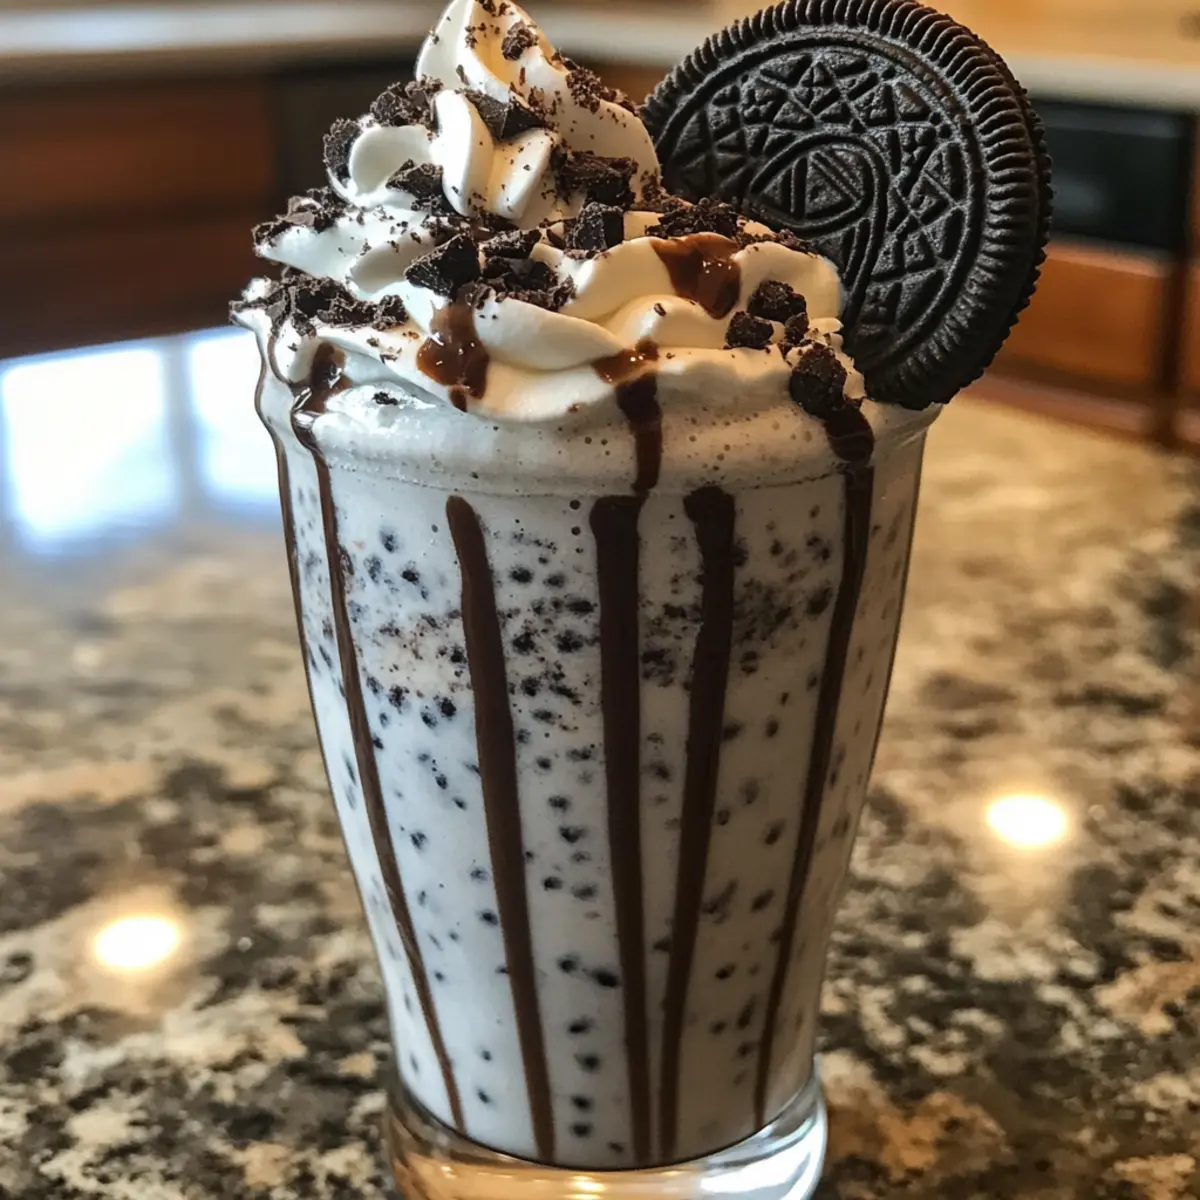
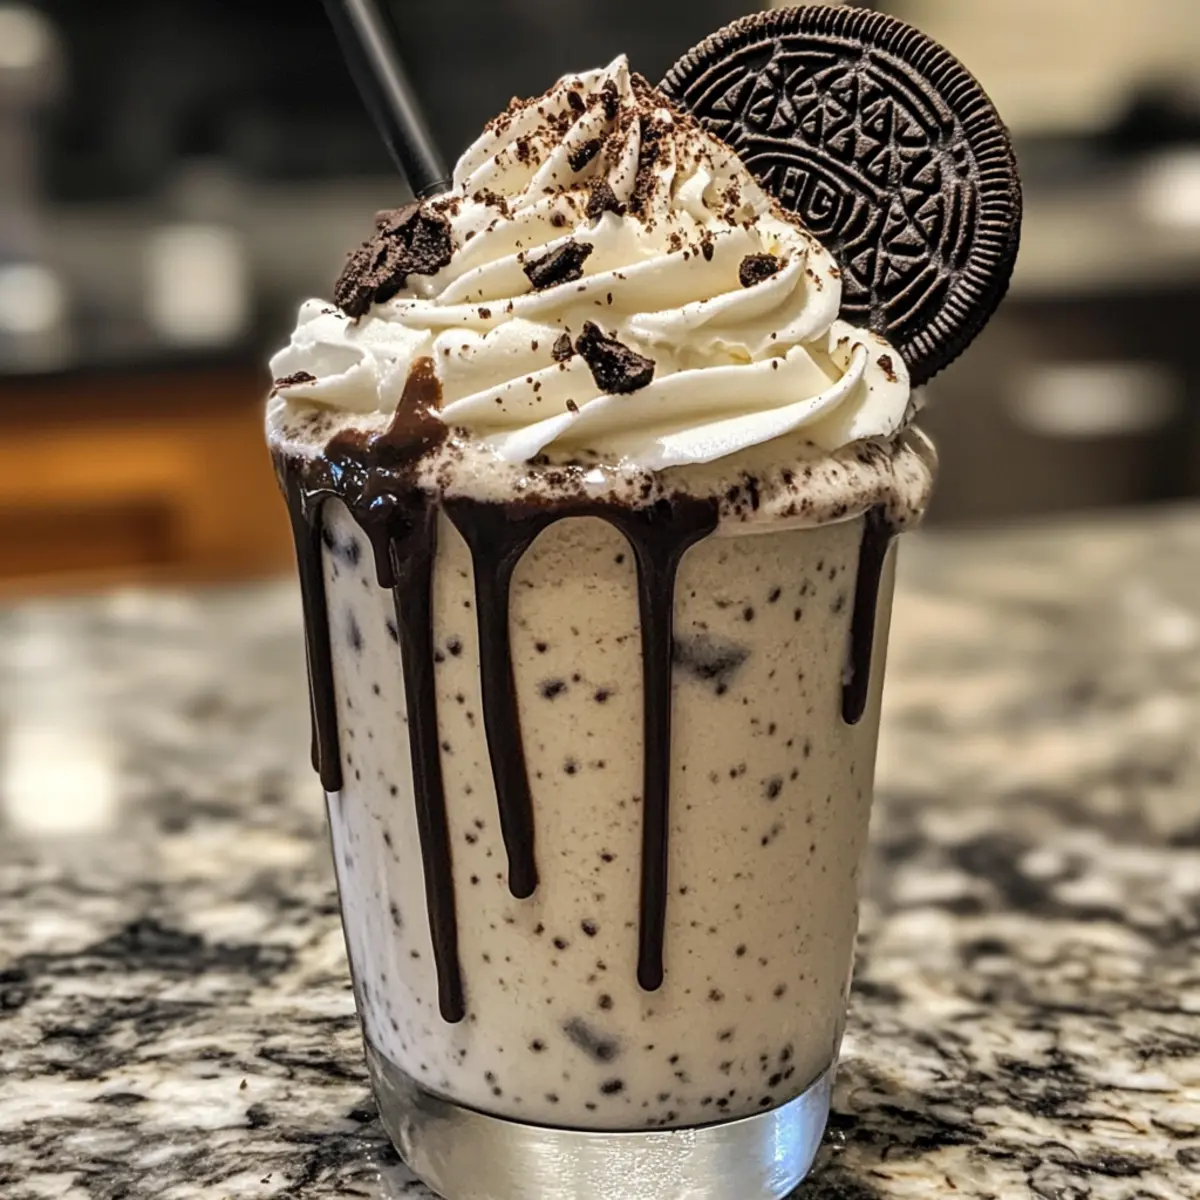
Add a generous dollop of whipped cream to the top of each milkshake, letting it cascade over slightly. Next, drizzle with chocolate syrup for that classic touch and place an extra Oreo on top for garnish. This final flourish not only enhances presentation but also makes the Oreo milkshake irresistible.
Step 5: Serve and Enjoy
Serve the Oreo milkshake immediately with colorful straws or spoons for a fun experience. Encourage everyone to dive right in, reveling in the creamy, rich flavor and delightful cookie crunches. This homemade treat is perfect for sharing and will surely impress anyone who gets a taste!
What to Serve with Oreo Milkshake
As you prepare to indulge in this sweet delight, consider these fantastic pairings that will complement your creamy treat perfectly.
-
Chocolate Chip Cookies: These classic cookies provide a warm, chewy contrast to the icy milkshake, making them the perfect snack to enjoy alongside.
-
Fresh Berries: The tartness of strawberries or raspberries adds a refreshing burst that balances the rich sweetness of the milkshake.
-
Peanut Butter Cup Brownies: Rich, fudgy brownies infused with peanut butter make for a decadent dessert duo, elevating your treat to heavenly levels.
-
Salted Caramel Popcorn: Crunchy, sweet-and-salty popcorn adds an exciting texture that pairs beautifully with the smoothness of the milkshake.
-
Chocolate Cake Slices: A slice of moist chocolate cake brings a delightful richness, creating a double chocolate experience that’s incredibly indulgent.
-
Milk and Cookies Board: Serve a mix of cookies and your Oreo milkshake for a fun and interactive dessert experience that everyone can enjoy together.
-
Ice Cream Floats: Pair it with a scoop of fruity ice cream in sparkling soda for a refreshing twist that complements the creamy texture of your shake.
-
Coffee: A hot cup of coffee or espresso can cut through the richness of the milkshake, providing a delightful wake-me-up alongside your dessert treat.
Each of these pairings elevates your Oreo milkshake, creating a joyful, nostalgic feast for all to savor!
How to Store and Freeze Oreo Milkshake
- Fridge: Store any leftover Oreo milkshake in an airtight container for up to 3 days. Before serving, give it a gentle stir or re-blend for the best texture.
- Freezer: For longer storage, place the milkshake in a freezer-safe container for up to 1 month. Thaw in the fridge overnight before re-blending to restore its creamy consistency.
- Reheating: If you desire a frosty treat, simply enjoy it cold. Avoid reheating in a microwave, as it won’t hold the same texture or flavor profile.
- Texture Reminder: Remember, the Oreo milkshake is best fresh, so try to consume it shortly after making for the ultimate indulgence!
Oreo Milkshake Variations & Substitutions
Get creative with your Oreo milkshake and explore delightful twists that will make your taste buds sing!
-
Peanut Butter: Add a spoonful of creamy peanut butter for a luscious nutty flavor that elevates the shake.
-
Strawberry Oreo: Swap out vanilla ice cream for strawberry, creating a fruity combination that dances on your palate.
-
Chocolate Overload: Use rich chocolate ice cream instead of vanilla for a deeply indulgent version that chocolate lovers will adore.
-
Golden Caramel Swirl: Replace regular Oreo cookies with Golden Oreos and mix in some caramel syrup for a sweet, golden treat.
-
Boozy Adult Shake: Add a splash of whipped cream vodka for a decadent twist that’s perfect for a grown-up dessert.
-
Minty Fresh: Include a few drops of mint extract for a refreshing mint Oreo flavor, reminiscent of your favorite Girl Scout cookies.
-
Coconut Delight: Substitute in coconut ice cream and top with toasted coconut flakes for a tropical escape with each sip.
-
Cookie Dough: Add chunks of cookie dough or chocolate chip cookies for an extra textural layer that feels indulgent and irresistible.
Feel free to mix and match these variations, and who knows, you might just invent your new favorite flavor! For more delicious combinations, check out our ideas for the Boozy Adult Shake or get inspired by the flavors in our Peanut Butter Oreo Shake.
Expert Tips for the Best Oreo Milkshake
-
Milk First: Always add the milk to the blender first. This helps create a smooth, creamy texture, making your Oreo milkshake blend perfectly without any chunks.
-
Crushing Oreos: For an even better flavor, crush your Oreos finely, but leave some larger bits for that delightful crunch in your shake.
-
Don’t Over-Blend: Blend just until smooth. Over-blending can turn your milkshake too thin, losing its dreamy consistency.
-
Chill Ingredients: For an extra-thick milkshake, chill your ingredients before blending. Cold ice cream and milk create a richer experience.
-
Personalize: Feel free to get creative! Try different flavors of ice cream or alternate toppings to give your Oreo milkshake a unique twist every time.
-
Presentation Matters: Layer your toppings for a beautiful presentation—drizzle chocolate syrup inside the glass before pouring in the shake for a stunning visual.
Make Ahead Options
These Oreo milkshakes are perfect for busy home cooks looking to save time! You can prep the crushed Oreos (about 8 cookies) up to 24 hours in advance, storing them in an airtight container to maintain their crunch. Additionally, you can measure out the milk (1 cup) and ice cream (2 cups) and keep them in the fridge for quick access. When you’re ready to enjoy your creamy Oreo milkshake, simply blend the prepped ingredients along with the crushed Oreos until smooth. This approach ensures a rich and delightful milkshake experience that’s just as delicious, all while giving you more time to relax and enjoy your treat!

Oreo Milkshake Recipe FAQs
How do I select the right Oreos for my milkshake?
Absolutely! Look for Oreos that are fresh and have no cracks or dark spots all over the packaging. I recommend using classic black Oreos for that iconic cookies and cream flavor, but if you’re feeling adventurous, Golden Oreos can add a delightful twist as well!
What’s the best way to store leftover Oreo milkshake?
Very! Store any leftover milkshake in an airtight container in the fridge for up to 3 days. Just remember to give it a gentle stir or re-blend before serving to regain that smooth, creamy goodness. A quick re-blend helps in mixing any settled ingredients!
Can I freeze Oreo milkshake for later?
Absolutely! To freeze your milkshake, pour it into a freezer-safe container and seal tightly. It can last up to 1 month! When you’re ready to enjoy, thaw it in the fridge overnight. Once thawed, re-blend to restore the creamy texture and enjoy a frosty treat!
What if my milkshake is too thick?
No worries! If your Oreo milkshake turns out too thick, simply add a splash more of milk and re-blend until you achieve your desired consistency. It happens to the best of us—just adjust to fit your taste, and you’ll get that perfect creamy sip!
Can pets enjoy this Oreo milkshake?
I advise against it. Since this milkshake contains dairy and sugar, it’s not suitable for pets, particularly dogs and cats, as it can upset their stomachs. However, you can make a pet-friendly version using yogurt and crushed dog biscuits for a fun treat!
Are there any allergies I should know about with this recipe?
Definitely! The main ingredients, including Oreo cookies and ice cream, contain dairy and potential allergens like gluten. If you’re catering to someone with dietary restrictions, look for dairy-free ice cream and use gluten-free cookies to ensure everyone can partake in this delicious treat!

Creamy Oreo Milkshake: Your Ultimate 3-Ingredient Treat
Ingredients
Equipment
Method
- Crush the Oreos: Begin by placing about 8 Oreo cookies into a sturdy plastic bag. Using a rolling pin, gently crush the cookies until you achieve fine crumbs, taking about 2-3 minutes.
- Blend Ingredients: In a blender, pour in 1 cup of whole milk followed by 2 cups of vanilla ice cream. Next, add the crushed Oreo cookies from your bag into the mix. Blend on medium speed for about 30-45 seconds or until the mixture is smooth and creamy.
- Pour and Prepare Toppings: Once you have a luscious Oreo milkshake, grab your favorite glasses and pour the shake evenly into them, filling each glass about three-quarters full.
- Top and Garnish: Add a generous dollop of whipped cream to the top of each milkshake, drizzle with chocolate syrup, and place an extra Oreo on top for garnish.
- Serve and Enjoy: Serve the Oreo milkshake immediately with colorful straws or spoons.
Leave a Reply