
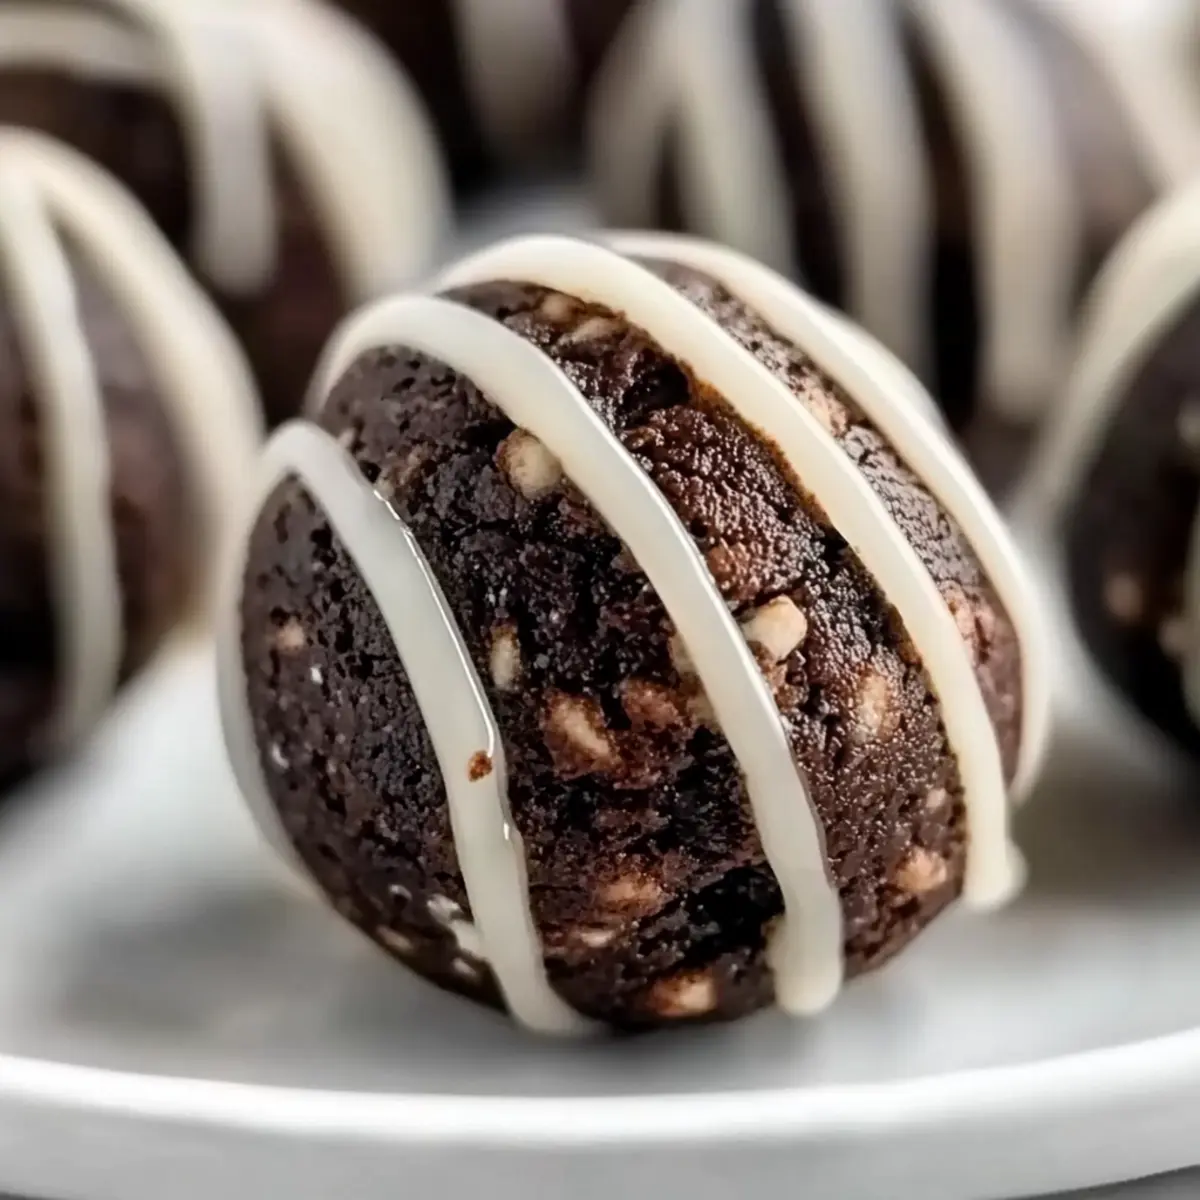
As I mixed together the perfect blend of crushed Oreos and creamy goodness, my kitchen transformed into a delightful oasis of sweet nostalgia. These No-Bake Oreo Protein Balls are not just a treat; they’re a game changer for anyone craving a healthy yet indulgent snack. With minimal prep time, they make for a fantastic post-workout boost or a satisfying afternoon pick-me-up. Packed with protein and totally customizable, you can easily tailor them to fit your dietary needs, including dairy-free options! Whether you’re a fitness enthusiast or simply a cookie lover, these little bites are sure to satisfy your cravings. So, are you ready to sneak in some guilt-free deliciousness into your snack routine?

Why Are Oreo Protein Balls So Appealing?
Irresistible Flavor: The sweet crunch of Oreos combines with creamy textures, creating a mouthwatering flavor that satisfies your sweet tooth without the guilt.
Customizable Goodness: You can easily tweak the ingredients to suit your dietary preferences. Whether you opt for vegan cream cheese or different flavored protein powders, the possibilities are endless!
Quick and Easy: With no baking required, you can whip up a batch in a flash—perfect for busy lifestyles or unexpected cravings.
High-Protein Snack: Filled with protein, these little balls make a great post-workout option. You can enjoy them without feeling like you’re overindulging.
Crowd-Pleaser: Whether for a family gathering or just a personal treat, everyone will love them! Pair them with a cold glass of almond milk or a refreshing protein shake for the ultimate snack experience. Want some more tasty treats? Try these High Protein Triple or Oreo Cheesecake Cookie recipes!
Oreo Protein Balls Ingredients
For the Protein Base
- Oreos – they provide the signature rich flavor and satisfying crunch; gluten-free Oreos can be used for a suitable alternative.
- Cream Cheese – ensures a creamy texture and binds everything together; opt for vegan cream cheese for dairy-free Oreo protein balls.
- Protein Powder – adds that essential protein boost; both chocolate and vanilla flavors work beautifully, just adjust the liquid based on the type used.
For Moisture
- Almond Milk – hydrates the mix; tweak the quantity depending on your protein powder’s absorbency.
For Coating
- Melted Chocolate – adds a luscious finish and deliciousness; dairy-free chocolate can be substituted if needed.
Step‑by‑Step Instructions for Oreo Protein Balls
Step 1: Prepare the Baking Sheet
Start by lining a baking sheet with wax paper. This will create a non-stick surface for your No-Bake Oreo Protein Balls, allowing for easy removal once they’re ready. Make sure the paper is flat and secure; this helps the balls maintain their shape while chilling in the refrigerator.
Step 2: Combine the Dry Ingredients
In a large mixing bowl, combine your protein powder, coconut flour, black cocoa, and sweetener, stirring thoroughly for about 1-2 minutes. This ensures even distribution of dry ingredients, preventing clumps in your mix. As you blend, visualize the rich chocolate flavor coming together for an indulgent taste in your finished Oreo protein balls.
Step 3: Mix in the Wet Ingredients
Add the cream cheese, pumpkin puree, applesauce, and almond milk to the bowl with your dry ingredients. Using a hand mixer or stand mixer, beat the mixture on medium speed for about 2-3 minutes until the dough is uniform and well-combined. The creaminess of the cream cheese will meld beautifully with the other elements, creating a cohesive dough that’s easy to work with.
Step 4: Roll into Balls
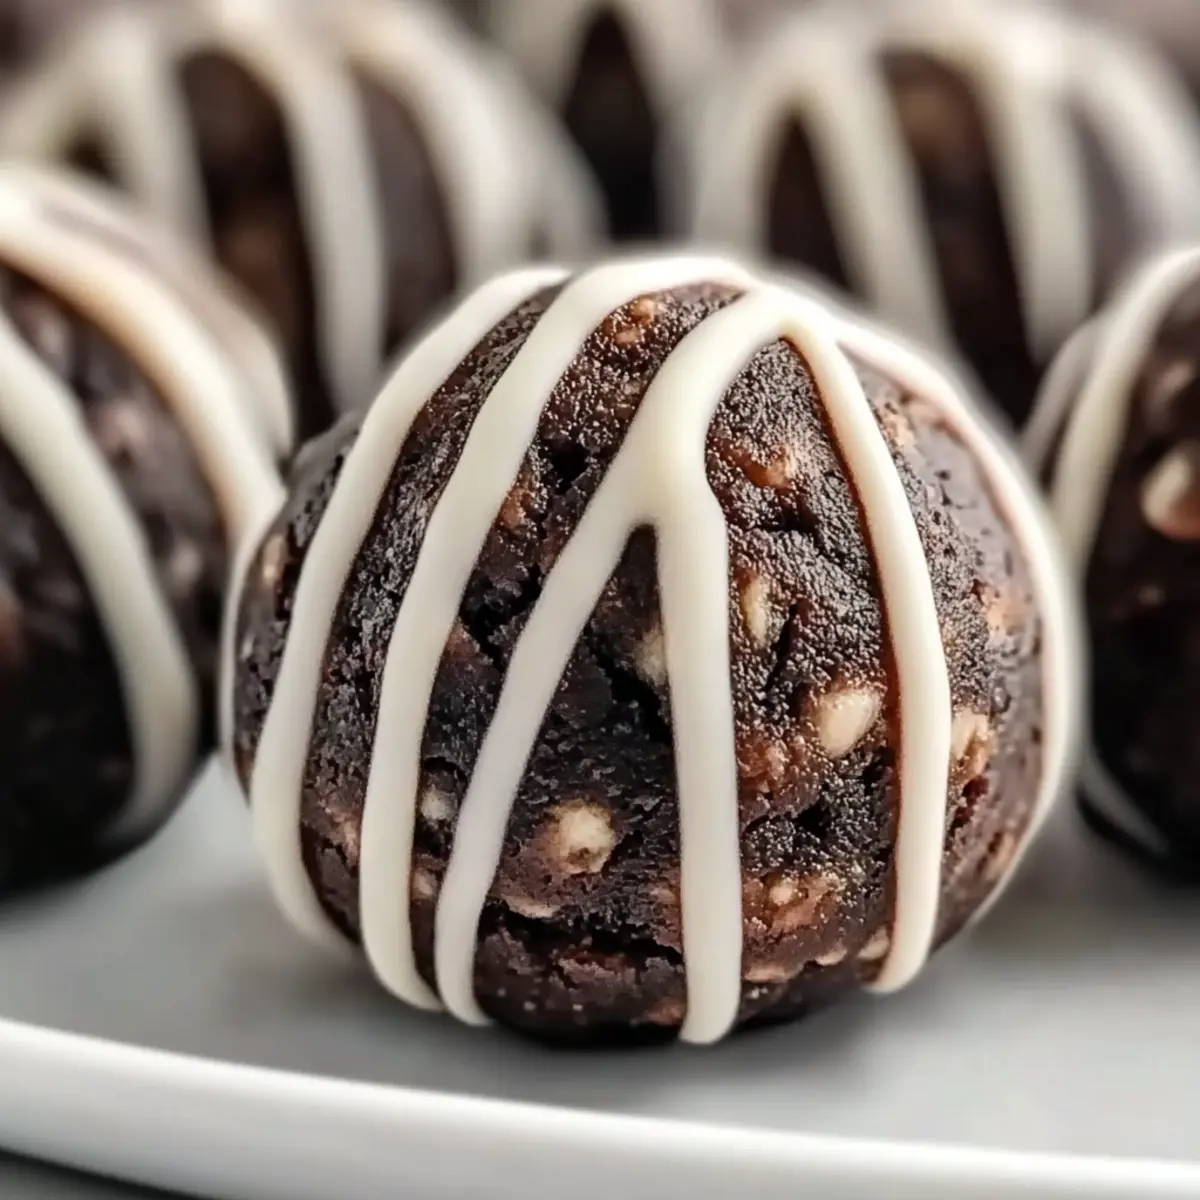
Now it’s time to form your Oreo protein balls! Grab a heaping tablespoon of dough (approximately 20 grams) and roll it between your palms to create smooth balls. Place each one on the prepared baking sheet, making sure they are spaced apart. You should see those delightful little spheres taking shape, ready for their chocolate coating.
Step 5: Melt the Chocolate
In a microwave-safe bowl, combine your chocolate chips and coconut oil. Heat the mixture in the microwave for 30 seconds at a time, stirring in between, until it’s fully melted and smooth. This should take about 1-2 minutes. Once melted, the rich, glossy chocolate will be perfect for dipping your protein balls, adding that irresistible allure.
Step 6: Coat the Protein Balls
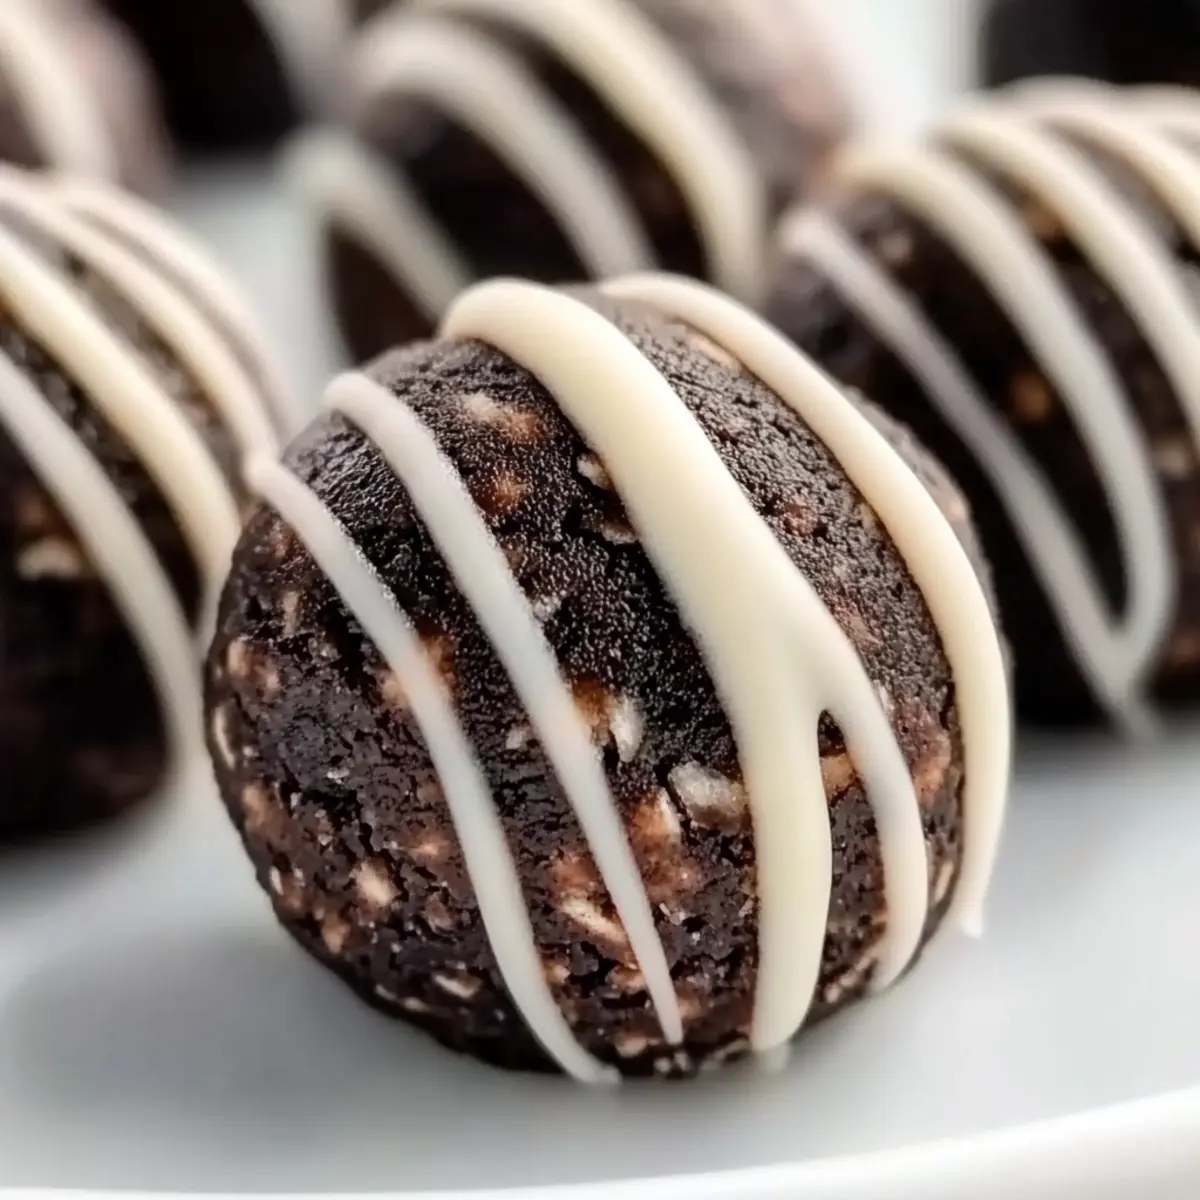
Using a fork or a spoon, drizzle the melted chocolate over the rolled protein balls, ensuring each one is generously coated. Allow excess chocolate to drip back into the bowl. The sight of those glossy-coated balls will evoke excitement, making your No-Bake Oreo Protein Balls look like delicious treats from a bakery.
Step 7: Chill to Set
Place the baking sheet with the coated Oreo protein balls in the freezer for approximately 10 minutes to allow the chocolate to set. After this time, peek through the freezer door to see how the chocolate has hardened, giving your snacks that perfect finishing touch.
Step 8: Store for Future Enjoyment
Once set, transfer the protein balls to an airtight container, storing them in the refrigerator for up to a week or in the freezer for up to three months. These convenient storage options will keep your Oreo protein balls fresh and ready to satisfy your cravings any time!
Oreo Protein Balls Variations
Feel free to get creative and customize these delightful treats to suit your taste and dietary preferences!
-
Dairy-Free: Substitute cream cheese with vegan cream cheese for a deliciously creamy texture that remains guilt-free.
-
Nutty Twist: Add chopped almonds or walnuts to the mixture for an enjoyable crunch and flavor variation. Nuts provide healthy fats and a satisfying bite.
-
Flavored Protein Boost: Experiment with flavored protein powders, such as chocolate mint or cookies and cream, to bring a new taste experience to your Oreo protein balls.
-
Fruity Surprise: Stir in dried fruits like cranberries, raisins, or even diced dried mango to add a delightful chewy element and unexpected sweetness.
-
Coconut Delight: Incorporate shredded coconut into the dough for a tropical twist that complements the rich Oreo flavor.
-
Healthy Sweetness: Swap regular sweetener with ripe mashed banana or unsweetened applesauce for a naturally sweet alternative that works wonderfully in your protein mix.
-
Spicy Kick: For those who crave a little heat, add a pinch of cayenne pepper or chili powder to the mixture, creating an exciting flavor contrast.
Don’t forget these variations add your own personal touch! Be sure to check out my other irresistible ideas, like White Chocolate Balls or even some Oreo Cheesecake Cookie recipes that are sure to please!
How to Store and Freeze Oreo Protein Balls
Fridge: Store your Oreo protein balls in an airtight container in the fridge for up to 7 days. This keeps them fresh and ready for a quick snack.
Freezer: Freeze the protein balls for up to 3 months, making sure to separate layers with parchment paper to prevent sticking. This ensures easy access for future cravings.
Thawing: When you’re ready to enjoy a frozen Oreo protein ball, simply remove from the freezer and let it thaw in the fridge for about 30 minutes before indulging.
Reheating: These protein balls are best enjoyed cold, but if you prefer a warm treat, microwave one for about 10 seconds for a soft, gooey center.
Expert Tips for Oreo Protein Balls
-
Less is More: Start with a smaller amount of liquid and add gradually. Too much moisture can make the mixture difficult to mold into balls, leading to a crumbly texture.
-
Room Temperature Ingredients: Ensure your cream cheese is at room temperature before mixing. This helps create a smooth, creamy consistency in the Oreo protein balls.
-
Chill Before Rolling: Refrigerate the dough for 15-20 minutes before rolling. This makes the mixture easier to handle, preventing sticky hands and mess.
-
Avoid Over-sweetening: If you use flavored protein powder, be cautious with added sweeteners. Protein powders with artificial sweeteners can make the Oreo protein balls excessively sweet.
-
Hands-On Help: Lightly coat your hands with coconut oil when rolling the balls. This will prevent the mixture from sticking, giving you perfectly shaped snacks.
Make Ahead Options
These Oreo Protein Balls are fantastic for meal prep enthusiasts seeking convenience in their busy lives! You can prepare the mixture and roll the protein balls up to 24 hours in advance, placing them on a lined baking sheet in the fridge. This prevents them from getting too soft and helps maintain their shape. After chilling overnight, simply coat them in melted chocolate when you’re ready to serve, ensuring each one is generously coated for that decadent finish. For longer storage, feel free to freeze them for up to three months; just place parchment paper between layers in an airtight container to keep them from sticking together. When you’re craving a sweet post-workout snack, these Oreo Protein Balls will be just as delicious as the day you made them!
What to Serve with Oreo Protein Balls?
Enjoy these delightful bites as part of a well-rounded snack plate, perfect for any occasion.
-
Cold Almond Milk: The creamy, nutty flavor of almond milk perfectly balances the sweetness of the protein balls, making for a refreshing drink.
-
Protein Shake: Pair these treats with your favorite protein shake for a double dose of nourishment; it’s a fantastic post-workout combo that satisfies your sweet tooth.
-
Fresh Berries: A mix of juicy raspberries or strawberries adds a bright, fresh contrast, enhancing the overall flavor profile and bringing a pop of color to your plate.
-
Greek Yogurt: Serve with a dollop of Greek yogurt dusted with a bit of cocoa powder. The creamy tanginess complements the chocolatey goodness, creating a deliciously unique snack experience.
-
Trail Mix: A side of crunchy trail mix offers a fun texture contrast, and a variety of nuts and dried fruits provide additional flavors that pair beautifully with the creamy protein balls.
-
Chocolate-Covered Strawberries: Indulge in chocolate-covered strawberries for a truly luxurious dessert pairing; it’s a delightful way to enhance the sweet experience of your Oreo protein balls.
These pairings elevate your snack time, turning it into a memorable treat that everyone will adore!
Oreo Protein Balls Recipe FAQs
What type of Oreos are best for this recipe?
You can use regular Oreos for the classic flavor, but if you need a gluten-free option, gluten-free Oreos work wonderfully as well. The richness and crunch of the Oreos are essential for that delicious cookies-and-cream flavor!
How do I store leftover Oreo Protein Balls?
Keep your Oreo protein balls in an airtight container in the fridge for up to 7 days. If you’ve made a larger batch or want to save some for later, they can be frozen for up to 3 months. Simply layer them with parchment paper for easy removal.
Can I freeze Oreo Protein Balls? If so, how?
Absolutely! To freeze your Oreo protein balls, place them in a single layer on a baking sheet and freeze for about 1-2 hours until solid. Then, transfer them to an airtight container, separating layers with parchment paper. When you’re ready to enjoy one, just let it thaw in the fridge for 30 minutes before serving.
What do I do if my mixture is too sticky to roll?
If your Oreo protein ball mixture feels too sticky, it’s likely due to too much liquid. You can rectify this by adding a bit more protein powder or coconut flour, a tablespoon at a time, until you achieve a firm and moldable consistency. Chilling the mixture for 15-20 minutes can also help with handling.
Are these protein balls suitable for people with allergies?
That depends on your specific allergies! The main ingredients can be adjusted to make them dairy-free by using vegan cream cheese and dairy-free chocolate. Always check labels for potential allergens in the protein powder and cookies to ensure safety for everyone.
Oreo Protein Balls: Indulgent Treats You Can Guiltlessly Love
Ingredients
Equipment
Method
- Prepare the Baking Sheet by lining it with wax paper for easy removal of the protein balls.
- Combine the Dry Ingredients in a large mixing bowl with protein powder, coconut flour, black cocoa, and sweetener, stirring for 1-2 minutes.
- Mix in the Wet Ingredients by adding cream cheese, pumpkin puree, applesauce, and almond milk to the dry mixture and beating for 2-3 minutes until uniform.
- Roll into Balls by grabbing a heaping tablespoon of dough and rolling it into smooth balls, placing them on the prepared baking sheet.
- Melt the Chocolate in a microwave-safe bowl, heating in intervals until smooth, for about 1-2 minutes.
- Coat the Protein Balls by drizzling melted chocolate over them using a fork or spoon until they're generously coated.
- Chill to Set by placing the baking sheet in the freezer for about 10 minutes to allow the chocolate to harden.
- Store for Future Enjoyment by transferring the balls to an airtight container, refrigerated for up to a week or frozen for three months.
Leave a Reply