
As I stood by the oven, a mouthwatering aroma wafted through my kitchen, instantly transforming my chaotic weeknight into a fiesta. Oven-Baked Cheesy Tacos promise to turn even the busiest of evenings into a delightful family dinner with effortlessly crispy shells and gooey melted cheese. This easy dinner recipe not only simplifies meal prep—just pop it in the oven—but it also invites everyone to customize their tacos just the way they like. Whether you’re rolling with classic beef or opting for a vegetarian twist, each bite packs in flavorful goodness that rivals your favorite takeout. Ready to elevate your taco game? Let’s dive into this delicious experience together!
Why Are Oven-Baked Tacos So Irresistible?
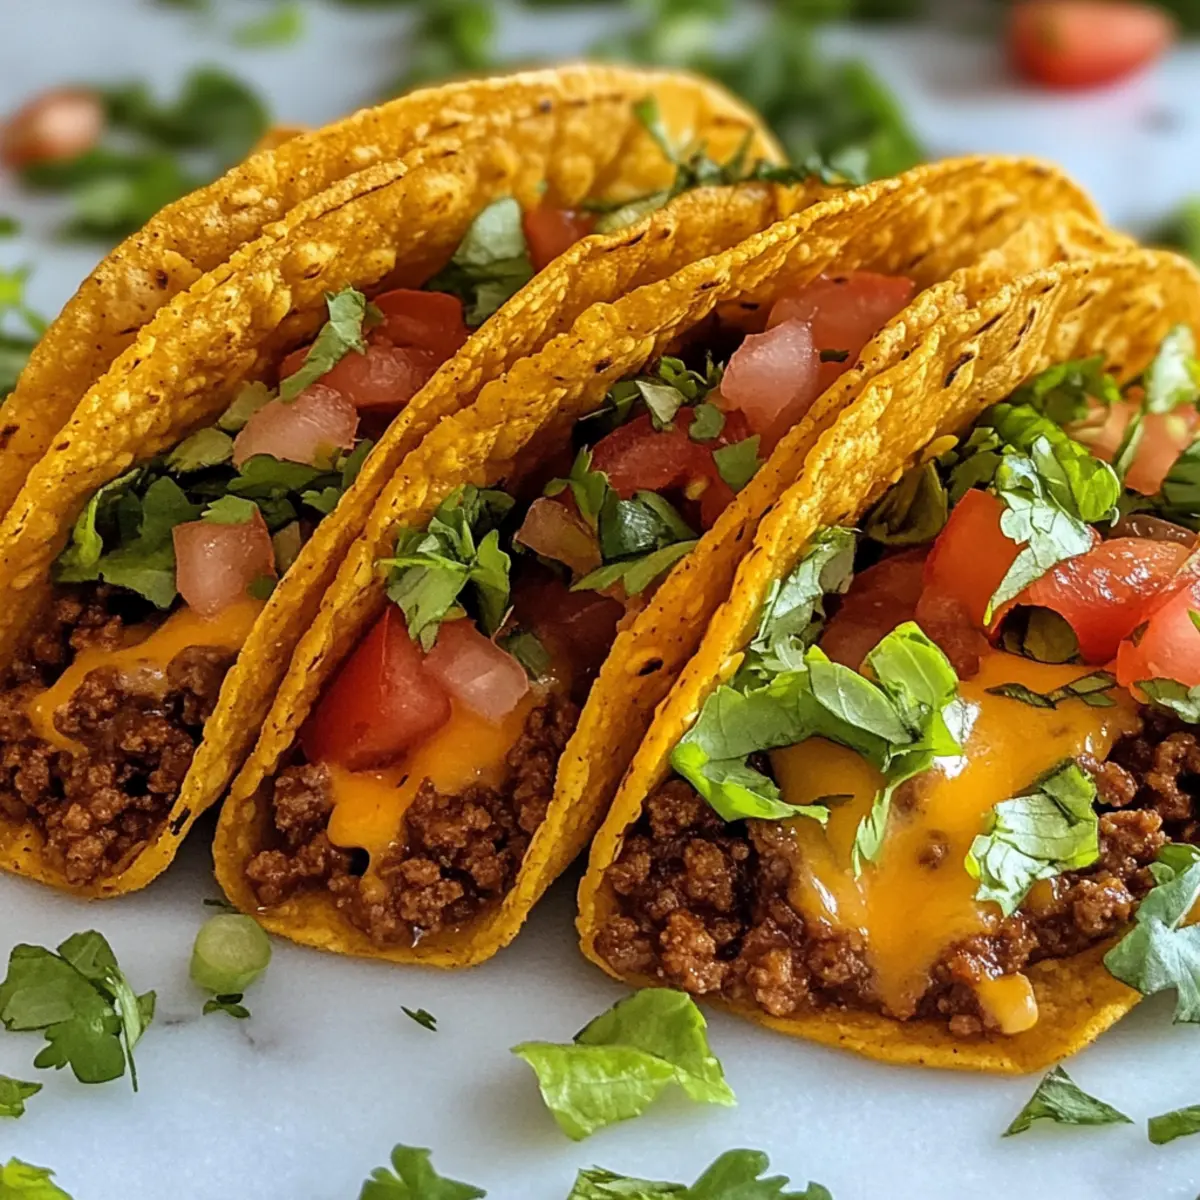
Crispy Texture: The oven-baking process produces perfectly crispy taco shells, elevating your taco experience from ordinary to extraordinary.
Gooey Cheese Delight: Each taco is generously topped with gooey melted cheese, ensuring every bite is loaded with flavor.
Customization Galore: Adapt this recipe to suit any dietary preference—try ground turkey for a lighter option, or use black beans for a hearty vegetarian version!
Effortless Cleanup: With minimal cooking pans and easy assembly, you can spend less time cleaning and more time enjoying your meal.
Crowd-Pleasing Appeal: Perfect for family dinners or get-togethers, these tacos are fun to assemble and even more fun to eat! Plus, if you’re looking for additional taco inspiration, check out Cheesy Dynamite Chicken and Pumpkin Pie Tacos for unique twists.
Oven-Baked Cheesy Tacos Ingredients
For the Filling
• Ground Beef (1 lb) – This main protein source provides a rich flavor; can be substituted with ground turkey or chicken for a lighter version.
• Olive Oil (1 tbsp) – Used for sautéing onions and garlic; vegetable oil can be used as a replacement.
• Onion (1 small, diced) – Adds sweetness and depth to the filling.
• Garlic (2 cloves, minced) – Enhances the overall flavor profile.
• Taco Seasoning (1 packet or homemade blend) – Essential for achieving that classic taco flavor.
• Tomato Sauce/Salsa (0.5 cup) – Provides moisture and tang; salsas add additional complexity.
• Salt and Pepper – Essential for seasoning; adjust according to preference.
For the Tacos
• Taco Shells (10 small, flour or corn) – The base for your dish; warm slightly before using to prevent cracking.
• Cheddar Cheese (2 cups, shredded) – Melts beautifully for a gooey texture; try a Mexican cheese blend or pepper jack for added spice.
For the Toppings
• Lettuce (1 cup, shredded) – Adds freshness and brightness.
• Tomatoes (0.5 cup, diced) – Provides color and freshness.
• Red Onion (0.5 cup, diced) – Offers a sharp contrast to the creamy fillings.
• Cilantro (0.25 cup, chopped) – Enhances the flavor with a fresh note.
• Optional Toppings – Sour cream, jalapeños, guacamole, or hot sauce for delicious customization.
These Oven-Baked Cheesy Tacos are not only easy to make but also a hearty way to enjoy a family favorite!
Step‑by‑Step Instructions for Oven-Baked Cheesy Tacos
Step 1: Preheat the Oven
Begin by preheating your oven to 375°F (190°C). While the oven heats up, prepare a baking dish by lightly greasing it with non-stick spray or lining it with aluminum foil for easier cleanup. This will ensure your Oven-Baked Cheesy Tacos are perfectly crisp on the outside and full of flavor as they bake to golden perfection.
Step 2: Sauté Aromatics
In a large skillet over medium heat, add 1 tablespoon of olive oil. Once heated, toss in the diced onion and minced garlic. Sauté for about 2-3 minutes, stirring occasionally, until the onion becomes translucent and fragrant. This step lays the foundation for the savory filling of your tasty tacos and enhances the delicious aroma wafting through your kitchen.
Step 3: Cook the Beef
Add 1 pound of ground beef to the skillet, breaking it apart as it cooks. Stir in your taco seasoning, tomato sauce, and a pinch of salt and pepper. Allow the mixture to simmer for about 5 minutes, until the beef is fully cooked and the sauce has thickened, creating a rich and flavorful filling for your Oven-Baked Cheesy Tacos.
Step 4: Fill the Shells
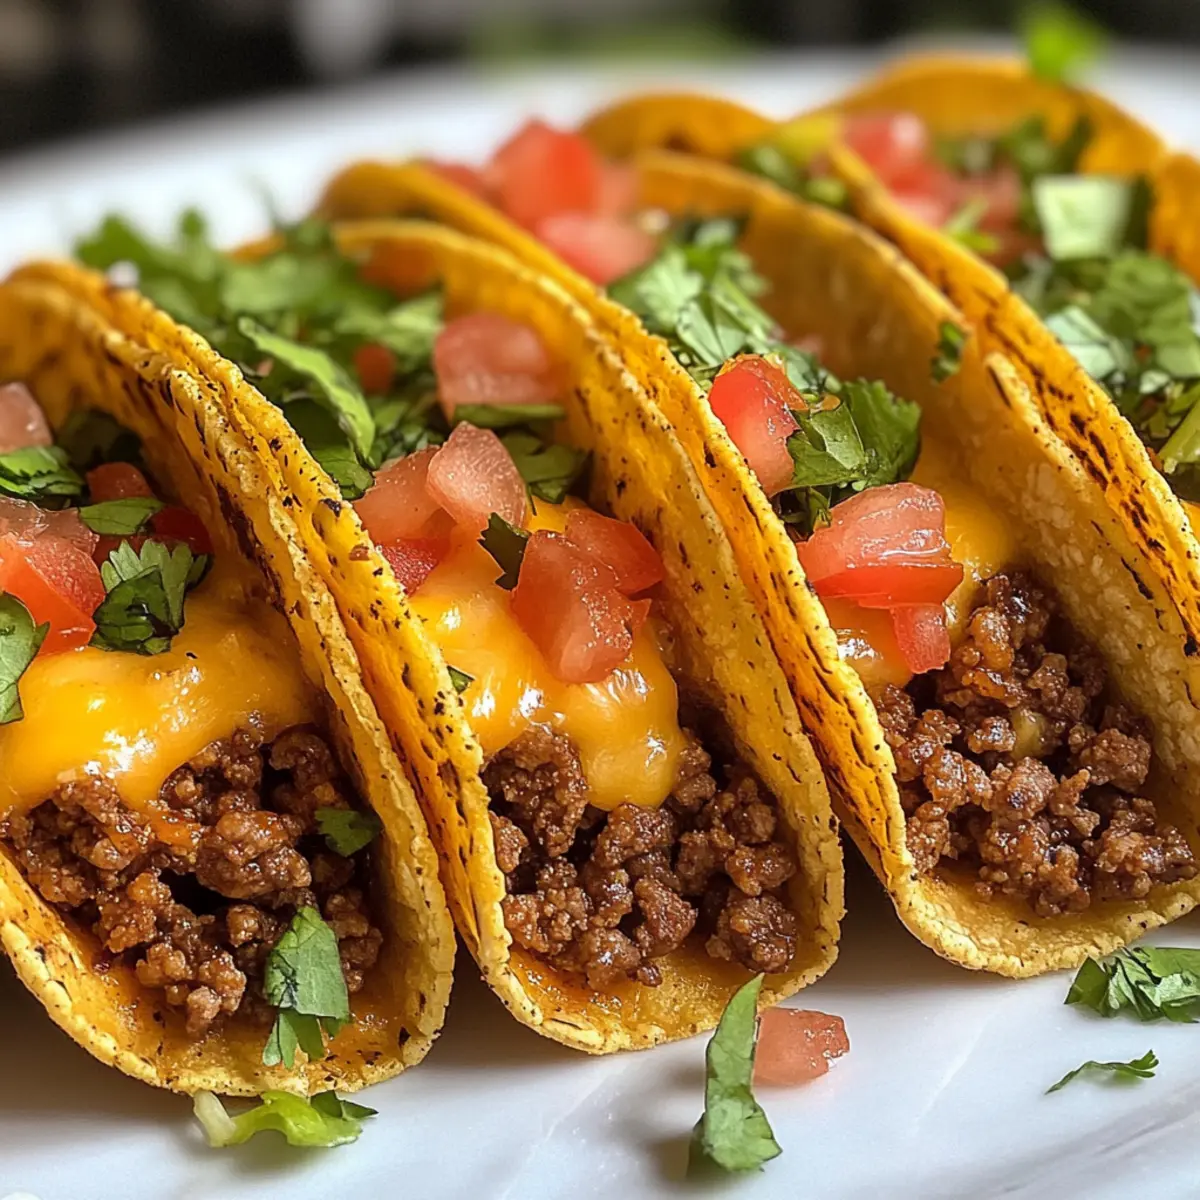
Take each taco shell and fill them generously with the seasoned beef mixture, ensuring to pack it well but not overstuff. Next, top each filled shell with a liberal amount of shredded cheddar cheese, allowing it to create that gooey, molten texture that everyone loves. This step is where the cheesy goodness truly comes to life!
Step 5: Arrange in the Dish
Carefully stand the filled taco shells upright in your prepared baking dish, arranging them closely together for support. This positioning not only helps to retain their shape while baking but also allows for even heating. The anticipation of the delicious Oven-Baked Cheesy Tacos is building as the shells begin to take their place.
Step 6: Bake and Crisp
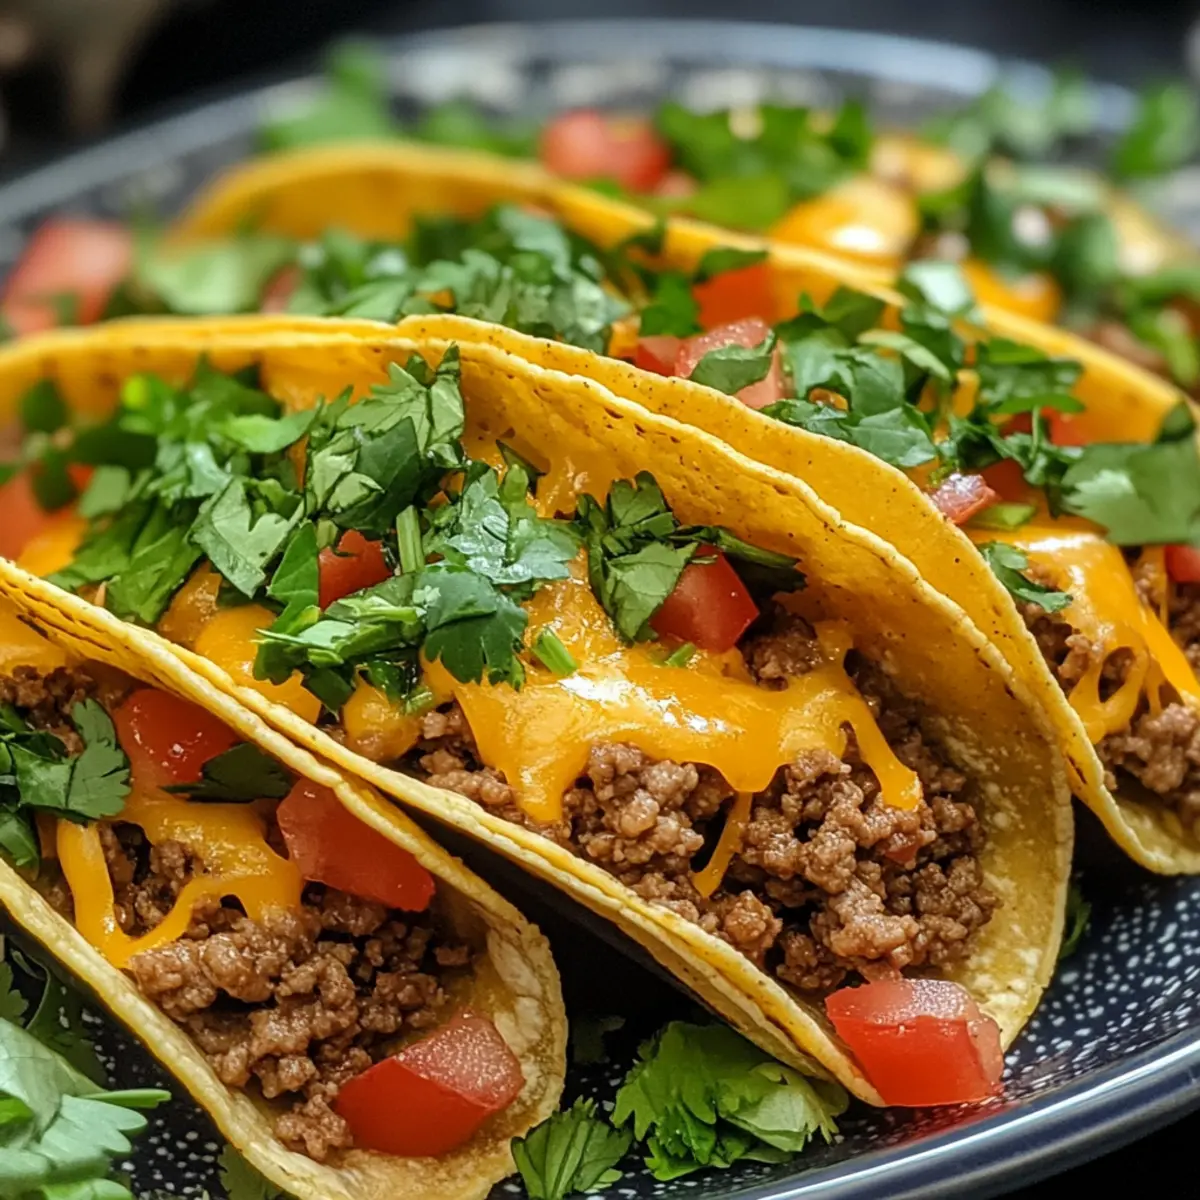
Place your baking dish in the preheated oven and bake for about 10-15 minutes. Keep an eye on them until the cheese is bubbling and the taco shells are lightly crispy. The sight of sizzling cheese amid perfectly golden taco shells will surely make your mouth water—this is when the magic happens!
Step 7: Add Fresh Toppings
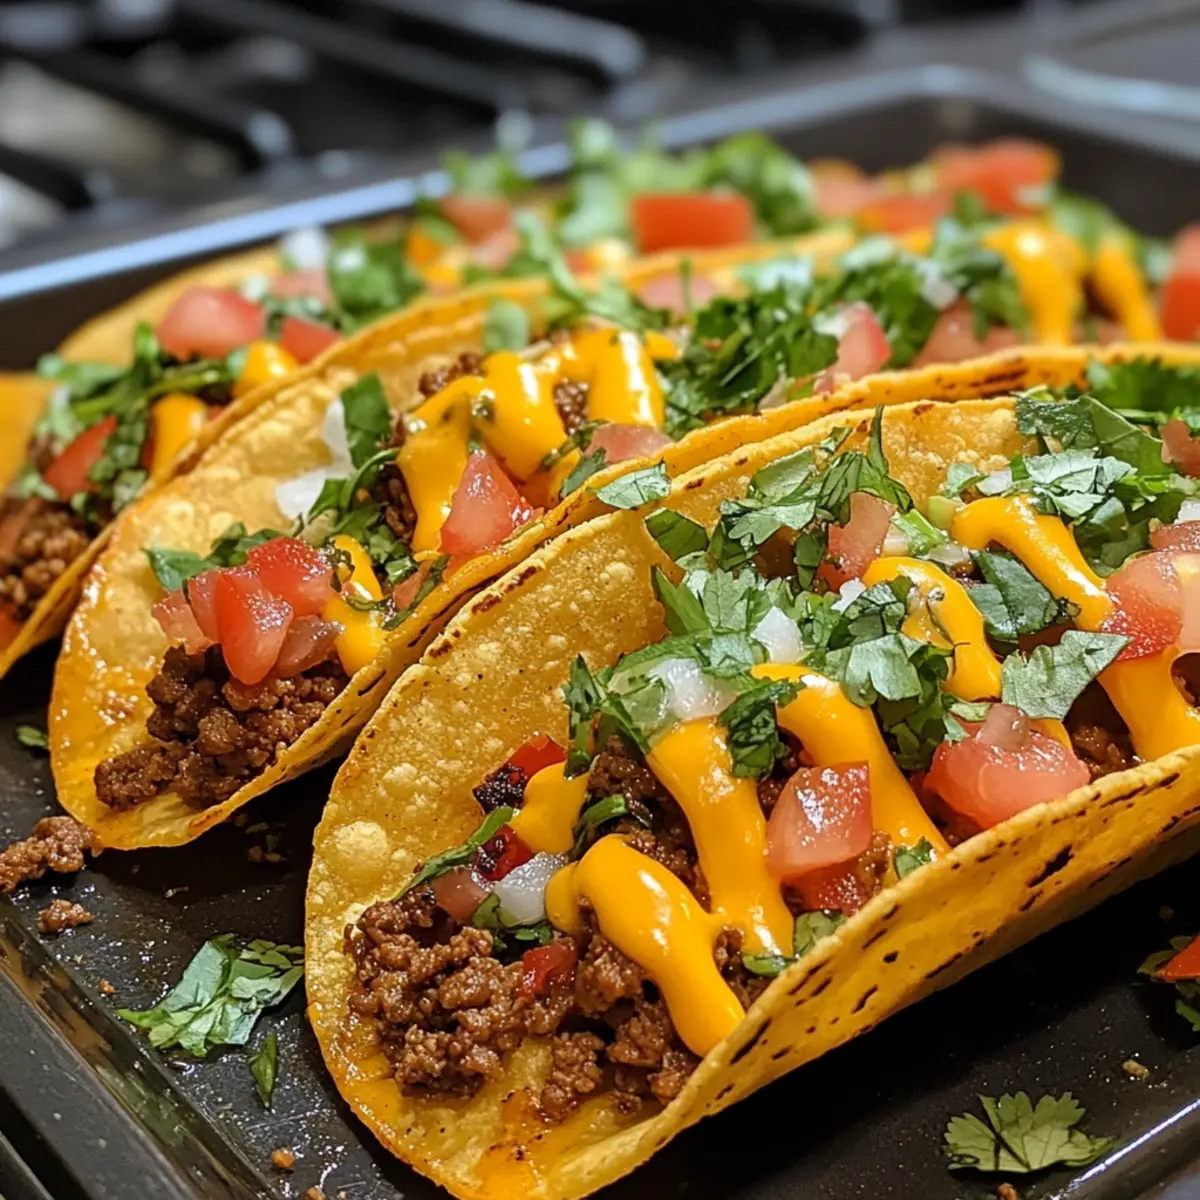
Once baked, remove the cheesy tacos from the oven. Allow them to cool slightly before topping with your favorite fresh ingredients such as shredded lettuce, diced tomatoes, red onion, and chopped cilantro. Feel free to customize your Oven-Baked Cheesy Tacos with optional toppings like sour cream or jalapeños to make them your own. Each bite is a celebration of flavors!
Make Ahead Options
Oven-Baked Cheesy Tacos are perfect for meal prep, making busy weeknights a breeze! You can assemble the taco filling (ground beef, onions, garlic, and seasonings) and refrigerate it up to 3 days in advance to save time. Simply store the filling in an airtight container to maintain its freshness. Additionally, you can pre-fill the taco shells and refrigerate them for up to 24 hours before baking. Just be sure to slightly warm the shells first to prevent cracking. When it’s time to serve, simply pop the tacos into the oven and bake them straight from the fridge, adding a few extra minutes to the baking time for a deliciously crispy finish. Enjoy the convenience of homemade goodness with minimal fuss!
Expert Tips for Oven-Baked Cheesy Tacos
• Warm Shells: Ensure taco shells are warmed slightly before filling to prevent cracking and help keep them sturdy during baking.
• Don’t Overfill: Avoid overstuffing the shells with the beef mixture to maintain their shape and ensure even cooking.
• Fresh Cheese: Use freshly shredded cheese rather than pre-shredded for the best melting results; pre-shredded cheese often contains anti-caking agents that hinder meltiness.
• Liquid Control: If the beef filling seems too watery, drain excess liquid before assembly to prevent soggy tacos.
• Perfect Storage: Leftovers can be stored in an airtight container for up to 3-4 days; for best results, reheat in the oven to retain crispiness.
• Flavor Variations: Experiment with different seasonings in your taco mixture, or substitute ground beef with black beans or lentils for a delicious vegetarian version of Oven-Baked Cheesy Tacos.
Oven-Baked Cheesy Tacos Variations
Feel free to explore these fun twists that can take Oven-Baked Cheesy Tacos to the next level of deliciousness!
-
Vegetarian Upgrade: Swap out ground beef for seasoned black beans or lentils to create a hearty vegetarian taco that’s just as satisfying and full of flavor.
-
Breakfast Style: Get your day off to a great start by filling your tacos with scrambled eggs, crumbled sausage, and a dollop of salsa verde for a zesty breakfast treat.
-
Colorful Addition: Toss in diced bell peppers and corn to the filling for a vibrant burst of color and sweetness that will make your tacos visually appealing as well as tasty.
-
Gluten-Free Option: Use gluten-free taco shells or large lettuce leaves to create a low-carb version that’s still brimming with flavor and texture. Perfect for anyone watching their carbs!
-
Cheese Variation: Mix it up by using a Mexican cheese blend or add spicy jalapeño cheddar cheese for an extra kick that cheese lovers will appreciate.
-
Nutritional Boost: Grate in some zucchini or carrots into your beef mixture for added nutrition without compromising on taste. This also helps keep your tacos moist!
-
Spicy Kick: If you like some heat, sprinkle crushed red pepper flakes or add diced jalapeños to the filling for a spicy surprise that warms your taste buds.
-
Savory Sauce: Drizzle your favorite hot sauce or chipotle aioli over the finished tacos for an additional layer of flavor that becomes a delightful surprise in each bite.
For more taco inspiration, why not check out Birria Tacos Flavorful or try making Fish Tacos Cilantro for something refreshing?
Storage Tips for Oven-Baked Cheesy Tacos
Fridge: Store leftovers in an airtight container for up to 3-4 days. Allow them to cool completely before sealing to prevent moisture buildup.
Freezer: If you have extra tacos, freeze unbaked assembled tacos for up to 2 months. Wrap each taco individually in plastic wrap, then place them in a freezer bag.
Reheating: For the best results, reheat baked tacos in the oven at 350°F (175°C) for about 10-15 minutes until heated through and crispy again.
Unbaked Storage: If you prefer to make tacos ahead of time, refrigerate assembled but unbaked tacos for up to 24 hours. Simply bake straight from the refrigerator, adding a few extra minutes to the cooking time.
What to Serve with Oven-Baked Cheesy Tacos
Pairing delicious sides with your cheesy tacos creates a complete and satisfying meal experience.
- Garden Salad: A light garden salad with crisp greens and zesty lime vinaigrette balances the richness of the tacos beautifully.
- Spanish Rice: Fluffy Spanish rice with spices complements the flavor profile of the tacos, adding a comforting side that everyone will enjoy.
- Cilantro-Lime Quinoa: This fresh, vibrant dish adds a nutritious twist, echoing the flavors in your tacos while providing a delightful texture.
- Salsa and Chips: Serve with a side of fresh salsa and crunchy tortilla chips for an added layer of flavor and texture contrasts.
- Grilled Corn on the Cob: Sweet, smoky grilled corn brings a burst of sweetness, complementing the savory goodness of the cheesy filling.
- Margaritas: A refreshing mango or classic lime margarita pairs perfectly, enhancing the fiesta atmosphere of taco night.
- Guacamole: Creamy guacamole provides a rich, cool element that perfectly balances the crispy and cheesy tacos.
- Mexican Beer: A cold Mexican lager adds a crisp, refreshing note, making it a delightful pairing for your Oven-Baked Cheesy Tacos.
Oven-Baked Cheesy Tacos Recipe FAQs
How do I choose the right ground meat for my tacos?
Absolutely! For the richest flavor, I recommend using ground beef. However, for a lighter alternative, ground turkey or chicken works wonderfully too. If you’re opting for a vegetarian version, seasoned black beans or lentils can add a hearty texture while keeping it nutritious and tasty.
How should I store leftover Oven-Baked Cheesy Tacos?
Leftovers can easily be stored in an airtight container in the refrigerator for up to 3-4 days. Be sure to let them cool completely before sealing to avoid moisture buildup. If you find yourself with extra tacos, don’t worry! They can also be frozen unbaked for up to 2 months.
Can I freeze my Oven-Baked Cheesy Tacos?
Yes, indeed! To freeze, wrap each unbaked taco individually in plastic wrap and then place them in a freezer bag to ensure they’re sealed well. When you’re ready to enjoy them, just bake directly from the freezer, adding a few extra minutes to the cooking time.
What should I do if my taco filling is too watery?
No worries! If your taco filling turns out too watery, simply drain the excess liquid after cooking the meat and before filling your taco shells. This will prevent soggy tacos and maintain that desired crispy texture in the shells.
Are there any dietary considerations I should keep in mind?
Very! If you or someone you’re serving has dietary restrictions, you can make this recipe gluten-free by using certified gluten-free taco shells or even large lettuce leaves as a low-carb alternative. Additionally, always check the taco seasoning for allergens if you have specific sensitivities.
How long can I store unbaked assembled tacos in the fridge?
For your convenience, you can refrigerate unbaked assembled tacos for up to 24 hours. Just be sure to cover them well so they don’t dry out. You can pop them right into the oven straight from the fridge, just adding a few extra minutes to the bake time. Enjoy your delicious Oven-Baked Cheesy Tacos!
Oven-Baked Cheesy Tacos: A Flavor-Packed Family Favorite
Ingredients
Equipment
Method
- Preheat your oven to 375°F (190°C) and prepare a baking dish by lightly greasing it.
- In a skillet over medium heat, heat olive oil and sauté onion and garlic for 2-3 minutes until translucent.
- Add ground beef, breaking it apart as it cooks. Stir in taco seasoning, tomato sauce, salt, and pepper.
- Fill each taco shell with the beef mixture and top with shredded cheese.
- Stand the filled taco shells upright in the baking dish.
- Bake in the preheated oven for 10-15 minutes until cheese is bubbling and shells are crispy.
- Remove from oven, let cool slightly, and top with fresh ingredients.
Leave a Reply