
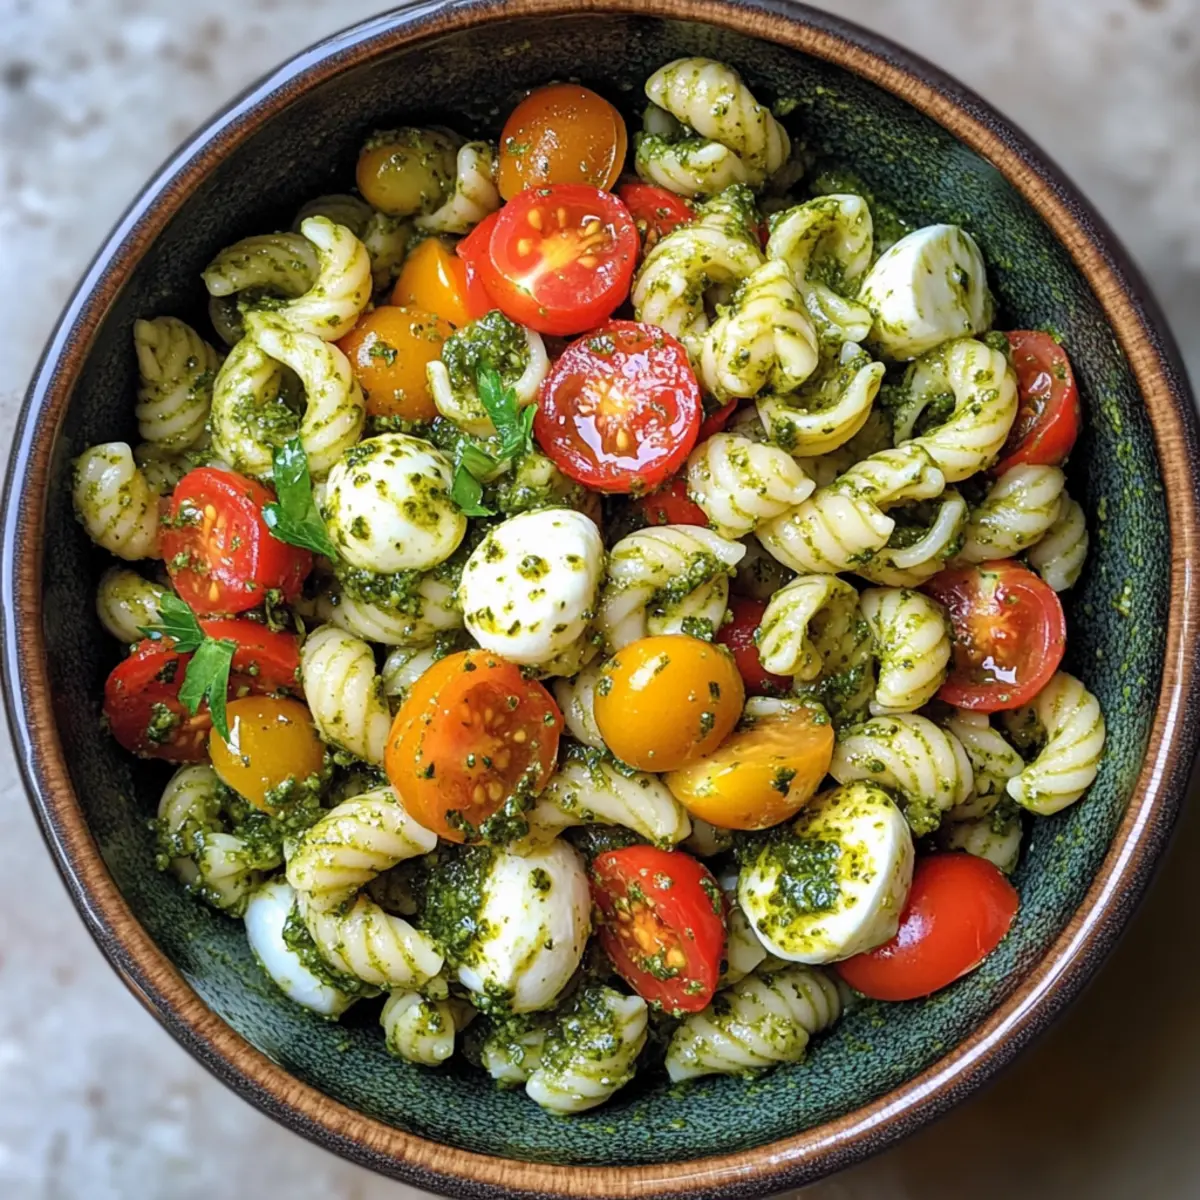
On a particularly sunny afternoon, I stumbled upon a culinary treasure—my vibrant Pesto Pasta Salad. With a delightful blend of fresh basil, creamy mozzarella, and juicy cherry tomatoes, this dish is a true celebration of summer flavors. What I love most about this recipe is that it’s not just a feast for the eyes; it comes together in under 30 minutes, making it perfect for those busy days or spontaneous gatherings. Whether you’re looking to impress guests at your next potluck or simply want a quick, satisfying meal, this vegetarian salad offers both simplicity and wow-factor. Are you ready to elevate your pasta game with this deliciously easy Pesto Pasta Salad? Let’s dive in!
Why is this Pesto Pasta Salad a must-try?
Simplicity, perfect for those hectic weeknights, this recipe comes together in under 30 minutes! Flavor-packed with fresh basil, creamy mozzarella, and juicy cherry tomatoes, it’s a dish that bursts with delightful summer vibes. Versatility allows you to easily customize it—add grilled veggies or chickpeas for an extra boost. Crowd-pleasing at potlucks, it’s an eye-catching salad that everyone will love. Plus, storing leftovers is easy! Store in an airtight container for up to 4 days for a quick grab-and-go meal. This Pesto Pasta Salad truly is a delightful option for any occasion!
Pesto Pasta Salad Ingredients
• Here’s everything you need for your delicious Pesto Pasta Salad!
For the Salad
- Pasta – 1 pound pasta (e.g., cavatelli, penne); any short pasta works well as the base of your salad.
- Cherry Tomatoes – 1 cup, halved; these add a touch of sweetness and freshness.
- Fresh Mozzarella – 8 oz, cut into small pieces; provides a creamy element that complements the salad perfectly.
- Red Onion – ½ cup, finely chopped; adds a delightful crunch and sharpness, though you can omit it for a milder taste.
- Pepperoncini – ¼ cup, chopped; gives a nice tang and slight heat—perfect to spice things up!
- Parsley – ¼ cup, finely chopped; this herb brings freshness and a pop of color to your dish.
- Basil Leaves – 3 cups; the star flavor in the pesto—feel free to substitute with other fresh herbs if needed.
For the Pesto
- Olive Oil – ½ cup; binds the ingredients and enhances the overall flavor of the salad.
- Pine Nuts – ⅓ cup; adding richness and texture to the pesto—walnuts or almonds can be used as a substitute.
- Grated Parmesan Cheese – ⅓ cup; lends depth and creaminess to the pesto; try nutritional yeast for a dairy-free option.
- Lemon Juice – 1 tablespoon; provides acidity that beautifully balances the flavors.
- Garlic – 2 cloves; adds that robust flavor we’re all craving.
- Sea Salt – 1 teaspoon; this classic seasoning enhances all the tastes in your Pesto Pasta Salad.
- Black Pepper – ¼ teaspoon; for just a hint of warmth to round out the flavors.
Step‑by‑Step Instructions for Pesto Pasta Salad
Step 1: Cook the Pasta
Bring a large pot of salted water to a rolling boil over high heat. Add 1 pound of your chosen pasta, such as cavatelli or penne, and cook according to package instructions until al dente, typically around 8-10 minutes. Once cooked, drain the pasta in a colander and rinse it under cold water to stop the cooking process and prevent stickiness.
Step 2: Make the Pesto
In a food processor, combine 3 cups of fresh basil leaves, ⅓ cup of pine nuts, ⅓ cup of grated Parmesan cheese, and 2 cloves of garlic. Pulse until finely chopped, then slowly drizzle in ½ cup of olive oil while blending until the mixture is smooth and creamy. Finally, add 1 tablespoon of lemon juice, 1 teaspoon of sea salt, and ¼ teaspoon of black pepper, then blend until well incorporated.
Step 3: Assemble the Salad
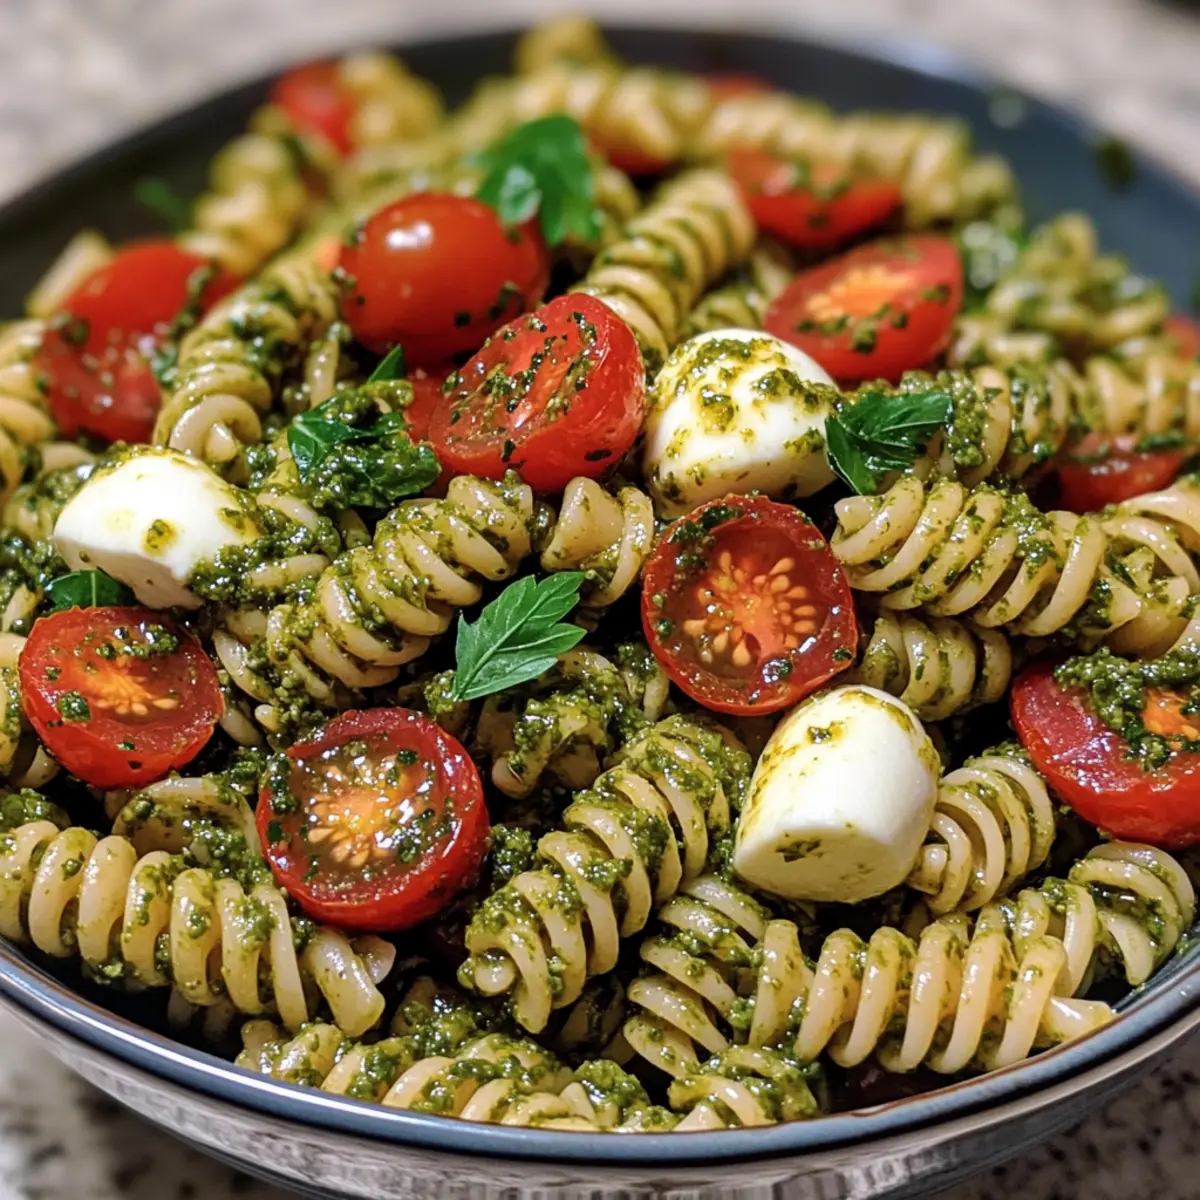
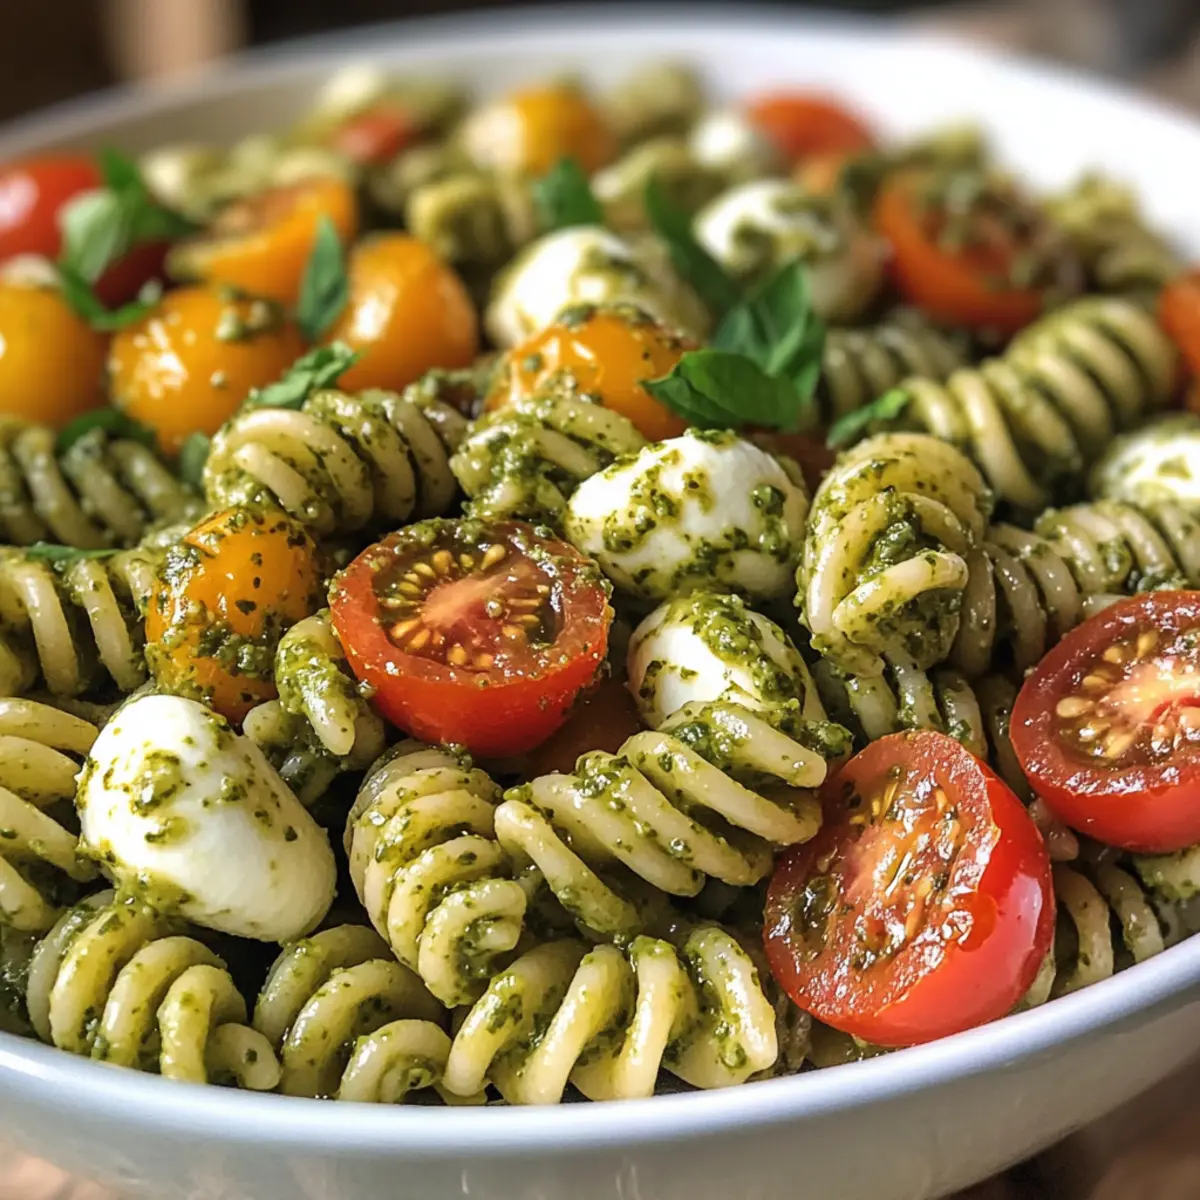
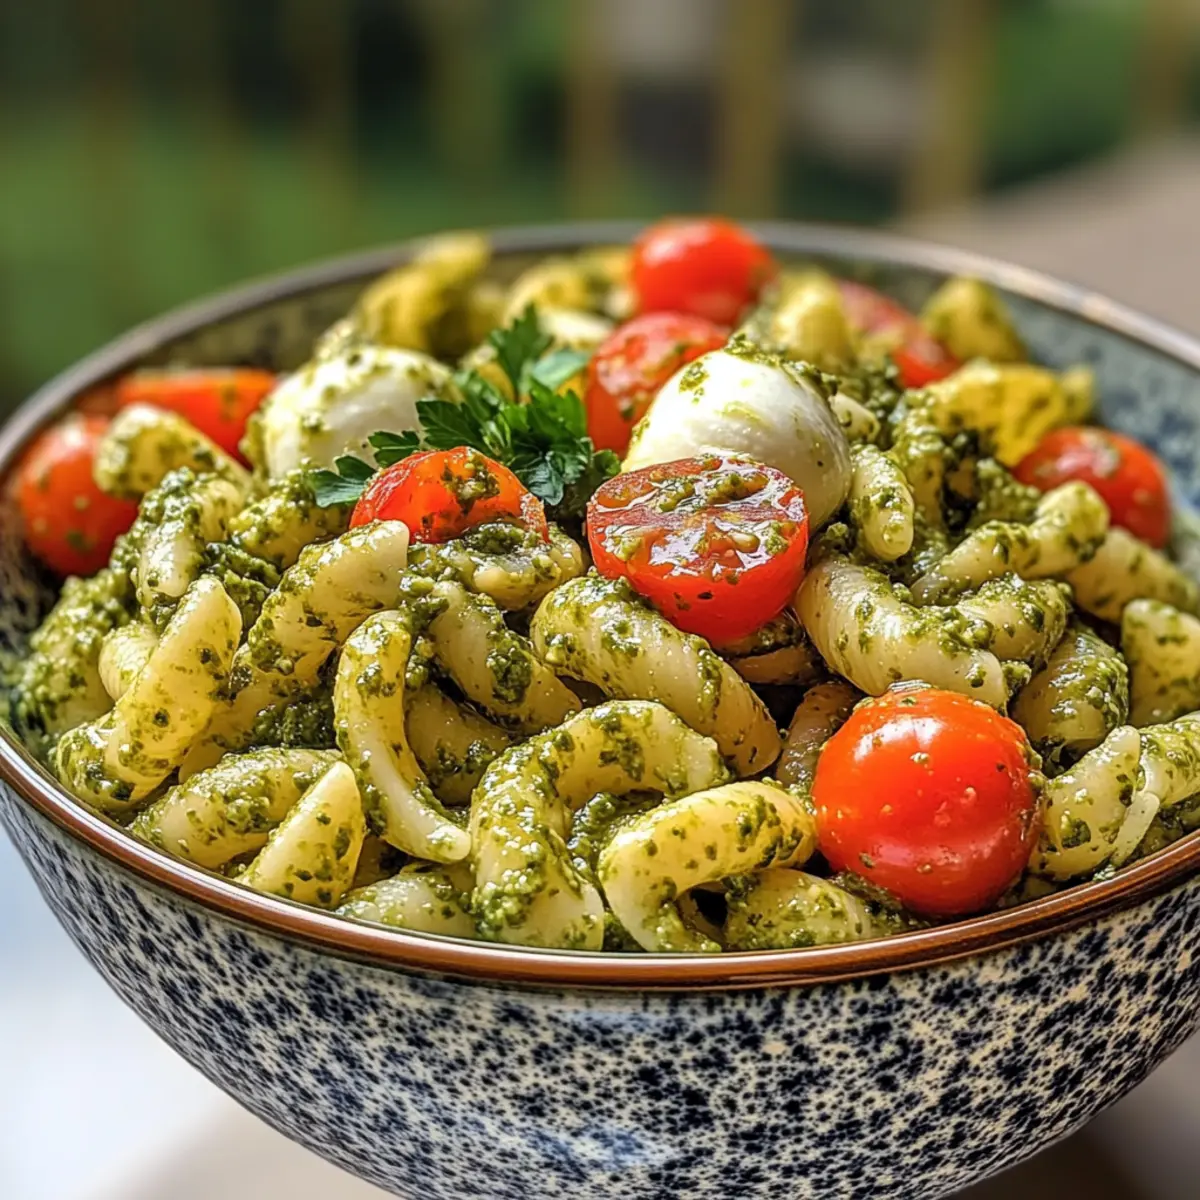
In a large mixing bowl, combine the cooked pasta with the prepared pesto, ensuring every noodle is coated. Add in 1 cup of halved cherry tomatoes, 8 oz of cut-up fresh mozzarella, ¼ cup of chopped pepperoncini, and ¼ cup of finely chopped parsley. Gently toss all the ingredients together until well combined, and taste to adjust seasoning if necessary.
Step 4: Chill
Cover the bowl with plastic wrap or transfer the Pesto Pasta Salad to an airtight container. Refrigerate the salad for at least 30 minutes, allowing the flavors to meld and intensify. The chill also enhances the overall texture, making it even more refreshing when served.
Step 5: Serve
After chilling, give the salad a quick toss before serving. You can garnish with additional basil leaves or grated Parmesan if desired. Serve this colorful and inviting Pesto Pasta Salad chilled, either as a main dish or a delightful side at your next gathering, and enjoy the summer flavors!
Pesto Pasta Salad Variations
Feel free to let your creativity shine with these delightful twists on the classic recipe!
- Gluten-Free: Substitute gluten-free pasta for a deliciously accommodating option that everyone can enjoy.
- Chickpeas: Add 1 can of rinsed and drained chickpeas for an extra punch of protein, making your salad even heartier!
- Grilled Veggies: Toss in some grilled zucchini or bell peppers for a smoky flavor that enhances the overall taste of the salad.
- Pesto Swap: Try using homemade arugula pesto for a slightly peppery kick that will surprise your taste buds.
- Feta Cheese: Swap fresh mozzarella for crumbled feta cheese for a tangy zing that will elevate each bite.
- Olive Variation: Use sliced Kalamata olives instead of pepperoncini for added brininess and Mediterranean flair.
- Herb Medley: Mix in fresh oregano or thyme with the parsley for a fragrant twist that adds depth to the flavor.
- Zesty Boost: Drizzle in a splash of balsamic vinegar for an extra layer of sweetness and acidity that complements the pesto beautifully.
And while you’re experimenting, don’t forget to check out Dip Pasta Salad for more salad ideas to impress your friends, or consider pairing it with a rich Cajun Chicken Pasta for a flavorful meal combination! Enjoy creating your unique version of this Pesto Pasta Salad!
How to Store and Freeze Pesto Pasta Salad
Fridge: Store your pesto pasta salad in an airtight container for up to 4 days. Giving it a quick toss before enjoying will help redistribute the flavors.
Freezer: While it’s best fresh, you can freeze individual portions of the pesto pasta salad for up to 2 months. Thaw in the refrigerator overnight before serving.
Reheating: If you prefer warm pasta salad, gently reheat in the microwave for about 1-2 minutes, stirring halfway through. Keep in mind that the texture may slightly change after freezing.
Taste Refresh: For the best flavor, consider adding a splash of olive oil or a squeeze of lemon juice after reheating your pesto pasta salad to brighten it up!
Make Ahead Options
These delicious Pesto Pasta Salad components are perfect for meal prep! You can cook the pasta, make the pesto, and chop the vegetables up to 24 hours in advance. Simply store the cooked pasta in an airtight container in the refrigerator to keep it fresh and prevent stickiness. The pesto can also be made ahead and refrigerated, where it will retain its vibrant flavor and color. When ready to assemble, just combine the chilled pasta, prepared pesto, and fresh ingredients such as cherry tomatoes and mozzarella. Give it a quick toss, and you’ll have a delightful salad ready to serve with minimal effort, making it ideal for busy weeknights or last-minute gatherings!
Tips for the Best Pesto Pasta Salad
-
Chill Before Serving: Allow the salad to chill in the refrigerator for at least 30 minutes. This step enhances the flavors significantly, creating a more harmonious dish.
-
Rinse the Pasta: Always rinse your pasta under cold water immediately after cooking. This stops the cooking process and prevents the noodles from sticking together, ensuring a delightful texture.
-
Taste and Adjust: Remember to taste and adjust the seasoning before serving. The flavors meld while chilling, which may require a little extra salt or pepper for the perfect Pesto Pasta Salad.
-
Customize Your Ingredients: Feel free to add grilled vegetables or chickpeas for added protein and fiber. This versatility makes it easy to cater to different tastes.
-
Fresh Ingredients Matter: Use fresh basil and ripe tomatoes for the best flavor. The freshness of your ingredients can truly elevate your Pesto Pasta Salad experience!
What to Serve with Pesto Pasta Salad
Elevate your mealtime experience with delightful accompaniments that balance flavors and textures perfectly!
-
Garlic Bread: Crispy on the outside and warm on the inside, it’s the ultimate comfort food that complements the fresh pesto beautifully. Perfect for sopping up any extra dressing!
-
Roasted Veggies: Seasonal vegetables roasted till caramelized add a lovely earthy flavor, enhancing the freshness of the salad. Think bell peppers, zucchini, or eggplant for a colorful platter.
-
Bruschetta: Crisp toasted bread topped with chopped tomatoes, garlic, and basil provides a refreshing bite that echoes the salad’s vibrant flavors. It’s a classic pairing that’s always a hit!
-
Caprese Skewers: Layer fresh mozzarella, cherry tomatoes, and basil on skewers for a fun pop of flavor that’s easy to serve. This finger food maintains the Italian theme and adds a delightful touch.
-
Lemonade: A refreshing glass of lemonade brightens the palate and complements the salad’s richness. Serve it chilled for a delightful contrast on warm days!
-
Fruit Salad: A light and refreshing fruit salad featuring berries and melons offers a sweet contrast to the savory salad. The natural sweetness will cleanse the palate beautifully.
-
Sparkling Water: For something fizzy, serve sparkling water infused with lemon or cucumber. It’s a perfect hydrating drink to balance the rich flavors in your meal.
-
Dessert Bars: Consider ending the meal with fruity dessert bars that mirror the vibrant tones of the salad. They’re sweet, satisfying, and easy to grab for a quick bite!
Pesto Pasta Salad Recipe FAQs
What kind of pasta is best for this Pesto Pasta Salad?
Absolutely! I recommend using short pasta shapes like cavatelli or penne for this salad, as they hold the pesto beautifully. However, feel free to experiment with any short pasta you have on hand!
How long can I store the Pesto Pasta Salad in the fridge?
You can store your pesto pasta salad in an airtight container in the refrigerator for up to 4 days. Just give it a quick toss before serving to rediscover that burst of flavors!
Can I freeze leftover Pesto Pasta Salad?
Yes! While this salad is best enjoyed fresh, you can freeze individual portions in airtight containers for up to 2 months. To serve, simply thaw in the refrigerator overnight, and if you like, add a drizzle of olive oil or a squeeze of lemon juice to brighten the flavors.
What should I do if my pasta salad turns out too dry?
No worries! If your pesto pasta salad seems dry, it’s an easy fix. Just add a splash of olive oil or a bit of reserved pasta cooking water to moisten it up. If you prefer a fresh burst of flavor, a squeeze of lemon juice works wonders too!
Can my pets enjoy this Pesto Pasta Salad?
No, please keep this salad away from pets. The ingredients like garlic and onions can be harmful to dogs and cats. Stick to plain cooked pasta or veggies for your furry friends instead!
Delicious Pesto Pasta Salad Ready in Under 30 Minutes
Ingredients
Equipment
Method
- Bring a large pot of salted water to a rolling boil over high heat. Cook 1 pound of pasta until al dente, typically around 8-10 minutes. Drain and rinse under cold water.
- In a food processor, combine 3 cups of basil leaves, ⅓ cup of pine nuts, ⅓ cup of Parmesan cheese, and 2 cloves of garlic. Pulse until finely chopped, drizzle in ½ cup of olive oil while blending until smooth. Add 1 tablespoon of lemon juice, 1 teaspoon of sea salt, and ¼ teaspoon of black pepper, then blend until well incorporated.
- In a large mixing bowl, combine the cooked pasta with the prepared pesto. Add 1 cup of halved cherry tomatoes, 8 oz of mozzarella, ¼ cup of chopped pepperoncini, and ¼ cup of parsley. Gently toss until well combined.
- Cover and refrigerate the salad for at least 30 minutes to let the flavors meld.
- After chilling, give the salad a quick toss before serving. Garnish with additional basil or Parmesan if desired. Serve chilled.
Leave a Reply