
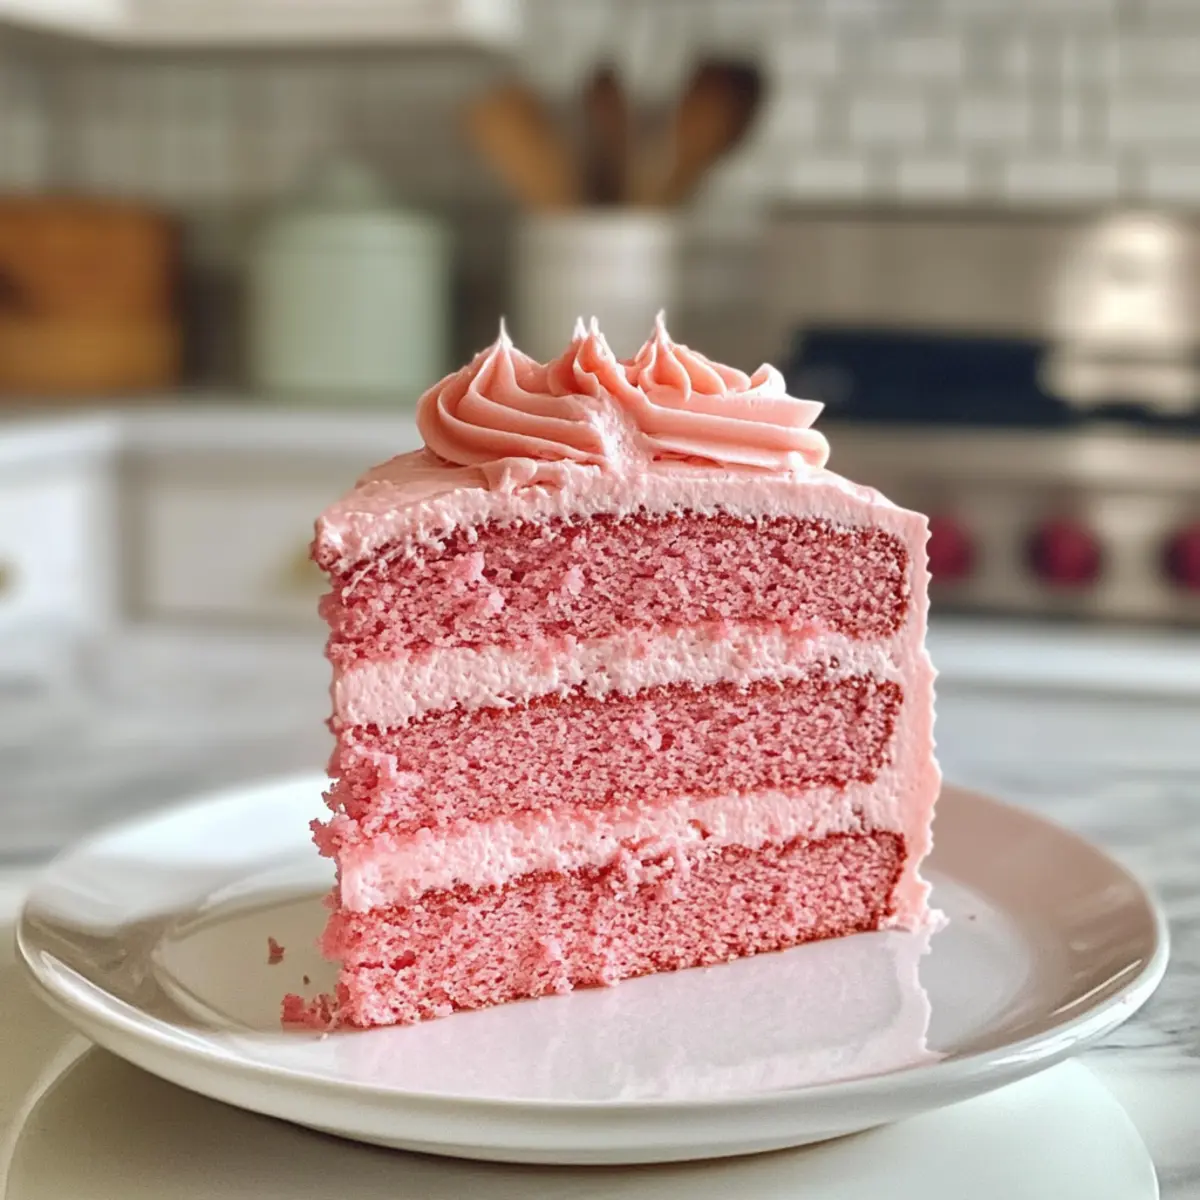
As I stood in my kitchen surrounded by soft, buttery scents and the vibrant hue of pink frosting, I knew I was creating something truly special. The Mother’s Day Pink Velvet Cake isn’t just a dessert; it’s a celebration of love, making it perfect for honoring the incredible women in our lives. This enchanting cake combines fluffy layers of cocoa and vanilla, resulting in a treat that’s both visually stunning and utterly delicious. With its quick prep time and delightful appeal, this cake becomes a crowd-pleaser that you’ll want to share at every gathering. Ready to bring a splash of pink joy to your table? Let’s get started!
Why is Pink Velvet Cake So Special?
Irresistible Charm: This cake is not just about looks; its soft, fluffy layers filled with cocoa and vanilla will win over every palate.
Quick and Easy: You can whip up this beauty in no time, making it a perfect choice for unexpected gatherings or special occasions.
Versatile Toppings: Whether you choose classic cream cheese frosting or a lighter whipped option, the possibilities are endless. Try serving it with fresh berries or a scoop of ice cream for a delightful twist!
Crowd-Pleasing Delight: With its stunning pink hue and delicious flavor, it’s guaranteed to be the star of any dessert table, just like my Fried Strawberry Cheesecake or Oreo Cheesecake Cookie Cups.
Feel-Good Memories: Baking this cake creates joyful moments, making it a heartwarming addition to family celebrations or gatherings with friends. Get ready to fill your kitchen with love and sweet scents!
Pink Velvet Cake Ingredients
Gather these delightful components for your Pink Velvet Cake!
For the Cake
- Cake Flour – Provides structure and light texture; substitute with all-purpose flour for a denser cake.
- Unsweetened Cocoa Powder – Adds depth of flavor and a hint of chocolate; opt for dark cocoa for an even richer taste.
- Baking Powder – Acts as a leavening agent to ensure a fluffy cake; always check for freshness before use.
- Salt – Balances flavors beautifully; feel free to omit for low-sodium diets.
- Unsalted Butter – Adds moisture and richness to the cake; margarine can be used for a vegan variation.
- Granulated Sugar – Sweetens and retains moisture; coconut sugar makes a lovely lower-glycemic option.
- Large Eggs – Binds ingredients together and adds richness; for vegan options, use flax eggs (1 tbsp flaxseed meal + 3 tbsp water per egg).
- Buttermilk – Provides necessary acidity for tenderness; mix regular milk with 1 tsp vinegar or yogurt as a substitute.
- Pure Vanilla Extract – Enhances the cake’s flavor; almond extract delivers a unique twist.
- Red Food Coloring – Achieves your desired pink hue; beet juice serves as a natural alternative.
For the Frosting
- Cream Cheese – Richness and tanginess elevate your frosting’s flavor; use vegan cream cheese for dairy-free options.
- Powdered Sugar – Sweetens the frosting to perfection; sift to avoid lumps for a smoother finish.
- Butter – Provides creaminess and helps with spreading; feel free to replace it with dairy-free alternatives.
- Vanilla Extract – Enhances the overall flavor of your frosting; can be swapped with almond extract for a different profile.
Unleash the magic of your Pink Velvet Cake and create an unforgettable dessert experience!
Step‑by‑Step Instructions for Pink Velvet Cake
Step 1: Preheat and Prepare Pans
Start by preheating your oven to 350°F (175°C), ensuring a perfect baking environment for your Pink Velvet Cake. While the oven warms up, grease and flour two 9-inch round cake pans. This step prevents sticking and ensures that your cake layers release easily after baking.
Step 2: Combine Dry Ingredients
In a medium mixing bowl, whisk together the cake flour, unsweetened cocoa powder, baking powder, and salt. The combination of these dry ingredients will create the light, fluffy texture characteristic of your Pink Velvet Cake. Set this bowl aside while you prepare the wet ingredients.
Step 3: Cream Butter and Sugar
In a large mixing bowl, cream the softened unsalted butter and granulated sugar together until the mixture is light and fluffy, about 3 minutes. Use an electric mixer on medium speed for the best results, and watch for the mixture to become pale and airy. This step is crucial for creating a tender cake.
Step 4: Add Eggs
Add the large eggs one at a time to the creamed butter and sugar, fully incorporating each egg before adding the next. This gradual addition helps maintain the mixture’s airy texture, an essential foundation for your Pink Velvet Cake. Ensure each egg is blended smoothly before moving on to the next.
Step 5: Incorporate Wet Ingredients
Pour in the buttermilk, pure vanilla extract, and red food coloring to the egg and butter mixture. Mix these ingredients on low speed until smooth and well-combined. The buttermilk adds necessary acidity for tenderness, while the red food coloring gives your cake that beautiful pink hue.
Step 6: Fold in Dry Ingredients
Gradually fold the dry ingredient mixture into the wet ingredients until just combined. Be gentle to avoid overmixing; the batter should be smooth but may have a few lumps. This step is critical to achieving the light, fluffy layers that make up your Pink Velvet Cake.
Step 7: Divide and Bake
Carefully divide the batter evenly between the prepared cake pans. Smooth the tops with a spatula to ensure even baking. Place the pans in the preheated oven and bake for 25-30 minutes. Check for doneness by inserting a toothpick; it should come out clean when the cakes are ready.
Step 8: Cool the Layers
Once baked, remove the cake pans from the oven and let them cool in the pans for about 10 minutes. This allows the cakes to firm up slightly, making them easier to handle. After cooling, carefully transfer the layers to wire racks to cool completely before frosting.
Step 9: Frost and Serve
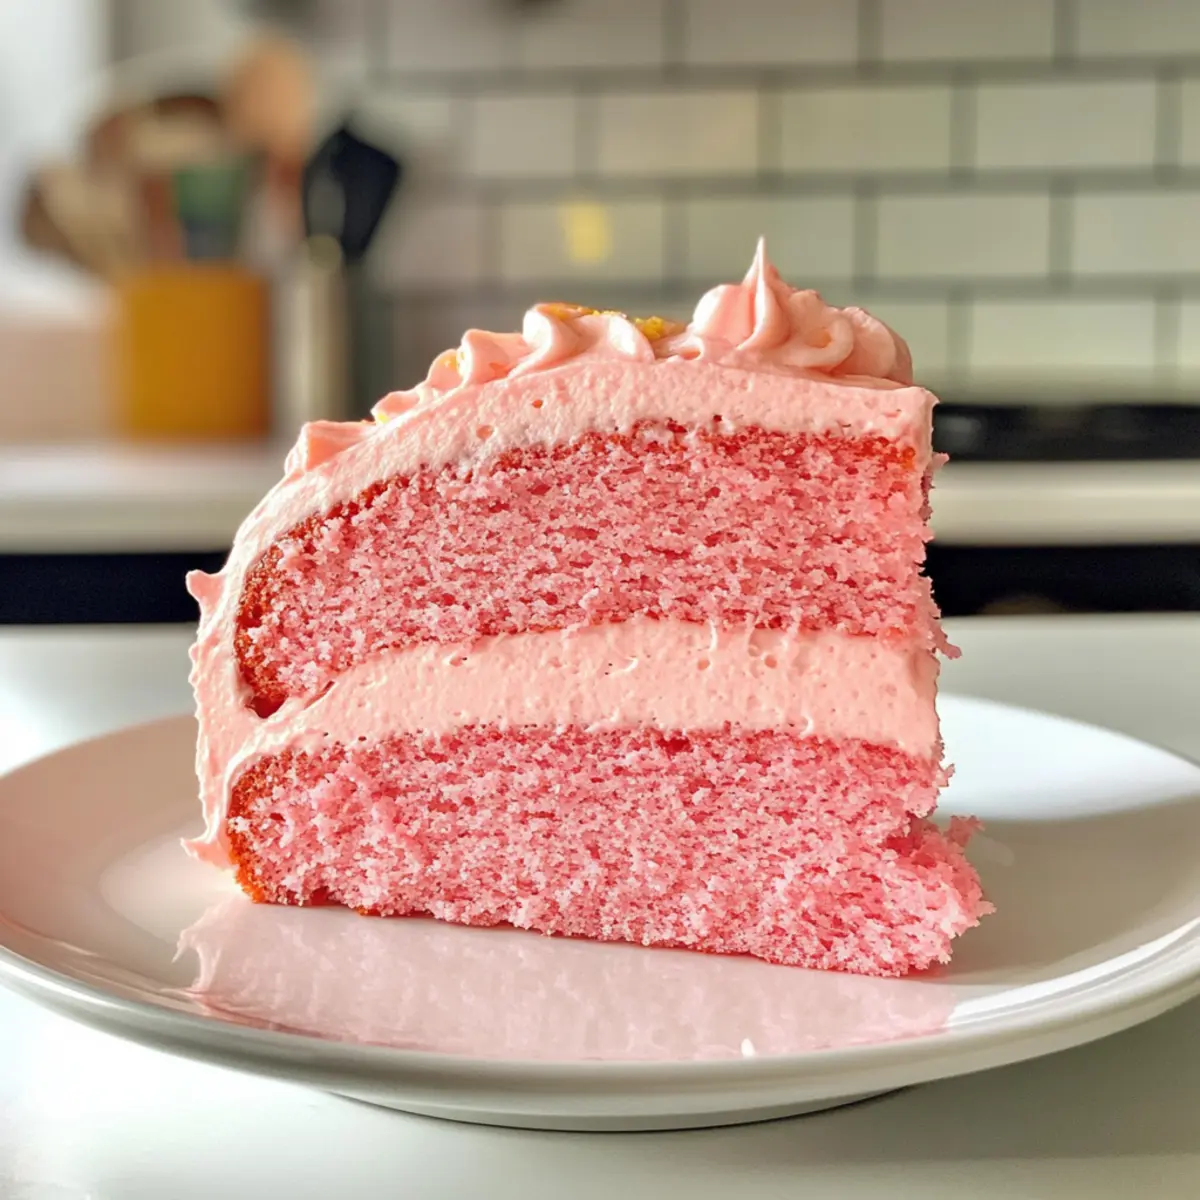
Once the Pink Velvet Cake layers are completely cool, it’s time to frost! Apply your favorite cream cheese frosting generously between the layers and on top. Create a beautiful finish by smoothing the frosting with a spatula, then slice and enjoy this delightful cake that’s sure to be the star of your celebration!
Make Ahead Options
These Mother’s Day Pink Velvet Cake layers are perfect for busy home cooks looking to save time! You can bake the cake layers up to 24 hours in advance. Simply allow the layers to cool completely, then wrap them tightly in plastic wrap to lock in moisture and prevent drying out. For optimal freshness when it’s time to serve, frost the cake just before gathering everyone to enjoy it. If you need to prep even further ahead, the frosted cake can be refrigerated and enjoyed within 3 days without losing its lovely flavor and texture, ensuring your cake is just as delicious as the day it was baked!
What to Serve with Mother’s Day Pink Velvet Cake
When the sweet aroma of Pink Velvet Cake fills your kitchen, it’s time to consider what delightful dishes will complement this festive dessert.
-
Fresh Berries: The bright acidity of strawberries, raspberries, or blueberries balances the richness of the cake beautifully, adding a burst of flavor.
-
Vanilla Ice Cream: A scoop of creamy vanilla ice cream melts into the fluffy cake, creating a decadent pairing that enhances every bite.
-
Whipped Cream: Light and airy, whipped cream adds a delightful texture contrast while enhancing the cake’s sweetness. It’s a timeless choice!
-
Chocolate Ganache: Drizzle a rich chocolate ganache over slices of Pink Velvet Cake for a luscious contrast that tantalizes the taste buds.
-
Sparkling Wine: A bubbly glass of sparkling wine brings a festive touch, and its effervescence complements the cake’s sweetness perfectly.
-
Peanut Butter Fudge Sauce: The nutty flavors of peanut butter fudge create a unique pairing, elevating the cake with indulgence and unexpected delight.
-
Rose Water Lemonade: This refreshing drink enhances the cake’s floral notes, offering a light, aromatic complement that’s perfect for celebrations.
Indulge in these pairings to create a well-rounded dessert experience that will have everyone coming back for seconds!
How to Store and Freeze Pink Velvet Cake
Room Temperature: Store leftovers in an airtight container at room temperature for up to 3 days, ensuring the cake remains fresh and delicious for everyday indulgence.
Fridge: If using cream cheese frosting, it’s best to refrigerate the Pink Velvet Cake, where it will stay fresh for up to a week. Make sure to wrap it tightly to maintain moisture.
Freezer: For longer storage, wrap the unfrosted cake layers in plastic wrap and foil before placing them in the freezer for up to 3 months. Thaw overnight in the fridge before frosting.
Reheating: If you prefer a slice warm, gently reheat in the microwave for about 10-15 seconds. This brings out the soft, lovely texture that makes the Pink Velvet Cake so special!
Helpful Tricks for Pink Velvet Cake
-
Room Temperature Ingredients: Ensure all ingredients are at room temperature. This helps achieve a better texture and allows for easier mixing to create that light, fluffy Pink Velvet Cake.
-
Avoid Overmixing: When combining wet and dry ingredients, mix until just combined. Overmixing can lead to a dense texture, which is not what you want for this delightful cake.
-
Check for Doneness: Use a toothpick to test if the cake is fully baked. A clean toothpick indicates it’s ready; if it comes out with batter, give it a few more minutes in the oven.
-
Cooling Matters: Allow the cakes to cool in the pans before transferring. This step helps prevent them from breaking and ensures they maintain their lovely shape.
-
Frosting Tips: Use room temperature cream cheese for frosting. Cold cream cheese can lead to lumps in your frosting, making it difficult to spread evenly on your Pink Velvet Cake.
-
Experiment with Toppings: Don’t hesitate to get creative with toppings! Fresh berries, edible flowers, or a drizzle of chocolate can enhance both the appearance and flavor of your cake.
Pink Velvet Cake Variations
Feel free to let your creativity shine as you make your Pink Velvet Cake uniquely yours!
-
Whipped Cream Frosting: Replace buttercream with fluffy whipped cream for a lighter, airy finish. This change adds a fresh, delicate touch that perfectly complements the cake’s sweetness.
-
Fruit Infusion: Incorporate crushed raspberries or strawberries into the batter for a fruity twist. The fresh flavors brighten the cake and pair beautifully with the pink hue!
-
Nutty Crunch: Add chopped walnuts or pecans to the batter for a delightful crunch. This texture contrast elevates the entire cake experience, providing a satisfying bite with each slice.
-
Spicy Kick: Mix in a dash of cinnamon or nutmeg for a warm, comforting flavor. This unexpected twist adds depth and makes each bite an adventure in taste.
-
Vegan Swap: For a plant-based option, replace eggs with flax eggs and butter with a vegan substitute. This simple switch allows everyone to enjoy this heavenly cake!
-
Cocoa Power: Go for a richer chocolate flavor by using dark cocoa powder instead of unsweetened. This variation intensifies the chocolaty notes and creates an even more indulgent dessert.
-
Zesty Lemon Glaze: Drizzle a lemon glaze over the frosting for a zesty contrast. This bright flavor addition cuts through the sweetness and adds a refreshing zest that’s simply delightful.
-
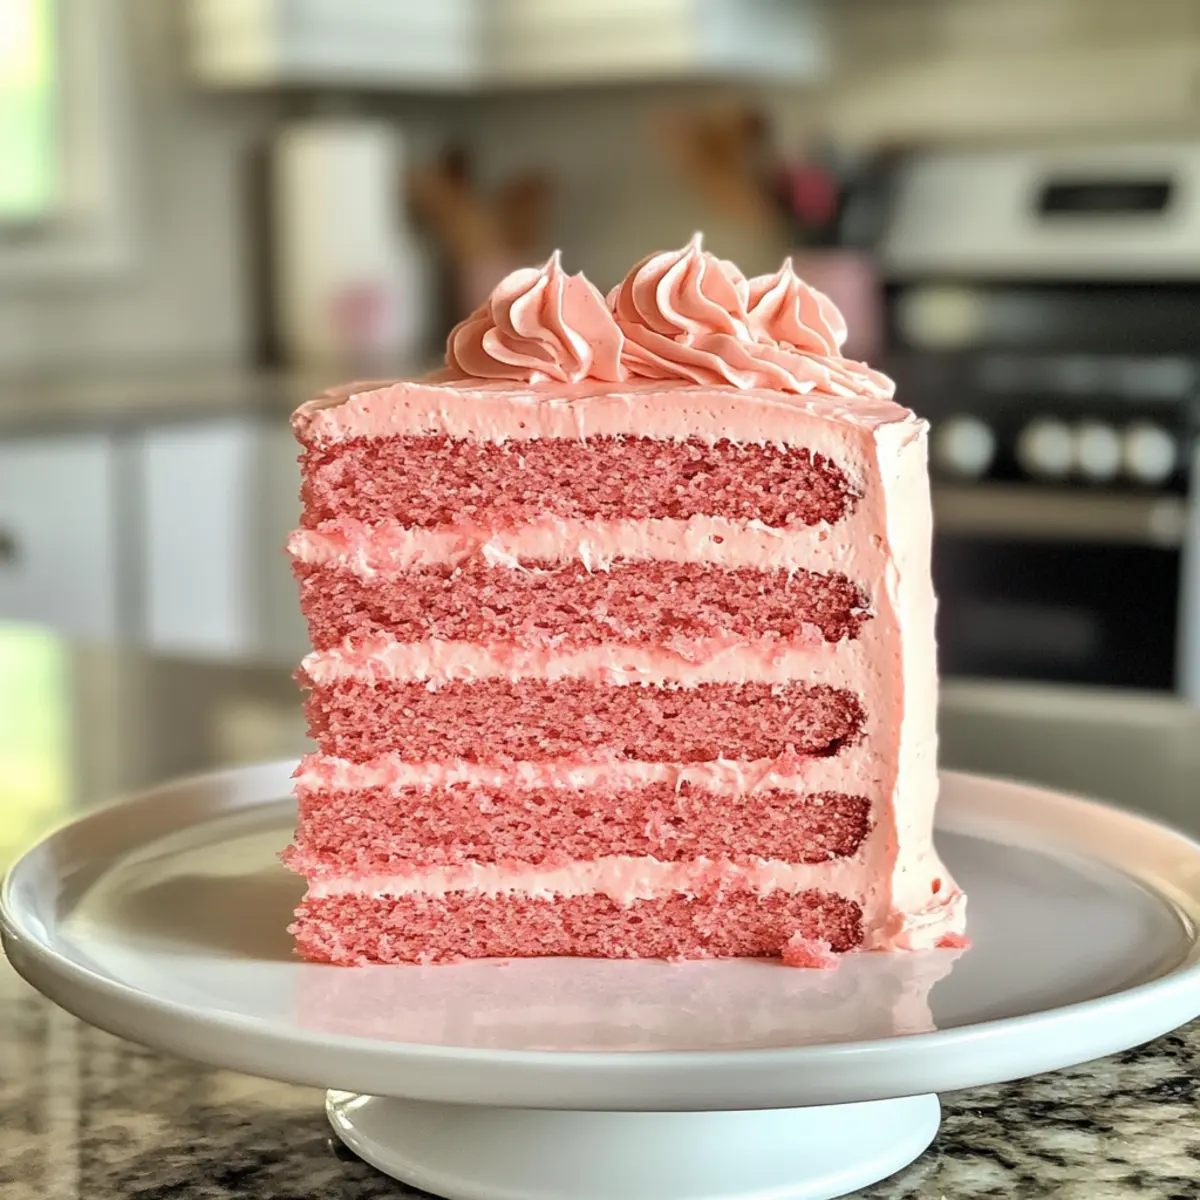
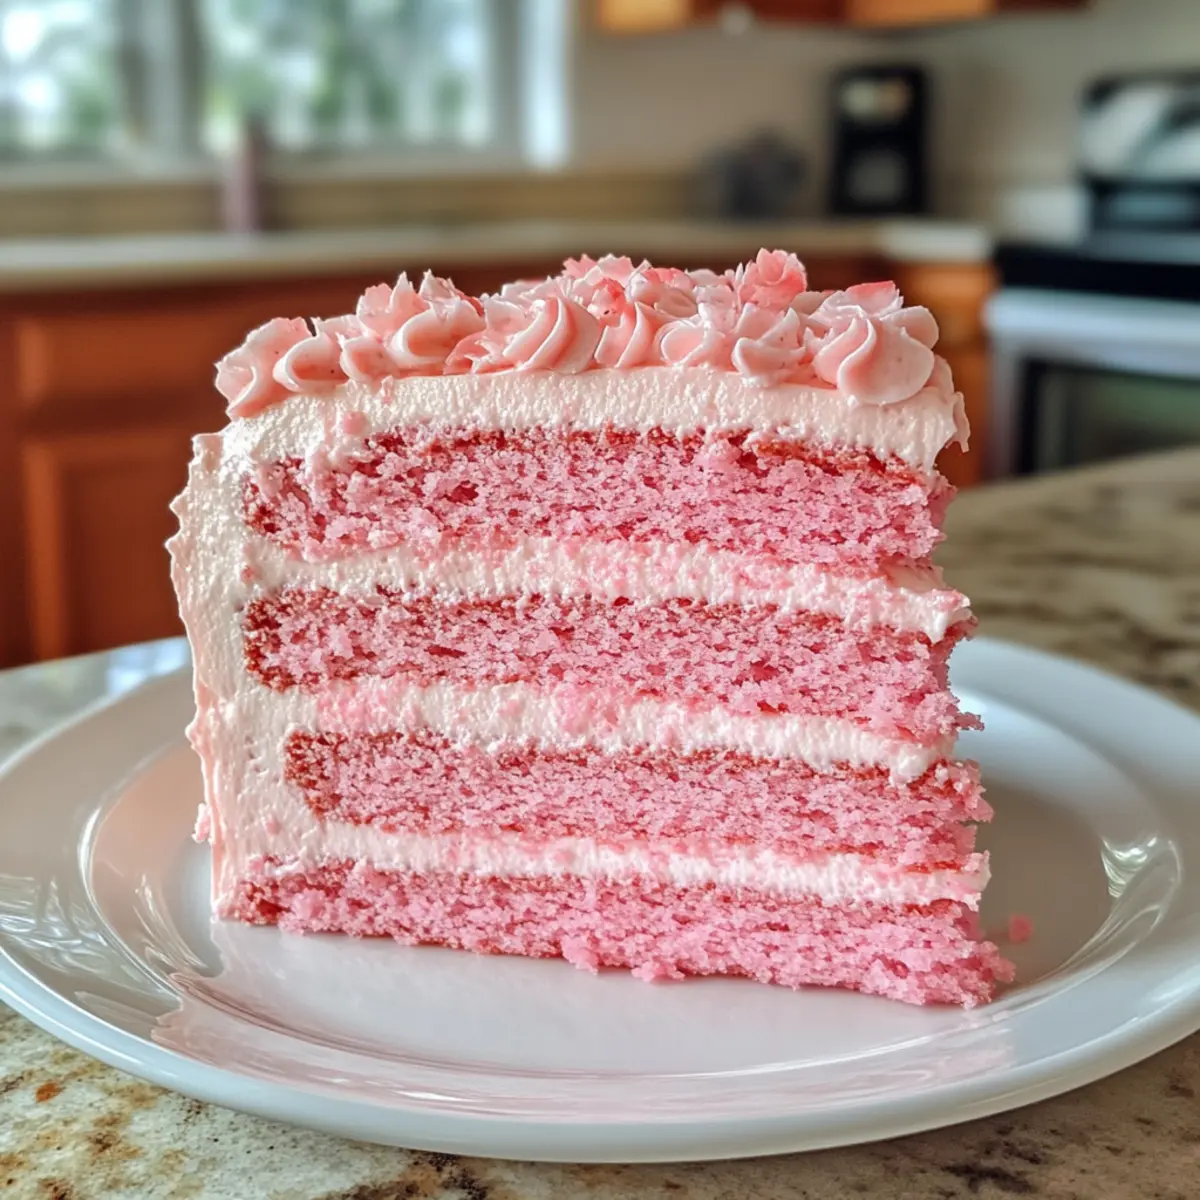
Decadent Layers: Create a layered cake by slicing the cake horizontally and adding cream cheese frosting between the layers for an extra indulgent treat. This makes for an impressive display and a totally delicious experience!
Embrace the versatility of this Pink Velvet Cake and make it your own, just like my tempting Oreo Cheesecake Cookie Cups or the rich Fried Strawberry Cheesecake. Your baking adventures await!
Mother’s Day Pink Velvet Cake Recipe FAQs
What kind of flour is best for pink velvet cake?
I recommend using cake flour for the lightest, fluffiest texture in your Pink Velvet Cake. If you don’t have any on hand, all-purpose flour also works as a substitute, but it may yield a denser cake. Just remember—cake flour makes a world of difference when it comes to that delicate crumb!
How should I store leftovers of the pink velvet cake?
Leftovers can be stored in an airtight container at room temperature for up to 3 days if you’re enjoying it plain. However, if you’ve frosted it with cream cheese frosting, it’s best to refrigerate the cake; it will remain fresh for about a week. Always wrap it tightly to maintain its moisture and flavor—trust me, you want every bite to be delightful!
Can I freeze the pink velvet cake? How?
Absolutely! If you’ve got leftover unfrosted cake layers, wrap them tightly in plastic wrap, then cover them with aluminum foil to prevent freezer burn. This way, they can be stored in the freezer for up to 3 months. When you’re ready to enjoy, simply thaw the layers overnight in the refrigerator before frosting. It’s a great way to have a delicious cake at your fingertips!
What should I do if my pink velvet cake layers are dry?
If your cake layers turn out dry, don’t fret! Next time, make sure to check your baking time. Overbaking can lead to dryness, so we want to take them out once a toothpick inserted comes out clean but not dry. Additionally, you can brush the layers lightly with a simple syrup (equal parts sugar and water heated until dissolved) before frosting; this adds moisture back in!
Is the pink velvet cake safe for my pets or those with allergies?
While the Pink Velvet Cake is delicious for humans, it’s not safe for pets due to ingredients like butter and sugar. If you’re concerned about allergies, make sure to check for any specific sensitivities related to the ingredients, especially eggs, dairy, or gluten. To make it allergen-friendly, you can opt for dairy-free and gluten-free substitutes as mentioned in the recipe!
Can I make this pink velvet cake ahead of time?
Definitely! To save time, you can bake the cake layers the day before your event. Once cooled, simply wrap them tightly and store them in the fridge. Frost the cake the day of your gathering for that fresh, scrumptious taste. A little prep goes a long way, and everyone will appreciate your effort!
Delightful Pink Velvet Cake: A Sweet Celebration Treat
Ingredients
Equipment
Method
- Preheat your oven to 350°F (175°C) and grease and flour two 9-inch round cake pans.
- In a medium mixing bowl, whisk together cake flour, cocoa powder, baking powder, and salt.
- In a large mixing bowl, cream the softened butter and sugar together until light and fluffy, about 3 minutes.
- Add the eggs one at a time to the mixture, fully incorporating each before adding the next.
- Pour in the buttermilk, vanilla extract, and red food coloring to the mixture and mix on low speed.
- Gradually fold the dry ingredient mixture into the wet ingredients until just combined.
- Divide the batter evenly between the prepared cake pans and bake for 25-30 minutes.
- Allow the cakes to cool in the pans for about 10 minutes before transferring to wire racks to cool completely.
- Once cool, frost the layers with cream cheese frosting and serve.
Leave a Reply