
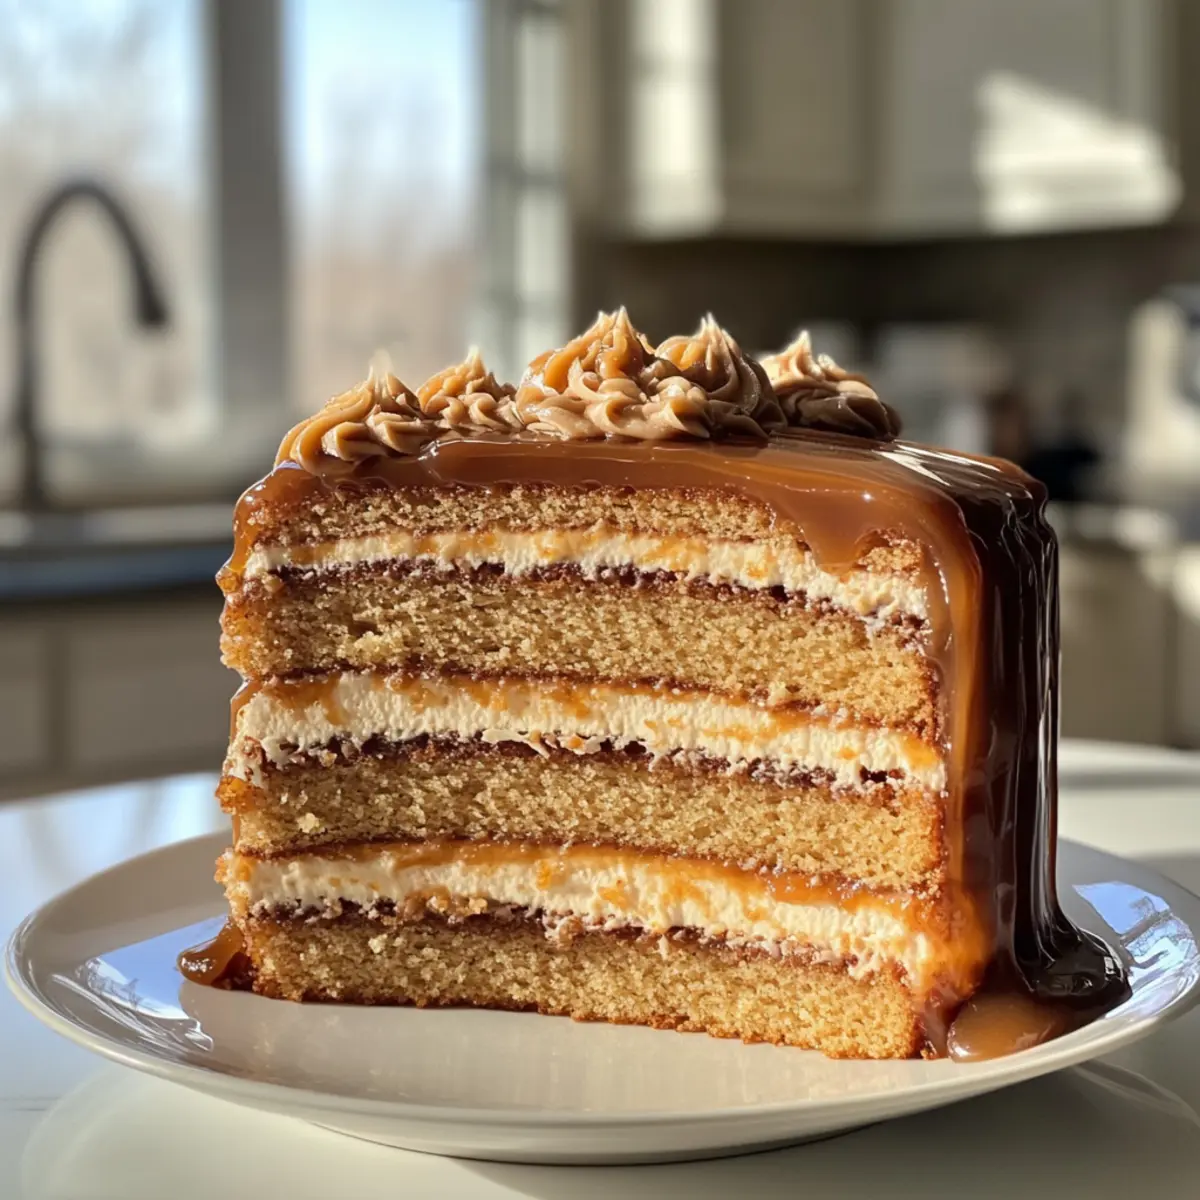
As I walked into the kitchen, the enticing aroma of caramel simmering on the stove transported me back to childhood baking days. Today, I’m excited to share my take on the beloved Salted Caramel Cake—an absolute showstopper perfect for any gathering. Picture layers of moist vanilla cake, enveloped in a luscious salted caramel buttercream, creating a delightful balance of sweet and salty. Not only is this recipe a crowd-pleaser, but it also offers a fun baking challenge for home chefs eager to impress. Whether you’re celebrating a birthday or just craving a sweet escape, this cake promises to be the highlight of your dessert table. Ready to dive into the sweet, gooey goodness of this decadent creation?
Why is Salted Caramel Cake So Irresistible?
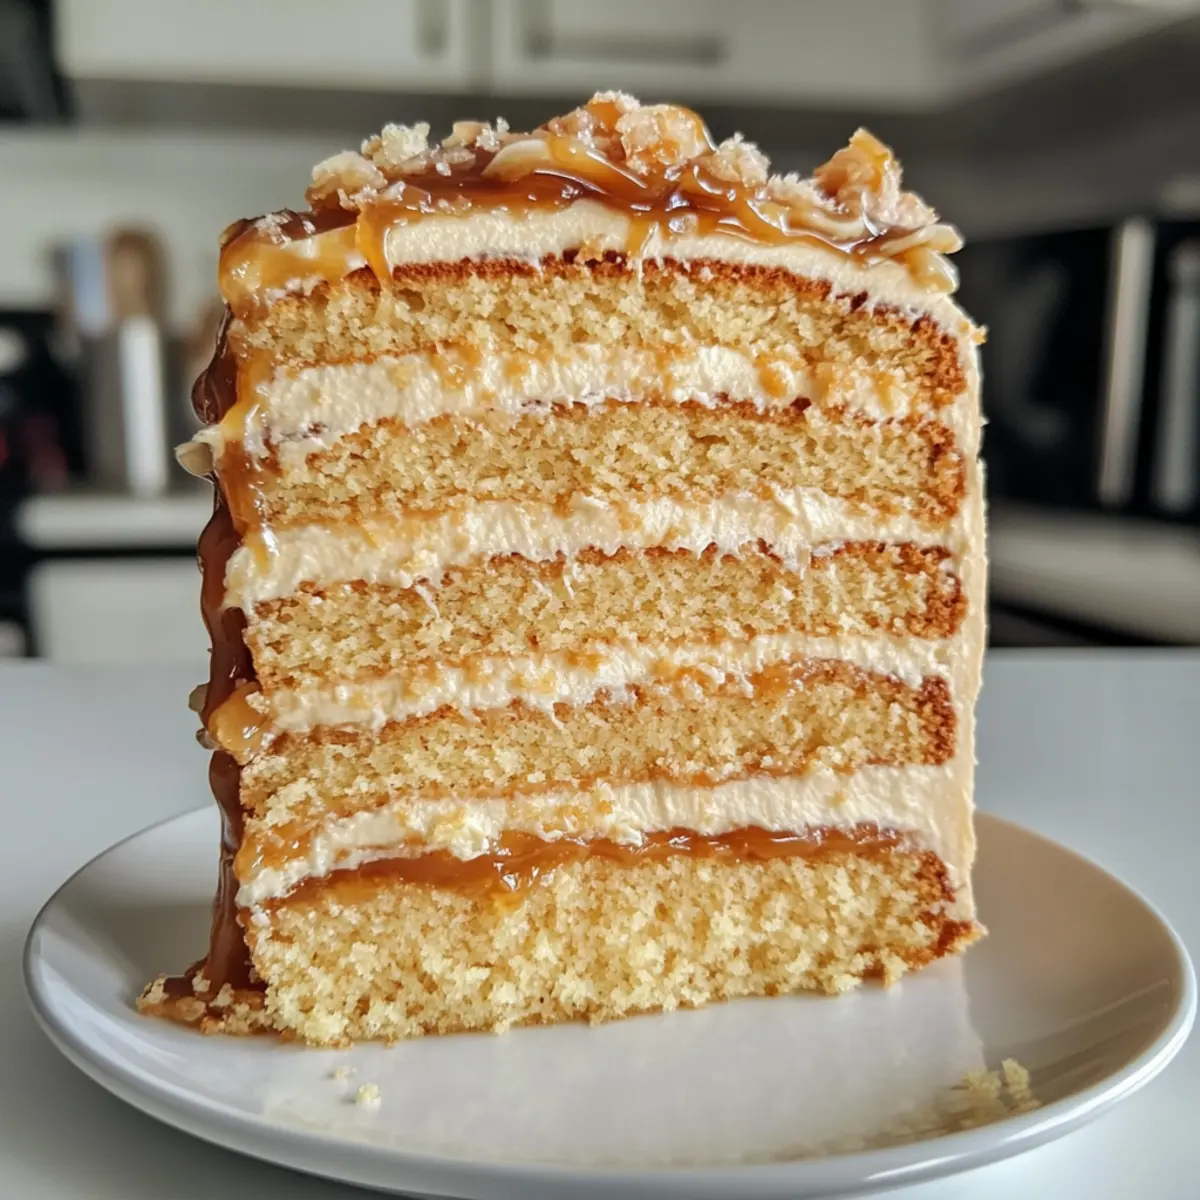
Indulgent Flavor: This cake delivers an explosion of sweet and salty goodness that will leave your taste buds dancing in delight. Moist Layers: Each bite offers a soft, sumptuous texture, making it impossible to resist. Showstopper Appeal: Perfectly layered and beautifully adorned, this cake is a stunning centerpiece for any celebration. Baking Adventure: Enjoy a fun and rewarding baking experience as you craft both the caramel and the cake from scratch. Plus, if you love a creative spin, consider pairing it with recipes like Fried Strawberry Cheesecake for an extra treat. Crowd Favorite: Friends and family will rave about this delightful dessert, making it a must-have for gatherings.
Salted Caramel Cake Ingredients
For the Salted Caramel
• Granulated Sugar – Essential for sweetness and caramelization; consider using light brown sugar for richer depth.
• Water – Helps dissolve the sugar evenly; no substitutes are needed for this key step.
• Unsalted Butter – Adds creaminess and richness; avoid salted butter to control the flavor better.
• Heavy Cream – Provides a smooth and creamy texture; full-fat milk can work in a pinch, but may alter the flavor.
• Flaky Sea Salt – Perfect for enhancing the caramel flavor; if not on hand, kosher salt is a good alternative.
For the Cake
• All-Purpose Flour – Forms the structure of the cake; a gluten-free flour blend can be used for those with sensitivities.
• Cornstarch – Lightens the cake’s texture; omit if you’re using cake flour instead.
• Baking Powder – A leavening agent that helps the cake rise; always check for freshness.
• Baking Soda – Works in tandem with baking powder for rise; ensure it’s fresh for best results.
• Eggs – Bind ingredients and add moisture; room temperature eggs will mix better into the batter.
• Sour Cream – Keeps the cake moist while adding a bit of tang; Greek yogurt also makes a fine substitute.
• Vegetable Oil – Ensures a moist cake; can replace with any neutral oil like canola or coconut.
• Vanilla Extract – Elevates the flavor of the cake; pure vanilla extract is highly recommended.
For the Buttercream
• Powdered Sugar – Sweetens and thickens the buttercream; for a healthier twist, consider using a sugar-free alternative.
• Salted Caramel – Incorporate this into the buttercream for rich, decadent flavors; it’s the star of this Salted Caramel Cake!
Step‑by‑Step Instructions for Irresistibly Moist Salted Caramel Cake
Step 1: Make the Caramel
In a medium saucepan, combine granulated sugar and water, stirring gently until the sugar dissolves. Place over medium heat and cook for 8-10 minutes without stirring, until the mixture turns a deep amber color. Remove from heat, then carefully whisk in unsalted butter and heavy cream until smooth. Let the salted caramel cool to room temperature, then refrigerate until it thickens, about 30 minutes.
Step 2: Prepare Cake Batter
In a large mixing bowl, cream together granulated sugar and vegetable oil until light and fluffy. Add room temperature eggs, one at a time, mixing well after each addition, then blend in sour cream and vanilla extract. In another bowl, whisk together all-purpose flour, cornstarch, baking powder, and baking soda. Gradually add the dry ingredients to the wet mixture, alternating with the remaining buttermilk for a smooth, pourable batter.
Step 3: Bake the Layers
Preheat your oven to 340°F (170°C) and grease two 9-inch round cake pans with cooking spray or butter. Divide the cake batter evenly between the pans and smooth the tops with a spatula. Bake for 20-23 minutes, or until a toothpick inserted in the center comes out clean. Once done, remove the pans from the oven and allow the cake layers to cool in the pans for 10 minutes before transferring them to a wire rack to cool completely.
Step 4: Prepare the Buttercream
While the cake layers cool, make the salted caramel buttercream. In a large mixing bowl, beat room temperature unsalted butter until creamy. Gradually add powdered sugar, mixing on low speed until incorporated. Pour in 1/2 cup of the previously made salted caramel, adding more to taste, along with a pinch of flaky sea salt, and beat until the mixture is light and fluffy, about 2-3 minutes.
Step 5: Assemble the Cake
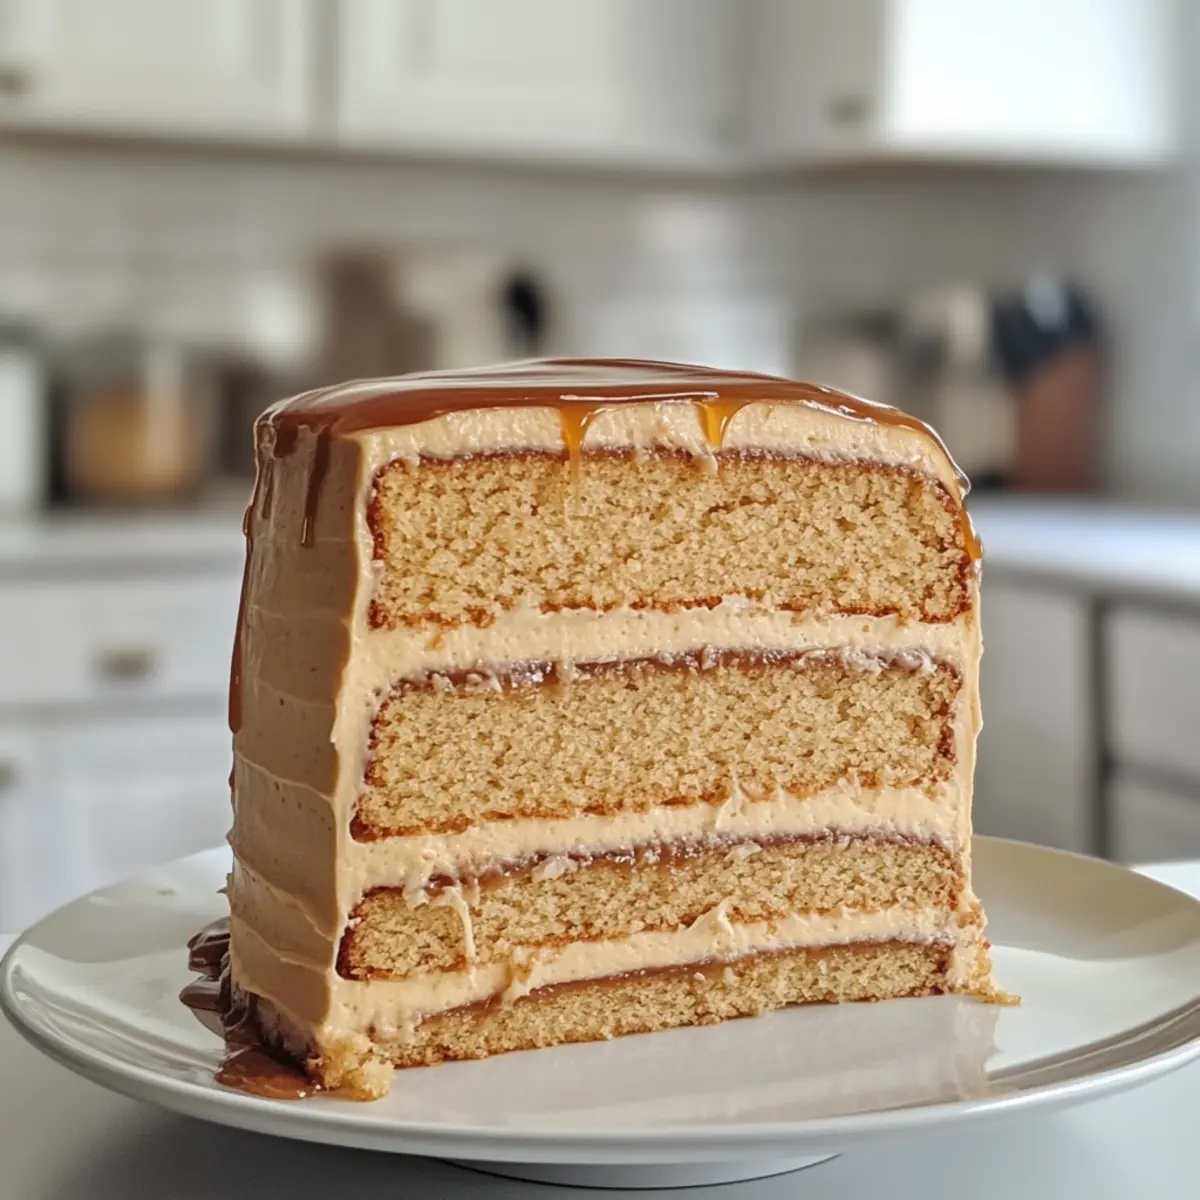
Once the cake layers are completely cooled, place one layer on a serving plate. Spread a generous layer of salted caramel buttercream on top, followed by a drizzle of salted caramel sauce. Gently place the second cake layer on top, then frost the entire cake with the remaining buttercream. Create swirls or peaks for a beautiful finish, and drizzle the top with more salted caramel and a sprinkling of flaky sea salt.
Step 6: Serve and Enjoy
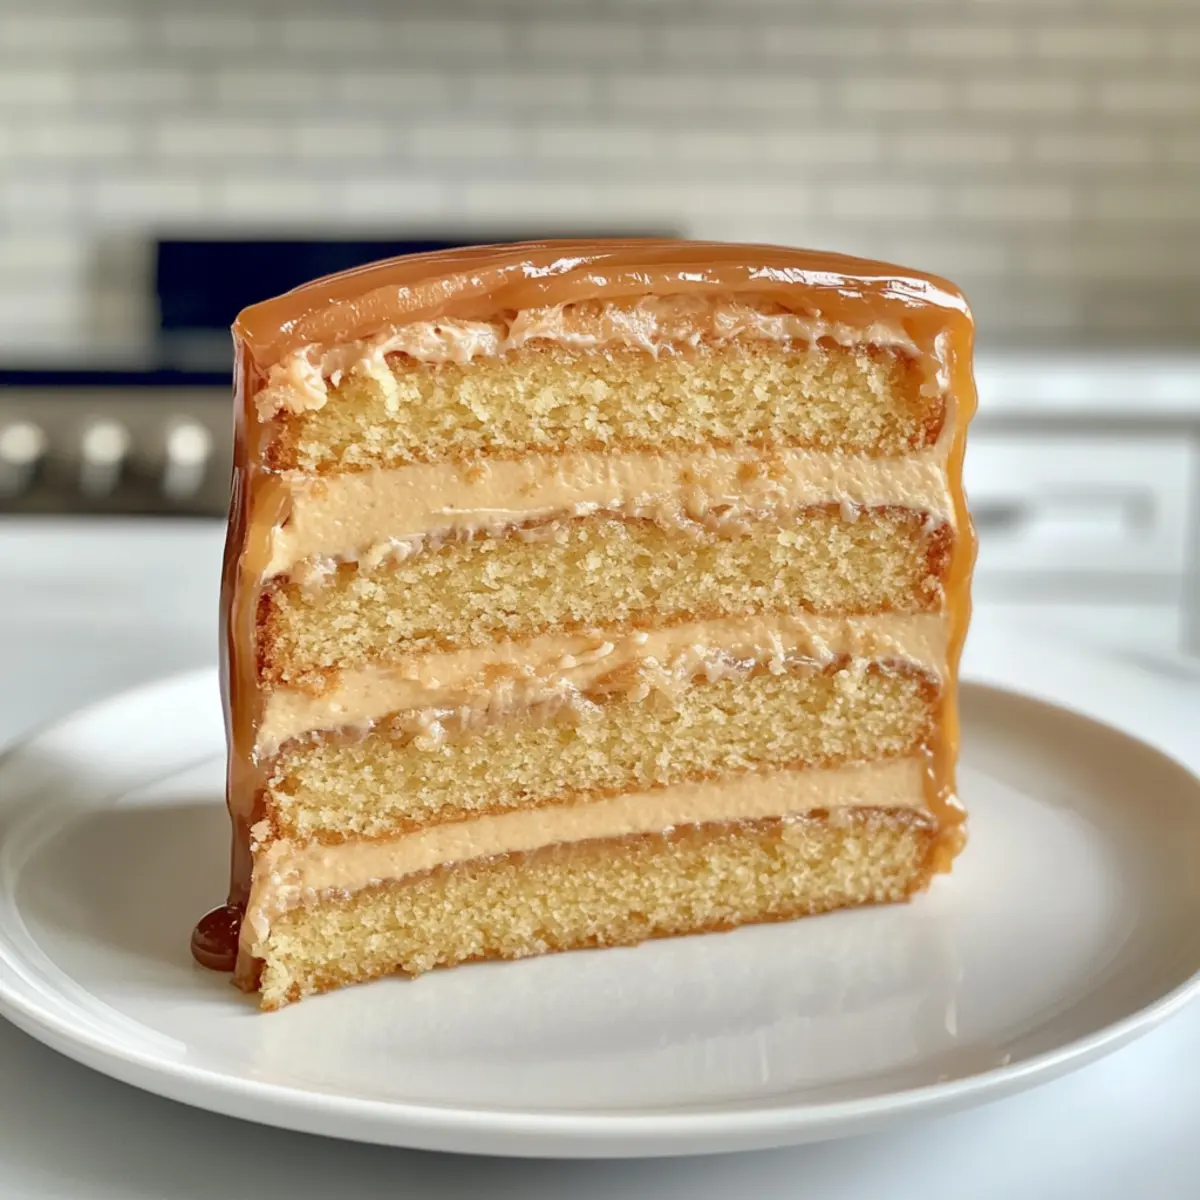
For the best experience, let the assembled salted caramel cake chill for 30 minutes before slicing. This allows the layers to set and makes for cleaner slices. Serve with an extra drizzle of caramel and a sprinkle of sea salt on each slice. Every bite of this Salted Caramel Cake promises a delightful balance of sweet and salty flavors that will enchant your guests!
Make Ahead Options
These Salted Caramel Cake components are perfect for busy home cooks looking to streamline meal prep! You can make the salted caramel and buttercream up to 3 days in advance. Simply refrigerate them in airtight containers—this keeps them fresh and just as delicious. The cake layers can also be baked up to 24 hours ahead; wrap them tightly in plastic wrap once cooled and store in an airtight container at room temperature. When ready to serve, let the buttercream soften at room temperature, then assemble the cake by spreading the buttercream between the layers and frosting the top. With these make-ahead options, you’ll enjoy stress-free baking without compromising on flavor!
How to Store and Freeze Salted Caramel Cake
Fridge: Store the assembled Salted Caramel Cake in an airtight container in the refrigerator for up to 3-4 days. This keeps it fresh while allowing the flavors to meld together beautifully.
Make-Ahead Layers: You can bake and cool the cake layers a day in advance. Wrap each layer in plastic wrap and store them in an airtight container at room temperature.
Freezer: For longer storage, freeze unassembled cake layers for up to 2 months. Wrap them tightly in plastic wrap and then foil to prevent freezer burn. Thaw in the fridge overnight before frosting.
Reheating Caramel: If you’ve made extra salted caramel, store it in a jar in the refrigerator for up to a week. Reheat gently in the microwave for easy drizzling over your cake or serving dish.
Expert Tips for Salted Caramel Cake
• Caramel Monitoring: Keep a close eye on your caramel while it cooks; it can shift from perfect to burnt in seconds.
• Cooling Layers: Always ensure your baked cake layers are completely cool before applying the frosting to prevent melting and sliding.
• Butter Temperature: Use room temperature butter for the buttercream; this ensures it blends smoothly, creating that luscious texture you want in your salted caramel cake.
• Frosting Tools: Invest in a turntable and offset spatula for an effortlessly smooth frosting finish. They make a world of difference!
• Chill for Clean Slices: Refrigerating the assembled cake for a short time helps firm it up, leading to cleaner, more presentable slices when serving.
• Storing Caramel: If you’re prepping in advance, store any leftover salted caramel in the fridge, and briefly warm it up before using, to enhance pourability.
What to Serve with Decadent Salted Caramel Layer Cake?
Prepare to create an unforgettable dining experience with delightful accompaniments that enhance every luscious bite of this remarkable cake.
-
Creamy Mashed Potatoes: The velvety texture contrasts beautifully with the cake’s sweetness, offering a savory touch to your dessert table.
-
Rich Espresso: A bold cup of espresso elevates the cake’s flavors, perfectly complementing the salted caramel with its intense depth.
-
Vanilla Ice Cream: The cold creaminess of vanilla ice cream balances the decadent richness of the cake while adding a refreshing touch as you indulge.
-
Fresh Berries: Bright and juicy berries like raspberries or strawberries cut through the sweetness; their tartness provides a playful contrast that excites the palate.
-
Chocolate Ganache: A drizzle of warm chocolate ganache adds extra luxury, creating a harmonious blend of sweet and salty flavors that dessert lovers crave.
-
Whipped Cream: Light and airy whipped cream serves as a delightful contrast to the dense layers, ensuring each mouthful feels light yet satisfying.
-
Sparkling Apple Cider: This effervescent drink adds a fun, fruity element to your meal, cleansing the palate and enhancing the overall dessert experience with each sip.
-
Lemon Sorbet: A refreshing palate cleanser, lemon sorbet offers a zesty kick that pairs wonderfully with the sweet richness of the cake, cleansing the taste buds for more.
Embrace these delightful pairings to elevate your Salted Caramel Cake into a feast for both the eyes and the senses.
Salted Caramel Cake Variations & Substitutions
Feel free to get creative and make this Salted Caramel Cake your own with these delightful twists!
- Chocolate Twist: Substitute salted caramel with chocolate ganache for a rich, decadent variation that chocolate lovers will savor. The combination of flavors creates a wonderfully indulgent dessert.
- Nutty Crunch: Fold in crushed nuts, such as pecans or walnuts, between layers for added crunch and texture. This brings a beautiful contrast to the soft cake and creamy buttercream.
- Flavored Extracts: Try using almond or orange extract instead of vanilla for a unique flavor profile that adds a zesty twist to the cake. These aromatic enhancements create delightful surprises in each bite.
- Dairy-Free: Use coconut cream and plant-based butter in the caramel and buttercream for a dairy-free version. The coconut adds an tropical hint, perfect for those with dietary restrictions.
- Gluten-Free: Swap out all-purpose flour for a gluten-free flour blend, making this cake accessible for those with gluten sensitivities. This simple change allows everyone to partake in the deliciousness.
- Fruity Layer: Add thin slices of fresh fruit like strawberries or raspberries between the cake layers for a burst of fresh flavor and natural sweetness. This fruity addition beautifully balances the rich caramel.
- Spiced Touch: Incorporate a hint of cinnamon or nutmeg into the cake batter for a warm spice note that complements the caramel taste. This adds a seasonal flair, perfect for cozy gatherings.
- Ice Cream Pairing: Serve your cake alongside a scoop of vanilla bean ice cream. This pairing enhances the overall experience, making every bite a creamy, dreamy delight.
For another delicious dessert idea, why not explore the fabulous Oreo Cheesecake Cookie for an irresistible treat?
Salted Caramel Cake Recipe FAQs
What type of sugar should I use for the caramel?
I recommend using granulated sugar for the caramel; however, if you want a richer flavor, light brown sugar can be a delightful alternative. This will give your salted caramel a deeper color and flavor.
How should I store the Salted Caramel Cake?
Store the assembled Salted Caramel Cake in an airtight container in the refrigerator for up to 3-4 days. This helps maintain freshness and allows the flavors to meld beautifully, enhancing the overall taste with each passing day.
Can I freeze the Salted Caramel Cake?
Absolutely! For longer storage, freeze the unassembled cake layers for up to 2 months. Just wrap each layer tightly in plastic wrap and then in foil to prevent freezer burn. When ready to enjoy, thaw the layers in the fridge overnight before frosting.
What if my caramel turns grainy?
If you find your caramel has become grainy after cooling, it could be due to crystallization. A quick solution is to place the caramel back on low heat and stir in a bit of water or cream until smooth again. It’s always a good idea to avoid stirring the caramel once it starts cooking, as this can cause grains to form.
Can I make this cake gluten-free?
Yes! You can substitute all-purpose flour with a gluten-free flour blend. Many brands offer great alternatives that will yield a delicious result. Additionally, ensure your other ingredients, like baking powder and vanilla extract, are gluten-free to keep the entire cake compliant.
What do I do if my cake layers are domed or not even?
If your cake layers rise unevenly and create domes, don’t worry! Just use a serrated knife to trim the tops for a level surface before you assemble the cake. This not only makes stacking easier but also gives a beautiful, professional finish to your salted caramel cake.
Irresistibly Moist Salted Caramel Cake for Any Celebration
Ingredients
Equipment
Method
- In a medium saucepan, combine granulated sugar and water, stirring gently until the sugar dissolves. Place over medium heat and cook for 8-10 minutes without stirring, until the mixture turns a deep amber color. Remove from heat, then carefully whisk in unsalted butter and heavy cream until smooth. Let the salted caramel cool to room temperature, then refrigerate until it thickens, about 30 minutes.
- In a large mixing bowl, cream together granulated sugar and vegetable oil until light and fluffy. Add room temperature eggs, one at a time, mixing well after each addition, then blend in sour cream and vanilla extract. In another bowl, whisk together all-purpose flour, cornstarch, baking powder, and baking soda. Gradually add the dry ingredients to the wet mixture, alternating with the remaining buttermilk for a smooth, pourable batter.
- Preheat your oven to 340°F (170°C) and grease two 9-inch round cake pans with cooking spray or butter. Divide the cake batter evenly between the pans and smooth the tops with a spatula. Bake for 20-23 minutes, or until a toothpick inserted in the center comes out clean. Once done, remove the pans from the oven and allow the cake layers to cool in the pans for 10 minutes before transferring them to a wire rack to cool completely.
- While the cake layers cool, make the salted caramel buttercream. In a large mixing bowl, beat room temperature unsalted butter until creamy. Gradually add powdered sugar, mixing on low speed until incorporated. Pour in 1/2 cup of the previously made salted caramel, adding more to taste, along with a pinch of flaky sea salt, and beat until the mixture is light and fluffy, about 2-3 minutes.
- Once the cake layers are completely cooled, place one layer on a serving plate. Spread a generous layer of salted caramel buttercream on top, followed by a drizzle of salted caramel sauce. Gently place the second cake layer on top, then frost the entire cake with the remaining buttercream. Create swirls or peaks for a beautiful finish, and drizzle the top with more salted caramel and a sprinkling of flaky sea salt.
- For the best experience, let the assembled salted caramel cake chill for 30 minutes before slicing. This allows the layers to set and makes for cleaner slices. Serve with an extra drizzle of caramel and a sprinkle of sea salt on each slice.
Leave a Reply