
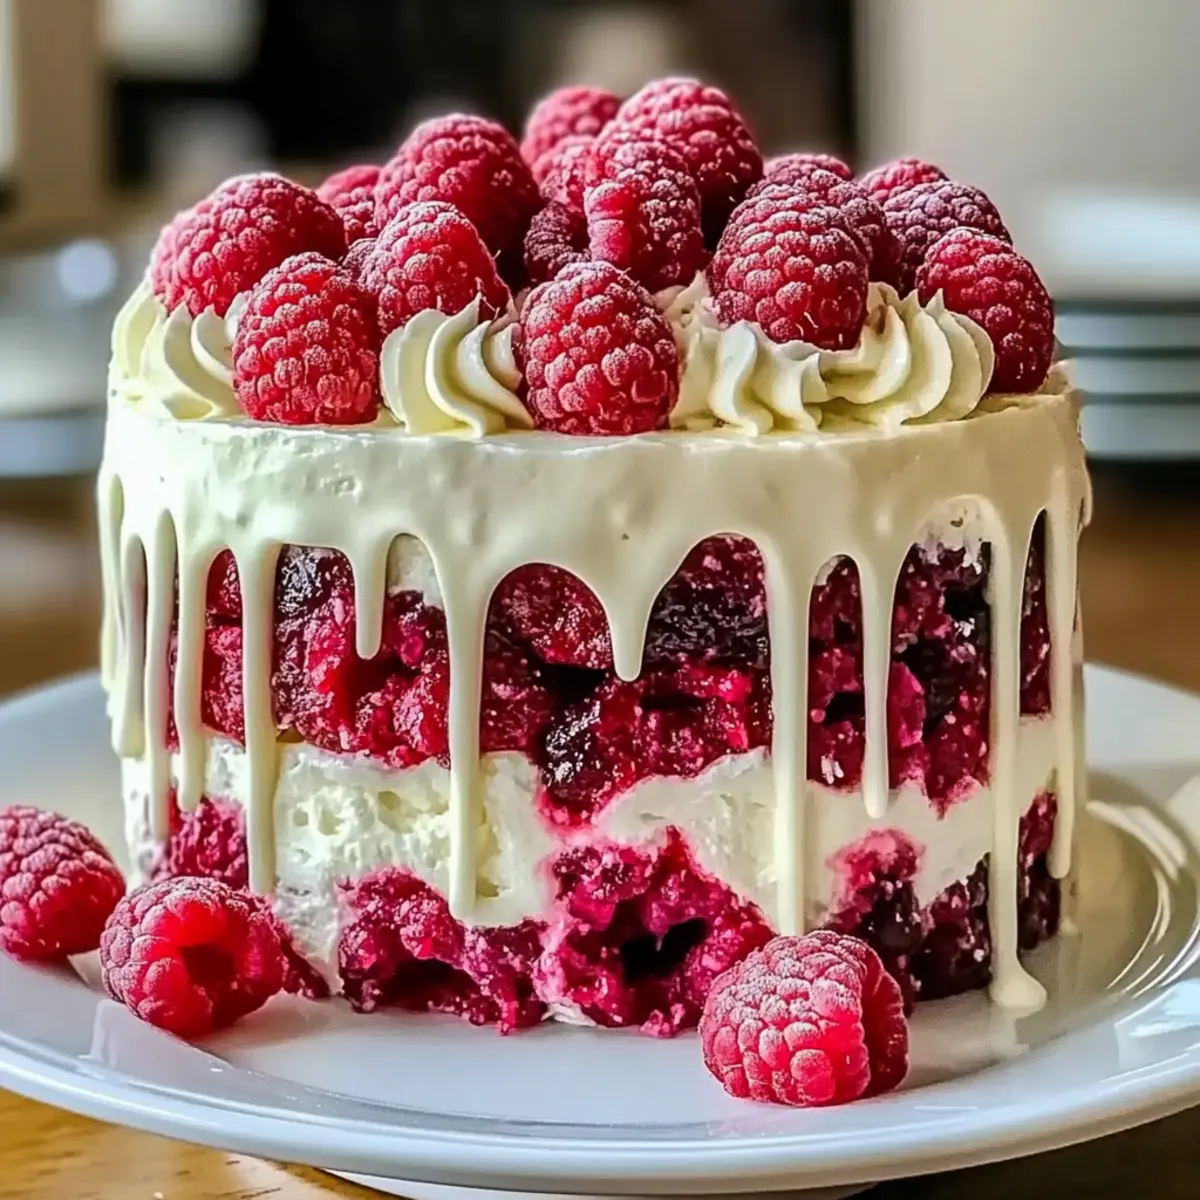
The moment I took my first bite of the White Chocolate Raspberry Dream Cake, it felt like I had been transported to a sun-drenched patio at a summer wedding, laughter and joy swirling around me. This delightful dessert is more than just a feast for the eyes; it’s an indulgent blend of rich white chocolate and vibrant raspberries that transforms any gathering into a celebration. Whether you’re hosting a birthday party or a cozy holiday dinner, the impressive layers of this buttery cake surrounded by a luscious raspberry filling will make hearts flutter and taste buds dance. Plus, it’s surprisingly easy to whip up, making it a go-to option for those of us who want to impress without spending all day in the kitchen. Are you ready to make a cake that will leave everyone asking for seconds? Let’s dive into this sweet adventure together!
Why Is This Cake So Irresistible?
Indulgence Awaits: The White Chocolate Raspberry Dream Cake is a showstopper, making it the perfect centerpiece for any gathering.
Flavor Explosion: The mix of rich white chocolate and tart raspberries creates a taste sensation that’s hard to resist.
Effortless Elegance: With simple ingredients and easy steps, this cake is perfect for beginners and seasoned bakers alike.
Versatile Delight: Whether it’s a birthday, bridal shower, or holiday dinner, this cake fits every occasion seamlessly.
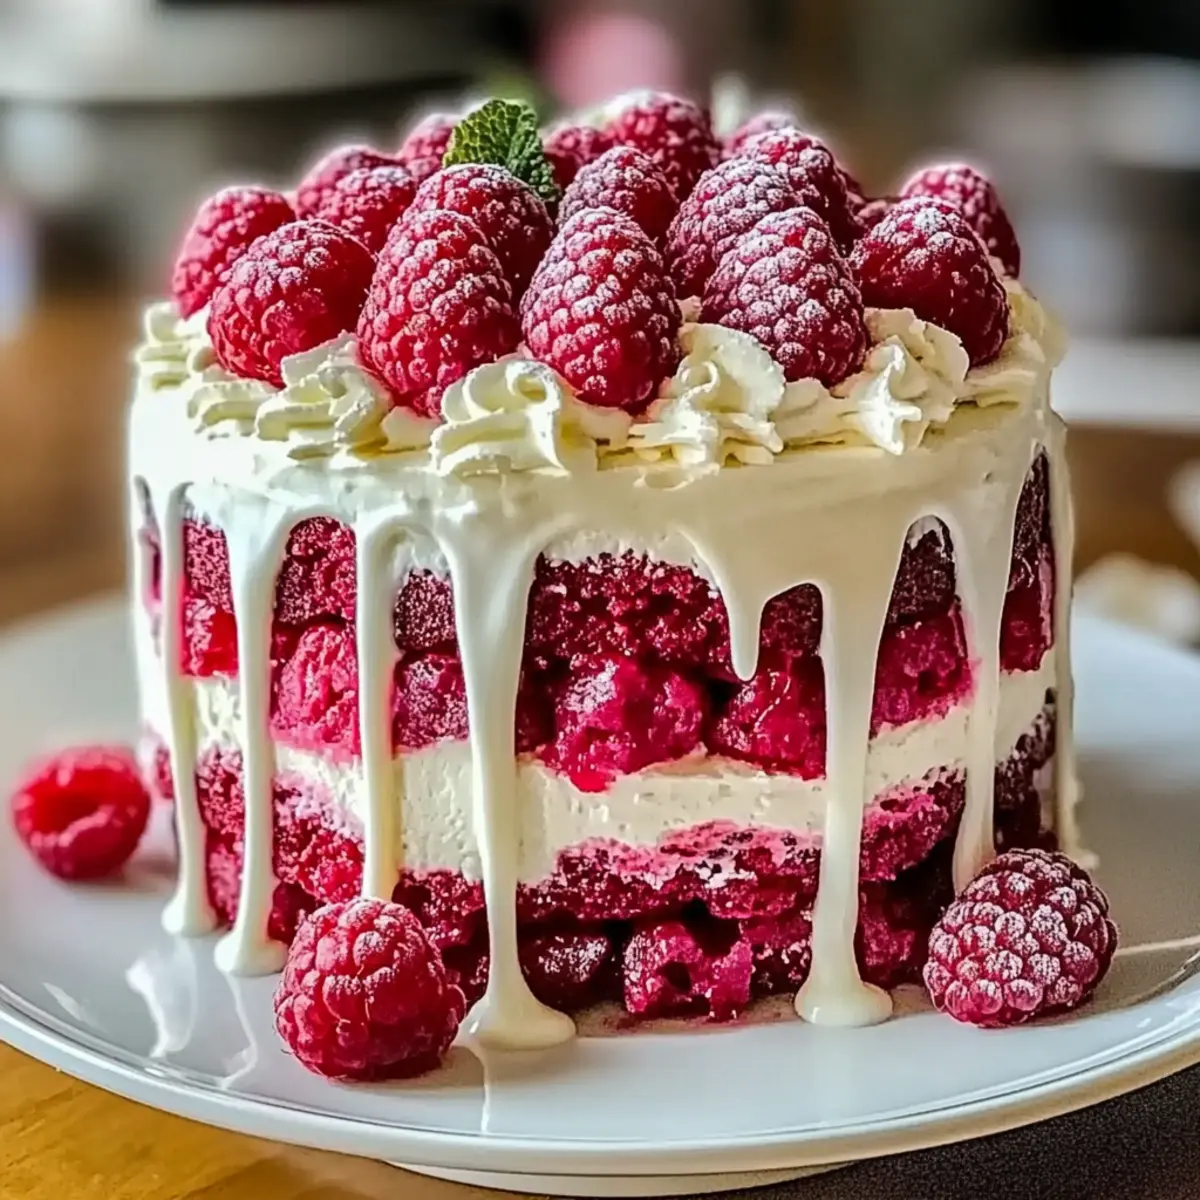
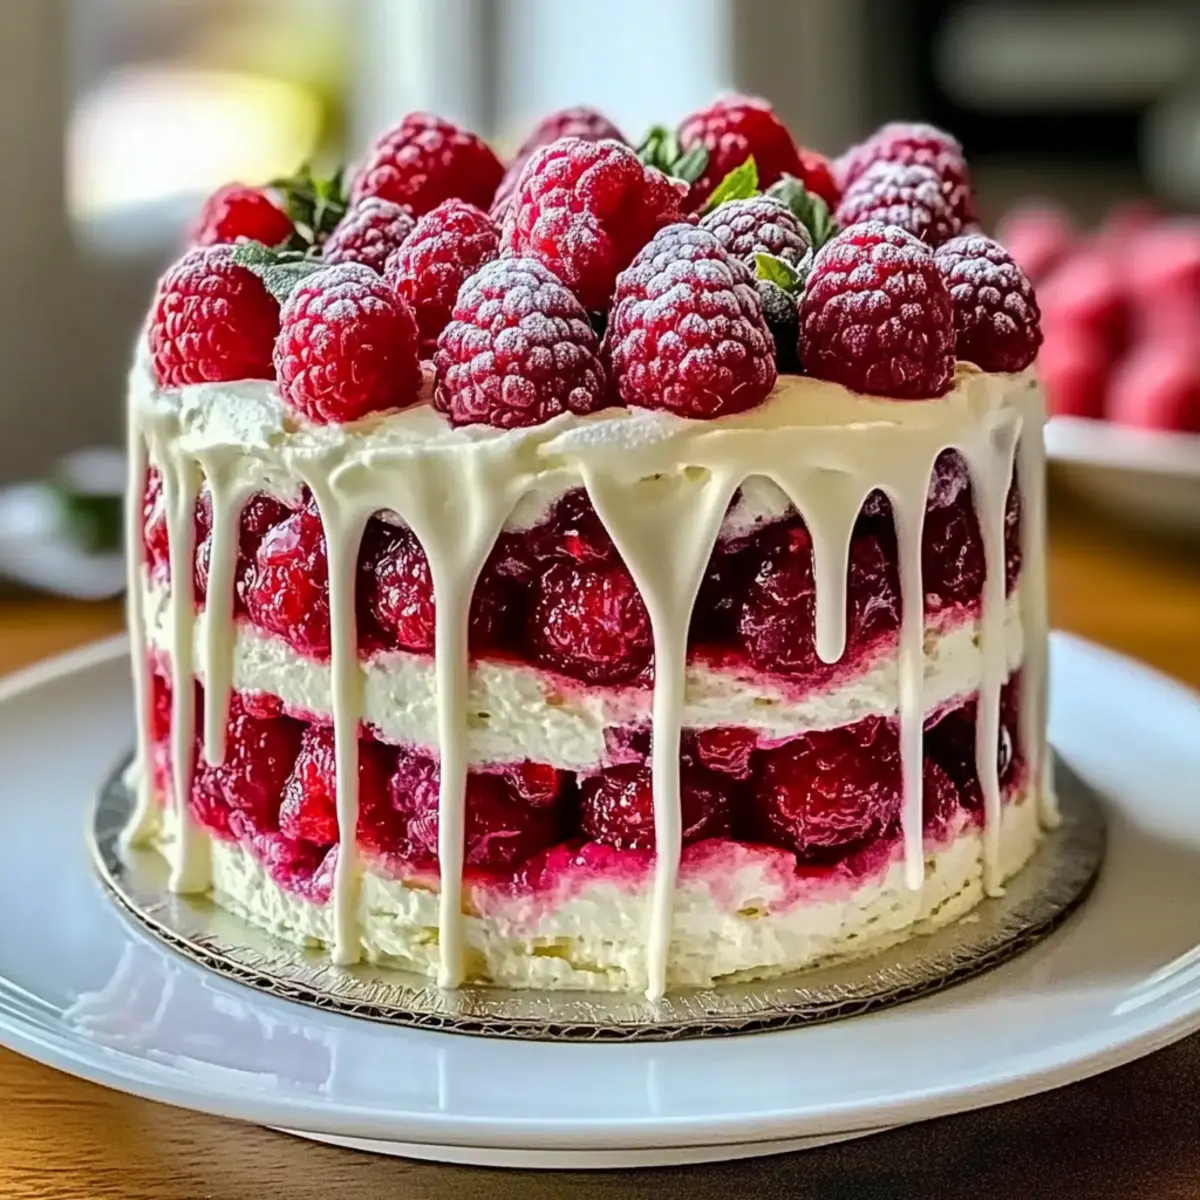
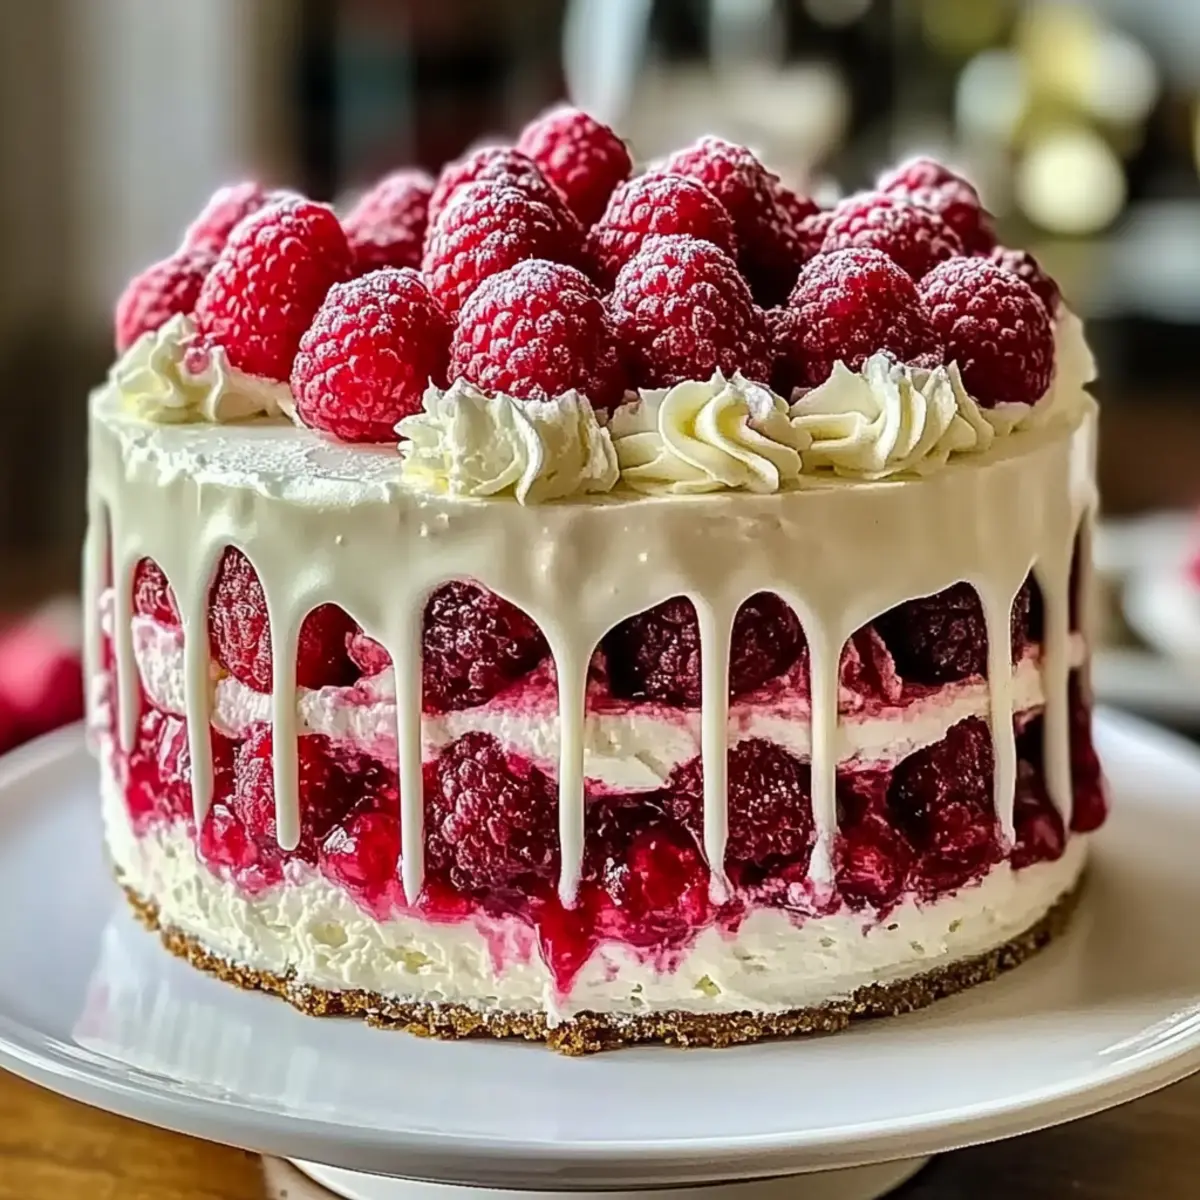
Stunning Presentation: Topped with fresh raspberries and chocolate curls, it’s not only delicious but also an eye-catching masterpiece.
For another delightful dessert, try the White Chocolate Raspberry cheesecake balls for a sweet treat everyone will enjoy!
White Chocolate Raspberry Dream Cake Ingredients
Indulge in a dessert that’s almost too beautiful to eat.
For the Cake
- All-purpose flour – essential for light, airy structure. Best for cake aeration.
- Baking powder – key leavening agent; ensure freshness for optimal rise.
- Salt – enhances flavor; essential for balancing sweetness.
- Unsalted butter – adds richness and moisture; use at room temperature for better incorporation.
- Granulated sugar – provides sweetness and moisture retention; can substitute with a lower-sugar alternative.
- Large eggs – acts as a binding agent and contributes moisture; use room temperature for better mixing.
- Vanilla extract – flavor enhancer; use pure vanilla for the best results.
- White chocolate chips – adds richness and flavor; choose high-quality, baking-grade chocolate.
- Whole milk – moistens and tenderizes the cake; can use low-fat milk for a lighter option.
For the Raspberry Filling
- Fresh or frozen raspberries – provides flavor and vibrant color; thaw slightly if using frozen to avoid excess liquid.
- Sugar (for filling) – sweetens the filling; adjust based on the berry’s tartness.
- Lemon juice – brightens the flavor; fresh is preferable.
- Cornstarch mixed with water – thickening agent for raspberry filling; essential for achieving a spreadable consistency.
For the Frosting
- Unsalted butter – delivers creaminess and stability; must be softened for easier mixing.
- Powdered sugar – adds sweetness and structure; sift for a smoother texture.
- Milk – adjusts frosting consistency; use as needed.
Optional Garnishes
- Fresh raspberries – adds a pop of color and flavor.
- White chocolate curls – enhances the luxurious feel of the cake.
- Mint leaves – for an extra touch of elegance and freshness.
Let this show-stopping White Chocolate Raspberry Dream Cake take center stage at your next celebration, making every slice a moment to remember!
Step‑by‑Step Instructions for White Chocolate Raspberry Dream Cake
Step 1: Prepare the Cake Batter
In a medium bowl, whisk together 2 cups of all-purpose flour, 1 tablespoon of baking powder, and ½ teaspoon of salt. In a stand mixer, cream together ¾ cup of unsalted butter and 1 ½ cups of granulated sugar until light and fluffy. Add 3 large eggs one at a time, followed by 1 teaspoon of vanilla extract. Melt 1 cup of white chocolate chips, then incorporate this, alternating with 1 cup of whole milk, into the butter mixture, followed by the flour mixture until just combined.
Step 2: Bake the Cake Layers
Preheat your oven to 350°F (175°C) and grease three 8-inch round cake pans. Divide the prepared batter evenly among the pans, smoothing the tops with a spatula. Bake in the preheated oven for about 30 minutes, or until a toothpick inserted into the center comes out clean. Once baked, allow the cake layers to cool in the pans for 10 minutes before transferring them to wire racks to cool completely.
Step 3: Make the Raspberry Filling
In a saucepan over medium heat, combine 2 cups of fresh or thawed frozen raspberries, ¼ cup of sugar, and 1 tablespoon of lemon juice. Cook, stirring gently, until the raspberries have broken down, approximately 5–8 minutes. Mix 1 tablespoon of cornstarch with 2 tablespoons of water and stir this mixture into the raspberries. Cook for an additional 2–3 minutes until the filling thickens, then remove from heat and let it cool completely.
Step 4: Prepare the Frosting
In a mixing bowl, beat 1 cup of softened unsalted butter until creamy. Gradually add in 4 cups of sifted powdered sugar and 1 cup of melted white chocolate, mixing well. Pour in a few tablespoons of milk to reach your desired frosting consistency and stir in 1 teaspoon of vanilla extract. Beat until the frosting is smooth and fluffy, ready to adorn your White Chocolate Raspberry Dream Cake.
Step 5: Assemble the Cake
Place one cake layer on a serving plate and spread a layer of the cooled raspberry filling evenly on top, followed by a layer of frosting. Add the second layer of cake and repeat the filling and frosting process. Top with the final cake layer and cover the entire cake with the remaining frosting, smoothing it out for a beautiful finish.
Step 6: Chill and Serve
Refrigerate the assembled White Chocolate Raspberry Dream Cake for at least 30 minutes to allow the frosting to set. Before serving, garnish with fresh raspberries, white chocolate curls, or mint leaves to create an elegant presentation. Slice and enjoy the delightful layers of flavor and texture you’ve created!
White Chocolate Raspberry Dream Cake Variations
Feel free to get creative and customize your White Chocolate Raspberry Dream Cake to suit your tastes and occasions!
- Almond Extract: Substitute almond extract for vanilla to add a warm, nutty flavor that beautifully complements the cake’s richness.
- Citrus Twist: Replace raspberry filling with a tangy lemon filling for a bright and refreshing alternative that contrasts with the white chocolate.
- Mini Cake Versions: Bake in 6-inch pans for individual mini cakes, perfect for smaller gatherings or as sweet party favors!
- Flavor Boost: Incorporate lemon zest into the cake batter for an added zing. This enhances the flavor, creating a delightful freshness with every bite.
- Chocolate Lovers: Add dark chocolate chips to the batter for an enticing depth of flavor, enhancing both the cake and raspberry filling experience.
- Vegan Option: Use flax eggs, dairy-free butter, and plant-based milk to create a vegan version that everyone can enjoy without sacrificing taste or texture.
- Spicy Kick: Add a pinch of cayenne pepper to the batter to introduce a subtle heat that contrasts beautifully with the sweetness of the cake.
- Raspberry Sauce: Drizzle warm raspberry sauce over individual slices for an extra layer of flavor, making your presentation even more enticing.
Don’t forget to enjoy some delightful Frozen Greek Yogurt Peanut Butter Bites with Chocolate Chips for a quick snack option after your sweet feast!
Storage Tips for White Chocolate Raspberry Dream Cake
- Fridge: Store leftover slices in an airtight container in the refrigerator for up to 4 days. This keeps the cake fresh and moist while preserving the delightful flavors.
- Freezer: For longer storage, wrap individual slices of the White Chocolate Raspberry Dream Cake tightly in plastic wrap and freeze for up to 2 months. Remember to double-wrap for optimal freshness.
- Thawing: To enjoy the frozen slices, thaw them in the refrigerator overnight before serving. This gentle method helps maintain the cake’s texture and flavor.
- Reheating: If you prefer warm cake, microwave a slice for about 10-15 seconds, but be cautious to avoid drying it out. Enjoy the melt-in-your-mouth goodness!
What to Serve with White Chocolate Raspberry Dream Cake
Indulging in a slice of this luxurious cake opens the door to delightful culinary pairings that will elevate your gathering into an extraordinary experience.
-
Fresh Berries: Adds a vibrant, tart contrast that complements the sweetness of the cake, enhancing its stunning presentation.
-
Vanilla Ice Cream: The creamy richness perfectly balances the cake’s flavors. A scoop on the side will have everyone swooning with delight.
-
Coffee or Espresso: A warm cup of coffee offers a pleasant acidity that cuts through the sweetness, making each bite even more enjoyable.
-
Lemon Sorbet: The zesty freshness brings a refreshing twist to the indulgence, cleansing the palate for more cake.
-
Chocolate-Covered Strawberries: A luxurious treat that mirrors the flavors of the cake yet provides an entirely different textural experience—perfect for chocolate lovers.
-
Sparkling Wine: A chilled glass of bubbly not only elevates the occasion but also pairs beautifully with the cake, enhancing its celebratory vibe.
Pairing the White Chocolate Raspberry Dream Cake with these delightful options will create a memorable feast that delights all senses—and surely leaves everyone asking for the recipe!
Expert Tips for White Chocolate Raspberry Dream Cake
-
Room Temperature Ingredients: Ensure all ingredients, especially butter and eggs, are at room temperature for optimal mixing and texture.
-
Don’t Overmix: To maintain a light and fluffy cake, mix the batter just until combined. Overmixing can lead to a dense cake.
-
Chill the Filling: Cool your raspberry filling completely before layering to prevent it from melting the frosting.
-
Layering Technique: Alternate layers of cake and filling for an eye-catching presentation. Ensure each layer is even for balanced slices.
-
Quality Matters: Use high-quality white chocolate for better flavor and to prevent separation issues while melting. This is key for your White Chocolate Raspberry Dream Cake!
-
Garnish with Care: For a stunning finish, add garnishes just before serving to keep them fresh and vibrant on your cake.
Make Ahead Options
These White Chocolate Raspberry Dream Cake preparations are perfect for busy home cooks looking to streamline their baking! You can make the cake layers up to 24 hours in advance—simply bake, cool completely, and wrap them tightly in plastic wrap before refrigerating. The raspberry filling can be prepared 3 days ahead; just store it in an airtight container in the refrigerator to maintain its vibrant flavor. Additionally, the frosting can be made up to 2 days in advance and stored in the fridge as well. When you’re ready to assemble, simply whip the frosting again for a fluffier texture, layer the cake, add the filling, frost it, and chill briefly to set. This makes your dessert just as delicious while saving you precious time on the day of your celebration!
White Chocolate Raspberry Dream Cake Recipe FAQs
What should I look for when selecting fresh raspberries?
Absolutely! When choosing fresh raspberries, look for those that are bright and plump, showing no signs of mold or mushiness. They should have a nice aroma and vibrant color. If you notice any dark spots or excessive moisture, it’s best to avoid those.
How can I store leftover White Chocolate Raspberry Dream Cake, and how long will it last?
Very! You can store leftover slices of the cake in an airtight container in the refrigerator for up to 4 days. This will help keep it fresh while retaining its moist, fluffy texture. For longer-term storage, wrap each slice tightly in plastic wrap and freeze them for up to 2 months. Just remember to double-wrap for optimal freshness!
What are the best freezing instructions for this cake?
Sure thing! To freeze your White Chocolate Raspberry Dream Cake, follow these steps:
- Allow the cake to cool completely after assembly.
- Wrap each individual slice in plastic wrap, ensuring no air is trapped inside.
- Place the wrapped slices in a freezer-safe bag or container, and label with the date.
- For best results, consume within 2 months for optimal taste—trust me, it’s worth it!
What should I do if my cake layers are domed and not flat?
Not to worry! If your cake layers dome while baking, it can be easily fixed. To achieve flat layers, simply level the top with a serrated knife after they’ve cooled. If you’d prefer to avoid domed layers altogether, try reducing the oven temperature by about 25°F and bake a little longer. This gentler heat helps the cake bake more evenly.
Are there any dietary considerations I should keep in mind for this recipe?
Absolutely! When making the White Chocolate Raspberry Dream Cake, it’s important to consider allergies to ingredients like eggs, dairy, or gluten. For a gluten-free version, you can use a 1:1 gluten-free flour blend. If you’re serving anyone with a dairy allergy, consider using dairy-free butter and chocolate alternatives to ensure everyone can enjoy a slice of this delightful creation!
White Chocolate Raspberry Dream Cake for Celebrations
Ingredients
Equipment
Method
- Prepare the Cake Batter: In a medium bowl, whisk together flour, baking powder, and salt. In a stand mixer, cream butter and sugar until light and fluffy. Add eggs one at a time, followed by vanilla. Melt white chocolate chips and incorporate it with alternating milk until just combined.
- Bake the Cake Layers: Preheat oven to 350°F (175°C) and grease three 8-inch round cake pans. Divide batter evenly among pans, smoothing tops. Bake for about 30 minutes, or until a toothpick comes out clean. Allow layers to cool in pans for 10 minutes before transferring to wire racks.
- Make the Raspberry Filling: In a saucepan, combine raspberries, sugar, and lemon juice over medium heat. Cook until raspberries break down, then add cornstarch mixture. Cook until thickened, then remove from heat and cool completely.
- Prepare the Frosting: Beat softened butter until creamy. Gradually add powdered sugar and melted white chocolate, mixing well. Add milk to reach desired consistency and stir in vanilla. Beat until smooth.
- Assemble the Cake: Place one cake layer on a serving plate, spread raspberry filling, then frosting. Add second layer and repeat. Top with final layer and cover entire cake with remaining frosting.
- Chill and Serve: Refrigerate for at least 30 minutes to set frosting. Garnish with fresh raspberries, white chocolate curls, or mint leaves before serving.
Leave a Reply