Ingredients
Equipment
Method
Step‑by‑Step Instructions for Simple Canada Day Cake
- Preheat your oven to the temperature specified on the cake mix packages. Prepare two 9” round cake pans by greasing them or lining them with parchment paper. In separate bowls, mix the white cake mix and the red velvet cake mix according to package instructions. Pour each batter into its respective pan, then bake for the recommended time until a toothpick inserted in the center comes out clean.
- Once baked, remove the cake layers from the oven and let them cool in the pans for about 10 minutes. Carefully turn them out onto a wire rack to cool completely. For easier decorating later, wrap each cooled layer tightly in plastic wrap and place them in the freezer for several hours or overnight to firm up.
- While the cake layers are chilling, it's time to whip up your best buttercream icing. In a large mixing bowl, beat together softened butter and powdered sugar, adding a bit of milk and vanilla extract until the mixture is fluffy and smooth. Prepare two batches, ensuring there’s enough for layering and decorating the Simple Canada Day Cake.
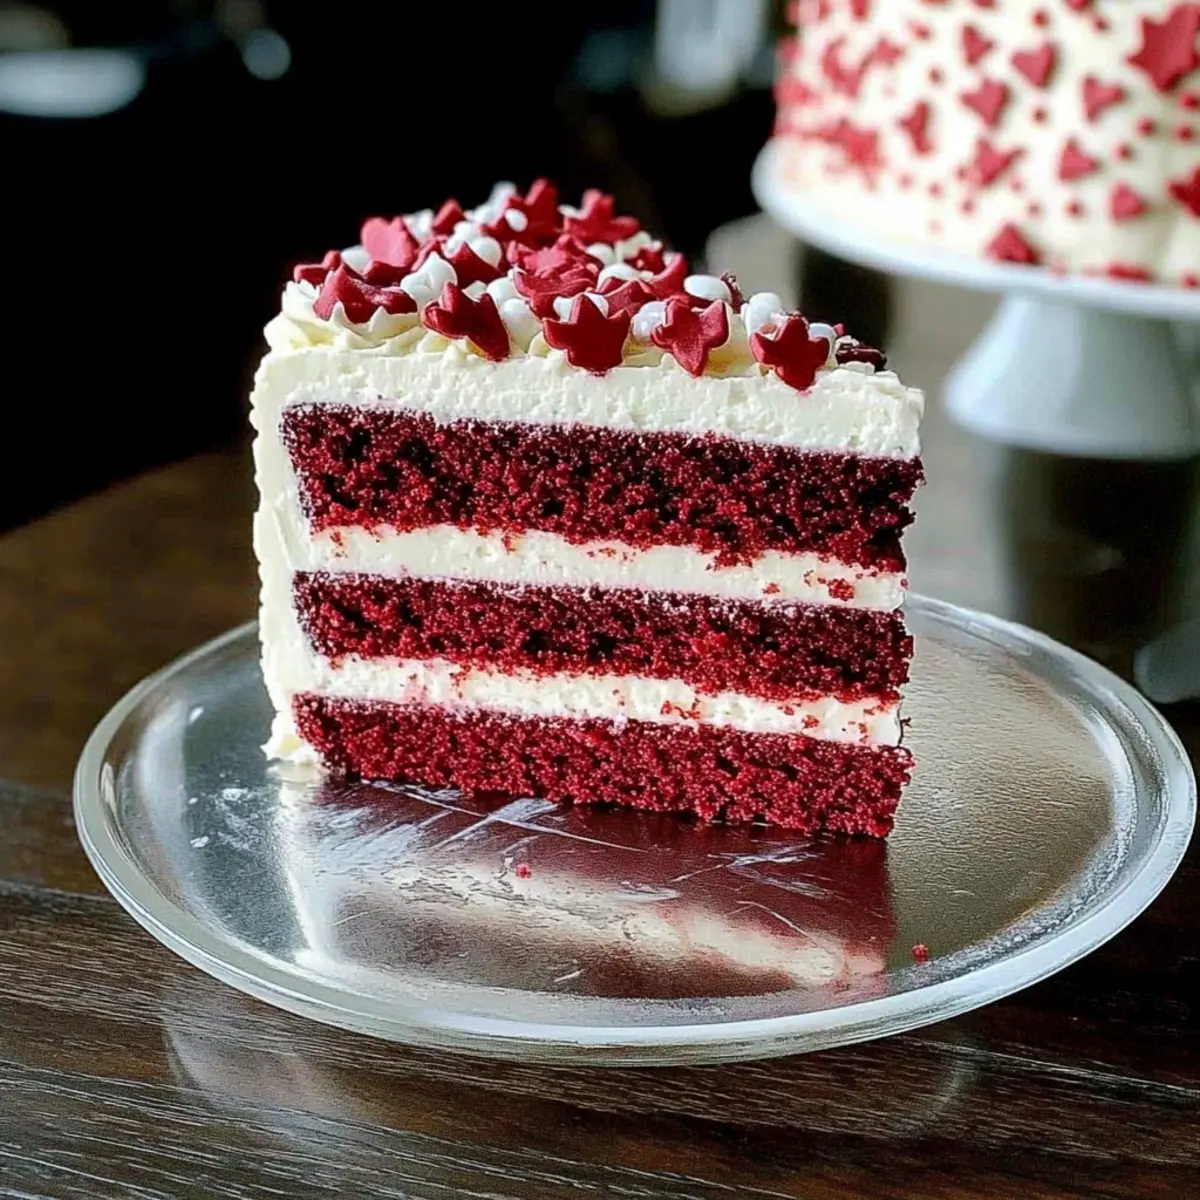
- Once the cake layers are completely frozen and firm, remove them from the freezer. Place the white cake layer on a serving plate or cake stand. Using a spatula, spread a layer of buttercream icing evenly on top. Carefully place the red velvet layer on top of the icing and repeat the process, alternating between the two flavors, until all layers are stacked.
- To create a smooth and professional-looking finish for your Simple Canada Day Cake, use a serrated knife to carefully trim the tops of each layer if they have domed. Aim for a flat surface that will help your icing adhere well. This step is crucial for both the aesthetics and stability of the cake.
- Next, apply a thin layer of buttercream icing to the entire outside of the stacked cake, known as a crumb coat. This layer traps any crumbs and creates a smooth base for the final icing. Once you have an even coating, place the cake in the freezer for about 30 minutes to set the crumb coat and make the final decoration easier.
- While the cake is chilling, prepare your decorative icing. Color about 1 cup of buttercream icing with no-taste red food coloring until the desired shade is achieved. Fill one icing bag with this red icing, and prepare a second bag with the remaining white buttercream for piping the decorative elements of your Simple Canada Day Cake.
- Remove the cake from the freezer and begin piping with the white icing using a Wilton #18 tip. Create decorative patterns around the sides and top of the cake, filling in any gaps as desired. Make sure to vary your designs for a festive look. If you're feeling adventurous, switch to the red icing for added visual interest.
- Once you've finished piping your decorations, your beautiful Simple Canada Day Cake is ready to be served. Slice into this stunning dessert and enjoy the delightful layers of flavor with your friends and family. Get ready for plenty of compliments on this festive, eye-catching treat!
Nutrition
Notes
Chill the cake layers and use a serrated knife for trimming for best results.