Go Back
+ servings
Caramel Popcorn

Irresistible Caramel Popcorn: Sweet Crunchy Bliss at Home

This homemade Caramel Popcorn is a delightful snack that combines buttery goodness with rich sweetness, perfect for movie nights or gifting.
Prep Time 15 minutes
Cook Time 1 hour
Cooling Time 15 minutes
Total Time 1 hour 30 minutes
Servings: 8 cups
Course: Snacks
Calories: 200

Ingredients
  

For the Popcorn
  • 10 cups Plain Popped Popcorn Freshly popped ensures optimal crispiness
For the Caramel Sauce
  • 1 cup Brown Sugar Adds sweetness and contributes to the caramel's rich flavor
  • 1/4 cup Light Corn Syrup Essential for achieving smooth caramel texture
  • 1/2 cup Butter Unsalted preferred for more control over saltiness
  • 1 teaspoon Salt Balance sweetness of the caramel
  • 1/2 teaspoon Baking Soda Causes the caramel to foam
  • 1 teaspoon Vanilla Extract Enhances flavor profile

Equipment

  • medium saucepan
  • Large mixing bowl
  • Baking sheet
  • parchment paper

Method
 

Step-by-Step Instructions
  1. Preheat oven to 250°F (120°C) and line a baking sheet with parchment paper.
  2. In a medium saucepan, combine brown sugar, light corn syrup, butter, and salt. Heat over medium, stirring until a rolling boil, about 4–5 minutes.
  3. Once boiling, reduce heat and let simmer for 5 minutes without stirring. Remove from heat and stir in baking soda and vanilla extract.
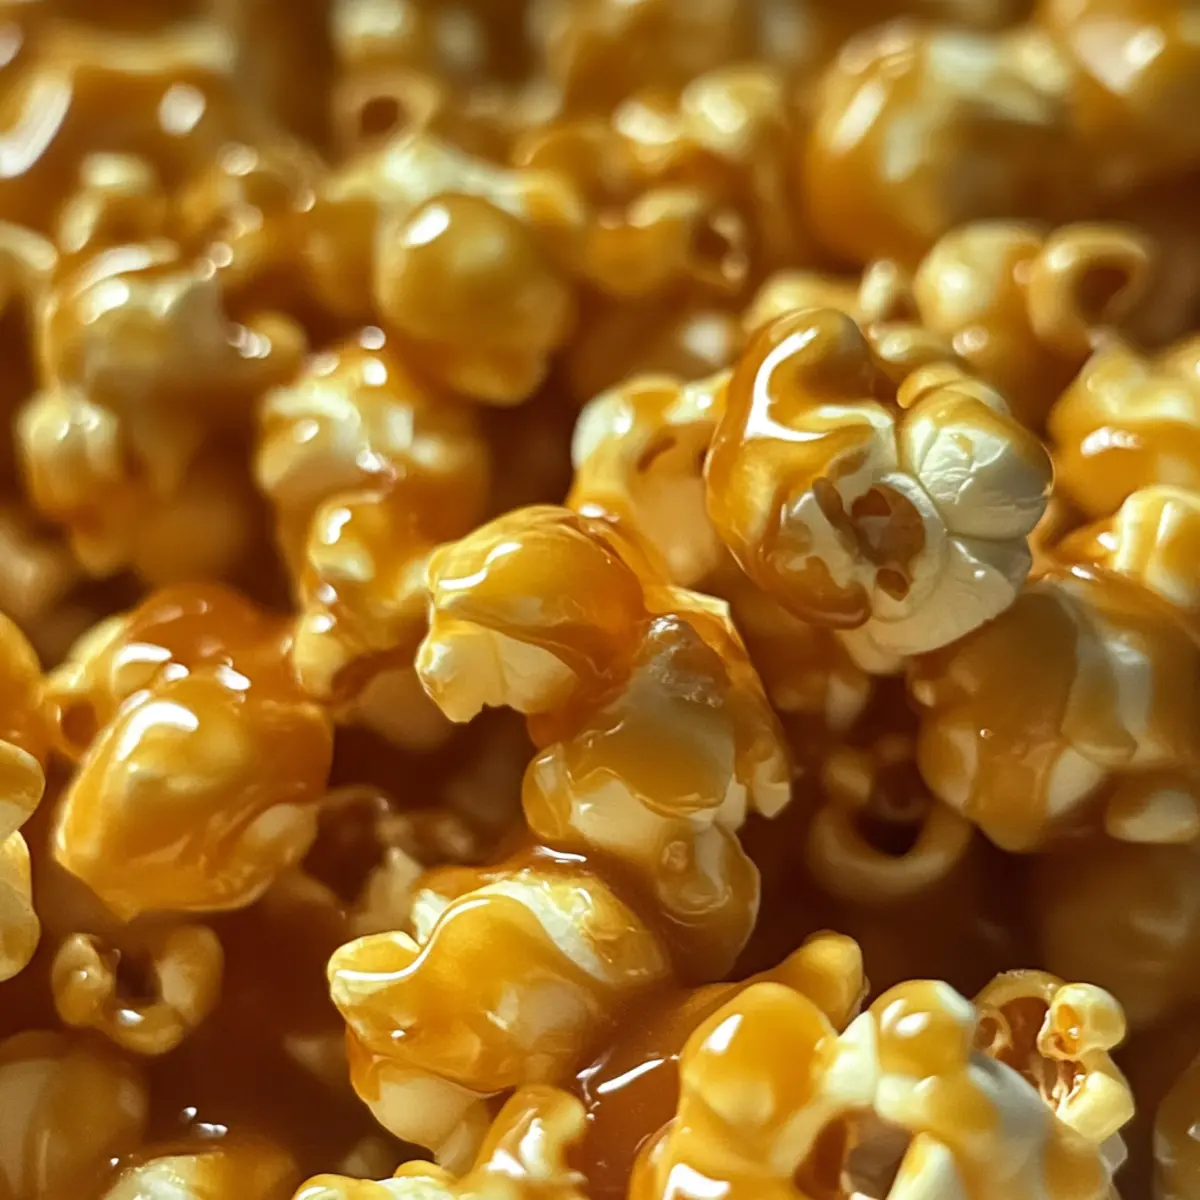
  4. In a large mixing bowl, pour the freshly popped popcorn and drizzle hot caramel sauce over it. Toss to coat evenly.
  5. Spread caramel-coated popcorn on the prepared baking sheet. Bake for 1 hour, stirring every 15 minutes.
  6. Remove from the oven and let cool completely on the baking sheet. Break apart and serve or store in an airtight container.

Nutrition

Serving: 1cupCalories: 200kcalCarbohydrates: 30gProtein: 1gFat: 9gSaturated Fat: 5gPolyunsaturated Fat: 1gMonounsaturated Fat: 2gCholesterol: 15mgSodium: 150mgPotassium: 100mgFiber: 1gSugar: 18gCalcium: 2mgIron: 1mg

Notes

Store in an airtight container to keep fresh. Can be frozen for up to 3 months.

Tried this recipe?

Let us know how it was!