
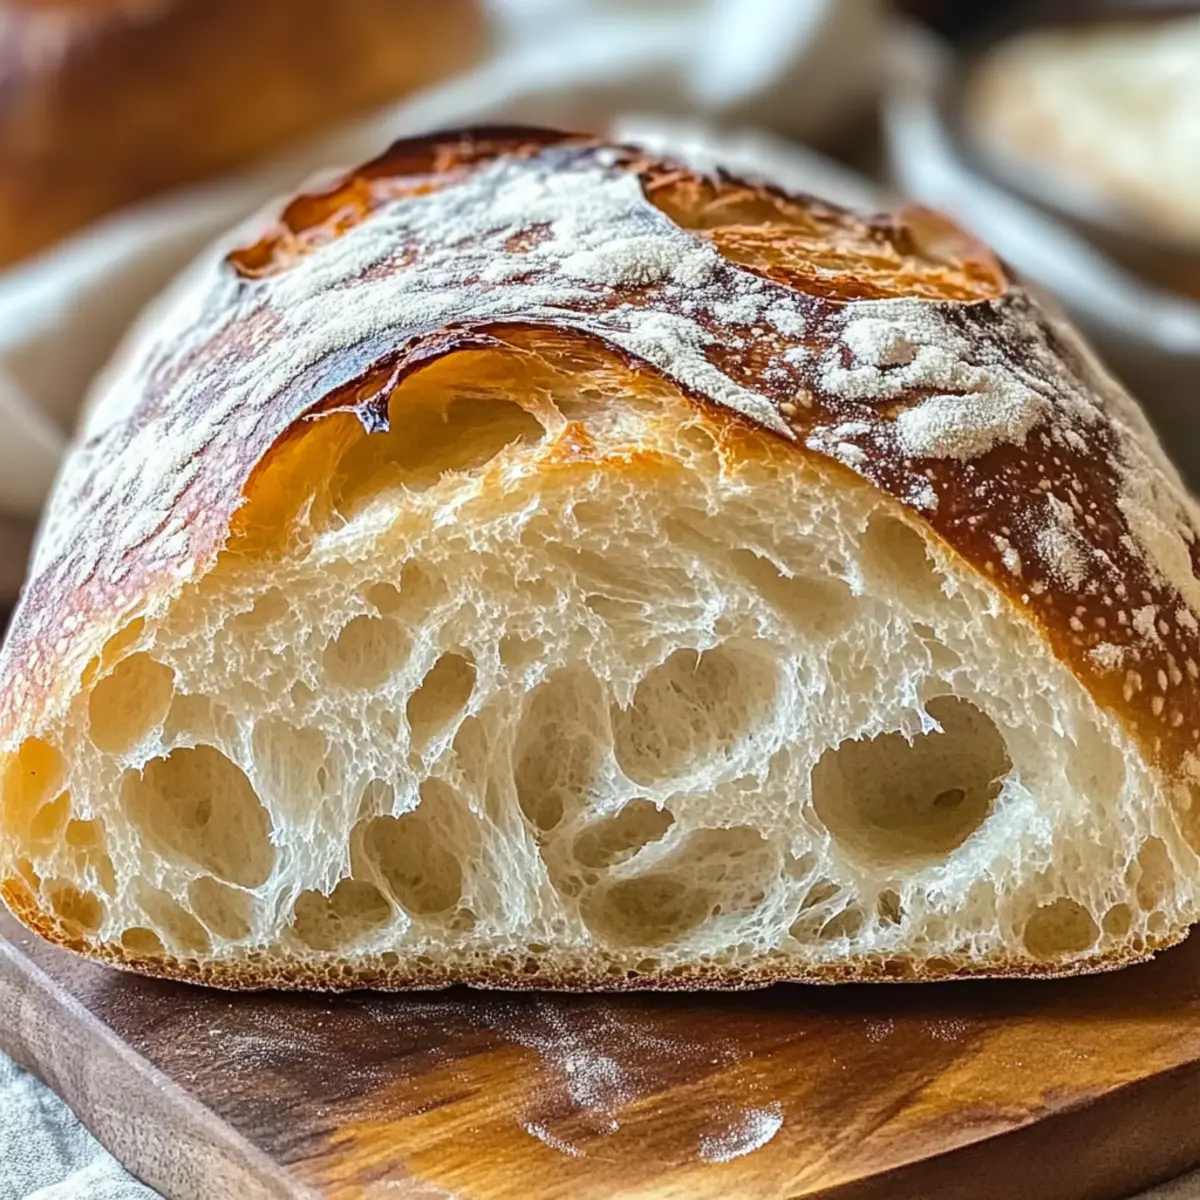
While rummaging through my kitchen the other day, I stumbled upon a bag of flour sitting quietly—just waiting for its moment to shine. In that instant, I remembered the magic of baking homemade yeast bread. If you’ve ever craved the satisfying aroma of freshly baked bread wafting through your home, then you’re in for a treat with this no-knead artisan bread recipe. It’s designed with beginners in mind, proving that you don’t need to be a pro baker to create a crusty, bakery-style loaf. Plus, with just 155 calories per slice, you can indulge guilt-free. This recipe not only streamlines the process but also elevates your kitchen game without overwhelming you. So, are you ready to transform that bag of flour into something truly delightful? Let’s dive into the joy of making your very own yeast bread!
Why is this yeast bread so special?
Ease of Preparation: This no-knead method requires minimal effort yet yields bakery-quality results, making it perfect for novice bakers.
Irresistible Aroma: Just wait until your kitchen fills with the warm, inviting scent of fresh bread baking—it’s pure bliss!
Guilt-Free Indulgence: At only 155 calories per slice, you can enjoy this delightful treat without the usual guilt associated with baked goods.
Versatile Pairing: Perfect for sandwiches, toast, or simply savored with butter, this bread suits any meal or occasion.
Flavor Enhancement: Optional refrigeration allows you to create even more complex flavors, ensuring each loaf is a unique experience!
Dive deeper into the world of baking with more recipes like this one, and don’t be afraid to experiment with flavors for your own twist!
Yeast Bread Ingredients
• Here’s everything you need for a delightful homemade loaf!
For the Dough
- Flour – Provides structure and texture; all-purpose flour or bread flour can be used based on your preference for a chewier texture.
- Yeast – Acts as the leavening agent to help the Yeast Bread rise; using active dry yeast works best.
- Salt – Enhances flavor and strengthens the dough; use less if substituting with table salt (about 1 1/4 tsp).
- Warm Water – Hydrates the flour and activates the yeast; ensure it’s warm to keep those yeast babies healthy!
Feel free to explore additional variations and enhancements for your yeast bread, turning your kitchen into a little slice of heaven!
Step‑by‑Step Instructions for No-Knead Artisan Bread
Step 1: Mix Dry Ingredients
In a large mixing bowl, combine 3 cups of flour, 1 teaspoon of active dry yeast, and 1 ¾ teaspoons of salt. Use a wooden spoon to blend them thoroughly until the mixture is uniform in color. This step ensures an even distribution of flavors throughout your no-knead artisan bread.
Step 2: Add Warm Water
Pour in 1 ½ cups of warm water (around 110°F) gradually while stirring the mixture. Continue to mix until no dry flour remains and the dough appears shaggy and sticky. This hydration phase is crucial for developing the texture of your yeast bread, setting the stage for a delightful oven transformation.
Step 3: First Rise
Cover the bowl tightly with plastic wrap or a lid and let it rest at room temperature for about 2 to 3 hours. You’ll know it’s ready when the dough has doubled in size and is bubbly on the surface. This fermentation process allows the yeast to work its magic, creating that airy structure you desire in your artisan bread.
Step 4: Refrigerate (Optional)
For improved flavor, you can refrigerate the dough for up to 3 days after the first rise. If you choose this option, simply place the covered bowl in the fridge without disturbing it. As the dough slowly rises in the cooler environment, it will develop richer flavors, perfect for your upcoming yeast bread.
Step 5: Prepare for Baking
When ready to bake, remove the dough from the fridge and let it sit at room temperature for 45 to 60 minutes. During this time, preheat your oven to 450°F (230°C) with a Dutch oven inside to ensure it’s hot enough to create that perfect crust on your no-knead artisan bread.
Step 6: Shape the Dough
Flour a clean work surface and gently scrape the dough out of the bowl. Without deflating it much, fold the dough over itself about six times. This gentle folding retains the air bubbles generated during rising, which is crucial for creating a light texture in your yeast bread.
Step 7: Prepare for Baking
Transfer the shaped dough onto a piece of parchment paper, seam-side down. You can lightly shape the dough if necessary, but avoid pressing too hard. This initial shaping is essential for creating that beautiful artisan loaf appearance that you’re aiming for.
Step 8: Bake the Bread
Carefully take the hot Dutch oven from the oven and lift the parchment paper with the dough inside. Cover with the lid and bake for 30 minutes. This closed environment retains moisture, creating steam that results in a crispy crust on your delicious yeast bread.
Step 9: Finish Baking
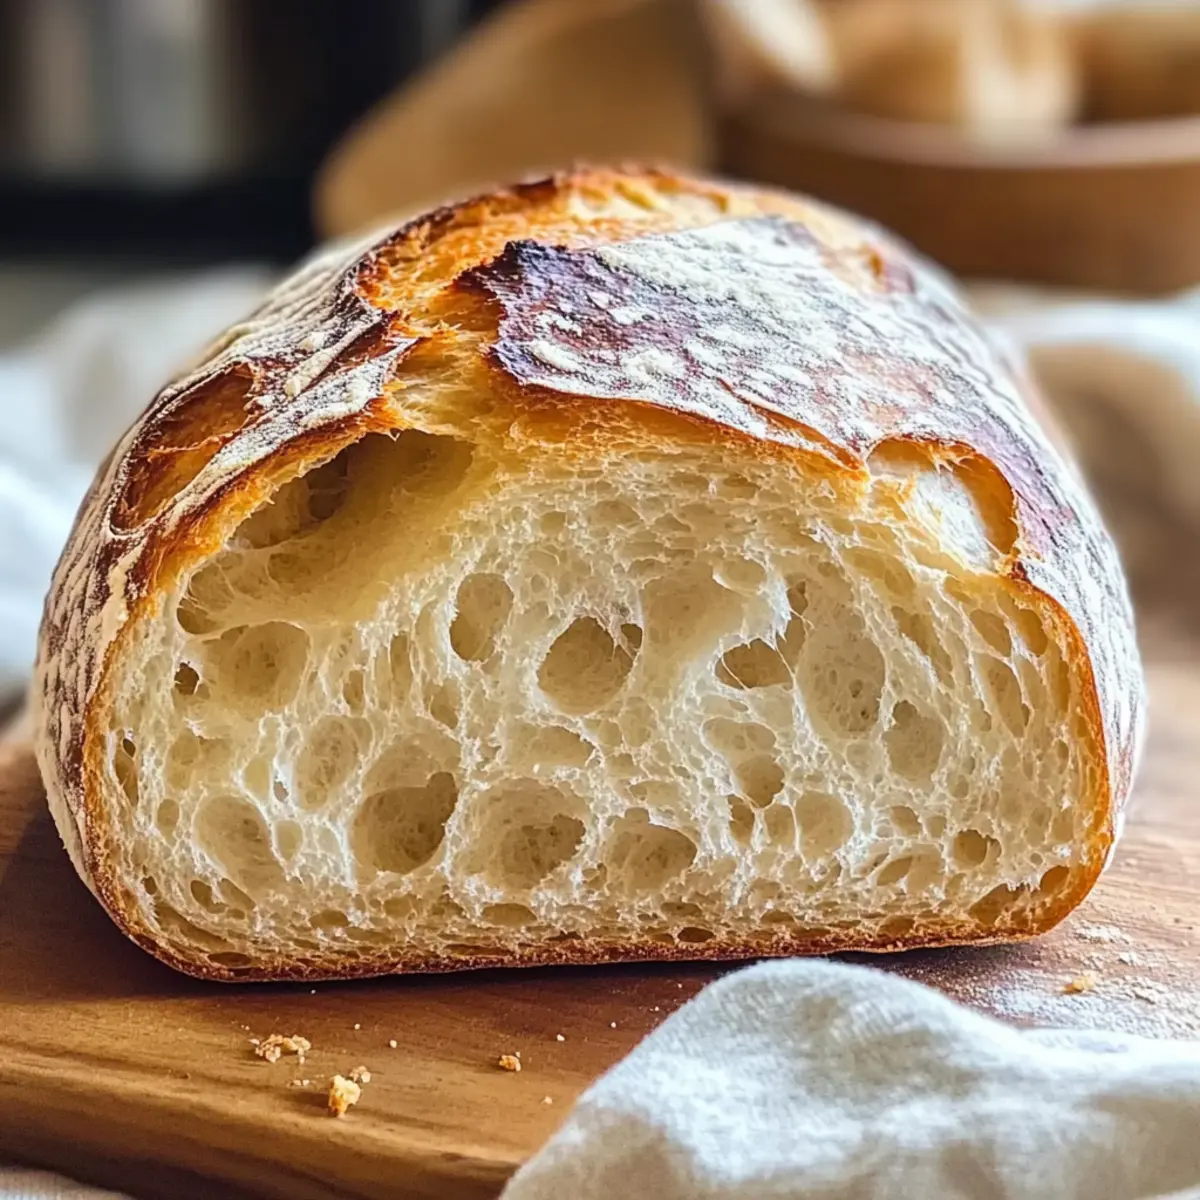
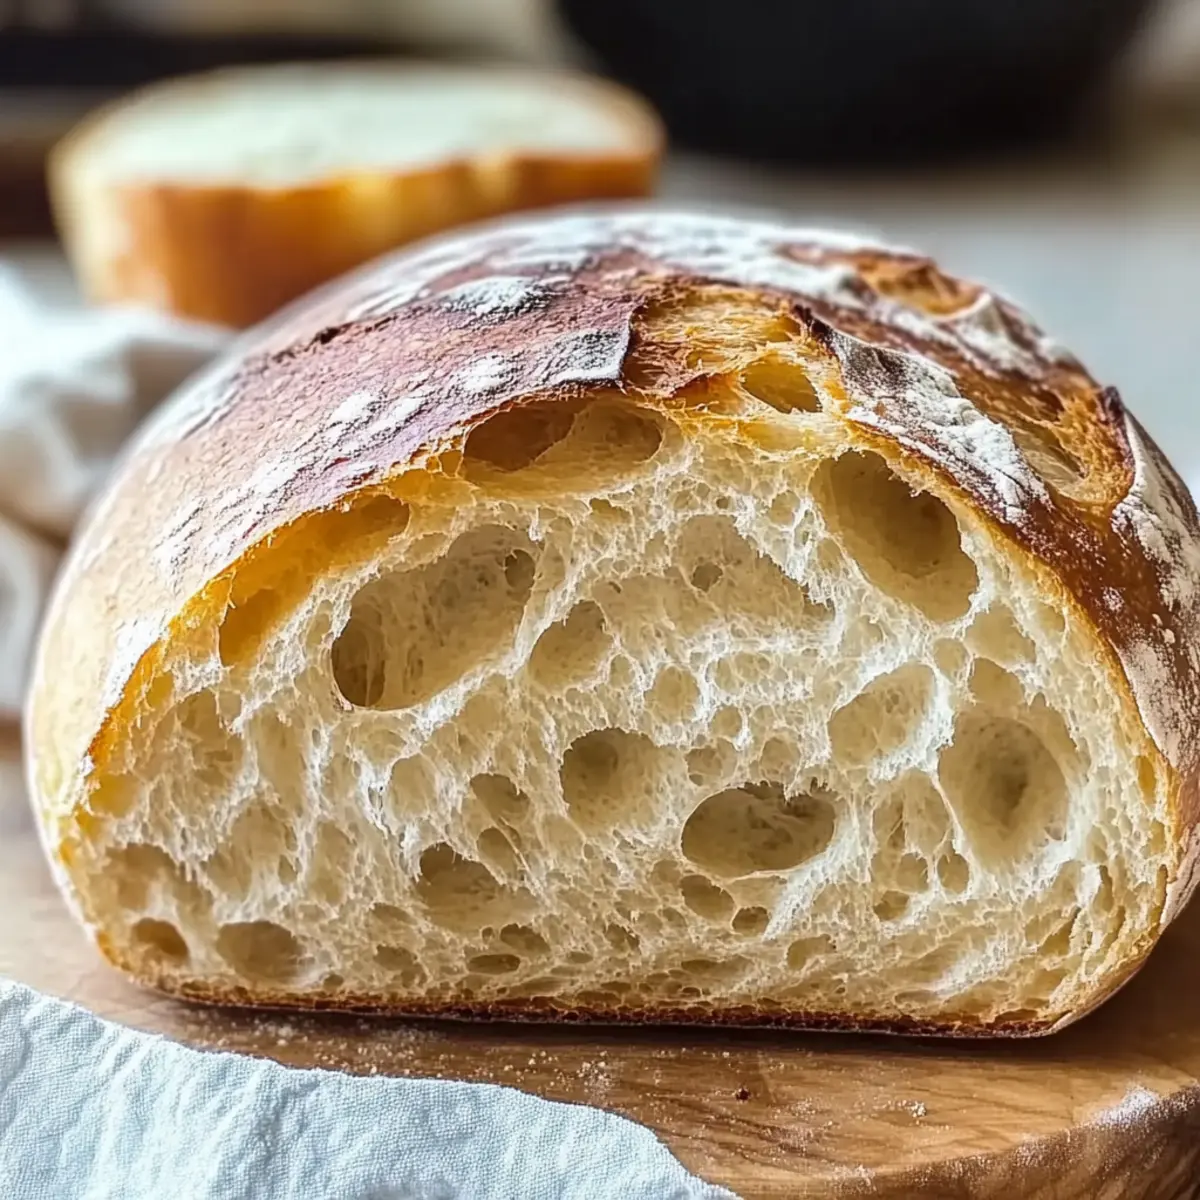
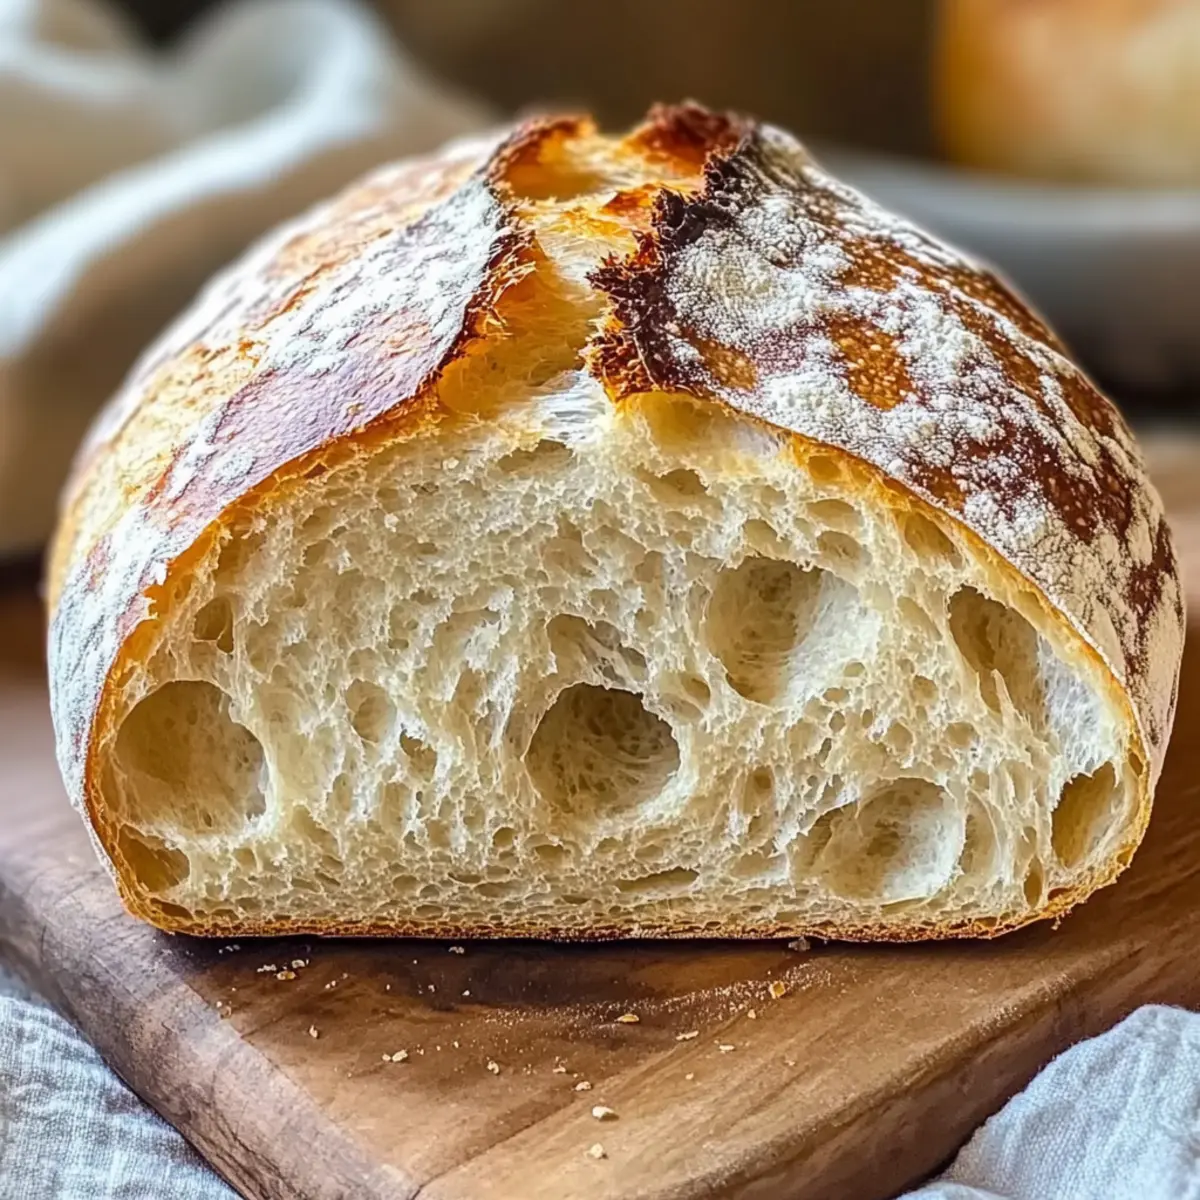
After 30 minutes, remove the lid from the Dutch oven and continue baking for an additional 12 minutes. You’re looking for a golden-brown color on the crust, which indicates that your bread is perfectly baked. The aroma filling your home will be irresistible!
Step 10: Cool and Slice
Once done, transfer the bread to a cooling rack for about 10 minutes before slicing. This cooling period allows the crumb to set, ensuring that your no-knead artisan bread maintains its texture upon cutting. Get ready to indulge in your homemade creation!
Yeast Bread Variations & Substitutions
Feel free to get creative with your yeast bread; there are endless ways to make it your own!
-
Herb-Infused: Mix in dried herbs like rosemary or thyme for an aromatic twist. This adds a delightful depth of flavor, making each slice a fragrant experience.
-
Cheesy Delight: Incorporate shredded cheese, such as cheddar or mozzarella, into your dough. The melted goodness creates a rich, savory addition that pairs perfectly with soups or salads.
-
Whole Wheat: Swap half the all-purpose flour for whole wheat flour for a nuttier taste and added nutrition. This variation maintains a lovely texture while giving your bread a health boost.
-
Sweet Surprise: Add a tablespoon of honey or sugar for a touch of sweetness. This slight tweak can elevate your yeast bread into a delightful base for breakfast spreads.
-
Spicy Kick: For those who love some heat, mix in crushed red pepper flakes. This twist will transform plain bread into a zesty sidekick for your next Italian feast.
-
Nutty Addition: Stir in chopped nuts like walnuts or almonds for a crunchy texture. The contrast with the soft crumb of the bread is sure to make your loaves memorable.
-
Flavorful Seeds: Top the bread with sesame, poppy, or flax seeds before baking. These seeds not only provide a delightful crunch but also boost the nutritional profile.
-
Beer Bread: Replace some of the warm water with your favorite beer for a unique flavor. The yeast in the beer helps with leavening while adding a complex taste that is simply delightful.
Explore these variations to personalize your yeast bread journey! And don’t hesitate to dive into more recipes and ideas—each one is a chance to create something truly special in your kitchen.
Expert Tips for Yeast Bread
-
Consistency Matters: Ensure your dough remains sticky yet workable; this indicates proper hydration, leading to that airy texture in your yeast bread.
-
Temperature Check: Use a kitchen thermometer to confirm water temperature (around 110°F). Too hot can kill the yeast, hindering the bread’s rise.
-
Longer Fermentation: For even better flavor, let your dough ferment longer at room temperature or consider cold fermentation in the fridge for enhanced taste.
-
Steam Benefits: If you don’t have a Dutch oven, place a pan of boiling water in the oven while baking; the steam will create a beautiful crust on your yeast bread.
-
Don’t Rush Cooling: Allow your bread to cool completely on a rack before slicing to maintain its lovely texture and avoid a gummy crumb.
Make Ahead Options
These no-knead artisan yeast bread loaves are perfect for meal prep enthusiasts looking to save time during busy weeknights! You can prepare the dough up to 3 days in advance by allowing it to rise at room temperature, then refrigerating it in a covered bowl to enhance flavor. Just remember to let the dough sit at room temperature for 45-60 minutes before baking to bring it back to life. When you’re ready to enjoy your bread, follow the baking instructions as usual for freshly baked, crusty artisan bread that will impress your family or guests. With this make-ahead option, you’ll savor all the deliciousness without the last-minute rush!
How to Store and Freeze Yeast Bread
Room Temperature: Keep your homemade yeast bread in an airtight container or wrapped in plastic wrap for up to 2 days to maintain freshness.
Fridge: While refrigeration is not necessary, if you live in a hot climate, you can store it in the fridge for up to 4 days. Be sure to wrap it tightly to avoid drying out.
Freezer: Slice your yeast bread before freezing it, and store in a freezer-safe bag for up to 3 months. This allows for easy access to individual slices whenever you’re ready to enjoy some!
Reheating: To bring your frozen slices back to life, simply toast them directly from the freezer or warm them in a 350°F oven for about 10-15 minutes, restoring that delightful crustiness.
What to Serve with No-Knead Artisan Bread?
There’s something magical about a freshly baked loaf that transforms any meal into a heartwarming feast.
-
Creamy Tomato Soup: This classic pairing complements the bread’s crusty exterior perfectly, creating a comforting bowl of warmth, ideal for dipping.
-
Herbed Butter: A simple herb-infused butter melts into warm slices, adding rich flavor and a touch of gourmet to your homemade bread moments.
-
Mixed Green Salad: The crisp freshness of greens balances the bread’s comforting texture, creating a delightful contrast in every bite. Toss with a bright vinaigrette for an extra zing.
-
Cheese Platter: Pair with various cheeses to suit your palate; a tangy goat cheese or a creamy brie enhances the overall tasting experience, turning snacks into an elegant affair.
-
Garlic Roasted Vegetables: The roasted sweetness of seasonal vegetables mingles beautifully with the bread, adding a vibrant, savory touch to your meal.
-
Red Wine: A glass of smooth red wine enhances every bite of your yeast bread, making for a delightful evening gathering filled with laughter and love.
-
Fruit Jam: A fruity jam, like raspberry or fig, on warm buttery bread creates a deliciously sweet contrast, perfect for brunch or an afternoon snack.
-
Olive Oil Dip: A drizzle of high-quality olive oil with balsamic vinegar allows the bread’s flavors to shine, adding depth and richness to each taste.
Yeast Bread Recipe FAQs
How do I know if my yeast is active?
Absolutely! To ensure your yeast is active, dissolve 1 teaspoon of active dry yeast and a pinch of sugar in 1/4 cup of warm water (around 110°F). Let it sit for about 5-10 minutes; it should become frothy and bubbly if it’s alive and kicking. If there’s no foam, it’s time to buy a new packet of yeast!
What is the best way to store my homemade yeast bread?
For optimal freshness, keep your homemade yeast bread in an airtight container or wrap it tightly in plastic wrap at room temperature for up to 2 days. This helps maintain its lovely texture and prevents it from drying out. If you’re in a warmer climate, consider refrigerating it for up to 4 days, but remember to wrap it well.
Can I freeze yeast bread, and how should I do it?
Yes, you can absolutely freeze your yeast bread! To freeze, slice your loaf first, as this makes it easier to grab just what you need later. Place the slices in a freezer-safe bag, removing as much air as possible, and store for up to 3 months. To enjoy, just pop the slices in the toaster or warm them in a 350°F oven for about 10-15 minutes.
What should I do if my dough isn’t rising?
If your dough isn’t rising, it could be due to a few factors. First, check that your yeast is fresh and active, as mentioned earlier. Also, ensure the water you used was warm (not hot) for activating the yeast. If your kitchen is too cold, try placing the dough in a warmer spot, such as near a preheated oven or on top of the fridge.
Can I use whole wheat flour instead of white flour in yeast bread?
Very! While you can use whole wheat flour, I recommend starting with a mix of all-purpose or bread flour and whole wheat flour for the best results. Whole wheat flour tends to absorb more water, so you may need to increase the liquid in your recipe or let the dough rest longer to hydrate adequately. Experimenting will help you find that perfect balance!
Yeast Bread Made Easy: Your Guide to Perfect Homemade Loaves
Ingredients
Equipment
Method
- Mix dry ingredients in a bowl: combine flour, yeast, and salt thoroughly.
- Add warm water gradually while stirring until no dry flour remains and dough is shaggy and sticky.
- Cover and let the dough rise at room temperature for 2-3 hours until doubled in size.
- Optional: Refrigerate the dough for up to 3 days for improved flavor.
- When ready, let the dough sit at room temperature for 45-60 minutes and preheat oven to 450°F.
- On a floured surface, scrape out and gently fold the dough over itself six times.
- Shape the dough on parchment paper, seam-side down, and avoid pressing too hard.
- Transfer dough with parchment into hot Dutch oven, cover and bake for 30 minutes.
- Remove lid and bake for an additional 12 minutes until golden brown.
- Cool on a rack for 10 minutes before slicing.
Leave a Reply