
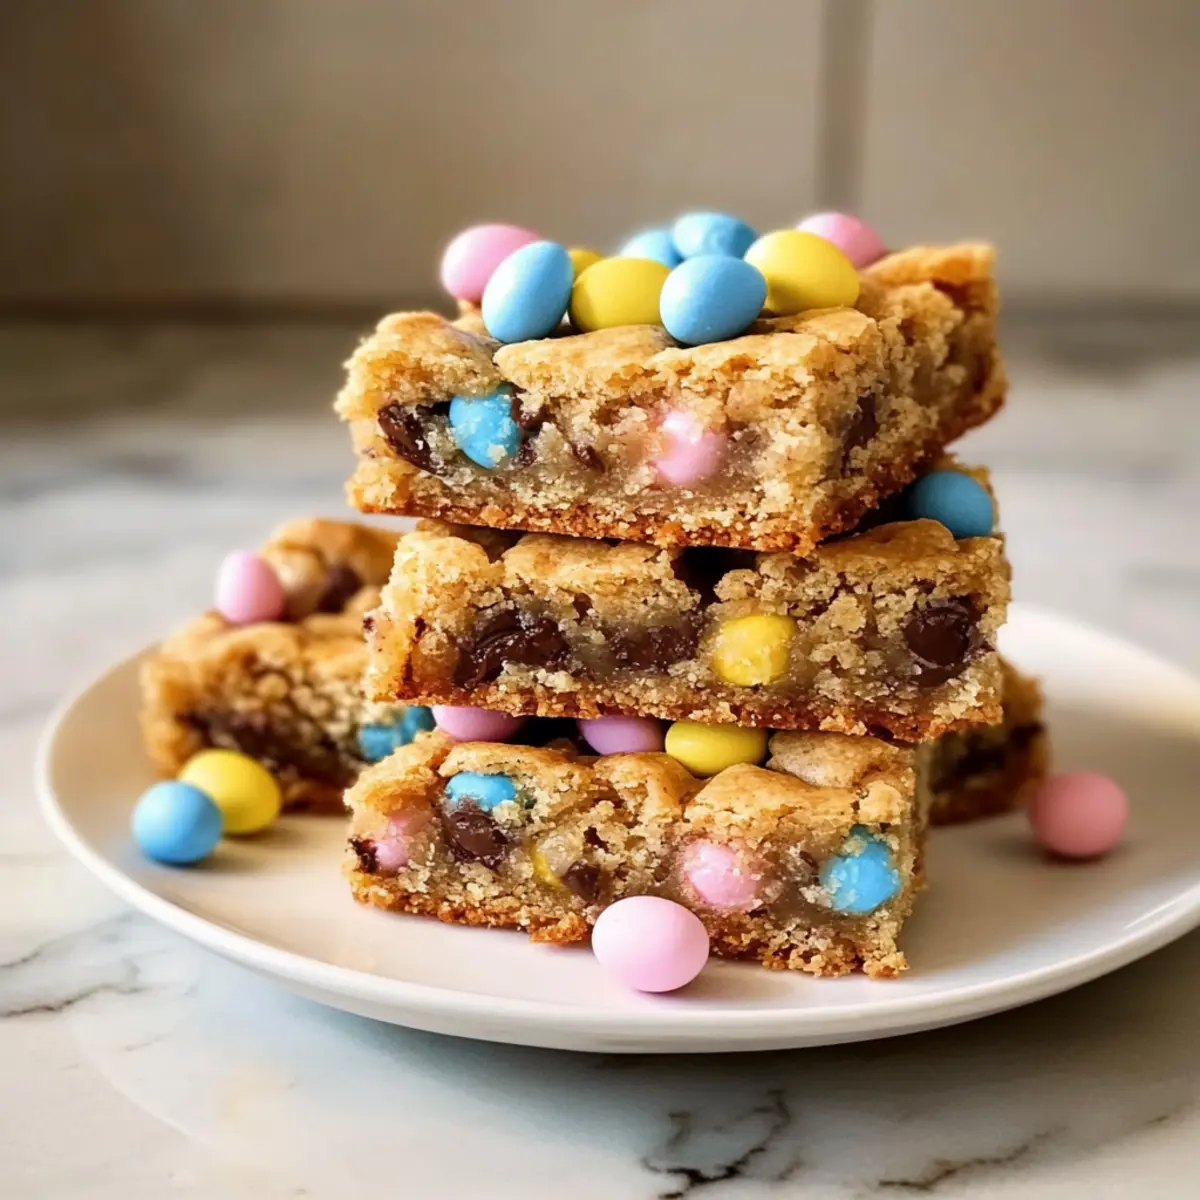
As I stood in the kitchen, the warm scent of melting chocolate and sweet vanilla swirling around me, I felt a wave of inspiration for my Easter baking. That’s when I decided to whip up a batch of Mini Egg Cookie Bars, a delightful treat that captures the essence of spring in every bite. These bars are a dream come true for home bakers, as they come together effortlessly in just one mixing bowl and require minimal clean-up. Plus, the best part? They’re customizable, allowing you to load them with as many colorful mini eggs as your heart desires. Perfectly soft and chewy with a crunchy candy shell, these bars are sure to impress at your next gathering or simply make any day feel a little more festive. Ready to bring some joy to your baking lineup? Let’s dive into this delicious recipe!
Why Are Mini Egg Cookie Bars Irresistible?
Easy to Make: These Mini Egg Cookie Bars come together in just one mixing bowl, making them a stress-free baking option for any occasion, from Easter to everyday treats.
Customizable Delight: Load them up with your favorite candies, like M&Ms or Smarties, for a personal touch, ensuring each bite is as unique as you are.
Perfectly Soft and Chewy: The delightful combination of soft centers and crisp edges offers a satisfying texture that will have everyone reaching for seconds.
Gooey Chocolate Pockets: As the chocolate chips melt while baking, they create rich pockets of chocolate, adding an irresistible depth of flavor.
Colorful and Fun: With their bright, festive appearance, these bars are not only tasty but also visually appealing, making them a hit at parties and family gatherings.
Additionally, if you’re looking for more delicious homemade recipes, you’ll love trying Oreo Cheesecake Cookie or for a lighter option, check out Greek Yogurt Cookie.
Mini Egg Cookie Bars Ingredients
-
For the Dough
-
Unsalted Butter – provides richness and helps the dough spread evenly; use softened or melted for best results.
-
Light Brown Sugar – adds moisture and a deeper caramel flavor for a lovely texture.
-
Granulated Sugar – contributes classic cookie sweetness, balancing the overall taste.
-
Egg – binds the ingredients together, ensuring a cohesive and delightful dough.
-
Vanilla Extract – introduces gentle warmth, enhancing the flavor beautifully.
-
Plain Flour – creates structure for the bars, ensuring they hold their shape and texture.
-
Bicarbonate of Soda – aids in the rising process, maintaining a thicker, chewier texture.
-
Salt – balances the sweetness of the sugars, elevating the overall flavor profile.
-
Cornflour – adds softness and tenderness to the center of the bars; substitutions can include extra plain flour if needed.
-
For the Mix-Ins
-
Milk Chocolate Chips – melt into soft pockets of richness; adjust the amount to your taste.
-
Mini Eggs (100-300g) – adds colorful crunch and sweetness; customize based on desired texture and sweetness. Swap for M&Ms or Smarties for a twist.
Step‑by‑Step Instructions for Mini Egg Cookie Bars
Step 1: Preheat the Oven
Begin by preheating your oven to 190°C (170°C fan). While that warms up, line a 9×9 inch baking tin with parchment paper, ensuring the paper hangs over the edges for easy removal later. This step ensures your Mini Egg Cookie Bars bake evenly and prevents sticking, making cleanup a breeze.
Step 2: Combine the Wet Ingredients
In a large mixing bowl, combine melted or softened unsalted butter with light brown sugar and granulated sugar. Use a whisk or spatula to mix until smooth and creamy, which should take about 2–3 minutes. The mixture should become lighter in color and fluffy, indicating you’ve achieved the right consistency.
Step 3: Add Egg and Vanilla
Next, crack in one egg and pour in vanilla extract. Mix thoroughly until fully combined, which should only take a minute or two. You’ll know it’s ready when the mixture looks glossy and smooth, setting the perfect foundation for your Mini Egg Cookie Bars.
Step 4: Mix in the Dry Ingredients
Gradually add plain flour, cornflour, bicarbonate of soda, and salt into the wet mixture. Using a spatula, gently fold the ingredients together until a dough forms, being careful not to overmix, which can result in tough bars. The dough should be thick and slightly sticky, ready for the next delicious addition.
Step 5: Incorporate Chocolate Chips and Mini Eggs
Now, fold in the milk chocolate chips and most of the Mini Eggs, leaving a handful for topping. Stir gently until everything is evenly distributed, creating a colorful and inviting dough. Ensure you don’t break the Mini Eggs; their crunchy texture will make your bars even more delightful.
Step 6: Prepare the Baking Tin
Transfer your dough into the prepared baking tin, pressing it down evenly with your fingers or a spatula. Scatter the reserved Mini Eggs on top for that festive look, ensuring they are spread out for even distribution. This will enhance the visual appeal of your Mini Egg Cookie Bars.
Step 7: Bake Until Golden
Place the tin in the preheated oven and bake for 18 to 22 minutes. Keep an eye on the bars; they should appear lightly golden around the edges while the center remains soft and slightly underbaked. This is crucial for achieving that perfect chewy texture of the Mini Egg Cookie Bars.
Step 8: Cool and Slice
Once baked, remove the tin from the oven and allow the bars to cool completely in the tin. This will take about 30 minutes to an hour. Once cooled, use the parchment paper to lift the bars out and slice them into squares. They’ll be soft and chewy, ready to brighten up any occasion.
Storage Tips for Mini Egg Cookie Bars
-
Room Temperature: Store your Mini Egg Cookie Bars in an airtight container to keep them soft and chewy for up to 5 days. This way, they remain fresh and delightful for any sweet cravings.
-
Fridge: If you live in a warm climate, you can store the bars in the fridge for up to a week. Just remember to let them come to room temperature before enjoying for the best texture.
-
Freezer: Wrap individual slices of the Mini Egg Cookie Bars in plastic wrap and place them in a freezer-safe bag to freeze for up to 3 months. This is perfect for when you want a quick treat on hand.
-
Reheating: When ready to enjoy your frozen bars, simply thaw them at room temperature for about 15 minutes and briefly reheat in the microwave for 10-15 seconds to soften the chocolate pockets again.
What to Serve with Mini Egg Cookie Bars?
Indulging in the vibrant flavors of these cookie bars opens up a world of delightful pairings to enhance your sweet experience.
-
Vanilla Ice Cream: The creamy, cool texture provides a rich contrast that balances the chewy bars perfectly. A scoop on the side is always a hit!
-
Coffee or Espresso: A warm cup of coffee adds a delightful bitterness that pairs beautifully with the sweetness of the bars. The flavors meld wonderfully, making every bite even more enjoyable.
-
Fresh Strawberries: Sweet, juicy strawberries add a refreshing touch, cutting through the richness of the cookie bars. Their bright flavor and color enhance any Easter dessert spread.
-
Caramel Sauce Drizzle: A warm drizzle of caramel over the bars elevates their sweetness and adds a luxurious finish, making each bite feel indulgent.
-
Chocolate Milkshake: Rich and thick, a chocolate milkshake makes for a decadent pairing. It’s tough to resist combining these mini egg cookie bars with this delightful shake.
-
Fruit Salad: A light and zesty fruit salad complements the bars, offering a refreshing contrast. The combination of sweet and tangy flavors creates a well-rounded dessert experience.
Treat your family and friends to these delightful pairings and watch as these cookie bars become the star of the show!
Mini Egg Cookie Bars Variations
Feel free to get creative with these Mini Egg Cookie Bars, as the options to customize are endless and delightful!
- Candy Swap: Substitute Mini Eggs with M&Ms or Smarties for a fun flavor twist and colorful crunch.
- Chocolate Enhancement: Add white chocolate chips for a creamier texture that wonderfully contrasts the other flavors.
- Nutty Boost: Toss in chopped nuts, like walnuts or pecans, to introduce a satisfying crunch and rich flavor.
- Flavor Infusion: Experiment by mixing in almond or coconut extract for a unique aromatic profile that elevates your bars.
- Festive Sprinkles: Top with pastel sprinkles while the bars are still warm, enhancing the seasonal charm and visual appeal.
- Dairy-Free: Use dairy-free chocolate chips and a plant-based butter substitute to create a vegan version that’s just as delicious.
- Spicy Kick: For those who enjoy some heat, add a pinch of cayenne pepper or chili powder to the dough for a sweet-and-spicy explosion.
- Oaty Texture: Stir in rolled oats to the dough for a heartier texture, adding extra fiber and taste, making each bite even more satisfying.
Embrace these variations to craft the perfect treat that suits your taste or occasion. And if you’re on the lookout for more delightful homemade recipes, a quick batch of Pumpkin Smores Cookies or comforting Sausage Egg Breakfast can make your baking adventures even more fun!
Expert Tips for Mini Egg Cookie Bars
-
Avoid Overmixing: Overmixing can lead to tough bars. Mix just until combined to keep them soft and chewy.
-
Check Doneness: The edges should be golden, while the center remains soft. If unsure, remove from the oven when slightly underbaked for a gooey texture.
-
Customize Flavor: Feel free to swap out Mini Eggs for M&Ms or add different types of chocolate chips to match your family’s taste preferences.
-
Prep for Easy Removal: Use parchment paper with overhang in your baking tin for effortless removal and even slicing of your Mini Egg Cookie Bars.
-
Storage Tips: Store in an airtight container at room temperature for up to a week or freeze individual slices for longer-lasting deliciousness.
Make Ahead Options
Mini Egg Cookie Bars are a fantastic option for meal prep, allowing you to enjoy these delicious treats without the last-minute rush! You can prepare the dough and refrigerate it for up to 24 hours before baking, keeping it tightly wrapped. This will help maintain the freshness and chewy texture of the bars. Additionally, you can also bake the bars in advance and store them in an airtight container at room temperature for up to 3 days, ensuring they stay soft and delightful. When ready to serve, simply slice and enjoy, or gently reheat in the microwave for a warm, gooey treat that’s just as delicious as when they were freshly baked!
Mini Egg Cookie Bars Recipe FAQs
How do I select the right Mini Eggs for my recipe?
Absolutely! When choosing Mini Eggs, look for ones that have a vibrant color and no dark spots or blemishes. This ensures maximum freshness and crunchiness in your Mini Egg Cookie Bars. You can also customize the quantity based on your preference for sweetness and texture—100g for a subtle crunch or up to 300g for an indulgent experience.
How should I store Mini Egg Cookie Bars for optimal freshness?
I recommend storing your Mini Egg Cookie Bars in an airtight container at room temperature for up to 5 days. This method preserves their delightful softness and chewy texture. If you’re in a warmer climate, it’s wise to refrigerate them, which will keep them fresh for up to a week—just let them come back to room temperature before savoring them for the best flavor!
Can I freeze Mini Egg Cookie Bars?
Absolutely! To freeze your Mini Egg Cookie Bars, wrap individual slices in plastic wrap and place them in a freezer-safe bag. They can be stored in the freezer for up to 3 months. When you’re ready to enjoy, simply let them thaw at room temperature for about 15 minutes, and then microwave for 10-15 seconds to soften the chocolate pockets again.
What should I do if my bars come out too dry?
If your Mini Egg Cookie Bars appear dry, it may be due to overbaking. Next time, check them at the 18-minute mark, and remove them when the edges are lightly golden but the center still looks a little underbaked. If they seem dry after baking, don’t worry—serve them warm with a scoop of ice cream, which will create a wonderful balance of flavors and moisture!
Are there any dietary considerations for these Mini Egg Cookie Bars?
Very! If you’re baking for someone with dietary restrictions, consider using gluten-free flour for a gluten-free version. You can also substitute the suggested sugars with alternatives like coconut sugar or honey for a slightly healthier treat. Just keep in mind that these substitutions may affect the final texture and sweetness of your bars. Always check the ingredients of your Mini Eggs, as they may contain allergens such as nuts or dairy.
Can I customize the ingredients beyond the Mini Eggs?
Of course! The beauty of these Mini Egg Cookie Bars lies in their versatility. Feel free to replace Mini Eggs with M&Ms or Smarties, or enhance your bars with white chocolate chips or pastel sprinkles for extra flair. Your creativity knows no bounds, and each variation can make your bars uniquely yours—enjoy the process!

Mini Egg Cookie Bars: Chewy, Colorful Treats for Easter Fun
Ingredients
Equipment
Method
- Preheat your oven to 190°C (170°C fan) and line a 9×9 inch baking tin with parchment paper.
- Combine melted or softened unsalted butter with light brown sugar and granulated sugar until smooth and creamy.
- Add the egg and vanilla extract, mixing thoroughly until glossy and smooth.
- Gradually fold in flour, cornflour, bicarbonate of soda, and salt until a thick dough forms.
- Fold in the milk chocolate chips and most of the Mini Eggs, leaving some for topping.
- Transfer the dough to the baking tin, pressing it down evenly and scattering reserved Mini Eggs on top.
- Bake for 18 to 22 minutes until edges are golden and center is slightly underbaked.
- Allow to cool completely in the tin for about 30 minutes before lifting out and slicing into squares.
Leave a Reply