
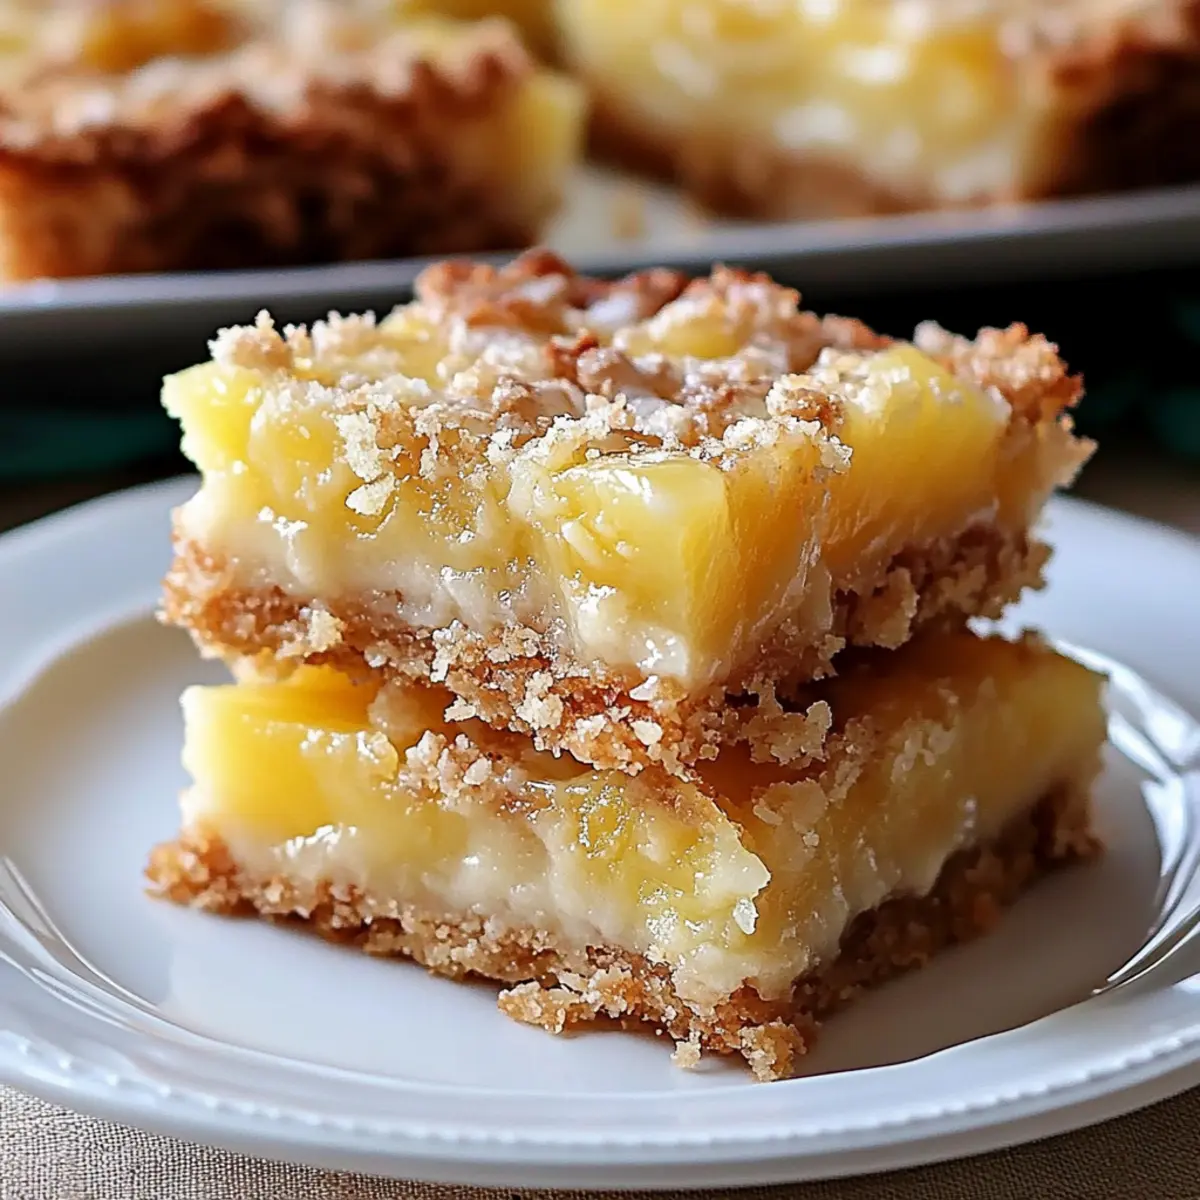
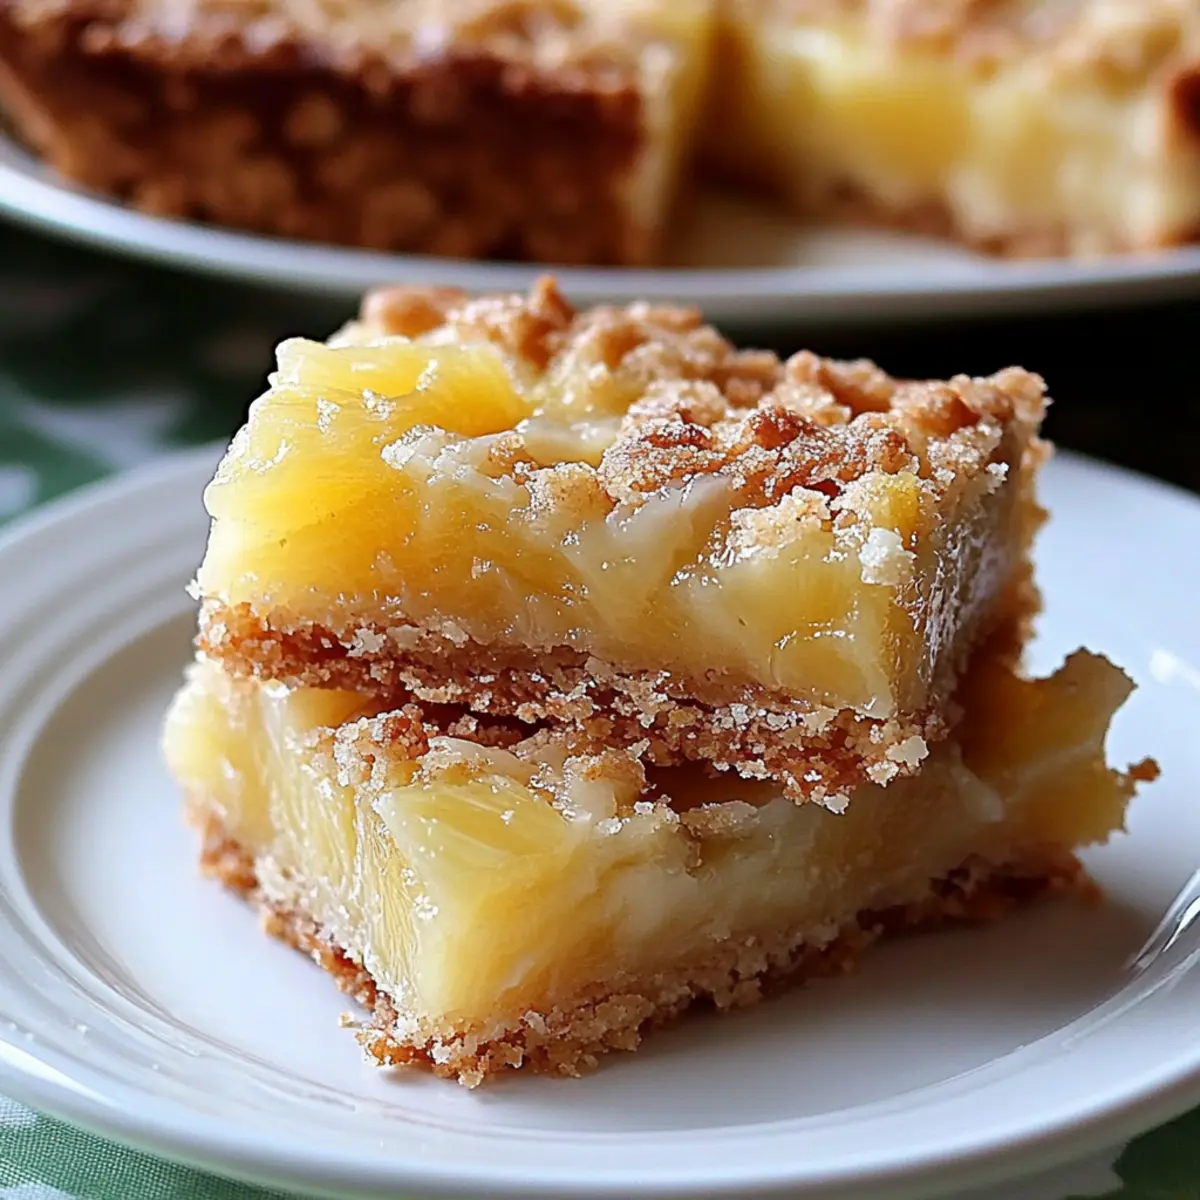
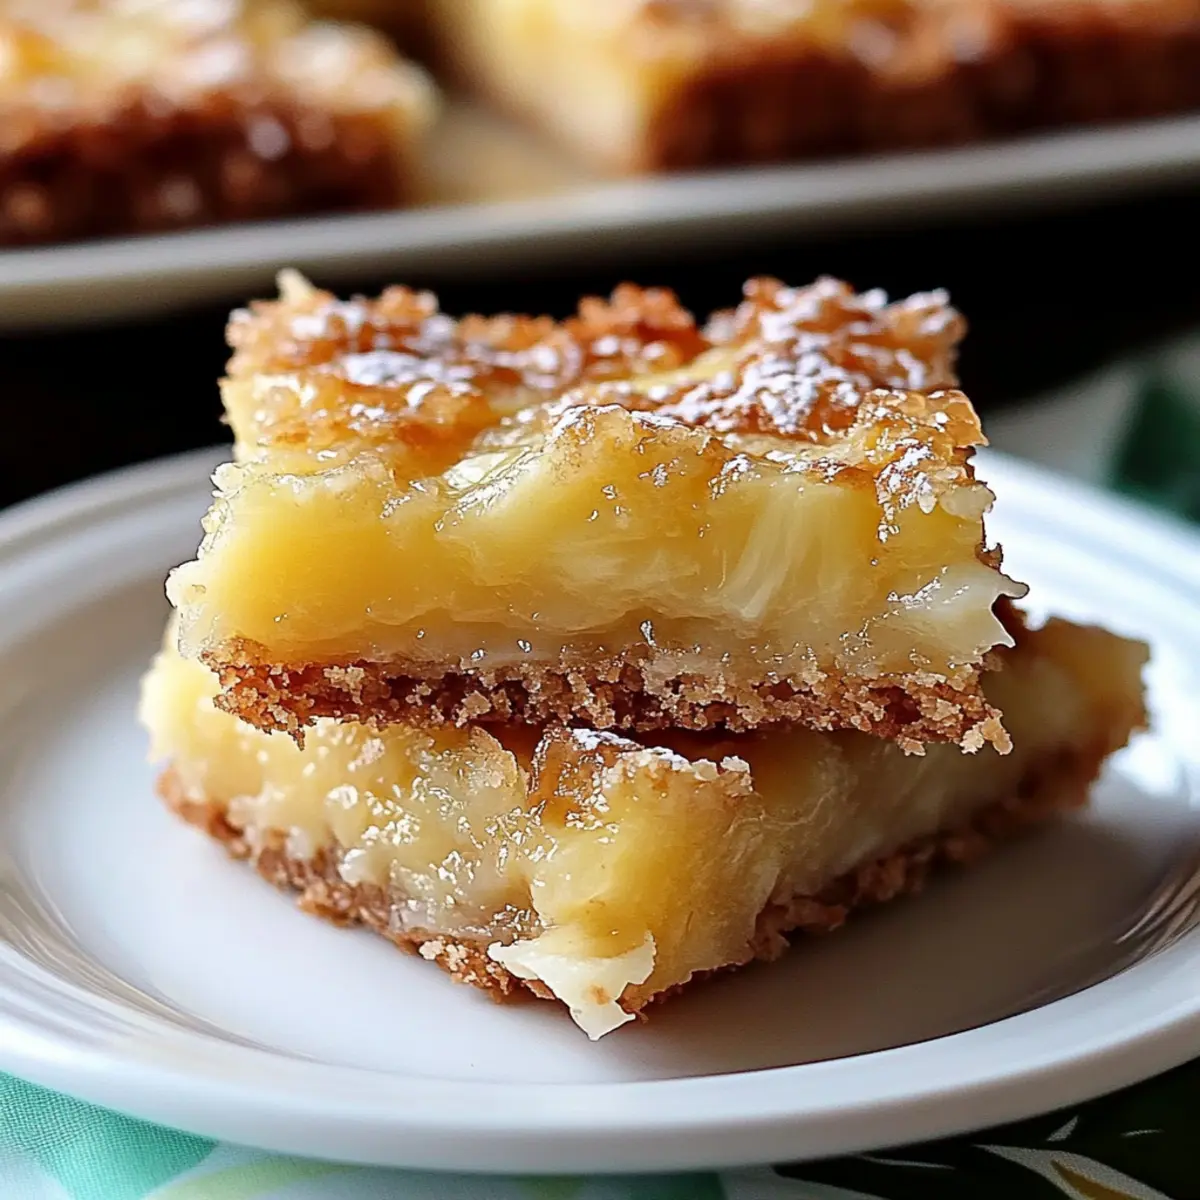
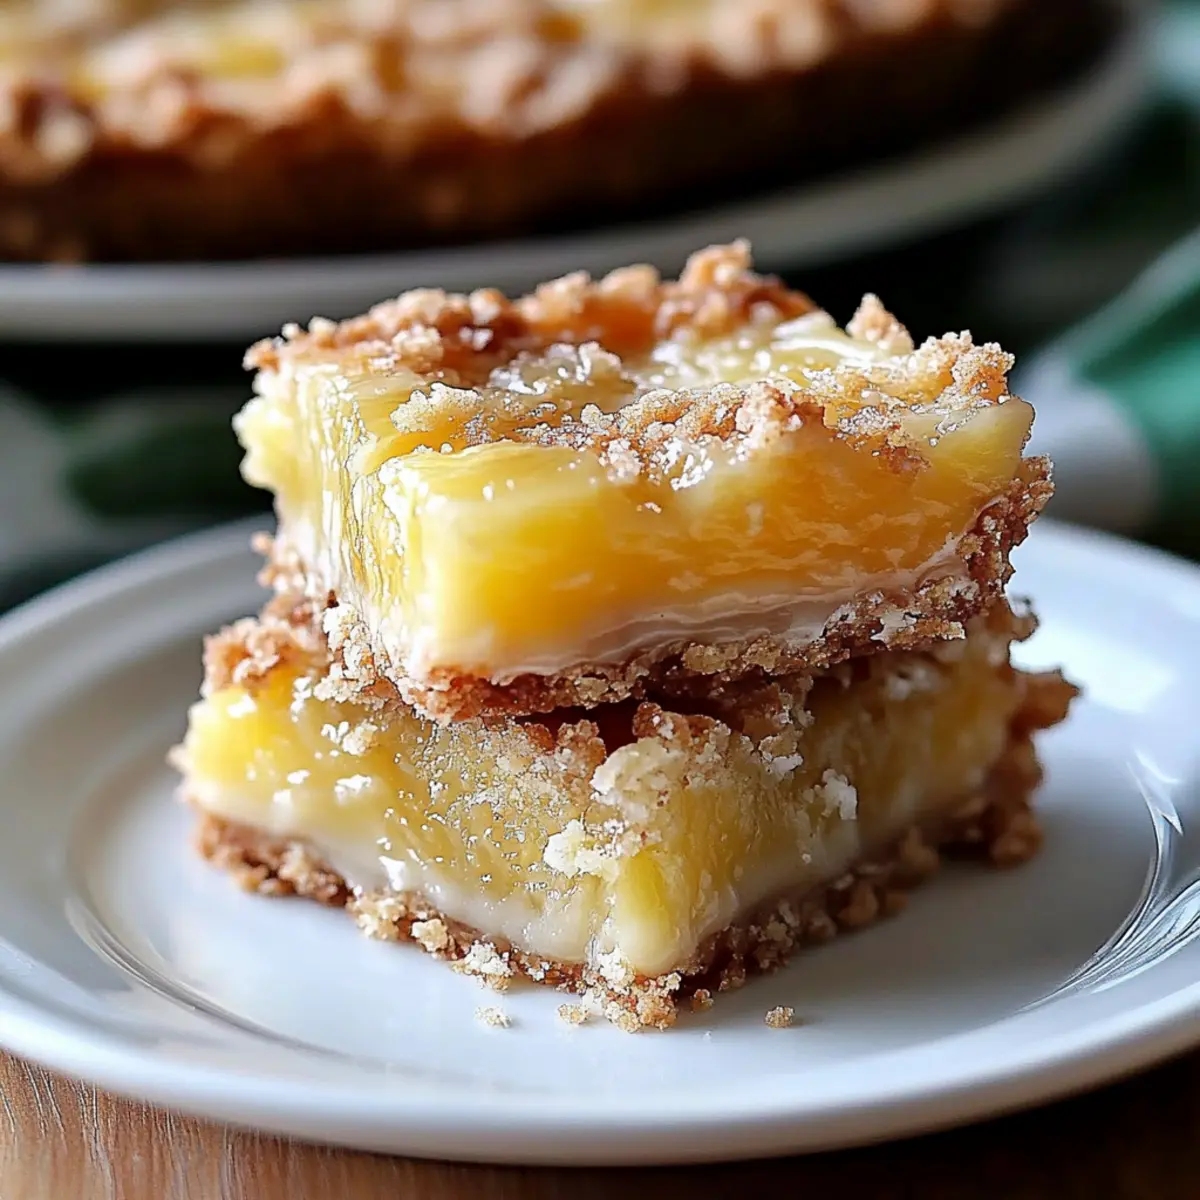
As I sifted through my recipe box one afternoon, a familiar, sun-soaked scent wafted through the kitchen, dragging me back to carefree summer days. That’s when I stumbled upon my beloved Pineapple Bliss Bars, a nostalgic tropical dessert that never fails to evoke warm memories of golden beaches and the sweet sound of ocean waves. With a buttery, crumbly shortbread crust supporting a luscious, sweet-tart pineapple filling, this easy baking recipe is ideal for any occasion, whether you’re hosting a casual get-together or celebrating life’s little milestones. Plus, these bars are not just a delight to slice and share; they can be made ahead of time, making your dessert planning a breeze! Are you ready to dive into this taste of paradise?
Why are Pineapple Bliss Bars a Must-Bake?
Nostalgic Flavors: Each bite transports you to sun-drenched beaches, evoking happy memories of summer.
Easy Baking: This recipe requires minimal steps and simple ingredients, making it accessible for bakers of all levels.
Perfect for Sharing: Slice these into squares for a crowd-pleasing dessert at potlucks, parties, or family gatherings.
Versatile Variations: Swap in fresh pineapple or add shredded coconut to customize the bars to your taste.
Make Ahead Convenience: These bars keep well, so you can make them in advance and enjoy carefree entertaining! Consider pairing them with a refreshing tropical fruit salad for a delightful dessert platter.
Pineapple Bliss Bars Ingredients
For the Crust
- All-Purpose Flour – Provides structure for both the crust and filling; consider using whole wheat for a nuttier flavor.
- Granulated Sugar – Sweetness for the crust; brown sugar can add a rich, caramel undertone.
- Salt – Enhances flavors and helps balance the sweetness.
- Cold Unsalted Butter – Ensures richness and flakiness in the crust; must be cold for the best texture.
For the Filling
- Crushed Pineapple (well-drained) – Delivers the signature tropical flavor and moisture; use canned for ease, but fresh is great too if well-drained.
- Large Eggs – Binds the filling ingredients together and contributes to richness.
- Baking Powder – Acts as a leavening agent, ensuring the filling sets properly; do not substitute with baking soda.
- Vanilla Extract – Adds a depth of flavor; opt for pure vanilla for the best taste.
For Dusting
- Powdered Sugar – Perfect for dusting on top, enhancing both visual appeal and sweetness of the bars.
Step‑by‑Step Instructions for Pineapple Bliss Bars
Step 1: Preheat & Prep
Begin by preheating your oven to 350°F (175°C). While it warms up, grab a 9×13 inch baking pan and line it with parchment paper, ensuring the paper hangs over the edges for easy removal later. This simple step will make your Pineapple Bliss Bars easier to lift out and slice after baking.
Step 2: Make the Crust
In a mixing bowl, combine 1 1/2 cups of all-purpose flour, 1/2 cup of granulated sugar, and a pinch of salt. Cut in 3/4 cup of cold unsalted butter using a pastry cutter or your fingers until the mixture resembles coarse crumbs. Press this crumbly mixture evenly into the bottom of the prepared pan, creating a solid base for your delicious bars.
Step 3: Bake Crust
Place the pan in the preheated oven and bake the crust for about 15 minutes, or until it turns lightly golden around the edges. Keep an eye on it to avoid burning; the crust should be just set and fragrant. Once done, remove it from the oven and allow it to cool slightly while you prepare the filling.
Step 4: Prepare Filling
In a separate bowl, whisk together 2 large eggs and 1 cup of granulated sugar until smooth and well-combined. Gradually mix in 1/4 cup of flour, 1 teaspoon of baking powder, and 1 teaspoon of vanilla extract, stirring gently until there are no lumps. Finally, fold in the well-drained crushed pineapple, ensuring even distribution throughout the mixture.
Step 5: Combine & Bake Again
Pour the pineapple filling over the cooled crust, spreading it evenly with a spatula to cover the entire surface. Return the pan to the oven and let the Pineapple Bliss Bars bake for an additional 25-30 minutes, or until the edges are set and the center looks slightly firm but tender. A light golden color on top indicates it’s perfectly baked.
Step 6: Cool & Serve
Once baked, remove the pan from the oven and allow the bars to cool completely in the pan on a wire rack. This cooling step is crucial for achieving the right texture. After cooling, dust the top with powdered sugar for a delightful finish before slicing into squares. Enjoy your Pineapple Bliss Bars as a tasty tropical treat!
Expert Tips for Pineapple Bliss Bars
- Well-Drained Pineapple: Ensure your crushed pineapple is well-drained to avoid a soggy filling. Press it gently with a paper towel if needed.
- Cold Butter is Key: Keep your unsalted butter cold—it affects the crust’s flakiness and texture. Don’t let it soften before mixing.
- Even Baking: To ensure even baking, rotate the pan halfway through the baking time for both the crust and filling.
- Using Fresh Pineapple: If using fresh pineapple, finely chop it and make sure it’s well-drained to maintain texture in your Pineapple Bliss Bars.
- Cooling Properly: Allow the bars to cool completely in the pan before slicing to ensure clean edges. This step helps the bars set perfectly.
How to Store and Freeze Pineapple Bliss Bars
- Room Temperature: Pineapple Bliss Bars can be stored at room temperature for up to 2 days in an airtight container, but it’s best to keep them in the fridge for freshness.
- Fridge: Keep your bars in an airtight container in the refrigerator for up to 5 days, ensuring they stay moist and delicious for your sweet cravings.
- Freezer: To freeze, wrap individual bars in plastic wrap or aluminum foil, then place them in a freezer-safe bag or container. They can be stored for up to 2 months.
- Reheating: Thaw frozen bars in the fridge overnight or let them sit at room temperature for 30 minutes before serving. Lightly dust with powdered sugar for a delightful finish!
What to Serve with Pineapple Bliss Bars?
Imagine treating your family and friends to a tropical feast that lingers in their hearts long after the last bite of dessert.
- Tropical Fruit Salad: Fresh, vibrant fruits like mango, kiwi, and berries complement the sweetness of the bars while adding a refreshing crunch.
- Coconut Sorbet: A scoop of creamy coconut sorbet enhances the tropical theme and provides a rich, cool balance to the dessert.
- Pineapple-Coconut Custard: This silky custard mirrors the flavors in the bars, thickening the experience into a cozy, comforting delight.
- Grilled Shrimp Skewers: Juicy, lightly seasoned shrimp skewers bring a savory touch to your tropical menu, making for an exquisite contrast to the dessert’s sweetness.
- Sparkling Lemonade: This fizzy, zesty drink refreshes the palate and brightens the warm flavors of the bars, making it a delightful pairing.
- Chocolate Dipped Strawberries: The sweetness of strawberries dipped in rich chocolate gives a luxurious touch to your meal, enhancing the dessert experience.
Combine these delectable dishes, and you’ll create a tropical dining adventure that feels like a summer holiday right in your home!
Pineapple Bliss Bars: Endless Possibilities
Embrace your creativity and personalize these delightful Pineapple Bliss Bars with some exciting swaps and additions!
- Whole Wheat Flour: Swap out all-purpose flour for whole wheat to add a nutty flavor and extra nutrition.
- Brown Sugar: Replace half the granulated sugar with brown sugar for a deeper, caramel-like sweetness that pairs wonderfully with pineapple.
- Fresh Pineapple: Use fresh, well-drained pineapple instead of canned for a brighter flavor and a more vibrant texture.
- Toasted Coconut: Add ½ cup of toasted coconut flakes to the filling for an extra layer of flavor and a delightful crunch in every bite.
- Citrus Zest: Brighten up the bars by incorporating lemon or lime zest into the filling for a refreshing twist that enhances the tropical essence.
- Spiced Variants: Infuse the filling with a dash of cinnamon or nutmeg for a warm, cozy flavor that beautifully complements the pineapple.
- Nutty Crust: Fold in some finely chopped nuts, like pecans or almonds, into the crust for added texture and a rich, buttery taste.
- Fruity Swirl: Create a marbled effect by swirling in some strawberry or raspberry jam before baking; the tartness will balance the sweetness perfectly.
These variations not only help cater to different tastes but also keep the essence of your beloved Pineapple Bliss Bars. For more tropical inspiration, consider pairing these delightful treats with a refreshing tropical fruit salad or opt for an elevated taste experience by serving with a scoop of pineapple sorbet while chilling out on a summer day!
Make Ahead Options
These Pineapple Bliss Bars are perfect for meal prep, allowing busy home cooks to enjoy sweet tropical delights with minimal fuss! You can prepare the crust up to 24 hours in advance by mixing the ingredients and pressing the mixture into the pan. Just cover it tightly with plastic wrap and refrigerate until you’re ready to bake. The filling can also be prepared up to 3 days ahead; simply whisk together the eggs, sugar, and other ingredients, and store it in an airtight container in the refrigerator. When you’re ready to enjoy, just pour the chilled filling onto the baked crust and complete the baking process as directed for delicious, homemade results!
Pineapple Bliss Bars Recipe FAQs
What type of pineapple is best for this recipe?
Absolutely! For the best flavor and moisture, use well-drained crushed pineapple. Canned pineapple is convenient, but if you prefer fresh, make sure it’s finely chopped and thoroughly drained to prevent a soggy filling.
How should I store Pineapple Bliss Bars?
I often recommend storing your Pineapple Bliss Bars in an airtight container in the refrigerator. They’ll stay fresh for up to 5 days! If you’d like to keep them longer, they can be frozen for up to 2 months. Just ensure each bar is wrapped tightly in plastic wrap or foil, then placed in a freezer-safe bag or container.
Can I freeze Pineapple Bliss Bars? How do I do it?
Yes, you can freeze these delightful bars! First, wrap each individual bar securely in plastic wrap or aluminum foil. Next, place them in a freezer-safe bag or container to ensure they’re protected from freezer burn. When you’re ready to enjoy them, simply thaw in the fridge overnight, or leave them at room temperature for about 30 minutes. Dust with powdered sugar before serving for a lovely presentation!
How can I avoid a soggy filling?
Very good question! To prevent a soggy filling, ensure that your crushed pineapple is well-drained. After opening the can, pour it into a fine mesh strainer and let it sit for a while, pressing lightly with a paper towel to remove excess moisture. This simple step will help maintain the perfect texture of your Pineapple Bliss Bars.
Are there any dietary considerations for Pineapple Bliss Bars?
Definitely! If you’re concerned about allergies, check the labels on your ingredients, especially if using pre-packaged items. This recipe is quite versatile; for a gluten-free option, you can substitute the all-purpose flour with a gluten-free blend. Just be mindful of any additional ingredients you may add, like shredded coconut—a delicious alternative that enhances tropical flavor but can also be an allergen for some.
Can I substitute ingredients in Pineapple Bliss Bars?
Sure! If you’re looking to customize your Pineapple Bliss Bars, consider substituting half of the granulated sugar with brown sugar for a deeper flavor. You can also use fresh pineapple instead of canned, just make sure it’s well-drained. For added texture, try mixing in some toasted coconut flakes into your filling; the more, the merrier!
Pineapple Bliss Bars: Tropical Treats for Sweet Nostalgia
Ingredients
Equipment
Method
- Preheat your oven to 350°F (175°C) and line a 9x13 inch baking pan with parchment paper.
- In a mixing bowl, combine flour, granulated sugar, and salt. Cut in cold butter until it resembles coarse crumbs. Press into the pan.
- Bake the crust for about 15 minutes, until lightly golden around the edges. Allow it to cool slightly.
- In a separate bowl, whisk together eggs and granulated sugar. Gradually add flour, baking powder, and vanilla, then fold in crushed pineapple.
- Pour the filling over the cooled crust, spreading evenly. Bake for an additional 25-30 minutes until set.
- Cool completely, dust with powdered sugar, slice into squares, and enjoy!
Leave a Reply