
As I stood in my kitchen, the sweet scent of cherries simmering away brought back memories of summer picnics and laughter. This Fluffy No-Bake Cherry Ripple Cheesecake is not just a dessert; it’s a celebration of those cheerful moments. With its irresistible chocolate cookie crust and creamy, cloud-like filling, this recipe is a delightful no-bake option that comes together quickly and requires no gelatin. It’s perfect for impressing family and friends at gatherings or simply treating yourself on a cozy evening at home. Plus, if fresh cherries aren’t on hand, you can easily swap in canned ones without losing any flavor. Are you ready to dive into the decadence of this dreamy cheesecake?
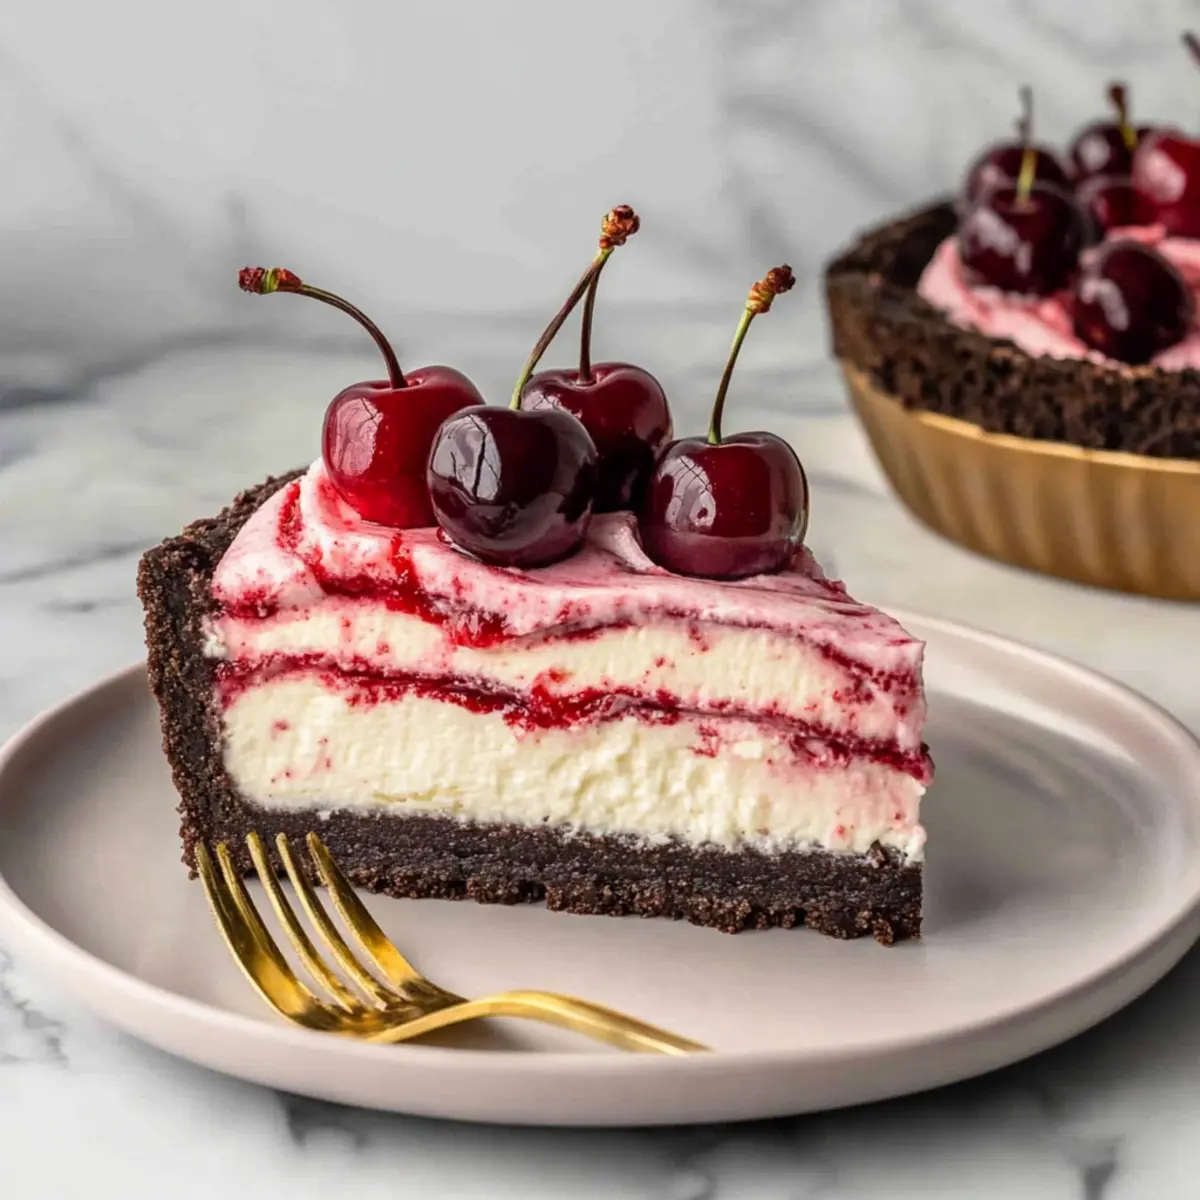
Why is this cheesecake so irresistible?
Simplicity: No need for baking or complicated techniques—this recipe comes together effortlessly!
Fluffy Texture: Our cheesecake filling is as light as a cloud, thanks to whipped cream and quality cream cheese.
Rich Chocolate Flavor: The Oreo cookie crust adds a delightful chocolatey crunch that perfectly balances the creamy filling.
Versatile Delight: Swap fresh cherries for canned ones anytime, ensuring deliciousness all year round. Plus, try using other fruits like raspberries for a fun twist!
Impressive Presentation: Layers of cherry ripple and a charming garnish make this dessert a showstopper at any gathering. Experience this sweet showpiece that’s sure to impress your guests!
No-Bake Cherry Ripple Cheesecake Ingredients
For the Cherry Sauce
• Cherries – Fresh, halved and pitted; perfect for creating a vibrant cherry ripple. Canned or jarred cherries can be substituted if fresh ones aren’t available.
• Granulated Sugar – Sweetens the cherry sauce; adjust according to your desired level of sweetness.
For the Crust
• Oreo Cookies – Crushed for a rich, chocolatey crust; use whole Oreos for the best texture.
• Brown Sugar – Adds moisture and richness to the crust; both light and dark varieties will work well.
• Unsalted Butter – Binds the crust together; allow it to cool for five minutes after melting before mixing in.
For the Cheesecake Filling
• Cream Cheese – The silky base for the cheesecake; ensure it’s softened to room temperature for easy blending.
• Caster Sugar – Sweetens the filling and aids in achieving a smooth, creamy texture.
• Sour Cream – Provides a lovely tang, adding creaminess to the cheesecake; best when used directly from the fridge.
• Powdered Sugar – Adds sweetness and stabilizes the cheesecake mixture.
• Milk Powder – Offers stability to the filling, whether full fat or skim will suffice.
• Vanilla Extract – Elevates the overall flavor; select a high-quality extract for the best taste.
• Heavy Cream – Whipped to stiff peaks, creating that delightful fluffy texture for the filling.
For Serving
• Extra Cherries – A lovely garnish on top to enhance presentation and flavor; feel free to use the same cherries from your sauce.
Step‑by‑Step Instructions for No-Bake Cherry Ripple Cheesecake
Step 1: Prepare Cherry Sauce
In a medium saucepan over medium heat, combine halved cherries and granulated sugar. Stir continuously for about 5 minutes until the mixture starts boiling and thickens slightly. Once done, take it off the heat and blend thoroughly until smooth. Allow the cherry sauce to cool to room temperature while the flavors meld beautifully.
Step 2: Make Oreo Crust
Using a food processor, blend Oreo cookies with brown sugar until finely crushed. Melt the unsalted butter, letting it cool for about 5 minutes before mixing it with the cookie mixture. Press this mixture firmly into the bottom of a greased 20cm springform pan to create a solid crust, then refrigerate for 30 minutes to set.
Step 3: Prepare Cheesecake Filling
In a large mixing bowl, beat the softened cream cheese with a hand mixer until it appears fluffy and creamy. Gradually add caster sugar, sour cream, powdered sugar, milk powder, and vanilla extract while continuing to blend until fully incorporated and smooth. This mixture will be the dreamy filling for your No-Bake Cherry Ripple Cheesecake.
Step 4: Whip Cream
In a separate bowl, pour in the heavy cream and whip it using an electric mixer until stiff peaks form. This will contribute the light and airy texture of your cheesecake filling. Be careful not to over-whip, as this could make your cream grainy, which would detract from the lovely consistency.
Step 5: Layer the Cheesecake
Pour half of your creamy cheesecake filling into the chilled crust, smoothing it out with a spatula. Drizzle a couple of spoonfuls of the cooled cherry sauce on top, and gently swirl it using a knife to create a ripple effect. Add the remaining filling over it, and finish off with a drizzle of more cherry sauce to elevate the visual appeal.
Step 6: Chill
Cover the assembled No-Bake Cherry Ripple Cheesecake tightly with plastic wrap and refrigerate for at least 6 to 8 hours, or preferably overnight. This chilling process is vital for allowing the flavors to meld and the cheesecake to set properly, resulting in a delightful, fluffy dessert perfect for any occasion.
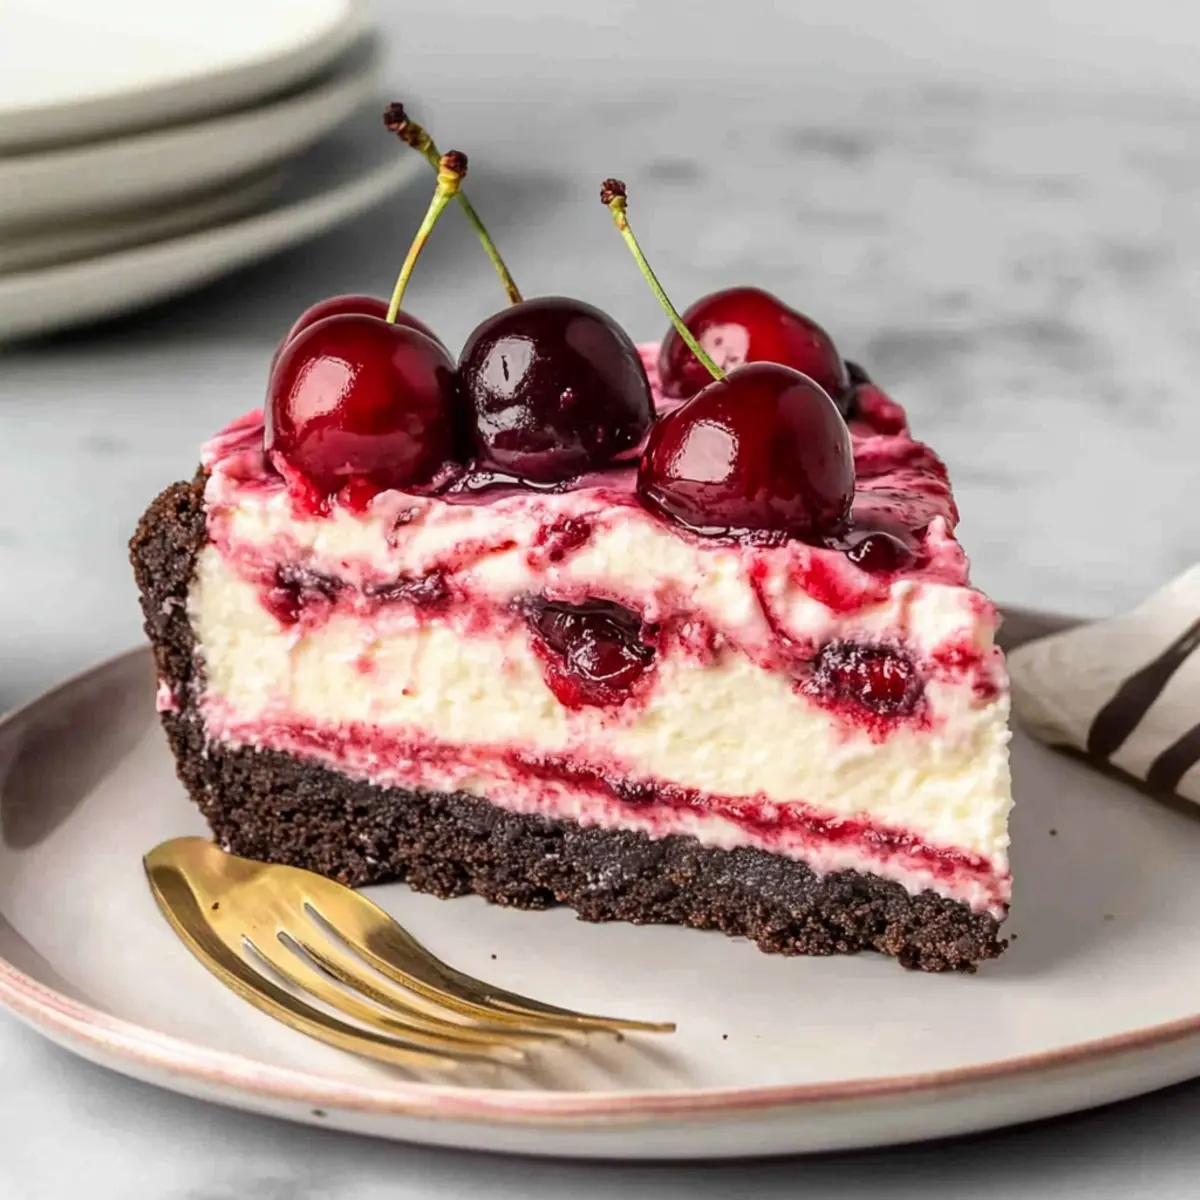
No-Bake Cherry Ripple Cheesecake Variations
Feel free to spice up your cheesecake experience with these delightful twists!
- Seasonal Fruits: Swap cherries for strawberries or raspberries to create a fresh summer vibe. The tangy berries will brighten up every bite!
- Gluten-Free Option: Use gluten-free chocolate cookies to craft the crust. No one will miss the gluten in this delicious dessert!
- Nutty Crunch: Add crushed nuts like almonds or pecans to the crust for an extra crunch. This twist adds a lovely texture contrast to the creamy filling.
- Chocolate Lovers: Fold in chocolate chips along with the whipped cream for a fudgy surprise in each slice. Trust me, it will elevate your cheesecake experience!
- Coconut Cream: Replace half the heavy cream with coconut cream for a tropical flavor twist. A sprinkle of toasted coconut on top makes it feel like a beach getaway.
- Cream Cheese Variations: Swap regular cream cheese for flavored varieties, like strawberry or vanilla, to enhance the taste profile. Each version will bring its own unexpected deliciousness!
- Zesty Lemon: Add lemon zest to the cheesecake filling for a refreshing citrus kick that pairs beautifully with the cherries. It’s a delightful contrast that brightens every slice!
- Heat Levels: For those who enjoy a kick, consider incorporating a hint of cayenne pepper or chili powder in the cherry sauce. Just a touch can transform the sauce into a sweet-spicy delight!
Feel free to explore and combine these ideas, and remember, there are no limits to creativity in your kitchen! For more creamy delights, don’t miss out on my recipe for Cherry Amaretto Tiramisu or indulge in some heavenly Oreo Cheesecake Cookie Cups. Enjoy your baking journey!
Expert Tips for No-Bake Cherry Ripple Cheesecake
-
Room Temperature Cream Cheese: Ensure your cream cheese is at room temperature. This allows for smoother blending and prevents pesky lumps in your fluffy filling.
-
Chill Time Matters: Don’t rush the chilling process! The cheesecake needs at least 6-8 hours to set properly for the best texture. Avoid the freezer as it can alter the consistency.
-
Quality Ingredients: Use high-quality vanilla extract and fresh cherries when possible; they significantly enhance the flavors in your no-bake cherry ripple cheesecake.
-
Gentle Folding: When incorporating whipped cream into the cheese mixture, fold gently to maintain that airy texture. Over-mixing can lead to a denser filling.
-
Customizable Swirls: Feel free to add extra fruit, like raspberries or blueberries, to the cherry sauce for a flavor twist. It lends a beautiful color and extra creaminess to your cheesecake!
Storage Tips for No-Bake Cherry Ripple Cheesecake
- Fridge: Store your cheesecake in an airtight container in the refrigerator for up to 3 days to maintain freshness and flavor.
- Freezer: If you want to keep it longer, freeze the cheesecake for up to 2 months. Wrap it tightly in plastic wrap, then aluminum foil to prevent freezer burn.
- Thawing: To enjoy from the freezer, transfer it to the fridge to thaw overnight before serving for the best texture.
- Reheating: No need to reheat this cheesecake; simply slice and enjoy cold, letting the creamy layers melt in your mouth as you indulge in the no-bake cherry ripple cheesecake delight!
What to Serve with No-Bake Cherry Ripple Cheesecake
Nothing pairs better with a delightfully fluffy dessert than a selection of complementary sides that will make your meal unforgettable.
- Lightly Sweetened Whipped Cream: A dollop of fresh cream on top enhances the cheesecake’s richness and adds a luscious touch.
- Fresh Berries: Strawberries, blueberries, or raspberries offer a bright, tart contrast that perfectly balances the sweet cherry flavors. You can even mix them into a fruit compote for a fun twist!
- Chocolate Shavings: Sprinkle some dark or milk chocolate shavings on top for an added layer of texture and a hint of extra indulgence.
- Mint Leaves: A few sprigs of fresh mint on the side brings a refreshing aroma that elevates the overall experience.
- Coffee or Espresso: The rich flavor of coffee complements the sweet and creamy notes, making it a perfect beverage choice alongside this dessert.
- Vanilla Ice Cream: Serving a scoop of creamy vanilla ice cream alongside the cheesecake provides a delightful temperature contrast and additional creaminess.
- Chocolate Sauce Drizzle: A drizzle of warm chocolate sauce adds an elegant touch and turns every bite into a sinfully delightful experience.
- Lemon Sorbet: For a light, refreshing option, serve a scoop of lemon sorbet to cleanse the palate between bites of decadent cheesecake.
- Sparkling Water with Citrus: Refreshing sparkling water with a splash of lemon or lime uplift the flavors, making it a delightful drink to accompany your dessert.
Make Ahead Options
This Fluffy No-Bake Cherry Ripple Cheesecake is perfect for meal prep, saving you time on busy days! You can make the cherry sauce up to 3 days in advance; just store it in an airtight container in the refrigerator to maintain its vibrant flavor. The Oreo crust can also be prepared 24 hours ahead and kept chilled until you’re ready to assemble the cheesecake. When you’re ready to serve, simply whip up the cheesecake filling, layer it with the cherry sauce, and let it chill for at least 6 hours (or overnight for best results). This way, you can enjoy a deliciously fluffy cheesecake with minimal effort on the day of your gathering!
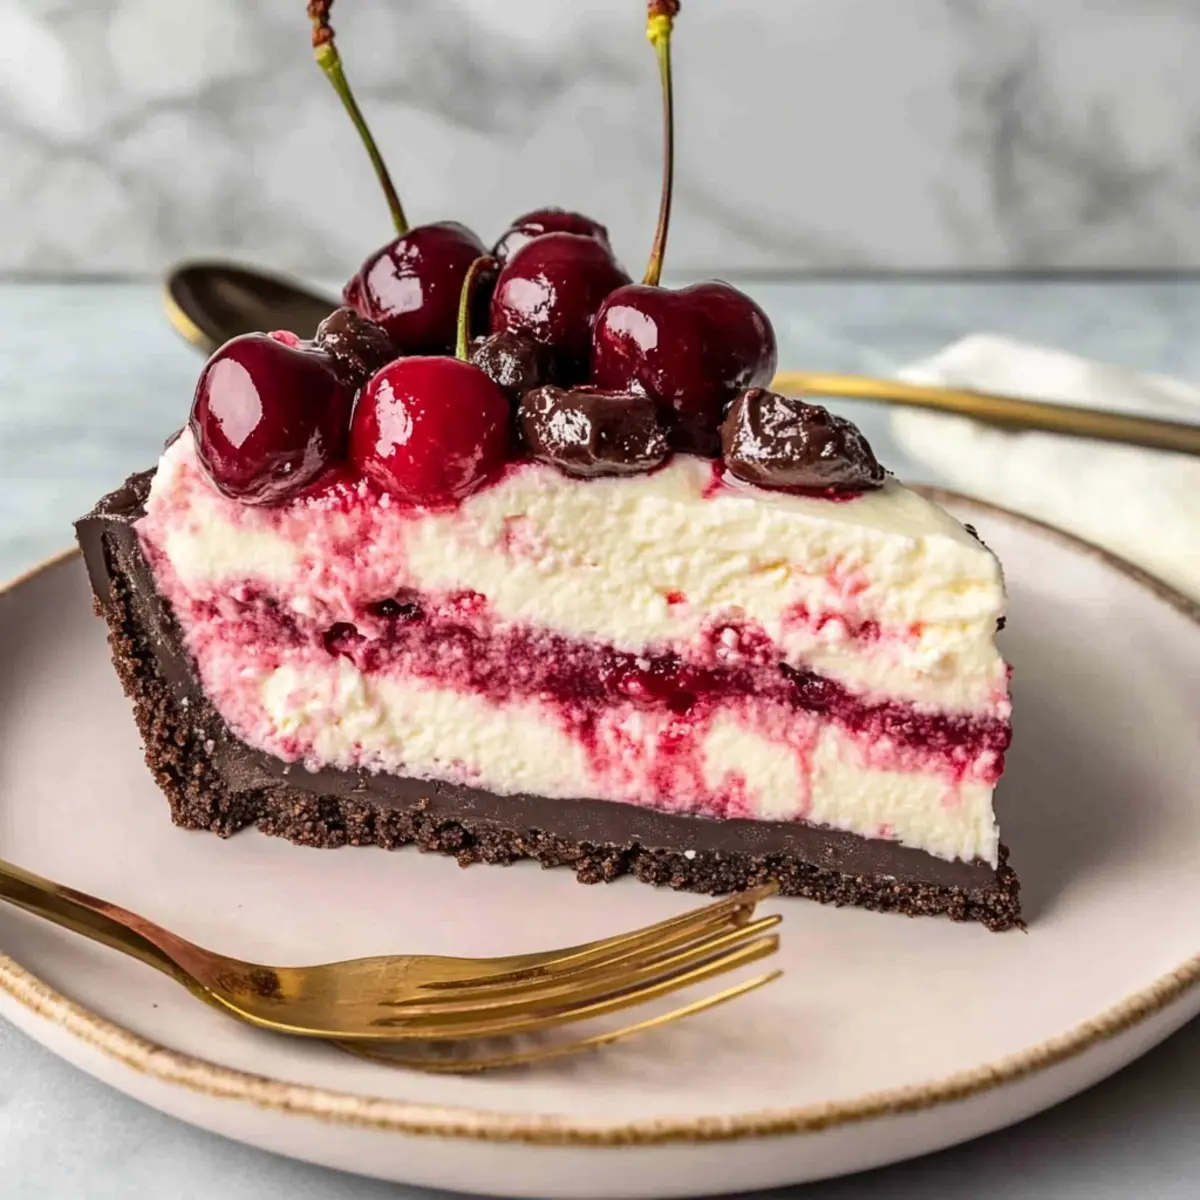
No-Bake Cherry Ripple Cheesecake Recipe FAQs
How do I choose the perfect cherries for the sauce?
Absolutely! For the best cherry sauce, select fresh cherries that are plump, firm, and vibrant in color. Avoid cherries with dark spots or wrinkles, as they may be overripe. If fresh cherries are out of season, canned or jarred cherries can be used instead; just make sure to drain them well to avoid excess moisture.
How should I store the No-Bake Cherry Ripple Cheesecake?
To keep your cheesecake fresh, store it in an airtight container in the refrigerator for up to 3 days. If you need to keep it longer, it can be frozen for up to 2 months. Make sure to wrap it tightly in plastic wrap and aluminum foil to prevent freezer burn.
Can I freeze No-Bake Cherry Ripple Cheesecake? If so, how?
Yes, you can freeze this cheesecake! First, allow it to set in the fridge for at least 6-8 hours. Once chilled, slice it and place the slices on a baking sheet lined with parchment paper, freezing them individually for about 2-3 hours. Once frozen, transfer the slices to a freezer-safe container, layering parchment between them, and store for up to 2 months. For serving, transfer to the fridge to thaw overnight.
What should I do if my cream cheese lumps in the filling?
No worries! If you find lumps in your cream cheese, it could be due to it being too cold. Always start with cream cheese at room temperature for easy blending. If lumps persist, I recommend mixing the cream cheese alone first until smooth before incorporating the other ingredients. A quick fix can also be to blend the mixture again with an immersion blender!
Is this cheesecake suitable for those with gluten allergies?
Indeed! To make the No-Bake Cherry Ripple Cheesecake gluten-free, simply substitute regular Oreo cookies with gluten-free chocolate cookies for the crust. Just be sure to check that the other ingredients you use (like baking powder or any additional toppings) are also gluten-free.
Can I replace the heavy cream with a lighter alternative?
While heavy cream is preferred for achieving that light, fluffy texture, you can replace it with whipped coconut cream for a lighter option. However, keep in mind that the texture may slightly change. Whip the coconut cream similarly until stiff peaks form, ensuring a delightful yet different consistency for your cheesecake.
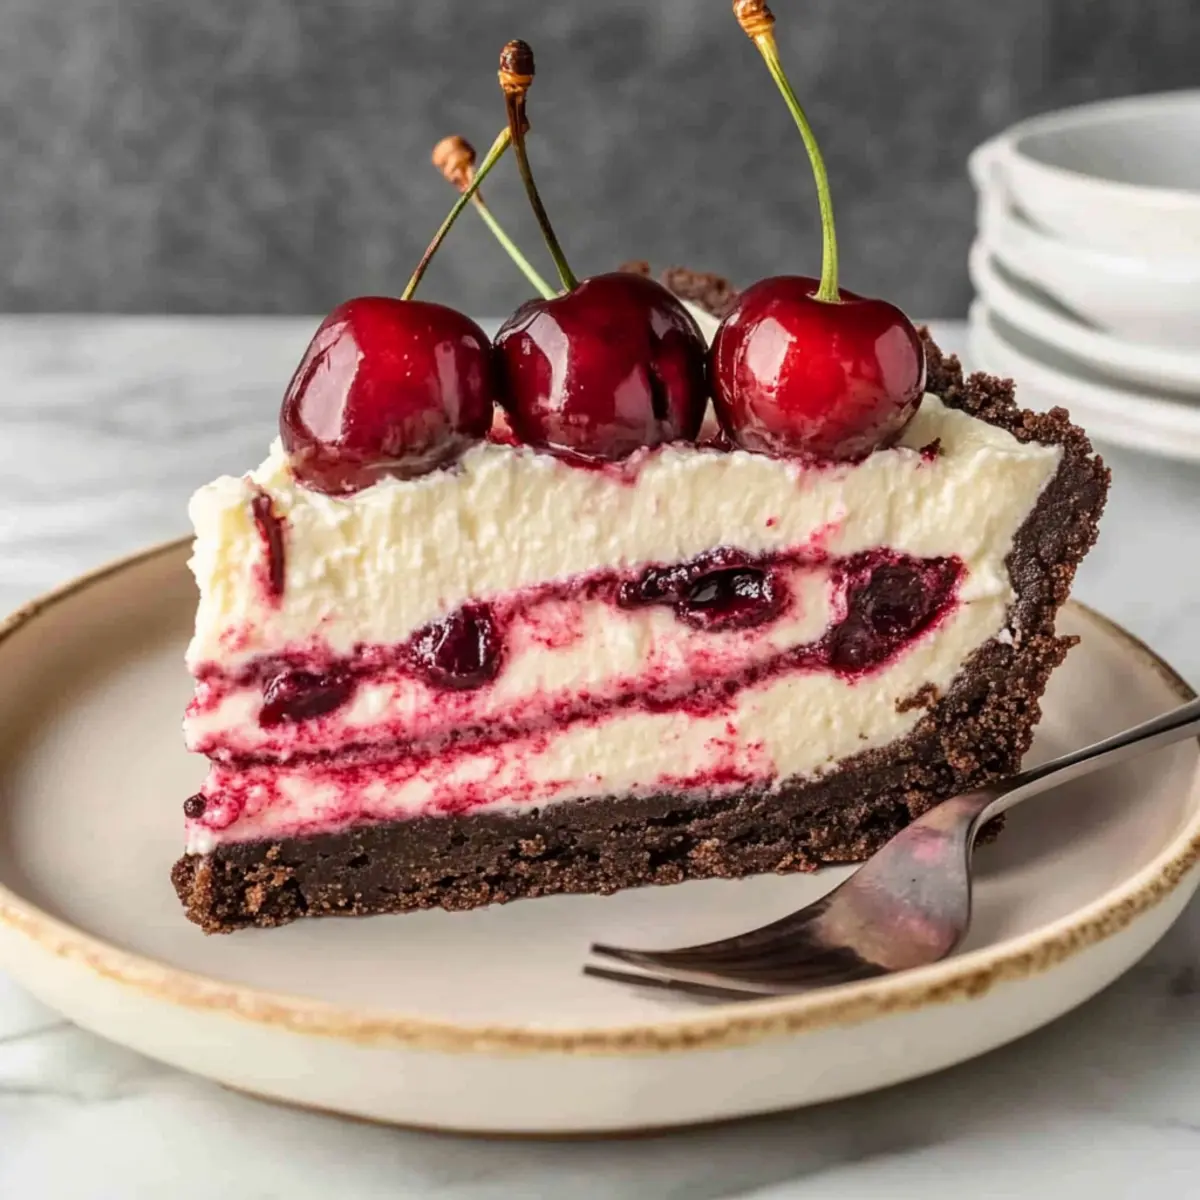
Irresistible No-Bake Cherry Ripple Cheesecake Bliss
Ingredients
Equipment
Method
- Prepare Cherry Sauce: In a medium saucepan over medium heat, combine halved cherries and granulated sugar. Stir continuously for about 5 minutes until boiling. Blend until smooth and cool.
- Make Oreo Crust: Blend Oreo cookies with brown sugar until crushed. Mix in melted butter. Press into a greased springform pan and refrigerate for 30 minutes.
- Prepare Cheesecake Filling: In a bowl, beat cream cheese until fluffy. Gradually add caster sugar, sour cream, powdered sugar, milk powder, and vanilla extract until smooth.
- Whip Cream: In a separate bowl, whip heavy cream until stiff peaks form. Be careful not to over-whip.
- Layer the Cheesecake: Pour half of the filling into the crust, swirl in some cherry sauce, add remaining filling, and top with more cherry sauce.
- Chill: Cover with plastic wrap and refrigerate for 6 to 8 hours or overnight.
Leave a Reply