
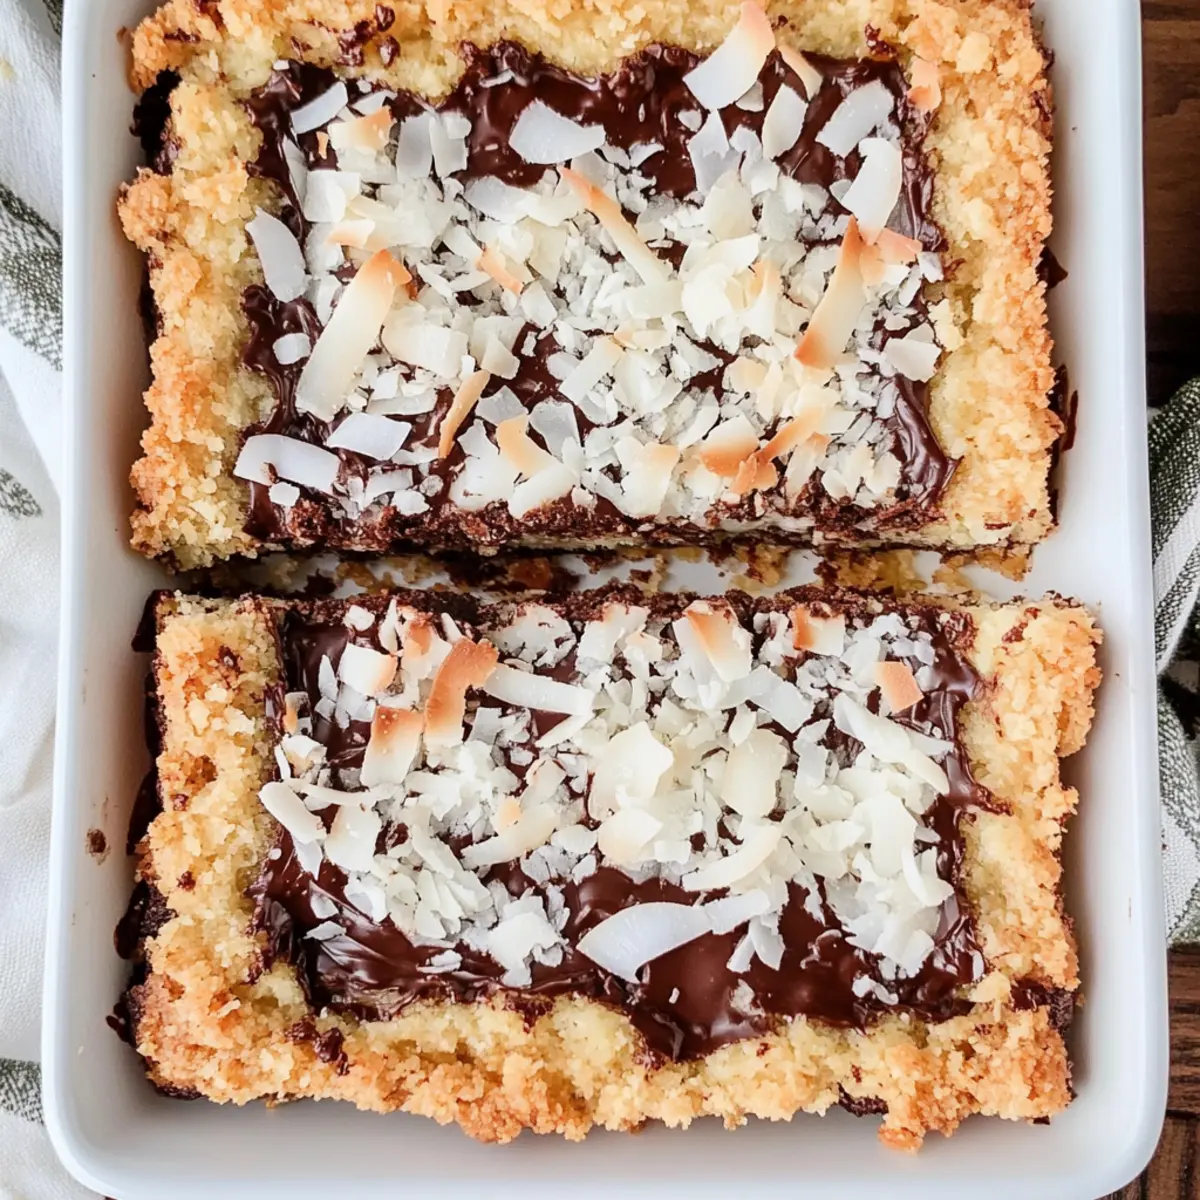
As I stood in my kitchen yesterday, a rush of cocoa and coconut aromas transported me to a sunlit beach, far from the chaos of daily life. These Gooey Chocolate Coconut Bars capture that blissful escape with their rich chocolatey goodness and chewy texture. With just five simple ingredients and a prep time of under 10 minutes, this dessert is perfect for anyone looking to impress without the hassle. The buttery graham cracker crust serves as a delightful base for a luscious, gooey filling, making these bars a true crowd-pleaser at any gathering. Whether you’re winding down after a long day or seeking the perfect treat for your next get-together, these Coconut Chocolate Bars will surely stir up some sweet emotions. Ready to indulge in a tropical twist on dessert? Let’s dive into making these mouthwatering bars together!
Why are these Coconut Chocolate Bars irresistible?
Quick prep: With only 10 minutes of preparation, you can whip up a delectable dessert that won’t steal hours from your day.
Gooey goodness: The combination of sweetened condensed milk and chocolate chips creates an irresistibly gooey filling, elevating your dessert experience.
Crowd-pleaser: Perfect for parties or casual gatherings, these bars will leave everyone asking for seconds—who can resist chocolate and coconut?
Versatile options: Prefer a richer flavor? Try using dark chocolate chips! You can even pack these bars for lunchboxes or weekend picnics.
Simple ingredients: Utilizing just five ingredients means you can create a sensational treat without the hassle of complex recipes—an ideal choice for beginner bakers.
Coconut Chocolate Bars Ingredients
For the Crust
• Fine Graham Cracker Crumbs – Provides structure and a buttery texture; use crushed cornflakes if short on crumbs for added crunch.
• Unsalted Butter (½ cup + 2 tablespoons, melted) – Binds the crust and adds richness; ensure it’s fully melted for even mixing.
• Fine Sea Salt (¾ teaspoon, separated) – Enhances flavors; substitute with half the amount of regular salt for a sharper taste.
For the Filling
• Sweetened Condensed Milk (1 can, 14 ounces) – Acts as the gooey sweet base that holds the bars together; do not confuse with evaporated milk, as it’s crucial for texture.
• Semi-Sweet Chocolate Chips (1 cup) – Provides the main chocolate flavor and melty texture; experiment with dark chocolate for a richer taste.
• Unsweetened Coconut Flakes (¾ cup) – Adds chewy texture and a tropical flavor; use sweetened coconut if you prefer a sweeter profile.
Step‑by‑Step Instructions for Coconut Chocolate Bars
Step 1: Preheat the Oven
Begin by preheating your oven to 350°F (175°C). While it’s heating up, grab an 8″x8″ baking dish and lightly grease it with butter or non-stick spray to prevent those delicious Coconut Chocolate Bars from sticking later. This foundational step ensures your bars bake evenly and come out perfectly golden.
Step 2: Prepare the Crust
In a mixing bowl, combine fine graham cracker crumbs, melted unsalted butter, and ½ teaspoon of fine sea salt. Stir until the crumbs are fully coated and have a wet sand-like consistency. Press this mixture firmly and evenly into the bottom of the prepared baking dish; it’ll create a sturdy base for your gooey filling.
Step 3: Layer the Filling
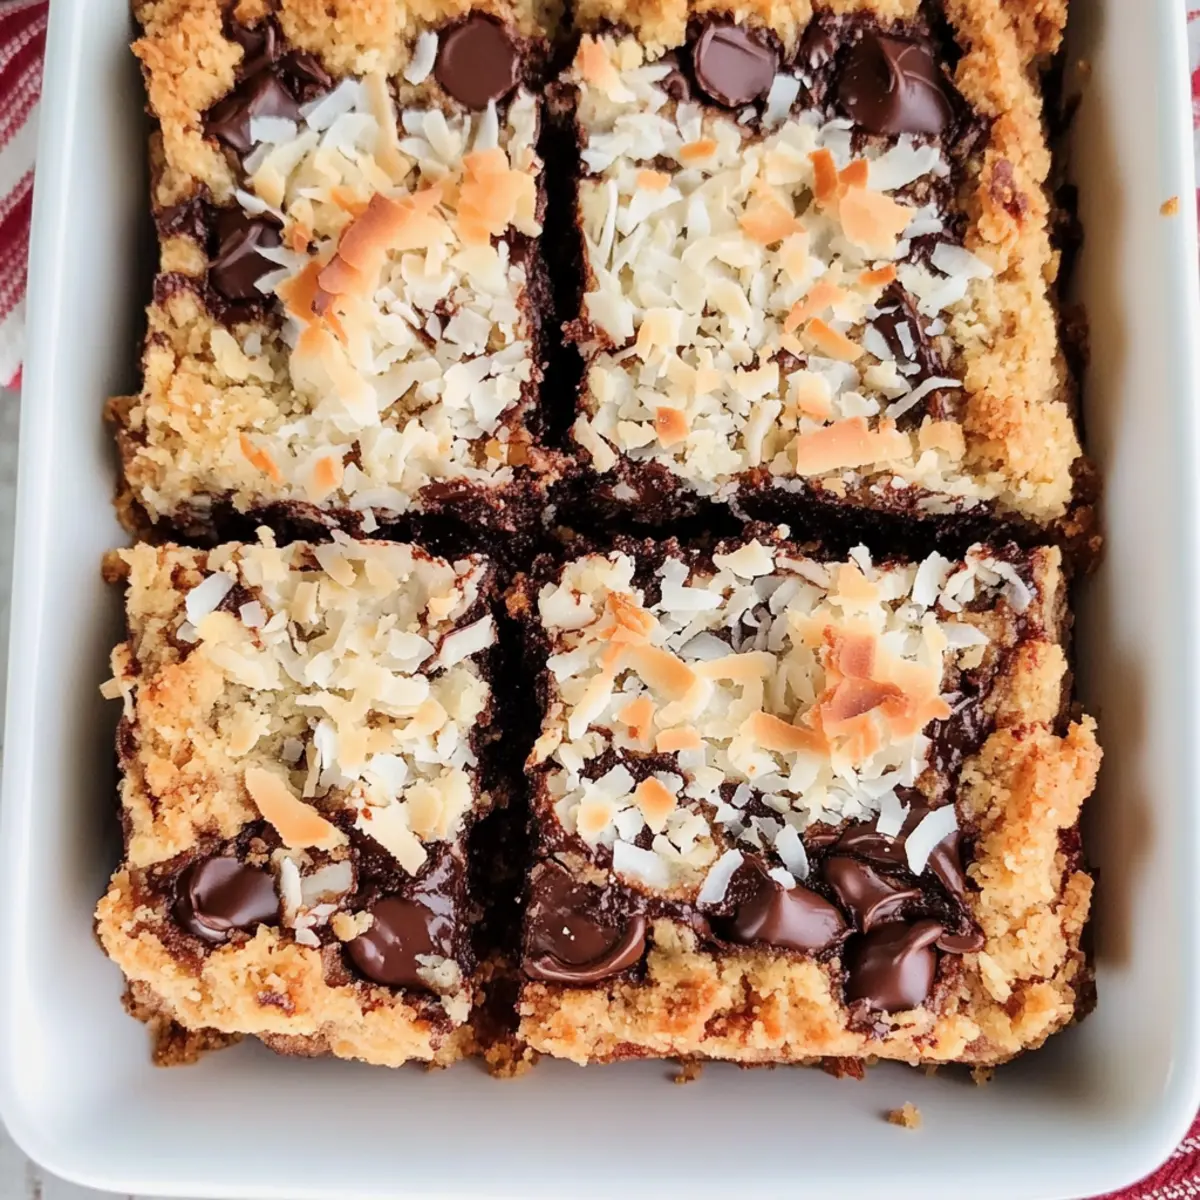
Pour a can of sweetened condensed milk evenly over the pressed graham cracker crust. Sprinkle the remaining ¼ teaspoon of salt on top, ensuring even distribution. Then, scatter the semi-sweet chocolate chips and unsweetened coconut flakes generously across the condensed milk. This layering creates a mouthwatering symphony of textures for your Coconut Chocolate Bars.
Step 4: Press the Toppings
Using a fork, gently press the chocolate chips and coconut flakes into the sweetened condensed milk. This will help them adhere better while baking, ensuring every bite of your Coconut Chocolate Bars is packed with rich chocolate and chewy coconut goodness. Make sure all toppings are slightly nestled in for that perfect melt.
Step 5: Bake to Perfection
Place the baking dish in your preheated oven and bake the mixture for 28-30 minutes. You’ll know they’re ready when the coconut turns a lovely golden brown on top and the edges are bubbly. This baking time will create the gooey texture that makes Coconut Chocolate Bars so irresistible.
Step 6: Cool Completely
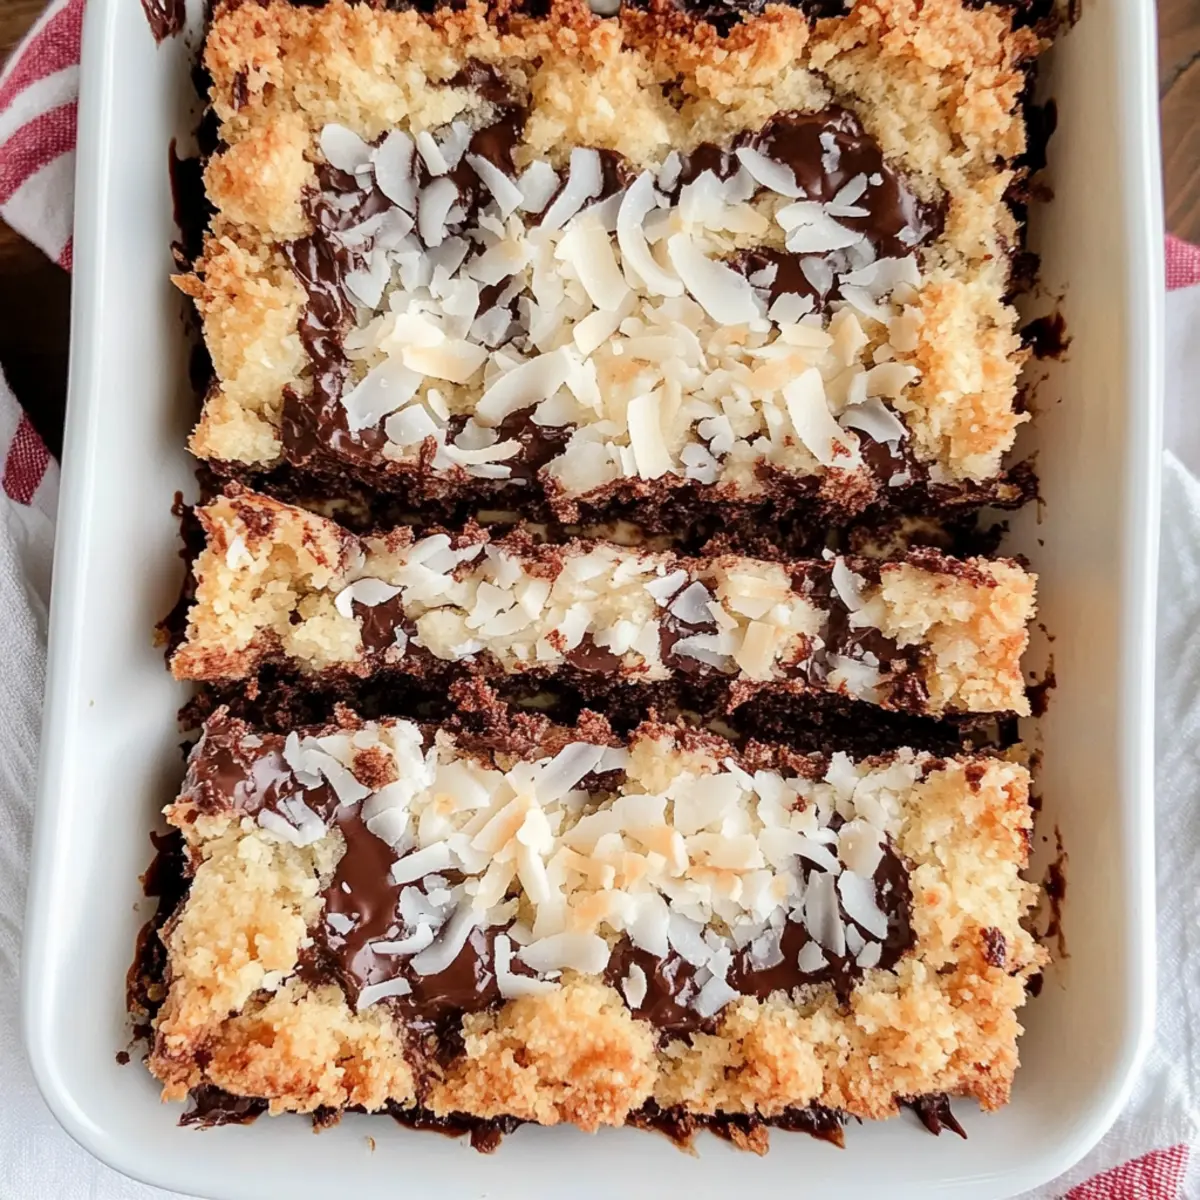
Once baked, remove the dish from the oven and allow it to cool completely, which can take around 30 minutes to an hour. Patience is key here—allowing the bars to cool ensures a neat cut later. This step helps set the delicious filling, making those Coconut Chocolate Bars easy to handle when serving.
How to Store and Freeze Coconut Chocolate Bars
Room Temperature: Store your Coconut Chocolate Bars in an airtight container at room temperature for up to 3-4 days. This keeps them conveniently accessible for snacking!
Fridge: For longer freshness, you can refrigerate the bars in an airtight container for up to a week. Allow them to sit at room temperature for a few minutes before enjoying to regain their gooey texture.
Freezer: To freeze, wrap individual bars in wax paper and place them in a freezer-safe bag. They can last up to 2 months. Just thaw at room temperature before serving.
Reheating: For a warm, gooey treat, reheat in the microwave for about 10-15 seconds. This revives that delicious melty filling perfect for an indulgent dessert moment!
Expert Tips for Coconut Chocolate Bars
- Cool Before Cutting: Ensure the bars are completely cooled before slicing to maintain their shape; cutting too soon may result in a gooey mess.
- Use Quality Ingredients: Opt for high-quality chocolate chips for rich flavor; it makes a noticeable difference in your Coconut Chocolate Bars.
- Avoid Overflow: Keep an eye on the sweetened condensed milk when pouring; it should not overflow the edges to prevent sticking during baking.
- Grease the Dish: Always grease the baking dish well or line it with parchment paper for easy removal of the Coconut Chocolate Bars.
- Variation Exploration: Get creative! Swap semi-sweet chocolate chips for dark to enhance richness, or add nuts for a crunchy twist.
What to Serve with Gooey Chocolate Coconut Bars
Indulge your senses with delightful complements that turn a simple dessert into a full experience of flavors and textures.
-
Fresh Berries: The brightness of strawberries or raspberries cuts through the sweetness and adds a fresh contrast.
-
Vanilla Ice Cream: Creamy ice cream brings a chilled, velvety touch that balances the gooey richness of the bars wonderfully.
-
Coconut Whipped Cream: Light and airy, this topping enhances the coconut flavor while creating a delightful, tropical feel—perfect for summer gatherings.
-
Cup of Coffee: A warm, rich coffee enhances the chocolate intensity, making for a comforting pairing that awakens your senses.
-
Chocolate Sauce Drizzle: For the ultimate chocolate lover, warm chocolate sauce drizzled over serves as a luxurious addition to your sweet treat.
-
Chilled Lemonade: The tanginess of lemonade refreshes your palate and brings a zesty surprise that complements the dessert’s sweetness beautifully.
-
Nutty Granola: Sprinkling granola on top adds a crunchy texture and a nutty flavor that plays well with the bars’ gooiness.
-
Dark Chocolate Squares: For a striking contrast, pair with rich dark chocolate squares, offering the perfect bite-sized complement for serious chocolate fans.
Each of these pairings enhances your experience, turning your Gooey Chocolate Coconut Bars into a delightful culinary escape!
Coconut Chocolate Bars Variations
Feel free to get creative with these bars and make them uniquely yours!
- Dairy-Free: Substitute the unsalted butter with coconut oil to keep it rich without dairy.
- Nutty Crunch: Add ½ cup of chopped nuts, like pecans or almonds, for a delightful crunch and extra nuttiness. These additions will harmonize beautifully with the chocolate and coconut.
- Zesty Flavor: Mix in some lemon or orange zest into the filling for a bright, refreshing twist that complements the richness of the bars.
- Spiced Delight: Add a pinch of cinnamon or nutmeg to the sweetened condensed milk to bring warmth and depth to your coconut chocolate experience.
- Flavored Coconut: Use toasted coconut flakes to intensify the nutty flavor. The toasty notes will elevate the overall richness of each bite.
- Healthier Sweetener: Swap sweetened condensed milk for a dairy-free condensed coconut milk for a lighter, yet still rich, filling without sacrificing flavor.
- Gooey Caramel Addition: Drizzle some caramel sauce over the top before baking, creating a delightful gooey layer that adds an additional layer of indulgence.
- Tropical Twist: Sprinkle in mini marshmallows or pineapple bits for a fun, tropical variation that infuses a taste of vacation in every bite!
Explore these variations, and don’t forget to try them alongside Sweet Coconut Cream Pancakes for a dreamy brunch or as a perfect treat with some Greek Yogurt Peanut Butter Bites with Chocolate Chips for a delightful snack option!
Make Ahead Options
These Coconut Chocolate Bars are a fantastic option for meal prep! You can easily prepare the graham cracker crust up to 24 hours in advance. Simply mix the crumbs, melted butter, and salt, then press into your baking dish; cover and refrigerate. The filling can also be layered ahead: pour the sweetened condensed milk, sprinkle the salt, and add the chocolate chips and coconut flakes without baking. Cover tightly and store in the fridge for up to 3 days. When you’re ready to enjoy, just bake them as instructed, knowing they’ll come out just as gooey and delicious as if made fresh that day!
Coconut Chocolate Bars Recipe FAQs
What type of coconut flakes should I use?
I recommend using unsweetened coconut flakes for a delightful chewy texture and a balanced sweetness in your Chocolate Coconut Bars. However, if you prefer a sweeter profile, feel free to swap in sweetened coconut flakes. Just keep in mind the overall sweetness of your bars!
How should I store Coconut Chocolate Bars?
Store your Coconut Chocolate Bars in an airtight container at room temperature for up to 3-4 days. This ensures they remain gooey and delicious! For longer storage, you can refrigerate them for up to a week, but remember to let them sit at room temperature for a few minutes before enjoying them to regain their delightful gooey texture.
Can I freeze Coconut Chocolate Bars?
Absolutely! To freeze them, wrap each bar tightly in wax paper or aluminum foil, then place them in a freezer-safe bag. They will maintain their quality for up to 2 months. When you’re ready to enjoy one, just thaw it at room temperature, or pop it in the microwave for about 10-15 seconds for that warm, gooey deliciousness.
What should I do if my bars don’t hold together well?
If your Coconut Chocolate Bars are falling apart, it’s likely due to not letting them cool completely before cutting. I recommend allowing them to cool for at least 30 minutes to an hour to set properly. If that doesn’t work, you might want to try increasing the amount of sweetened condensed milk slightly next time to ensure a stickier texture.
Can I use alternatives for the butter?
Sure thing! If you’re looking for a dairy-free option, you can substitute the unsalted butter with coconut oil or a vegan butter substitute. Just make sure to melt it before mixing with the graham cracker crumbs. Both alternatives will keep the texture delicious while accommodating dietary preferences!
Are these bars safe for pets?
No, it’s important to keep these Coconut Chocolate Bars away from pets, as chocolate is toxic to dogs and cats. Make sure to store your treats securely to prevent any sneaky snacking from curious pets!
Decadent Coconut Chocolate Bars for a Quick Sweet Fix
Ingredients
Equipment
Method
- Preheat your oven to 350°F (175°C) and grease an 8"x8" baking dish.
- Combine graham cracker crumbs, melted butter, and ½ teaspoon of salt. Press into the bottom of the dish.
- Pour sweetened condensed milk over the crust, sprinkle remaining salt, then scatter chocolate chips and coconut flakes.
- Press the toppings into the condensed milk with a fork for better adherence.
- Bake in preheated oven for 28-30 minutes until the coconut is golden and edges are bubbly.
- Cool completely for about 30 minutes to an hour before cutting.
Leave a Reply