
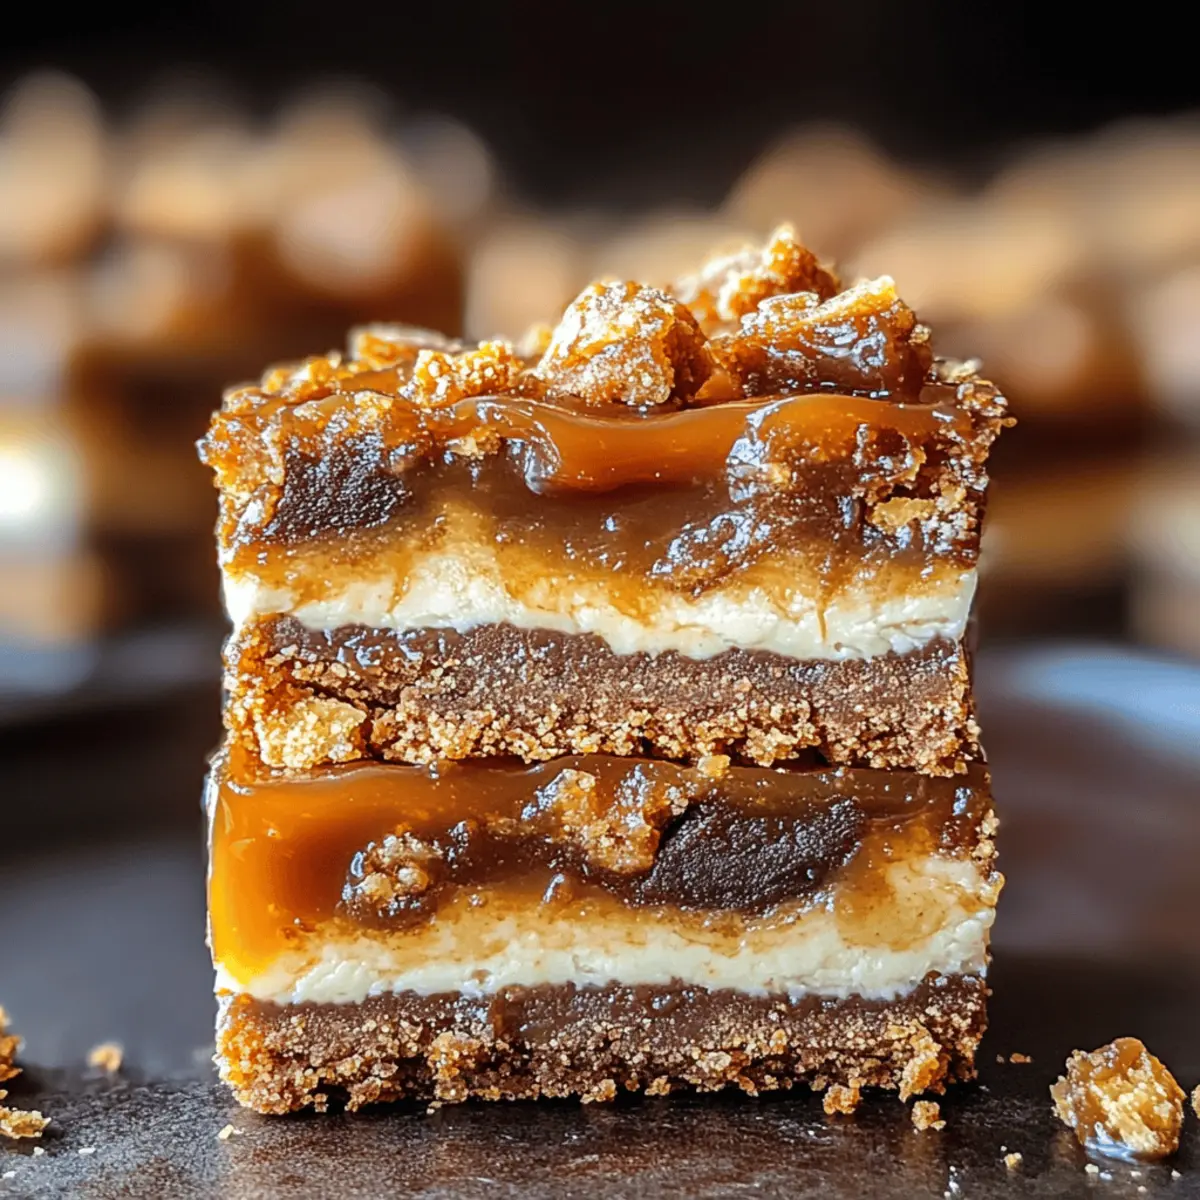
A delightful kitchen adventure awaits as you whip up these No-Bake Butterfinger Caramel Bars! This recipe brings together layers of crunchy Butterfinger pieces and gooey caramel, creating a satisfying treat that requires no oven. The beauty of these bars lies not just in their incredible taste but also in their simplicity—perfect for busy weekdays and spontaneous gatherings alike. With kids eager to help and minimal prep time, these family-friendly dessert bars are ready to impress at summer picnics or cozy movie nights at home. If you’re craving a crowd-pleaser that hits the sweet spot without complicating your day, these Butterfinger Caramel Bars are just the ticket. Curious about how to create this easy indulgence? Let’s dive into the delicious details!
Why are Butterfinger Caramel Bars a must-try?
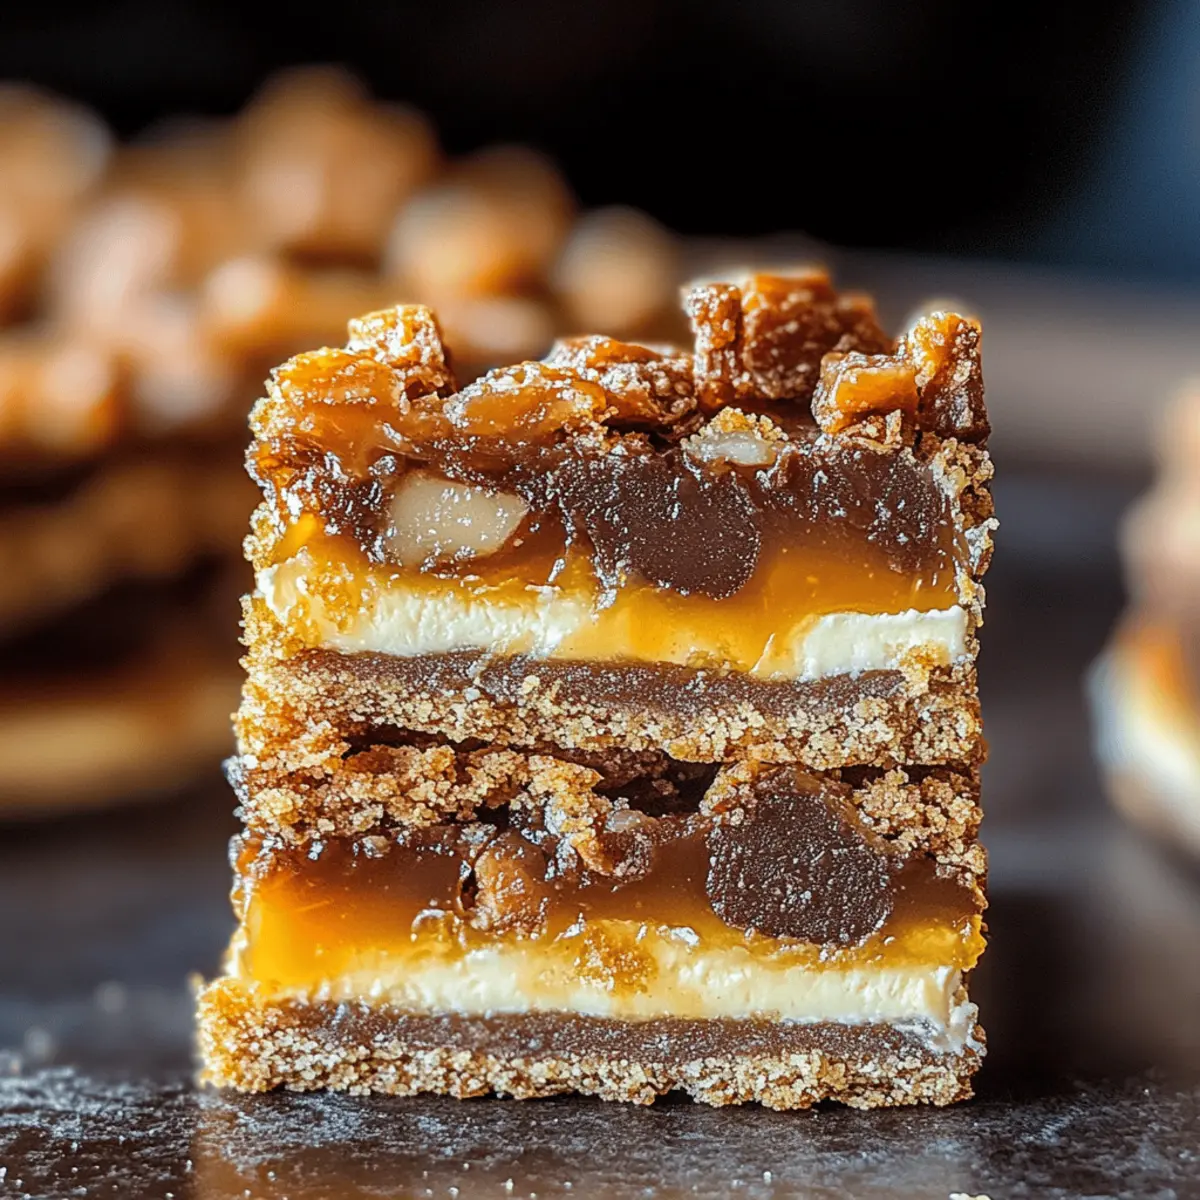
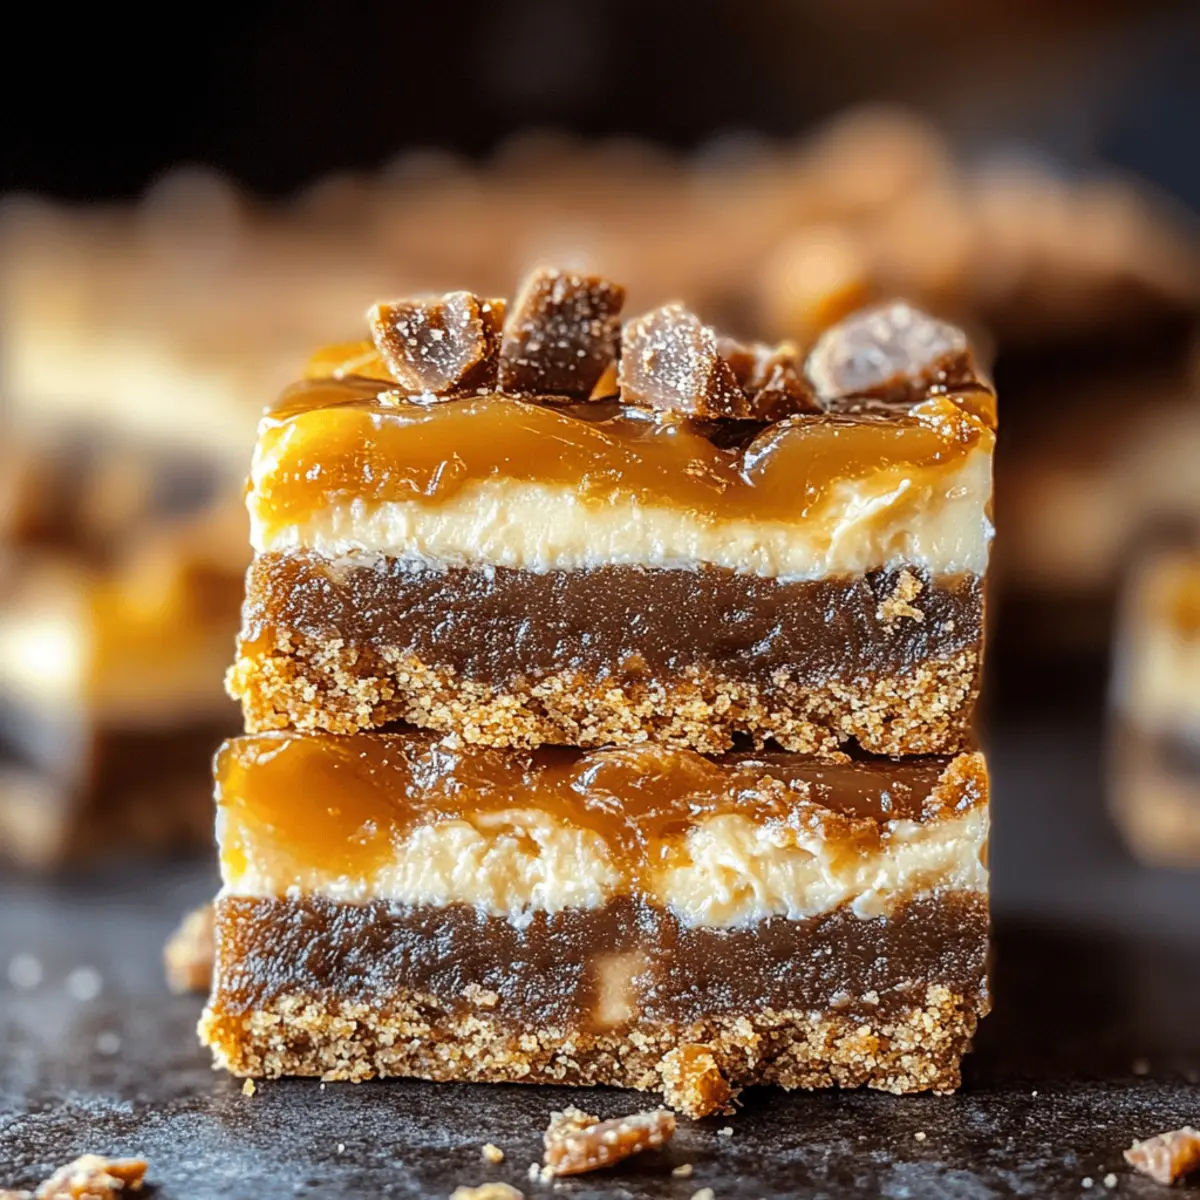
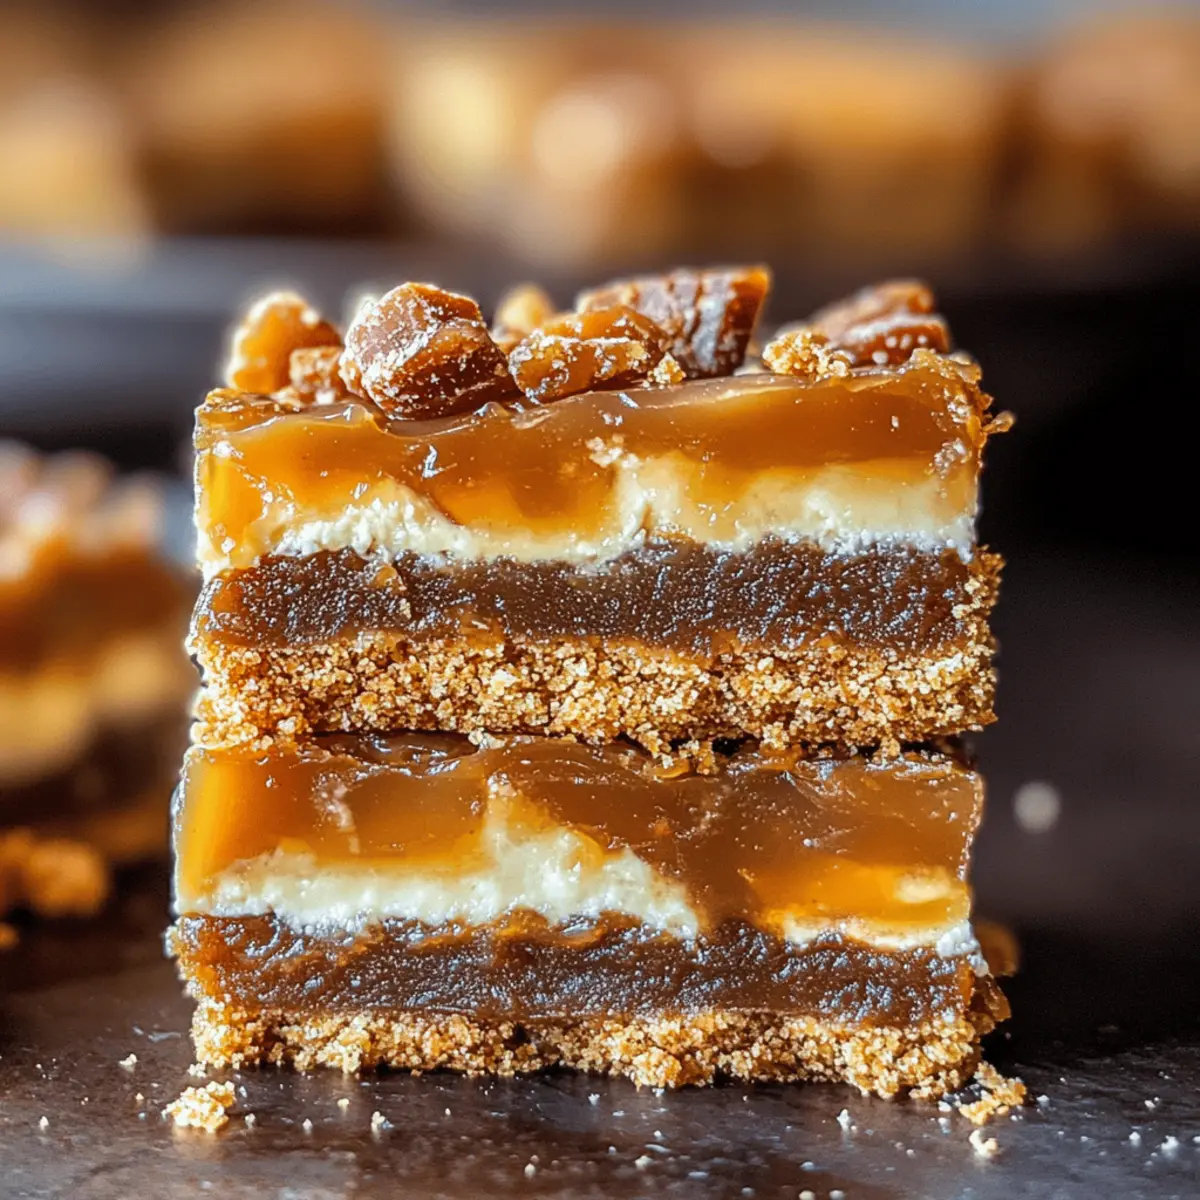
Delectable Layers: Experience a fusion of crunchy Butterfinger pieces and gooey caramel, all resting on a buttery graham cracker base. This delightful combination creates the perfect treat for candy lovers.
No-Bake Convenience: Enjoy the relief of no baking required! Simply melt, layer, and chill for a delicious dessert that’s simplified for your busy lifestyle.
Family Fun: Get the kids involved in the kitchen! This recipe is family-friendly, making it easy and enjoyable for little hands to help assemble.
Versatile Options: Don’t shy away from creativity—try variations by swapping Butterfinger for Snickers or introducing flavored pudding layers for extra creaminess.
Crowd-Pleasing Delight: Perfect for summer barbecues or cozy movie nights, these bars will surely impress friends and family with their delectable taste. Dive into your next kitchen adventure with Butterfinger Caramel Bars—an easy treat everyone will adore!
Butterfinger Caramel Bars Ingredients
Here’s everything you’ll need to create these delightful Butterfinger Caramel Bars!
For the Base
- Graham Crackers – Provides a buttery, crumbly foundation; digestive biscuits can work as a substitute.
- Mini Marshmallows – Adds lovely chewiness and lightness; feel free to cut large marshmallows into smaller pieces instead.
For the Caramel Layer
- Caramel Bits (11 oz) – The star ingredient that binds everything together; homemade caramel can be used if you prefer.
- Milk (2 Tbsp) – Ensures smooth melting of the caramel; cream is a great alternative for a richer flavor.
For the Crunch
- Butterfinger Bites (10 oz) – Offers a delicious crunch and peanut butter flavor; swap with crushed peanut butter cups if desired.
For the Drizzle
- Semi-Sweet Chocolate (2 oz) – Adds a rich finish; choose dark or milk chocolate based on your taste preference.
These easy-to-find ingredients make whipping up Butterfinger Caramel Bars a breeze—perfect for any home chef wanting to treat their family!
Step‑by‑Step Instructions for Butterfinger Caramel Bars
Step 1: Prepare the Pan
Begin by lining a 9×9 inch baking pan with aluminum foil, leaving some overhang on the sides for easy removal later. Lightly spray the foil with cooking spray to prevent sticking. This step sets the stage for your No-Bake Butterfinger Caramel Bars, ensuring they come out perfectly after chilling.
Step 2: Layer the Base
Next, take your graham crackers and break them into smaller pieces to fit the bottom of the prepared pan. Place them closely together, covering the entire base to create a sturdy crust. This buttery layer serves as a delicious foundation for your delectable dessert bars.
Step 3: Add Marshmallows
Once the base is prepared, evenly sprinkle the mini marshmallows over the graham cracker layer. Aim for a uniform distribution, ensuring that every bite of your Butterfinger Caramel Bars has that lovely chewiness. Allow the marshmallows to soften slightly when you add the warm caramel later.
Step 4: Melt Caramel
In a microwave-safe bowl, combine the caramel bits and the milk. Microwave in 30-second intervals, stirring in between, until the mixture is completely smooth and gooey. This should take about 1-2 minutes total. The melted caramel will bind together the ingredients, creating that irresistible layer in your bars.
Step 5: Pour Caramel
Carefully drizzle the melted caramel over the layer of marshmallows, making sure to cover every bit evenly. Allow the caramel to sink in slightly, softening the marshmallows as it cools. This gooey layer will create a sweet, delightful contrast to the crunch of the Butterfinger pieces to come next.
Step 6: Butterfinger Layer
Chop the Butterfinger bites into smaller pieces and scatter them generously over the melted caramel layer. Gently press the pieces down so they adhere well to the caramel, ensuring a delightful crunch in every bite of your Butterfinger Caramel Bars.
Step 7: Melt Chocolate
In a microwave-safe bowl, heat the semi-sweet chocolate in short bursts of 20-30 seconds, stirring thoroughly until fully melted and smooth. This should take about 1 minute. Drizzle the melted chocolate evenly over the Butterfinger layer, adding a rich and decadent finish to your bars.
Step 8: Chill
Transfer the pan to the refrigerator to chill for about an hour or until set. This step is crucial as it allows all the layers to firm up and meld together, making your Butterfinger Caramel Bars easy to slice and serve later.
Step 9: Slice and Serve
Once chilled and set, gently lift the bars out of the pan using the overhanging foil. Place on a cutting board and slice into squares or rectangles as desired. Serve them as a delightful treat for family and friends, showcasing your delicious No-Bake Butterfinger Caramel Bars!
Make Ahead Options
These No-Bake Butterfinger Caramel Bars are a fantastic choice for meal prep, bringing both sweetness and convenience to your busy life! You can prepare the graham cracker base and layer of mini marshmallows up to 24 hours in advance by following the first three steps of the recipe. Simply cover the pan tightly with plastic wrap in the refrigerator to keep the layers fresh. When you’re ready to serve, melt the caramel and continue with the rest of the recipe. This way, your Butterfinger Caramel Bars will still be just as delicious and indulgent, leaving you with ample time to enjoy with family or guests!
Expert Tips for Butterfinger Caramel Bars
-
Softening Tips: Allow the bars to sit at room temperature for a few minutes before cutting. This makes it easier to get clean slices through the gooey caramel layer.
-
Storage Matters: Wrap the bars tightly in plastic wrap or foil before refrigerating. This prevents them from absorbing odors in your fridge, keeping their delightful flavor intact.
-
Cut with Care: For cleaner slices, use a warm knife to cut through the bars. Dip the knife in hot water, wipe it dry, and proceed to cut the Butterfinger Caramel Bars for neat edges.
-
Layering Alternative: If you want a richer texture, substitute milk with heavy cream when melting the caramel. It enhances the creaminess of the layers and complements the crunchy pieces beautifully.
-
Experiment Freely: Don’t hesitate to swap in other favorites! Try using crushed Snickers or Milky Way bars for unique variations of your Butterfinger Caramel Bars that will delight your family.
Butterfinger Caramel Bars Variations & Substitutions
Feel free to get creative and customize these delightful bars to suit your taste! Each variation brings a unique twist that can elevate your dessert experience.
-
Candy Swap: Replace Butterfinger with Snickers or Milky Way for a different flavor profile. Enjoy how the caramel and chocolate meld together for a new layered surprise!
-
Graham Cracker Alternatives: Try using digestive biscuits for a slightly different flavor and texture. This subtle change can add a delightful twist to your dessert base.
-
Add a Crunch: Mix in some chopped nuts like pecans or walnuts for extra crunch and flavor depth. The contrast with the chewy caramel will keep everyone guessing your secret ingredient!
-
Flavored Pudding Layer: Introduce a layer of instant pudding—vanilla or chocolate, for instance—to add those silky smooth vibes. It blends harmoniously with the caramel and gives a creamier texture.
-
Make it Vegan: Switch to vegan graham crackers, use vegan marshmallows, and opt for dairy-free chocolate to create a vegan version that’s just as indulgent. Everyone deserves a sweet treat!
-
Add Fruit: Sprinkle in some finely chopped dried fruit like apricots or cranberries for a burst of tartness that beautifully contrasts the sweetness of the bars. These fruity pops bring refreshing complexity!
-
Spice It Up: Add a pinch of sea salt or a sprinkle of cinnamon over the chocolate drizzle for an unexpected yet delightful flavor hit. This little extra is like a secret handshake with your taste buds.
-
Heat it Up: For those who love a kick, mix in a touch of cayenne pepper or chili powder into the chocolate drizzle. This surprising heat elevates the indulgence factor and adds an exciting twist!
These variations are perfect for experimenting! With options like adding a layer of pudding or creating a vegan version, you can cater to every guest’s preference while enjoying the classic taste of Butterfinger Caramel Bars.
What to Serve with No-Bake Butterfinger Caramel Bars
These delightful treats shine even brighter when paired with simple sides that elevate the whole dining experience.
-
Vanilla Ice Cream: The cool creaminess of vanilla ice cream complements the rich flavors of the bars, creating a delightful contrast in temperature and texture. A scoop on the side allows for a refreshing bite alongside the sweet, gooey treat.
-
Fresh Berries: Bright, tart berries such as strawberries or raspberries provide a refreshing balance to the sweet Butterfinger Caramel Bars. Their natural acidity cuts through the richness, making each bite more satisfying.
-
Chocolate Dipped Pretzels: Combine sweet and salty with crunchy chocolate-dipped pretzels. Their contrast in flavors and textures makes for a fun pairing that will impress guests at any gathering.
-
Milkshakes: A thick chocolate or vanilla milkshake pairs perfectly with your dessert, enhancing the treat’s indulgent feel. The creamy texture and chocolaty sweetness round out the rich nature of the bars.
-
Coffee: A cup of freshly brewed coffee serves as a perfect companion, contrasting the sweetness while complementing the dessert’s rich flavors. The warmth and bitterness of the coffee add a sophisticated touch.
-
Whipped Cream: Lighten things up with a dollop of homemade whipped cream on top of the bars. This adds a luscious texture that transforms the already decadent dessert into an even more delightful treat.
-
Salted Caramel Sauce: Drizzle some extra salted caramel sauce on top or serve on the side for an indulgent touch. The added salt elevates the sweetness and enhances the overall flavor experience.
-
Nutty Granola: Offer a crunchy, nutty granola for a healthful contrast to the sweet bars. The hearty texture creates a delightful element for those who enjoy mixing textures in their dessert.
These pairing suggestions enhance not just the flavors but also the joy of enjoying those irresistible No-Bake Butterfinger Caramel Bars!
Storage Tips for Butterfinger Caramel Bars
-
Room Temperature: Store your Butterfinger Caramel Bars in a cool, dry place wrapped tightly for up to 2-3 days to maintain their freshness.
-
Refrigerator: For a firmer consistency and longer shelf life, keep the bars in an airtight container in the fridge for up to 3-4 months.
-
Freezer: Wrap the bars individually in plastic wrap or foil and freeze for up to a year. Thaw in the fridge before serving for that perfect creamy texture.
-
Reheating: If desired, let the bars sit at room temperature for a few minutes before serving to soften the caramel slightly, making them easier to slice and enjoy.
Butterfinger Caramel Bars Recipe FAQs
How do I choose the right Butterfinger for the bars?
Absolutely! Look for Butterfinger bars that are fresh and free from damage. Choose ones that are not broken or have dark spots all over, which could be signs of age. When making the bars, cut them into smaller pieces to distribute the flavor evenly throughout the dessert.
What’s the best way to store leftover Butterfinger Caramel Bars?
Very! For room temperature storage, wrap them tightly in plastic wrap and store in a cool, dry place for about 2-3 days. If you want to preserve them for longer, place the bars in an airtight container in the refrigerator, where they will last for 3-4 months. Just make sure to prevent any odor absorption by sealing them well!
Can I freeze Butterfinger Caramel Bars?
Absolutely! You can wrap the bars individually in plastic wrap or foil and freeze them for up to a year. When you’re ready to enjoy them, simply thaw them in the refrigerator overnight. For added softness, consider letting them sit at room temperature for a few minutes before serving.
What should I do if my caramel is too thick?
No worries! If your caramel appears too thick to drizzle over the marshmallows, try adding a splash more milk or cream and reheating in the microwave for a few seconds. Stir well to achieve a smoother consistency. It’s all about the gentle warmth to loosen it up just right.
Are these Butterfinger Caramel Bars suitable for pets or people with allergies?
Very! While the bars are a delightful treat for humans, be cautious with pets, especially regarding chocolate, which is toxic to both dogs and cats. If you’re accommodating allergies, consider substituting the graham crackers with gluten-free options or using dairy-free chocolate and vegan marshmallows to make a suitable variant for lactose-intolerant individuals. Always double-check ingredient labels to ensure they fit your specific dietary needs.
Can I substitute ingredients in this recipe?
Of course! If you can’t find Butterfinger, feel free to use crushed Snickers, Milky Way, or even peanut butter cups for a different flavor. For a more creamy texture, try substituting the milk with heavy cream when melting the caramel. The more the merrier when it comes to experimenting with flavors—enjoy the ride of creation!
Decadent Butterfinger Caramel Bars for Easy No-Bake Bliss
Ingredients
Equipment
Method
- Prepare the pan by lining a 9x9 inch baking pan with aluminum foil and lightly spray it with cooking spray.
- Break graham crackers into smaller pieces and cover the base of the pan for the crust.
- Evenly sprinkle mini marshmallows over the graham cracker layer.
- In a microwave-safe bowl, combine caramel bits and milk. Microwave in 30-second intervals until smooth.
- Drizzle the melted caramel over the marshmallows, ensuring even coverage.
- Chop the Butterfinger bites into smaller pieces and scatter them over the caramel.
- Melt semi-sweet chocolate in short bursts in the microwave, then drizzle over the Butterfinger layer.
- Chill the pan in the refrigerator for about an hour until set.
- Once chilled, lift the bars out using the foil, slice, and serve.
Leave a Reply