
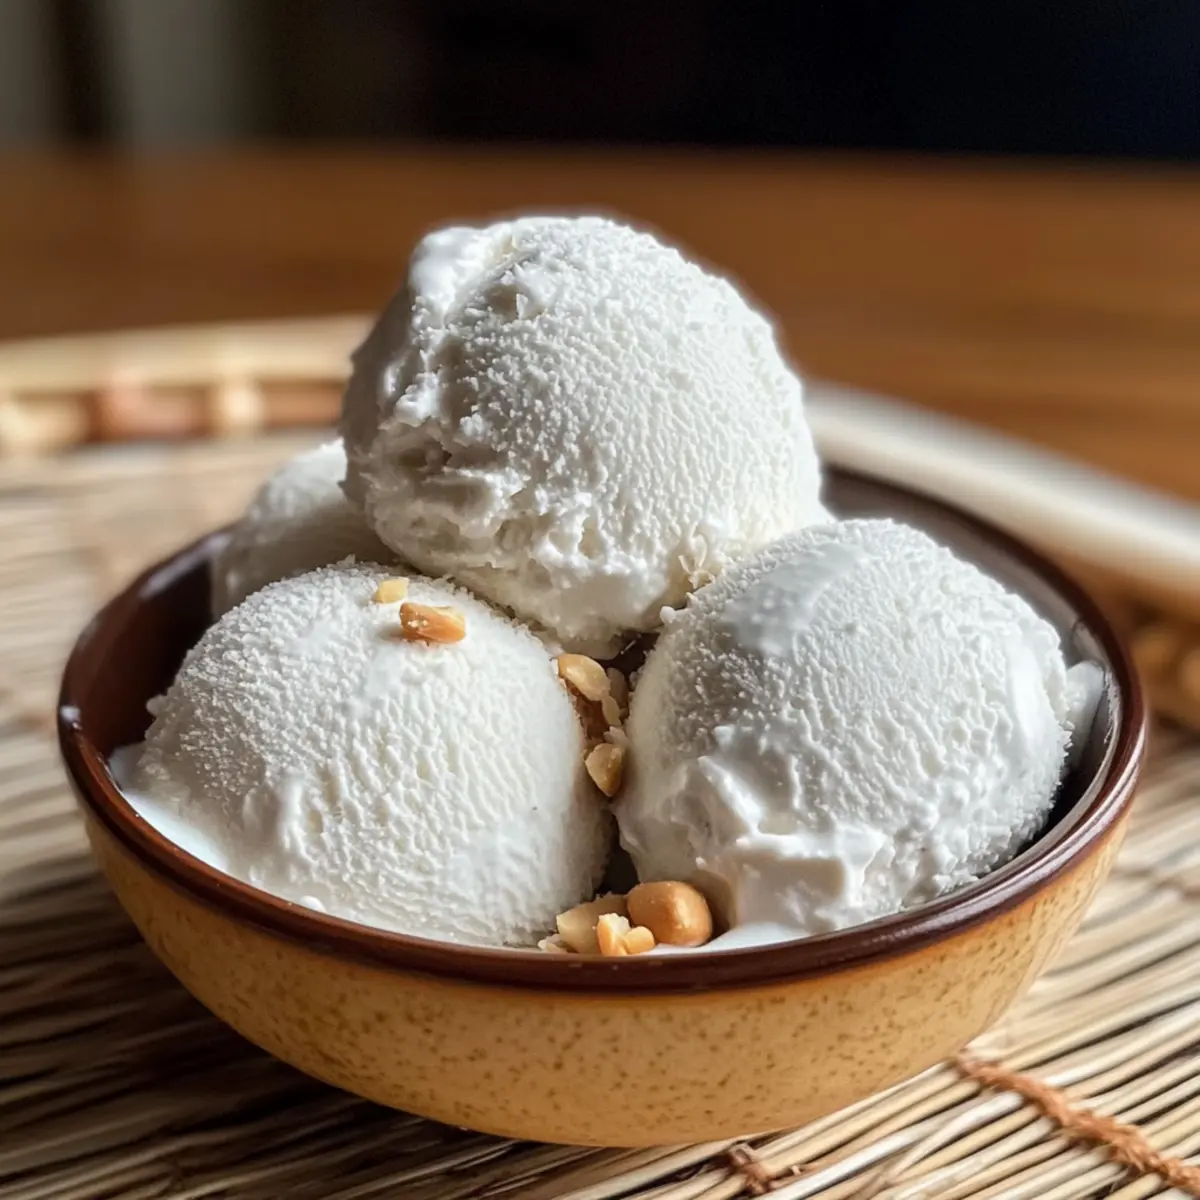
As the warm sun dips behind the horizon, there’s nothing quite like the thought of indulging in a scoop of homemade Thai Coconut Milk Ice Cream. With its luxuriously creamy texture and naturally sweet flavor, this delightful treat brings a taste of tropical paradise right into your kitchen. Best of all, it’s entirely customizable; whether you prefer it a touch sweeter or infused with your favorite fruits, you can easily make it your own. And the cherry on top? You don’t need an ice cream machine to whip this up—just a few simple ingredients and a little patience will reward you with a refreshing dessert that’s perfect for any occasion. Curious how to transform these pantry staples into a scoopable summer delight? Let’s dive in!
Why Make Thai Coconut Milk Ice Cream?
Homemade Delight: This recipe is a wonderful intro to making ice cream at home without fancy machines, bringing fun to your kitchen.
Naturally Sweetened: The rich coconut flavor combined with sweetened condensed milk gives you a deliciously sweet treat free from artificial ingredients.
Customizable & Versatile: Create your favorite version! Whether you choose to make it chocolatey, fruity, or keep it classic, this ice cream is your canvas.
Crowd-Pleasing Treat: Perfect for summer gatherings or cozy evenings, it offers a refreshing escape everyone will love.
Simple Ingredients: With straightforward pantry staples, you can whip up this tropical ice cream with ease. Combine it with toppings like roasted peanuts or fresh fruit slices for an upgraded experience that rivals store-bought options!
Thai Coconut Milk Ice Cream Ingredients
For the Ice Cream Base
• Coconut Milk – Use full-fat for a richer taste; light coconut milk works for a lighter option.
• Evaporated Milk – Adds creaminess; substitute with more coconut milk or heavy cream if needed.
• Cornstarch – A thickening agent that helps achieve a smooth texture; ensure it’s fully dissolved to avoid clumping.
• Sweetened Condensed Milk – Provides natural sweetness; adjust to your taste for the best Thai Coconut Milk Ice Cream experience.
• Salt – A pinch enhances flavors beautifully.
• Vanilla Extract – Optional but recommended for added depth and richness.
For Toppings (Optional)
• Roasted Peanuts – Adds a delightful crunch and nutty flavor to your ice cream.
• Coconut Flakes – For extra coconut flavor and texture; toast them for added flavor if you like.
• Fresh Fruit Slices – Complement the flavors and add a refreshing twist; consider mango or strawberries.
Step‑by‑Step Instructions for Thai Coconut Milk Ice Cream
Step 1: Heat the Base
In a medium saucepan, pour in 1 cup of coconut milk and ¼ cup of evaporated milk. Gently heat the mixture over low heat for about 5 minutes, stirring occasionally until it’s warm but not boiling. You’ll know it’s ready when small steam wisps begin to rise, signaling it’s time to move on to the next step.
Step 2: Thicken the Mixture
Sprinkle in ¾ tablespoon of cornstarch while continuously whisking the warm milk mixture. Keep whisking for about 3 minutes until the cornstarch is fully dissolved and the mixture slightly thickens. Look for a velvety texture; this will ensure your Thai Coconut Milk Ice Cream is creamy and smooth once frozen.
Step 3: Sweeten and Flavor
Remove the saucepan from heat, and stir in 3 tablespoons of sweetened condensed milk, a pinch of salt, and ¼ teaspoon of vanilla extract. Mix everything well until you achieve a smooth and creamy consistency, which should take about 1-2 minutes. Taste carefully and adjust sweetness if you crave a bit more richness for your ice cream base.
Step 4: Cool and Store
Allow the mixture to cool to room temperature for approximately 15-20 minutes. Once cooled, transfer the creamy base into an airtight container and freeze it. For the first 2-3 hours, stir the mixture every 30-45 minutes with a fork to break up ice crystals, ensuring a luxurious, creamy texture in your Thai Coconut Milk Ice Cream.
Step 5: Final Freeze
After stirring regularly, let the mixture freeze until fully firm, which will take about 6 hours or overnight for best results. When you’re ready to serve, take the container out of the freezer and let it sit at room temperature for about 5 minutes. This simple step will soften the ice cream just enough for easy scooping, ready to bring a tropical treat to life.
Thai Coconut Milk Ice Cream Variations
Enjoy the freedom to tailor this dessert to your taste buds and creativity!
-
Chocolate Twist: Add cocoa powder while heating the mixture for a rich chocolate flavor, or fold in chocolate chips post-cooking for delicious chunks.
-
Fruity Delight: Incorporate fresh fruit purees like mango or raspberry to create a refreshing, tropical twist. Blend in the fruit after the base mixture cools for a burst of flavor.
-
Nutty Flavor: Stir in a spoonful of almond or peanut butter for a nutty depth that pairs beautifully with the coconut. It adds a creamy richness that can elevate your ice cream experience.
-
Matcha Infusion: Add 1-2 teaspoons of matcha powder for an earthy, green tea flavor that’s not only tasty but visually stunning! Its unique taste brings a completely new dimension to this classic dessert.
-
Dairy-Free Alternative: Substitute sweetened condensed milk with coconut cream and agave syrup for a vegan version that’s just as creamy and satisfying. Enjoy a smooth treat while keeping the flavors authentically rich!
-
Spiced Up: Infuse your ice cream with spices like cinnamon or cardamom for a warm, aromatic flavor that nods to exotic desserts. Add a pinch during mixing to create a comforting finish.
-
Tropical Paradise: Mix in crushed pineapple or shredded coconut for a delightful tropical vibe, reminiscent of a beach vacation. The added texture and taste make each scoop feel like a mini getaway!
-
Brownie Bits: Fold in brownie pieces after the ice cream has started to freeze for a decadent treat that brings dessert-on-dessert joy! Picture that gooey chocolatey swirl amidst the creamy coconut backdrop—pure indulgence!
When you’re experimenting with these ideas, don’t forget to enhance the experience with toppings like roasted peanuts or a drizzle of sweetened condensed milk, and pair it with delightful treats like Thai Peanut Chicken for a superb meal ender!
Expert Tips for Thai Coconut Milk Ice Cream
• Whisk Consistently: Stirring while heating helps prevent the cornstarch from clumping, which can ruin the lovely creamy texture.
• Cool Before Freezing: Always let the mixture cool to room temperature before freezing; hot mixtures can form unwanted ice crystals.
• Adjust Sweetness Slowly: Taste as you go! Add sweetened condensed milk gradually to find your perfect balance in flavor for the Thai Coconut Milk Ice Cream.
• Don’t Rush the Freezing: Be patient during the initial freezing stage. Stir every 30-45 minutes to ensure smooth, creamy results without icy chunks.
• Let It Rest: Allow the ice cream to sit at room temperature for 5 minutes before serving. This makes scooping much easier and more enjoyable!
How to Store and Freeze Thai Coconut Milk Ice Cream
Fridge: Keep leftover Thai Coconut Milk Ice Cream in the fridge for up to 3 days in an airtight container if you plan to finish it soon; however, for best texture, store it in the freezer.
Freezer: This ice cream can be frozen for up to 1 month. Be sure to use an airtight container to prevent freezer burn and maintain its creamy texture.
Thawing: Before serving, let the ice cream sit at room temperature for about 5 minutes to soften slightly for easier scooping.
Reheating: There’s no need for reheating with ice cream, but stirring the mixture before you freeze it helps achieve that perfect creamy consistency!
What to Serve with Creamy Thai Coconut Milk Ice Cream?
Indulging in a scoop of this delightful treat opens the door to endless pairing possibilities, creating a complete and delicious experience.
-
Roasted Peanuts: Adds a crunchy texture that contrasts beautifully with the creamy ice cream, making your dessert even more satisfying.
-
Coconut Flakes: Toast them lightly for an extra nutty flavor that enhances the coconut essence, creating a tropical delight.
-
Fresh Mango Slices: Their sweetness and juicy texture complement the coconut flavor, bringing an invigorating freshness to every bite.
-
Chocolate Sauce: Drizzle over your ice cream for a decadent pairing; the rich chocolate pairs perfectly with the creamy coconut base.
-
Pineapple Salsa: This tangy and sweet topping offers a refreshing contrast, providing a burst of tropical flavor that brightens each scoop.
-
Mint Leaves: Fresh mint adds a refreshing touch that can lighten the dessert experience, making it feel even more indulgent.
-
Lime Zest: A sprinkle of lime zest brightens the flavor profile, adding a zesty kick that enhances the sweetness of the ice cream.
-
Herbal Tea: Pair with a cup of light herbal tea, like chamomile or mint, for a soothing finish to your tropical dessert experience.
Make Ahead Options
These Thai Coconut Milk Ice Cream delights are perfect for meal prep enthusiasts! You can prepare the creamy base of the ice cream up to 24 hours in advance by following the initial steps—heating the coconut milk mixture, thickening with cornstarch, and mixing in sweetened condensed milk and flavorings. Simply cool the mixture and store it in an airtight container in the refrigerator. To maintain the quality, make sure to whisk it well before freezing to incorporate air and achieve a smooth texture. When ready to serve, transfer the mixture to the freezer for about 6 hours or overnight to firm up, and allow it to sit at room temperature for 5 minutes before scooping. This way, you’ll have a delightful treat ready with minimal effort!
Thai Coconut Milk Ice Cream Recipe FAQs
What type of coconut milk should I use?
For the richest flavor and creamiest texture, I recommend using full-fat coconut milk. If you’re looking for a lighter option, light coconut milk works well too. Just keep in mind that using light coconut milk may result in a less creamy ice cream.
How long can I store my Thai Coconut Milk Ice Cream in the freezer?
You can store your Thai Coconut Milk Ice Cream in an airtight container in the freezer for up to 1 month. To maintain its creamy texture and prevent freezer burn, make sure to seal the container tightly after each use.
Can I freeze leftover ice cream? How?
Absolutely! To freeze your Thai Coconut Milk Ice Cream, ensure it’s in an airtight container to keep out humidity. Additionally, before serving, let it sit at room temperature for about 5 minutes to soften slightly for easy scooping. If you want the best texture, stir it every 30-45 minutes during the first 2-3 hours of freezing.
What common issues should I watch for when making this ice cream?
If you notice a grainy texture, it may be due to not fully dissolving the cornstarch. Make sure to whisk it thoroughly during heating. Additionally, irregular ice crystals can form if the mixture isn’t stirred regularly in the early freezing phase. Aim for smooth, creamy results by being diligent during this part!
Can pets eat Thai Coconut Milk Ice Cream?
While certain ingredients like coconut milk are non-toxic to pets, it’s important to remember that sweeteners like sweetened condensed milk are not suitable for animals. As a friendly recommendation, please consider making a pet-safe ice cream alternative for your furry friends using safe ingredients like plain coconut milk and pureed fruits.
How can I customize my Thai Coconut Milk Ice Cream?
The sky is the limit! For chocolate lovers, simply whisk in cocoa powder before heating. Want a fruity twist? Fold in pureed mango, raspberry, or your fruit of choice. Consider incorporating matcha powder for an earthy flavor, or sprinkles of toasted coconut flakes for that tropical punch!
Creamy Thai Coconut Milk Ice Cream You Can Make at Home
Ingredients
Equipment
Method
- In a medium saucepan, pour in 1 cup of coconut milk and ¼ cup of evaporated milk. Gently heat the mixture over low heat for about 5 minutes, stirring occasionally until warm.
- Sprinkle in ¾ tablespoon of cornstarch while continuously whisking. Keep whisking for about 3 minutes until fully dissolved and the mixture slightly thickens.
- Remove from heat, stir in 3 tablespoons of sweetened condensed milk, a pinch of salt, and ¼ teaspoon of vanilla extract. Mix well until smooth and creamy.
- Allow to cool to room temperature for approximately 15-20 minutes. Transfer to an airtight container and freeze. Stir every 30-45 minutes for the first 2-3 hours.
- After regular stirring, let freeze until fully firm, about 6 hours or overnight. Before serving, let sit at room temperature for about 5 minutes.
Leave a Reply