
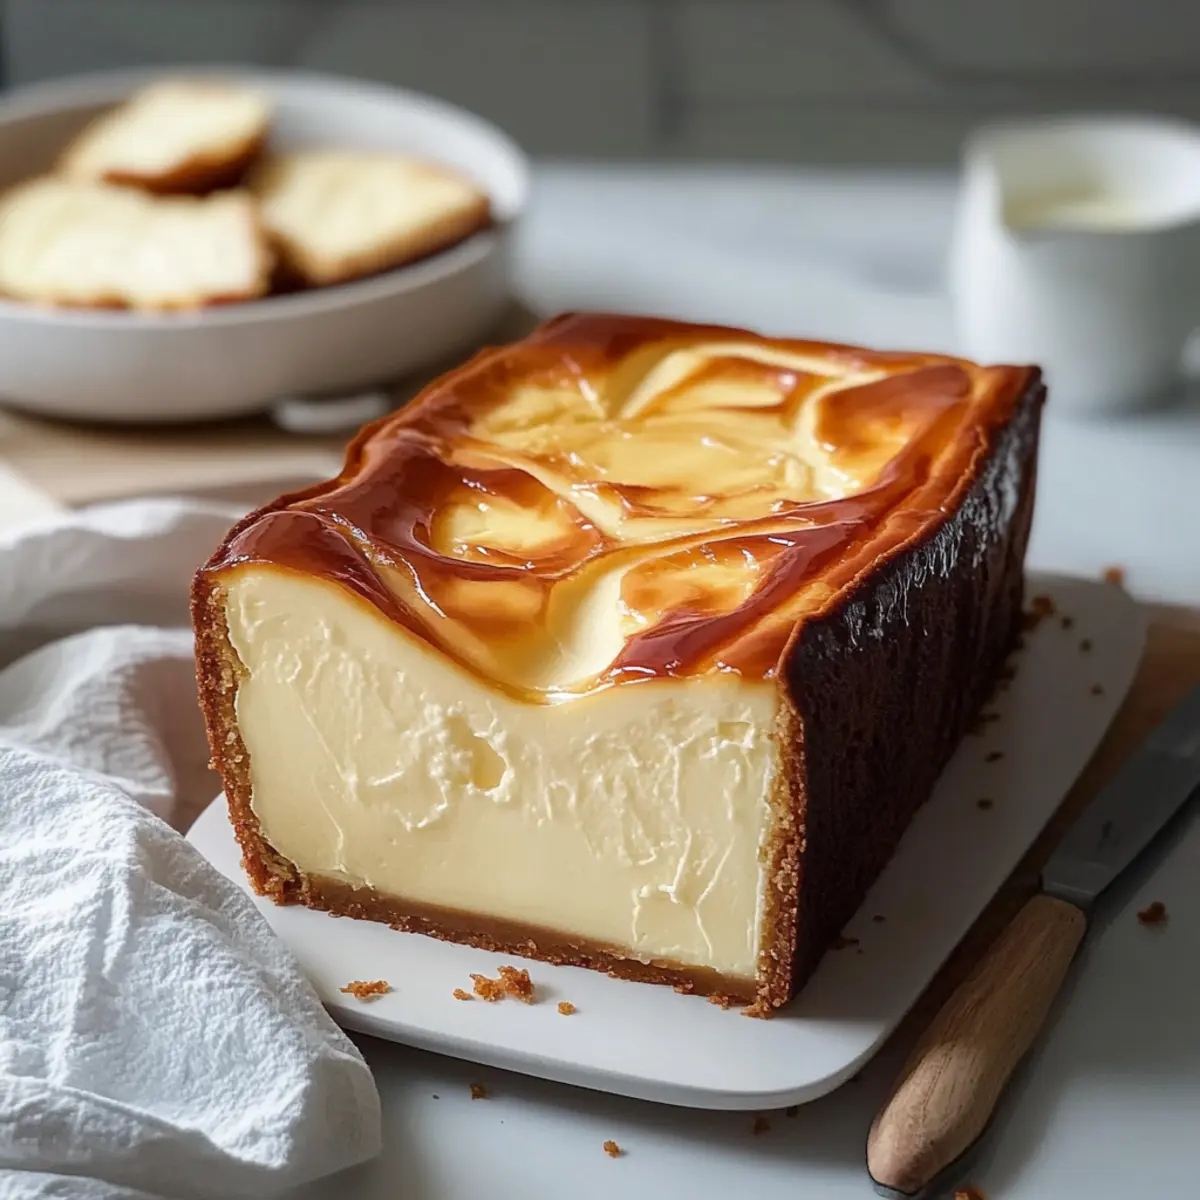
The aroma wafting from the oven can ignite a sense of nostalgia, bringing back memories of family gatherings and shared desserts. That’s exactly what my Creamy Burnt Basque Cheesecake in a Loaf Pan delivers—a simple, crustless delight that is both elegant and satisfying. This recipe offers an effortlessly impressive dessert without the hassle, perfect for those of us who crave a homemade touch in our busy lives. Its rich, custardy center pairs beautifully with the iconic, caramelized top, making it a true showstopper at any gathering. Plus, it’s vegetarian-friendly and coming together in just one pan leaves you with minimal cleanup. Are you ready to transform your kitchen into a little slice of Basque heaven? Let’s dive into this delightful treat!
Why is Burnt Basque Cheesecake So Appealing?
Irresistible Creaminess: The rustic, crustless design highlights the cheesecake’s luxurious texture, making each bite feel like a warm hug.
Effortless Preparation: You’ll love how quickly this recipe comes together—all in one pan! Minimal effort, maximum impact.
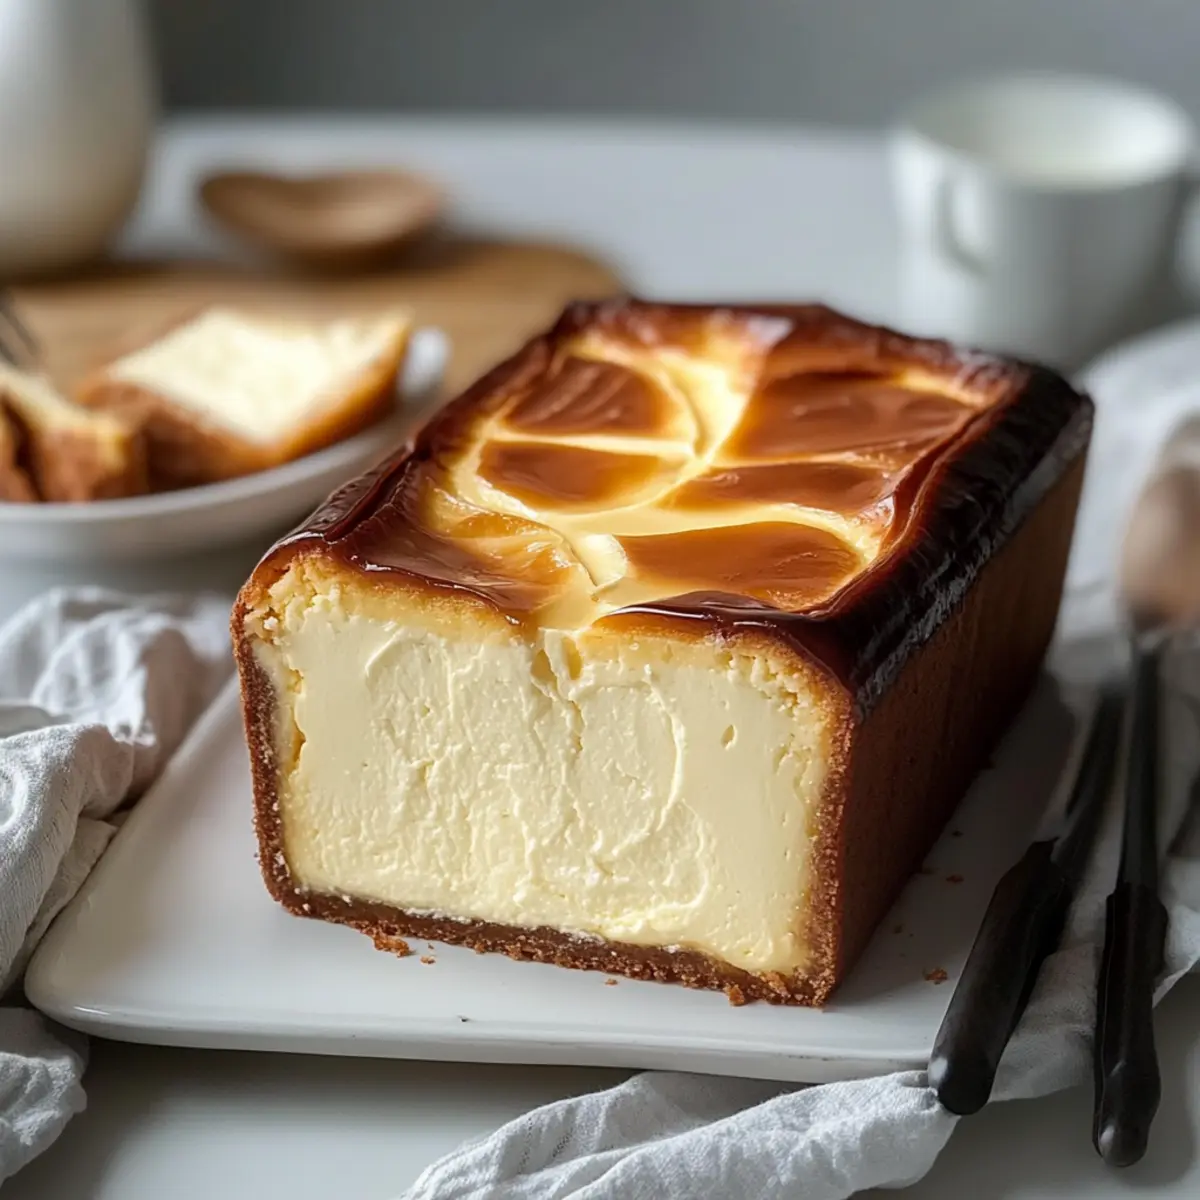
Unique Flavor Profile: With a burnt caramel top and a smooth custard-like center, this cheesecake brings a delightful contrast that will wow your guests.
Versatile Serving Options: Enjoy it chilled or at room temperature for a perfect finish. Feel free to add a hint of citrus or a swirl of chocolate to customize it!
Perfect for Any Occasion: Whether it’s a holiday gathering or a casual dinner, this cheesecake is bound to impress, just like my Fried Strawberry Cheesecake or Oreo Cheesecake Cookie!
This Burnt Basque Cheesecake ticks all the boxes: stunning, delicious, and easy to make!
Burnt Basque Cheesecake Ingredients
For the Cheesecake Batter
- Cream Cheese – Use full-fat for a rich, creamy texture that elevates your burnt Basque cheesecake.
- Granulated Sugar – This not only sweetens but also aids in achieving that beautiful caramelized top.
- Eggs – Large eggs provide the necessary structure; be sure to incorporate them one at a time for best results.
- Heavy Cream – This ingredient makes the cheesecake luxuriously smooth; it’s a must for that indulgent feel.
- Vanilla Extract (optional) – For a subtle flavor boost, or try almond extract for a unique twist!
- Salt – A pinch balances out the sweetness and enhances the overall flavor profile.
- All-Purpose Flour – This helps bind the batter; if you’re going gluten-free, feel free to omit it!
With these ingredients, you’re just moments away from creating a stunning burnt Basque cheesecake that will leave your guests in awe!
Step‑by‑Step Instructions for Creamy Burnt Basque Cheesecake in a Loaf Pan
Step 1: Preheat the Oven
Begin by preheating your oven to 400°F (200°C). This temperature is crucial for achieving the signature caramelized top of the Burnt Basque Cheesecake. While the oven heats up, gather all your ingredients and equipment, including a 9×5 inch loaf pan lined with parchment paper, allowing some overhang for easy lifting later.
Step 2: Prepare the Loaf Pan
Next, line the prepared loaf pan with parchment paper. Make sure to leave enough overhang on the sides, as this will help you lift the cheesecake out effortlessly after baking. The parchment will also prevent sticking, ensuring a beautiful, clean release for your creamy creation.
Step 3: Cream the Ingredients
In a large mixing bowl, combine softened cream cheese and granulated sugar. Using an electric mixer set on low to medium speed, beat the mixture for about 5 minutes until it becomes smooth and creamy. You want to ensure there are no lumps, which is key for the delightful texture of your Burnt Basque Cheesecake.
Step 4: Incorporate the Eggs
Add large eggs to the mixture one at a time. Beat each egg fully into the batter before adding the next, ensuring a rich, unified texture. This step helps maintain the cheesecake’s custard-like consistency, allowing the flavors to meld beautifully as they bake.
Step 5: Add the Cream and Flavorings
Pour in the heavy cream along with optional vanilla extract and a pinch of salt. Mix until just combined, giving your cheesecake a smooth and creamy base. This combination enhances both flavor and texture, making your Burnt Basque Cheesecake indulgently delicious and satisfying.
Step 6: Fold in the Flour
Sift all-purpose flour into your cheesecake batter and gently fold it in using a spatula. Be careful not to overmix at this stage; you want to maintain the lightness of the batter while ensuring the flour is evenly distributed. If you’re going gluten-free, feel free to omit this step altogether.
Step 7: Pour the Batter
Pour the creamy cheesecake batter into the lined loaf pan, smoothing the top with a spatula. It’s important to place the pan on a baking sheet before baking; this will catch any potential overflow and make cleanup a breeze. The anticipation of the Burnt Basque Cheesecake baking is already exciting!
Step 8: Bake the Cheesecake
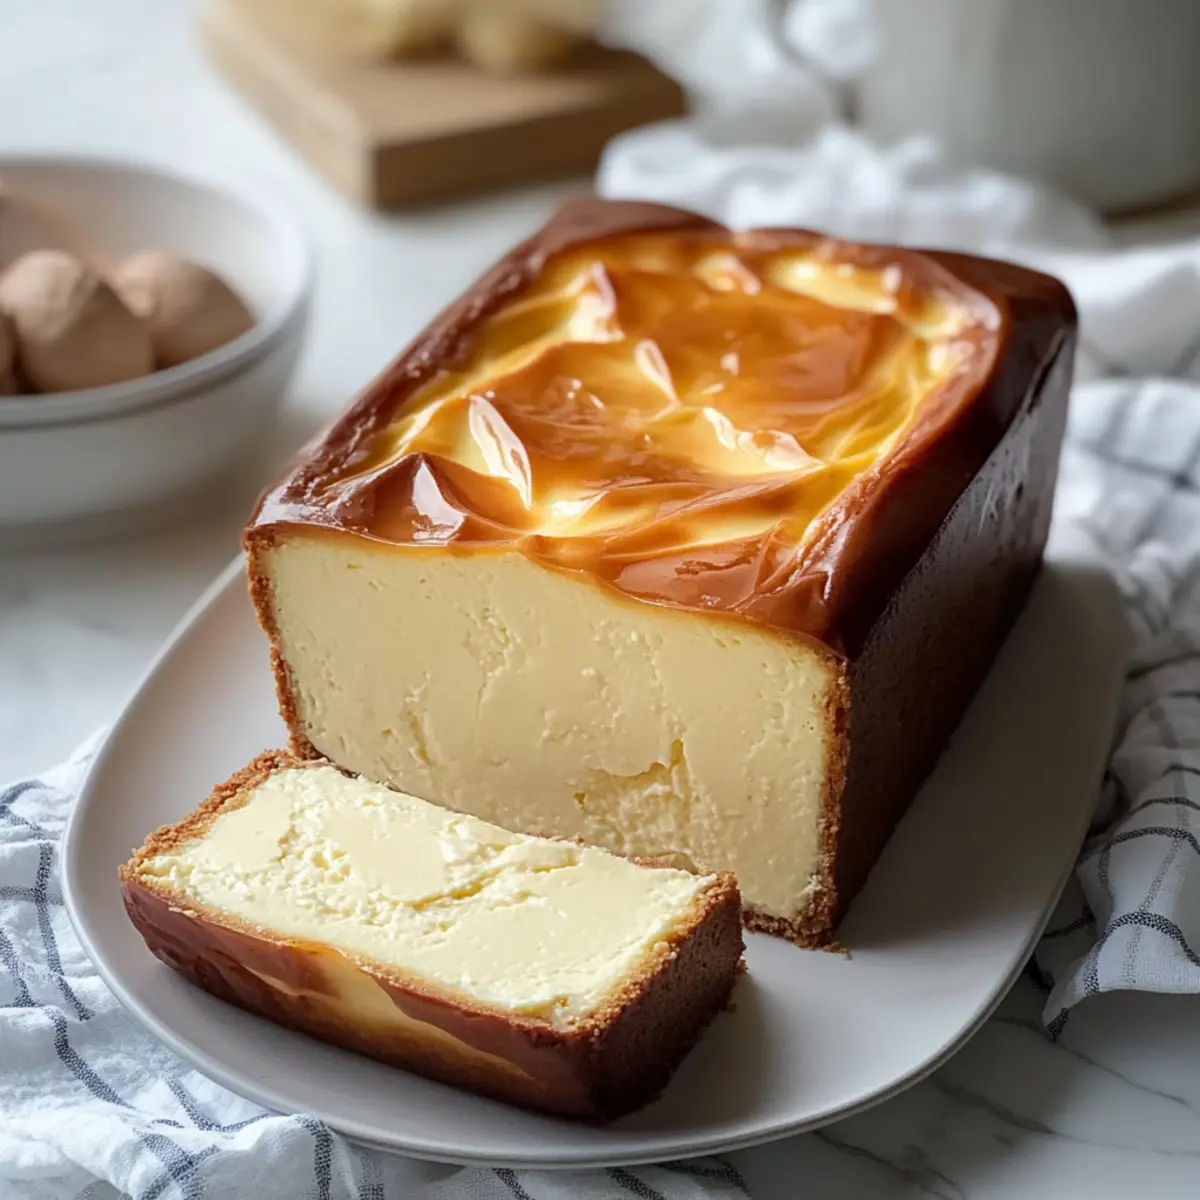
Bake your cheesecake in the preheated oven for 40-45 minutes. You’ll know it’s ready when the edges are beautifully browned, and the center remains jiggly and a lighter color. This contrast is what makes the burnt top and creamy middle so enchanting.
Step 9: Cool and Chill
After baking, allow the cheesecake to cool completely on the counter for at least an hour. Once cooled, transfer it to the refrigerator and chill for 2-4 hours, or even overnight if time allows. This chilling period is essential for the flavors to develop fully and to achieve the perfect slicing texture.
Step 10: Serve Your Cheesecake
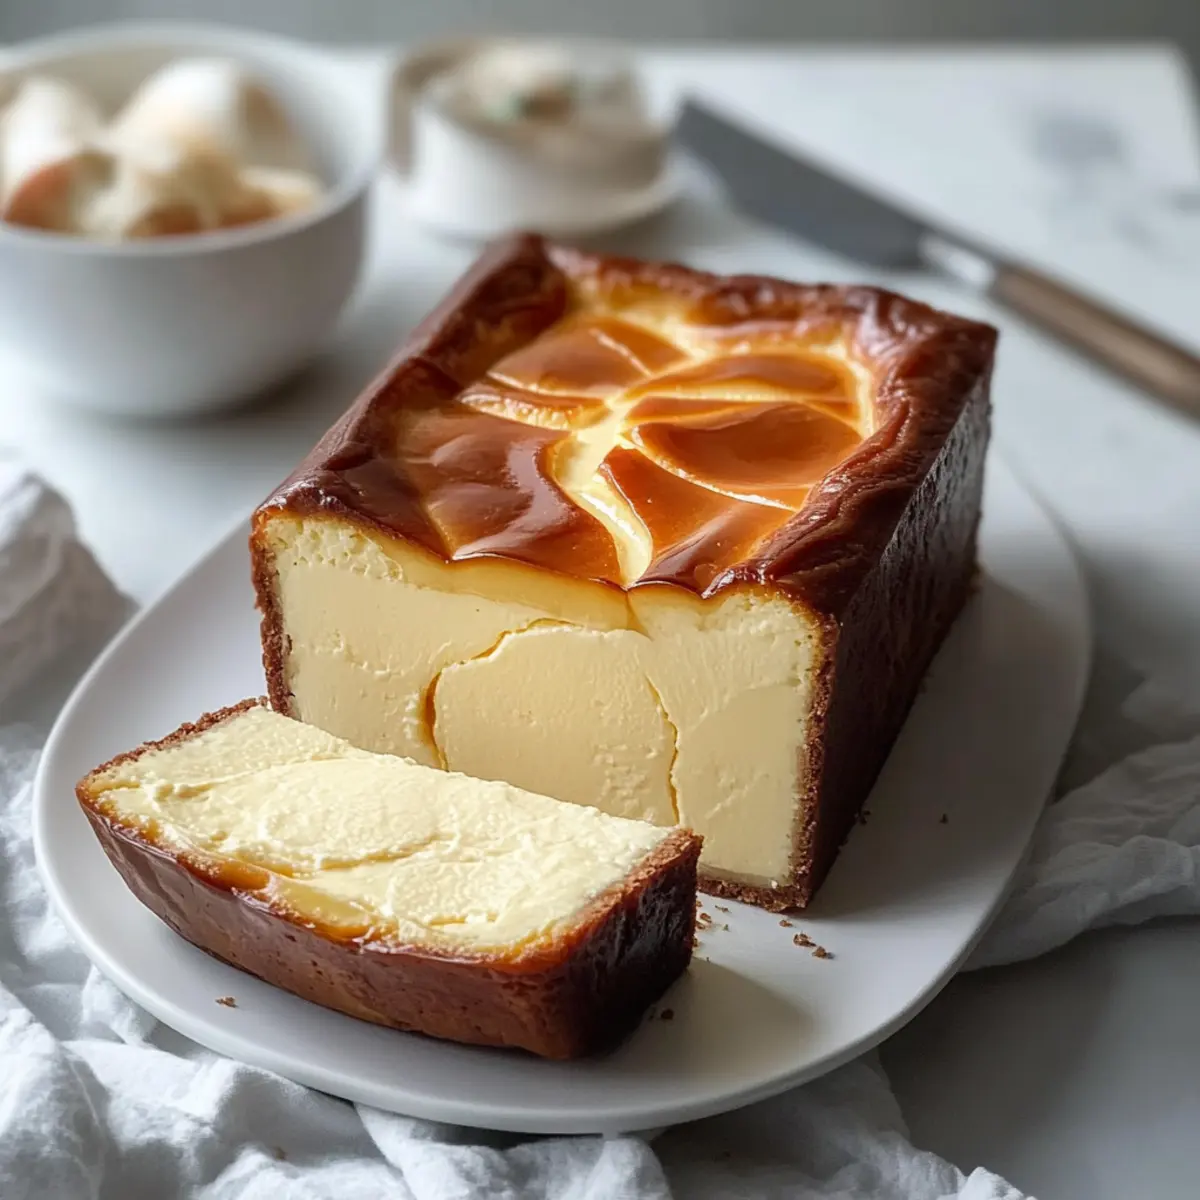
When ready to serve your creamy Burnt Basque Cheesecake, lift it out of the pan using the overhang of parchment paper. Slice into generous pieces, and admire the beautiful caramelized top paired with the luscious interior. Serve chilled or at room temperature for an extraordinary dessert experience!
Expert Tips for Perfect Burnt Basque Cheesecake
-
Use Softened Cream Cheese: Make sure your cream cheese is at room temperature; this prevents lumps and ensures a smooth, creamy batter.
-
Don’t Skip Chilling: Chilling your burnt Basque cheesecake is essential! It not only improves flavor but also firms up the texture, making slicing easier.
-
Monitor Baking Time: Keep an eye on the baking process as ovens vary. Check for the brown edges and a slightly jiggly center to avoid overbaking.
-
Parchment Paper Overhang: Allowing parchment overhang when lining the pan helps in easy lifting; avoid sticking and makes for a beautiful presentation.
-
Embrace Rustic Cracks: Small cracks on top are perfectly normal and add character to your cheesecake. They’re part of its charm!
What to Serve with Creamy Burnt Basque Cheesecake in a Loaf Pan
Indulging in this luxurious dessert is just the start—let’s enhance your dining experience with delightful complements that elevate every bite.
-
Fresh Berries: The bright acidity of strawberries, raspberries, or blueberries adds a refreshing balance to the cheesecake’s richness, creating a delightful contrast on your palate. Serve a medley atop the cheesecake for a colorful presentation.
-
Whipped Cream: A dollop of lightly sweetened whipped cream adds a cloud-like texture that harmonizes beautifully with the dense cheesecake. The added airiness enriches the experience, inviting each guest to savor their slice.
-
Chocolate Ganache: Drizzling a bittersweet chocolate ganache over the cheesecake introduces a layer of depth, enhancing the already decadent flavor profile. The balance of sweet and rich will make dessert truly unforgettable.
-
Caramel Sauce: Pouring some warm caramel sauce over individual slices provides an extra touch of indulgence that beautifully mirrors the burnt top of the cheesecake. Each bite becomes a captivating journey of flavors; it’s pure bliss!
-
Coffee or Espresso: A cup of freshly brewed coffee or a shot of espresso beautifully cuts through the cheesecake’s creaminess, creating a perfect ending to your meal. The rich notes awaken the flavors, making it a delightful pairing.
-
Vanilla Ice Cream: The cool, creamy texture of vanilla ice cream provides a classic complement to the rich cheesecake, enhancing every bite with delightful creaminess. It’s the sort of pairing that warms the heart and satisfies the sweet tooth!
How to Store and Freeze Burnt Basque Cheesecake
Fridge: Store your Burnt Basque Cheesecake in an airtight container for up to 4 days. This keeps it fresh while the flavors continue to develop.
Freezer: If you want to enjoy it later, wrap individual slices tightly in plastic wrap and place them in a freezer-safe container. It can be frozen for up to 2 months.
Thawing: To enjoy the cheesecake, thaw overnight in the fridge. This gentle defrosting helps maintain its creamy texture for delightful servings!
Reheating: Serve chilled or allow it to sit at room temperature for about 30 minutes before serving for a softer consistency.
Make Ahead Options
These Creamy Burnt Basque Cheesecakes are perfect for meal prep enthusiasts! You can prepare the entire cheesecake up to 24 hours in advance, allowing it to chill overnight for optimal flavor development. To do this, simply follow all the steps until it’s baked, then let it cool completely on the counter. After cooling, transfer the cheesecake to the refrigerator, ensuring it is covered with plastic wrap (to prevent drying out) until you’re ready to slice and serve. When the time comes, just lift it out of the pan using the parchment paper, cut into pieces, and enjoy a rich dessert that’s just as delicious as if it were freshly made!
Variations & Substitutions for Burnt Basque Cheesecake
Feel free to get creative and put your unique spin on this delectable cheesecake recipe! Each variation can elevate its charm in deliciously different ways.
-
Dairy-Free: Substitute cream cheese with a plant-based alternative, using coconut cream for a richer texture.
Get ready for a creamy, dream-like experience that still delivers on flavor. -
Gluten-Free: Omit the all-purpose flour entirely or use a gluten-free flour blend to cater to gluten sensitivities.
This small swap won’t compromise on taste, keeping everything smooth and indulgent! -
Add Citrus Zest: Incorporate a teaspoon of lemon or orange zest for a refreshing, bright twist.
The citrus not only adds flavor but brings a burst of cheer to every bite! -
Swirl of Chocolate: Drizzle melted dark chocolate into the batter before baking for an extra layer of richness.
This decadent touch transforms your cheesecake into a chocolate lover’s paradise! -
Mini Cheesecakes: Use small loaf pans or ramekins for individual portions to reduce baking time.
These charming mini versions are perfect for gatherings, offering a delightful personal treat! -
Nutty Crust Alternative: Create a crust using ground almonds or pecans mixed with a bit of melted butter.
With this nutty twist, you will enjoy a delightful crunch alongside the creamy filling. -
Spicy Kick: A pinch of cinnamon or nutmeg can warm up the flavors beautifully.
This twist adds a cozy depth, making this cheesecake perfect for colder months!
If you’re seeking more creative dessert ideas, check out my Oreo Cheesecake Cookie or delicious Fried Strawberry Cheesecake for more inspiration!
Burnt Basque Cheesecake Recipe FAQs
How do I select the best cream cheese for my cheesecake?
Absolutely! For the creamiest and richest texture, always use full-fat cream cheese. Look for brands that come in blocks instead of tubs, as they tend to have less moisture, ensuring a smoother batter. Check the expiration date, and aim for cream cheese that feels soft and fresh to the touch.
What’s the best way to store leftovers?
Very! After slicing, place any leftover Burnt Basque Cheesecake in an airtight container. It will stay fresh in the fridge for up to 4 days. Make sure it’s well-covered to preserve its flavor and prevent it from drying out. If using a plastic wrap, press it directly onto the cheesecake surface for added protection.
Can I freeze my Burnt Basque Cheesecake?
Certainly! To freeze, wrap individual slices tightly in plastic wrap, ensuring no air is trapped inside. Place them in a freezer-safe container or bag, and you can enjoy your cheesecake up to 2 months later. For the best texture, I recommend thawing overnight in the fridge before serving.
I noticed some cracks on my cheesecake; are they normal?
Absolutely! The beauty of Burnt Basque Cheesecake lies in its rustic appeal. Small cracks are perfectly normal and add to the character. If you do want to minimize cracking, ensure you don’t overbeat the mixture once the eggs are added, as this incorporates air that can lead to cracks during baking.
Is this cheesecake safe for those with gluten allergies?
Very! You can easily make a gluten-free Burnt Basque Cheesecake by simply omitting the all-purpose flour required in the recipe. This will not affect the overall flavor or texture significantly, allowing everyone to enjoy this decadent dessert without worry.
Can I add flavors or variations to this cheesecake?
Definitely! Get creative by adding a hint of citrus zest from lemon or orange for a refreshing twist. You might also swirl in some melted dark chocolate or a pinch of cinnamon for warmth. The more, the merrier when it comes to customizing your cheesecake!
Decadent Burnt Basque Cheesecake to Impress Your Guests
Ingredients
Equipment
Method
- Preheat your oven to 400°F (200°C). Gather ingredients and prepare your loaf pan.
- Line the loaf pan with parchment paper, leaving overhang for easy lifting.
- In a large mixing bowl, combine softened cream cheese and granulated sugar. Beat until smooth.
- Add eggs one at a time, fully incorporating each before adding the next.
- Pour in heavy cream, optional vanilla extract, and salt. Mix until just combined.
- Sift all-purpose flour into the batter and gently fold it in.
- Pour the batter into the prepared loaf pan. Smooth the top with a spatula.
- Bake in the preheated oven for 40-45 minutes until edges are browned and center is jiggly.
- Allow cheesecake to cool completely on the counter for at least an hour.
- Transfer to the refrigerator to chill for 2-4 hours or overnight.
- Lift cheesecake out using the parchment overhang, slice, and serve.
Leave a Reply