
As I rummaged through my pantry one busy afternoon, I stumbled upon the last remnants of my favorite cereals, and a lightbulb moment hit me—what if I transformed them into homemade cereal bars? These 3-ingredient Cereal Bars are an effortless way to whip up a nutritious snack without sacrificing flavor. Not only do they come together quickly, but they are also completely customizable, letting you satisfy any cravings, whether sweet, fruity, or nutty. Packed with wholesome ingredients and easy to make ahead, these bars are perfect for busy mornings or a mid-afternoon pick-me-up. Plus, they can easily cater to various dietary preferences, including gluten-free options. Ready to dive into a healthier snacking experience? Let’s get started on making these delicious cereal bars that will have everyone asking for seconds!
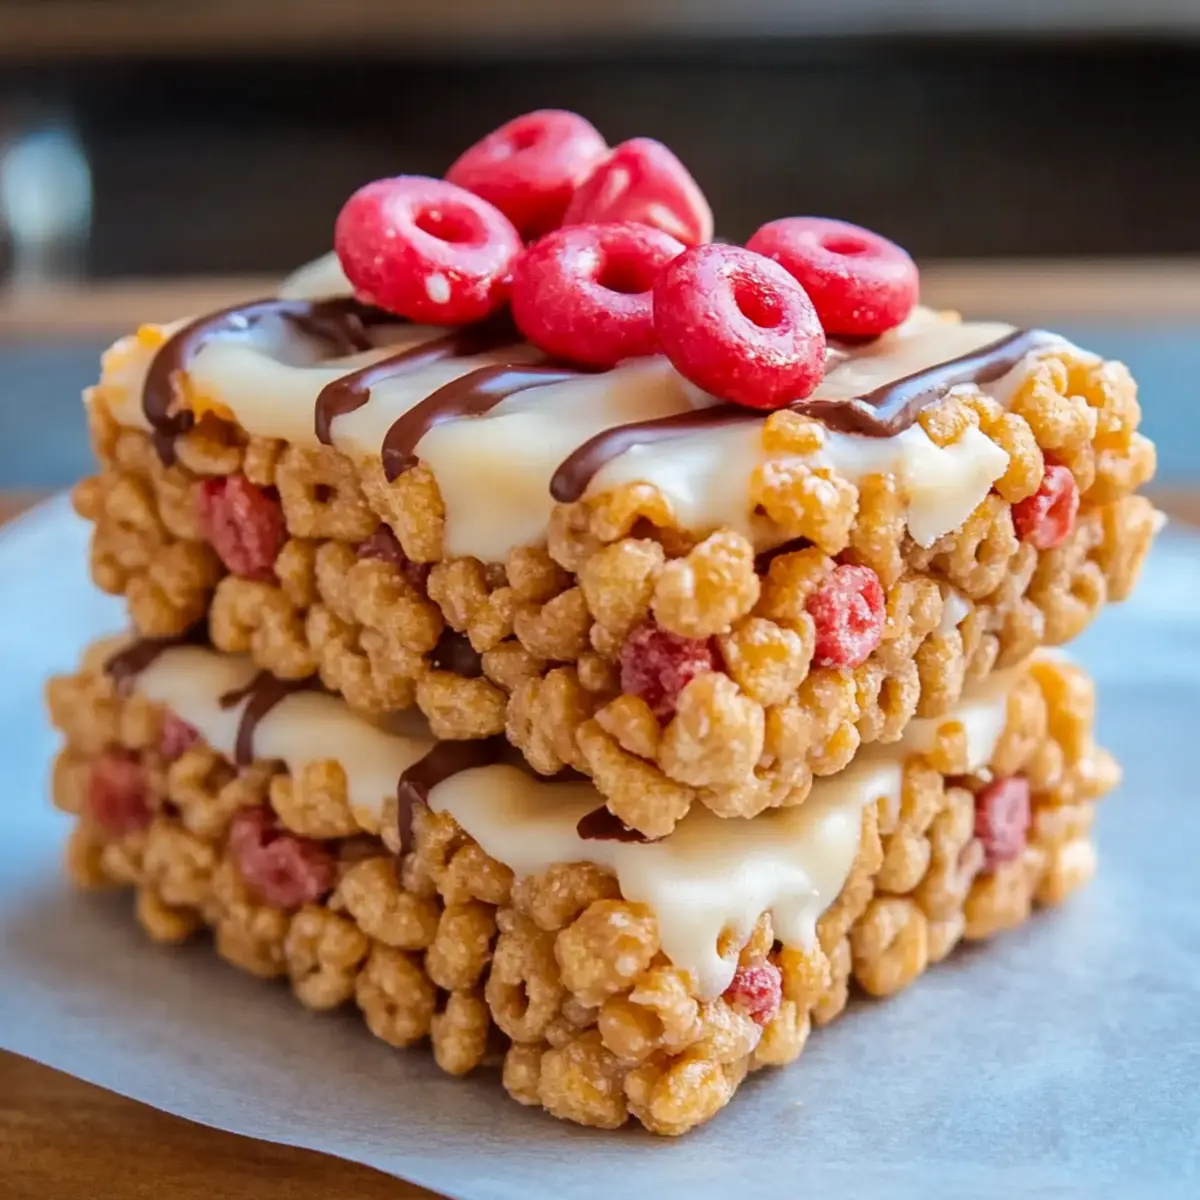
Why are these Cereal Bars irresistible?
Convenience: Whipping up these 3-ingredient cereal bars takes mere minutes, making them the ultimate quick snack solution for busy days.
Customizable Flavors: From chocolatey treats to fruity delights, you can easily tailor these bars to match your mood and taste preferences.
Healthy Snacking: Made from wholesome ingredients, these cereal bars provide a guilt-free option that’s both nutritious and satisfying.
Perfect for Everyone: Whether you’re gluten-free or on a vegan diet, this recipe adapts effortlessly, ensuring no one misses out on delicious snacking.
Crowd-Pleaser: These bars appeal to both kids and adults, making them a hit at parties, lunchboxes, or as a quick breakfast on-the-go.
Elevate your snacking with these homemade treats that will have your family and friends coming back for more!
Cereal Bar Ingredients
• Get ready to create a delicious homemade snack!
For the Base
- Cereal – Choose your favorite crunchy cereal variety like Cheerios, Rice Krispies, or Fruit Loops for the perfect texture. Make sure to select cereals that cater to any dietary restrictions, such as gluten-free options.
For the Binding
- Nut Butter – Use peanut, almond, or sunflower butter to bring everything together with a creamy consistency. For a lighter bar, reduce the amount of nut butter, but prepare for it to be a bit more delicate.
For Sweetness
- Liquid Sweetener – Add honey, agave, or brown rice syrup to sweeten things up. Opt for agave or brown rice syrup for a vegan version of these cereal bars.
Optional Enhancements
- Optional Salt – A pinch can really enhance the overall flavor. Try it for a delightful savory twist.
- Optional Protein Powder – If you’re looking to make these cereal bars even more filling, incorporating protein powder is a great option. Consider aligning flavors with the nut butter or other ingredients for a delicious experience.
With these simple ingredients, you’re well on your way to making your very own delectable cereal bars!
Step‑by‑Step Instructions for 3-Ingredient Customizable Cereal Bars
Step 1: Prep the Pan
Begin by lining an 8-inch square baking pan with wax or parchment paper, allowing some overhang for easy removal later. This prep step ensures that your homemade cereal bars can be easily lifted out and cut without sticking, making cleanup a breeze.
Step 2: Melt Nut Butter
In a microwave-safe bowl, warm your chosen nut butter for about 20-30 seconds until it becomes stirrable. If you prefer, you can melt it on the stovetop over low heat as well. Once melted, give it a good stir to create a smooth and creamy texture, which will help bind your cereal bars together beautifully.
Step 3: Mix Ingredients
In a large mixing bowl, combine your cereal, melted nut butter, and liquid sweetener. Use a spatula to mix thoroughly until all components are evenly coated. This step is crucial for ensuring that each cereal piece is sweetened and bound, resulting in chewy yet crunchy cereal bars once set.
Step 4: Transfer to Pan
Carefully pour the cereal mixture into the prepared baking pan. Use a second sheet of parchment paper to press down firmly on the mixture, helping it compact and bind together. Make sure the surface is even and tightly packed to prevent the bars from crumbling when you cut them later.
Step 5: Chill and Cut
Place your pan in the refrigerator or freezer for at least 30 minutes. This chilling time is essential for allowing the mixture to firm up. Once set, remove the pan and carefully lift out the cereal bars using the overhang. Cut into evenly sized bars with a sharp knife for that perfect homemade touch.
Step 6: Storage
Store any leftover cereal bars in an airtight container. You can keep them in the refrigerator for up to a week or at room temperature for about three days. For long-term storage, freeze the bars wrapped in plastic wrap; they will maintain their texture for up to a month, ensuring you always have a healthy snack on hand!
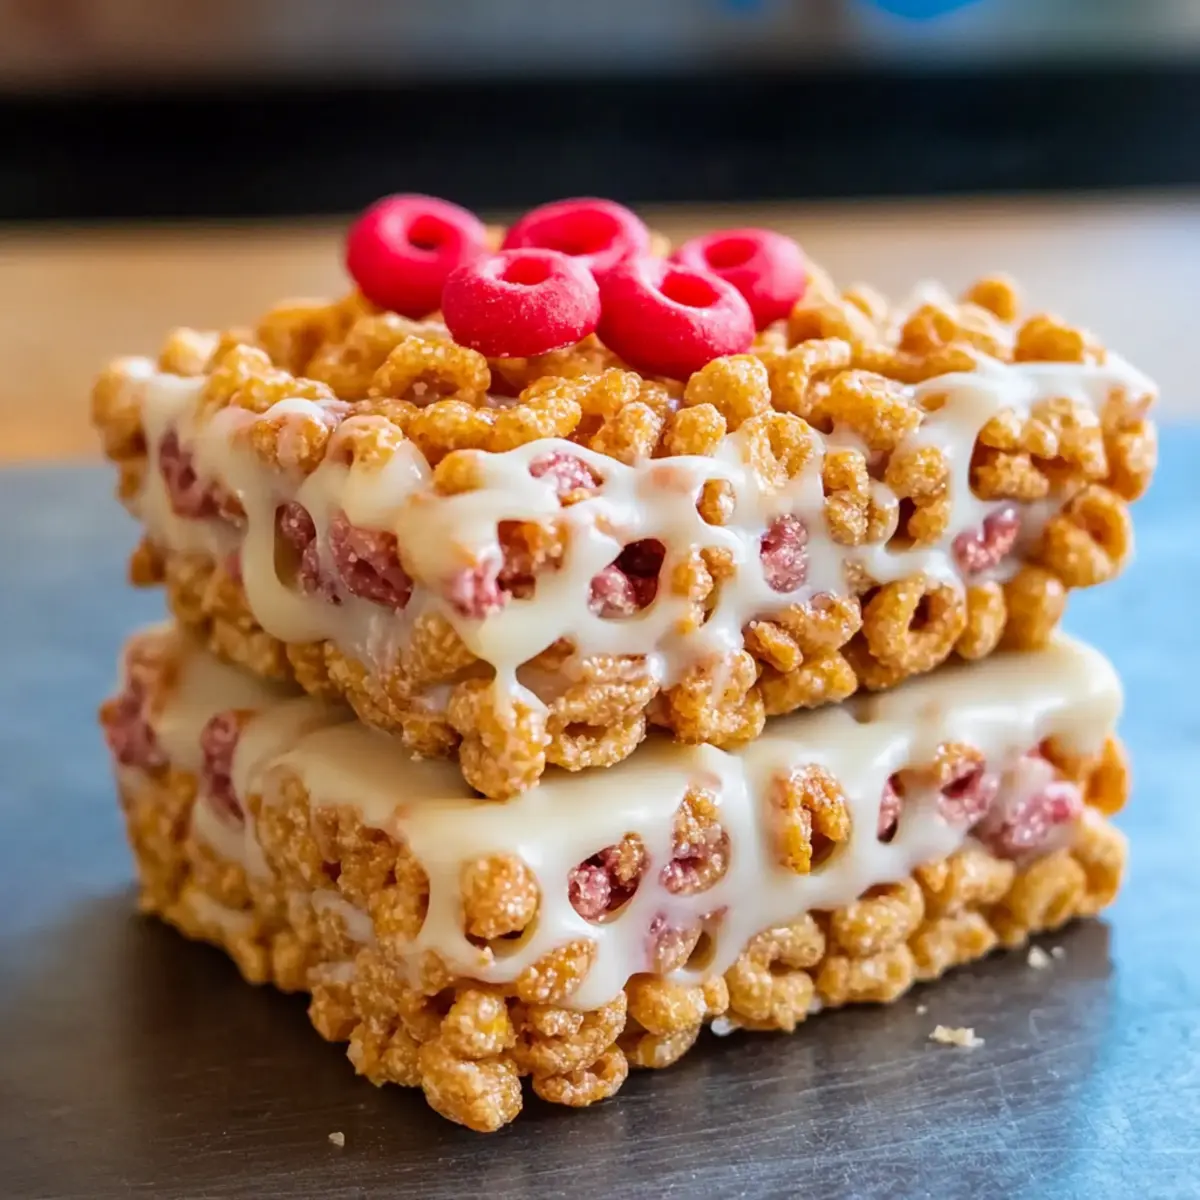
Cereal Bars Variations & Substitutions
Feel free to let your creativity run wild and put your spin on these delightful bars!
-
Chocolate Delight: Add cocoa powder and a splash of vanilla extract to the nut butter mixture for a rich, chocolaty flavor.
Consider tossing in some mini chocolate chips for an extra treat! -
Nutty Bliss: Swap in Nutella or any nut butter of your choice to create bars that are both creamy and indulgent.
This variation brings a delightful hazelnut essence that will enthrall your taste buds. -
Marshmallow Magic: Stir in mini marshmallows for a gooey, sweet taste and a chewiness that kids adore.
Who can resist that marshmallow fluff, especially as it melts slightly into the warm mixture? -
Fruity Surprise: Add freeze-dried fruits like strawberries or bananas, and drizzle with melted coconut butter for an elevated flavor profile.
This is a perfect option for adding a refreshing twist to your bars. -
Spiced Sensation: Mix in pumpkin pie spice or cinnamon for a warm, cozy flavor that’s perfect for fall or winter.
This beautifully enhances the sweetness, filling your kitchen with inviting aromas. -
Savory Option: For an intriguing flavor profile, sprinkle in some savory herbs or spices such as rosemary or garlic powder.
Enjoy these bars as a snack option that stands apart from the usual sweet treats! -
Crunchy Texture: Fold in chopped nuts or seeds for an added crunch and a protein boost.
This gives the bars a delightful texture contrast, making them even more fun to eat!
Explore these variations to make your cereal bars uniquely yours! And for other delicious homemade snacks, don’t forget to check out our no-bake energy bites and fruit and nut granola bars for even more wholesome ideas!
What to Serve with 3-Ingredient Customizable Cereal Bars
Delight in a feast for all your senses with the perfect accompaniments to these delicious homemade cereal bars!
-
Greek Yogurt: Creamy and tangy, a dollop of Greek yogurt complements the sweetness of the bars and adds a protein boost for a balanced snack.
-
Fresh Fruit Salad: A refreshing mix of colors and flavors, a vibrant fruit salad pairs beautifully, balancing the chewy bars with crisp, juicy bites.
-
Nutty Trail Mix: Add a crunchy twist! This combination of nuts, seeds, and dried fruits provides extra texture and richness, enhancing the overall snacking experience.
-
Smoothie Bowl: Pour a nutritious smoothie into a bowl and top it with slices of your cereal bars for a hearty breakfast that’s both filling and visually appealing.
-
Chocolate Drizzle: For a decadent treat, melt dark chocolate and drizzle it over the top of your cereal bars. This simple addition elevates flavor and indulgence.
-
Herbal Tea: A soothing cup of herbal tea makes for a delightful pairing, offering warmth and comfort that balances the textures of your bars perfectly.
-
Homemade Fruit Jam: Spread a thin layer of your favorite homemade jam over the cereal bars for an extra burst of fruitiness that elevates every munch!
-
Milk or Milk Alternative: An ever-classic pairing; a tall glass of cold milk or almond milk offers a refreshing dip for each bite while enhancing the wholesome experience.
Make Ahead Options
These 3-Ingredient Cereal Bars are perfect for busy home cooks looking to meal prep! You can easily prepare the mixture and press it into the pan up to 24 hours in advance. Just make sure to refrigerate it to maintain its texture and freshness. When you’re ready to enjoy your homemade cereal bars, simply slice them into pieces and serve. To keep them at their best, store the bars in an airtight container in the refrigerator for up to 1 week or freeze them for up to a month. This way, you’ll always have a wholesome snack ready to go, making your hectic days a little more manageable!
How to Store and Freeze Cereal Bars
Fridge: Keep your cereal bars in an airtight container in the refrigerator for up to 1 week. This helps maintain their chewy texture while ensuring freshness for morning snacks or on-the-go treats.
Room Temperature: If you prefer to store your cereal bars at room temperature, place them in a cool, dry place in a sealed container for up to 3 days. This is perfect for quick access and snacking!
Freezer: For longer storage, wrap individual bars tightly in plastic wrap and place them in a freezer-safe bag. Frozen cereal bars will keep well for up to 1 month without compromising their taste or texture.
Reheating: If you enjoy your bars warm, simply microwave a frozen bar for about 10-15 seconds to soften it slightly before enjoying. These versatile cereal bars are ready to satisfy your cravings whenever they hit!
Expert Tips for Delicious Cereal Bars
-
Press Firmly: Ensure you pack the mixture tightly into the pan. This will help maintain the shape of the cereal bars, preventing them from crumbling later.
-
Chilling Time: Don’t rush the chilling step! Let the bars set for at least 30 minutes to ensure they bind properly and are easy to cut.
-
Cereal Choices: Experiment with different cereals to find your favorite flavor combination. Just remember to test new options in small batches for the best results!
-
Customize Wisely: When adding extras like chocolate chips or dried fruits, keep an eye on the balance of flavors. Too many add-ins can upset the texture of your cereal bars.
-
Nut Butter Variations: Different nut butters can dramatically alter the taste. Choose one that complements your selected cereals and desired flavor, whether nutty or sweet.
-
Flavor Your Sweetener: Consider infusing your liquid sweetener, like using cinnamon with honey, for an unexpected flavor twist in your cereal bars.
3-Ingredient Customizable Cereal Bars Recipe FAQs
What type of cereal should I use?
Absolutely! The best choice for cereal is small flakes or shapes like Cheerios, Rice Krispies, or Fruit Loops. Just be sure to check labels for dietary restrictions, especially if you need a gluten-free option.
How should I store my cereal bars?
I recommend keeping your cereal bars in an airtight container in the refrigerator where they’ll stay fresh for up to a week. If you’re looking for room temperature storage, you can keep them for about 3 days in a cool, dry place.
Can I freeze cereal bars?
Yes! To freeze, wrap the bars tightly in plastic wrap, then place them in a freezer-safe bag. They can be frozen for up to 1 month without losing their delightful texture. When ready to eat, just microwave a frozen bar for about 10-15 seconds to soften it.
What if my cereal bars are falling apart?
No need to worry! If your cereal bars crumble, it usually means that the mixture wasn’t pressed firmly enough into the pan. To fix this, when repacking, use a second sheet of parchment paper and apply even pressure to compress the mix tightly. Allow them to chill for the right amount of time before cutting.
Are these cereal bars safe for kids and those with allergies?
Very! You can customize the ingredients to fit dietary needs. Opt for nut butters and cereals that are allergy-friendly. For instance, use sunflower seed butter instead of nut butter for nut-free options, and ensure all ingredients are safe for any specific allergies—it’s always a good idea to double-check!
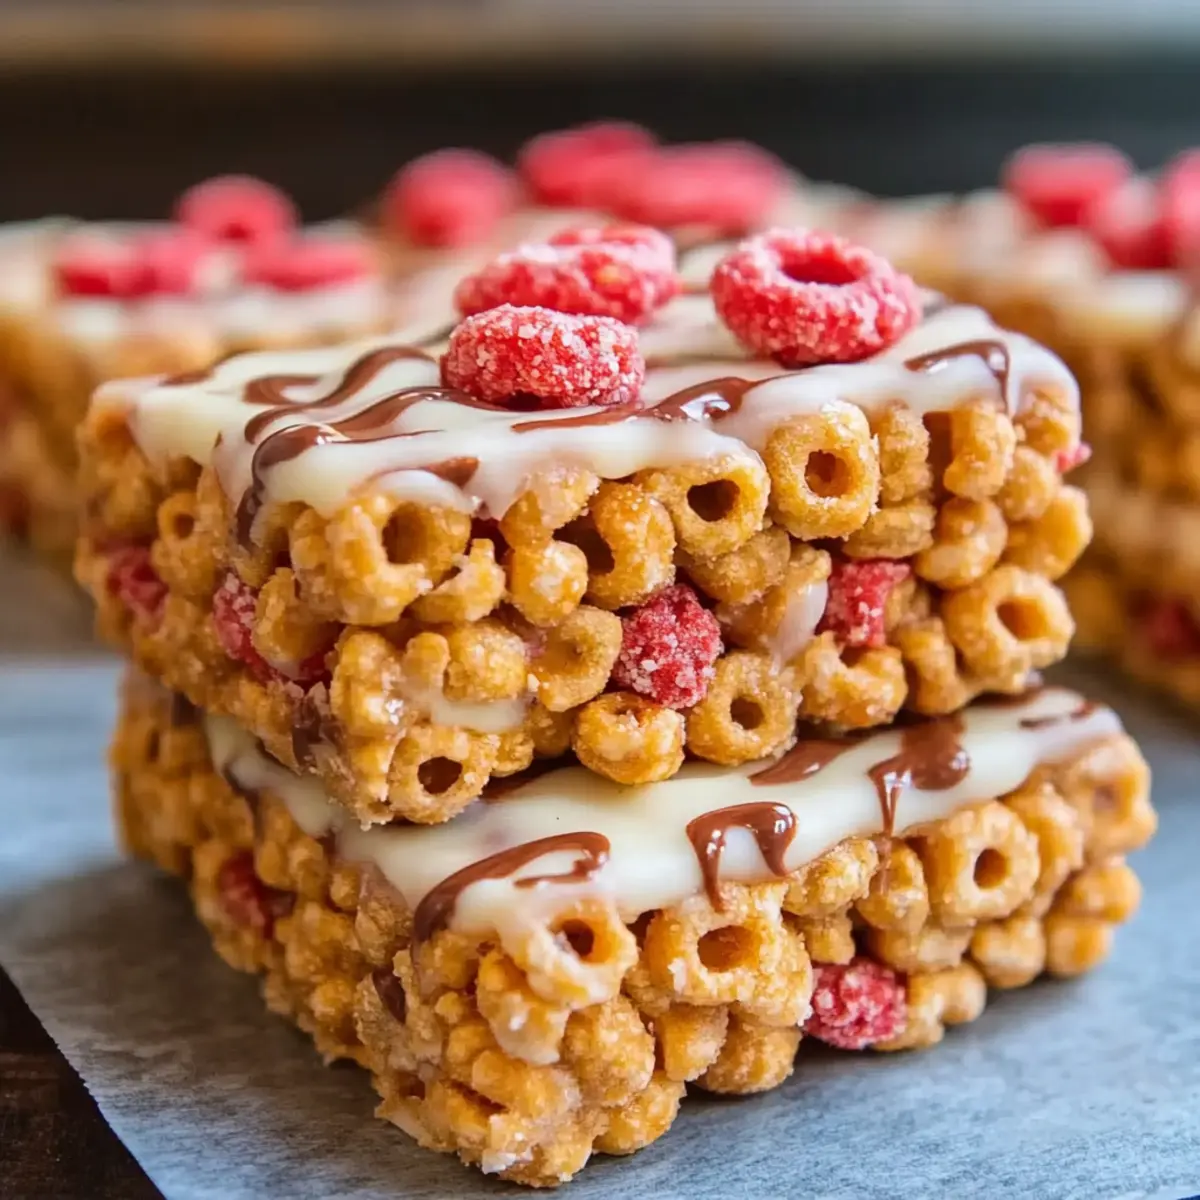
Irresistibly Chewy Cereal Bars You Can Customize at Home
Ingredients
Equipment
Method
- Begin by lining an 8-inch square baking pan with wax or parchment paper, allowing some overhang for easy removal later.
- In a microwave-safe bowl, warm your chosen nut butter for about 20-30 seconds until it becomes stirrable.
- In a large mixing bowl, combine your cereal, melted nut butter, and liquid sweetener. Mix thoroughly until all components are evenly coated.
- Carefully pour the cereal mixture into the prepared baking pan. Press down firmly to compact the mixture.
- Place your pan in the refrigerator or freezer for at least 30 minutes to firm up.
- Once set, remove the pan using the overhang and cut into evenly sized bars.
- Store leftover cereal bars in an airtight container.
Leave a Reply