
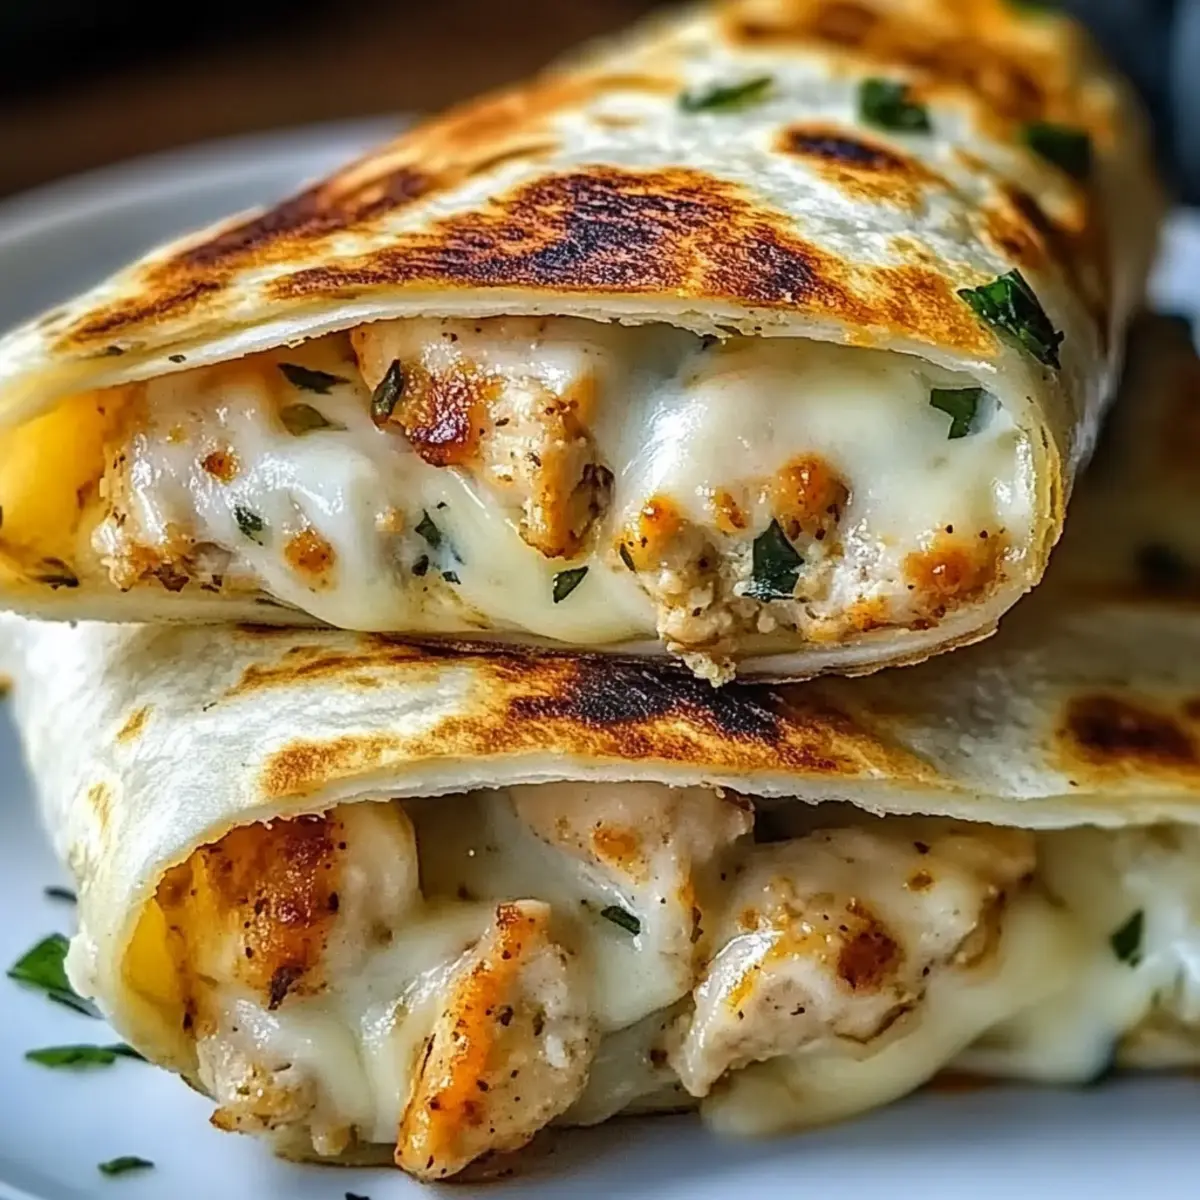
As I flipped through my recipe book one hectic evening, I stumbled upon a gem that instantly ignited my cravings: Low Carb Cheesy Garlic Chicken Wraps. With busy schedules, it can be challenging to whip up something both satisfying and healthy in no time. Luckily, these wraps deliver a delightful blend of cheesy goodness and garlicky aroma, all wrapped up in a low-carb tortilla that keeps the guilt away. They’re more than just a meal; they’re perfect for family dinners and gatherings, making them an effortless crowd-pleaser. Plus, you can easily tailor them to suit your taste—think extra spice or delicious veggie additions! Ready to discover how simple and delicious this recipe can be? Let’s dive in!
Why You’ll Crave These Wraps
Flavor Explosion: The combination of cheesy goodness and garlicky aroma creates a tantalizing bite that will keep you coming back for more.
Quick and Easy: These wraps can be made in a flash, making them perfect for busy weeknights and unexpected guests.
Customizable Options: Easily adapt this recipe to suit your tastes—add spicy jalapeños or load up on veggies for variety!
Low-Carb Delight: Enjoy all the indulgence without the carbs, making it a healthier option that won’t sacrifice taste.
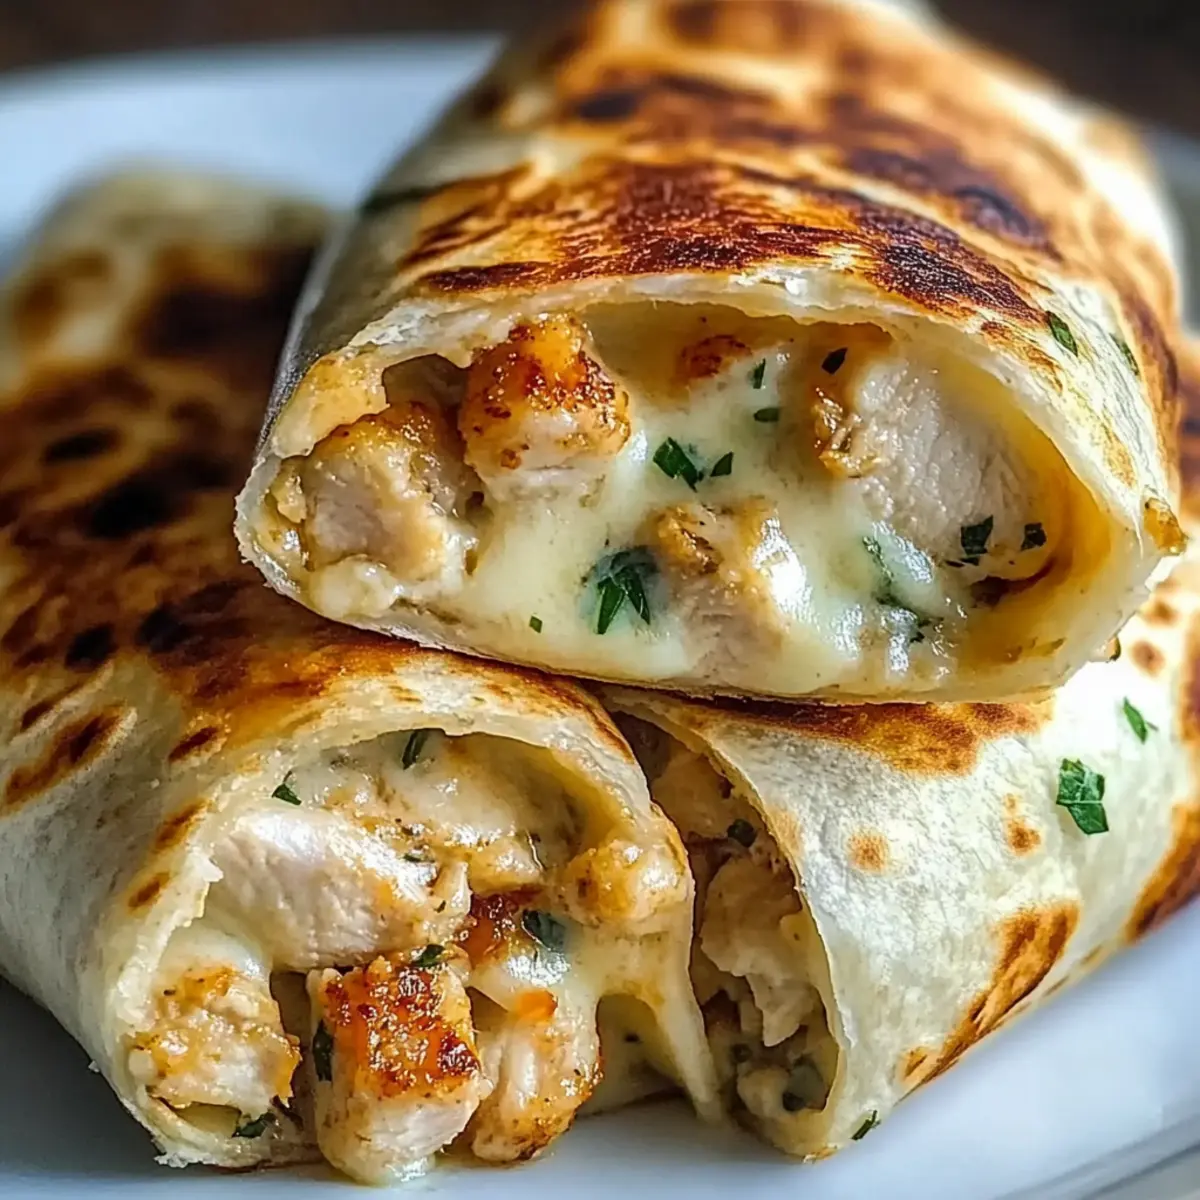
Family Favorite: With their crispy exterior and gooey filling, these wraps are sure to become a hit with both kids and adults alike!
Cheesy Garlic Chicken Wraps Ingredients
For the Filling
• Cooked Chicken Breast – Provides lean protein and substance; feel free to swap it with shredded rotisserie chicken for a quick option.
• Mozzarella Cheese – Adds creaminess and meltiness; any favorite melting cheese can enhance the flavor.
• Cheddar Cheese – Offers sharp flavor and improves texture; consider using Monterey Jack for a milder taste.
• Garlic – Infuses the wraps with a robust, savory aroma; fresh minced garlic gives the strongest flavor.
• Cream Cheese – Adds richness and a creamy texture; you can use vegan cream cheese for a dairy-free option.
For Cooking
• Olive Oil – Used for greasing the skillet and adds flavor; feel free to substitute with avocado oil or butter for a different taste.
For the Wraps
• Low-Carb Tortillas or Wraps – The base for the recipe while maintaining low-carb integrity; try collard greens or large lettuce leaves for a gluten-free alternative.
• Fresh Parsley – Adds freshness and a pop of color; you can omit this if it’s not on hand.
• Salt and Pepper – Enhances flavor; adjust according to your taste preferences.
These Cheesy Garlic Chicken Wraps are the ultimate low-carb treat that everyone in your family will love!
Step‑by‑Step Instructions for Cheesy Garlic Chicken Wraps
Step 1: Preheat the Skillet
Begin by preheating a large skillet or grill pan over medium heat. Add a tablespoon of olive oil to the skillet, allowing it to heat until shimmering. This will ensure your Cheesy Garlic Chicken Wraps develop a beautifully golden and crispy exterior as they cook, around 2-3 minutes should do the trick.
Step 2: Prepare the Filling
In a mixing bowl, combine the cooked chicken breast, shredded mozzarella, cheddar cheese, cream cheese, minced garlic, chopped parsley, salt, and pepper. Mix thoroughly until all ingredients are well incorporated, ensuring the creamy cheese envelops the chicken. This cheesy mixture will bring a burst of flavor to your wraps and is ready in just a couple of minutes.
Step 3: Fill the Tortillas
Take your low-carb tortillas and lay them flat on a clean surface. Evenly distribute the cheesy chicken mixture across each tortilla, leaving about an inch on the edges for rolling. Tightly roll the tortillas to secure the filling inside, seam-side down for even cooking. This step helps to create delightful, cheesy pockets that you won’t want to miss!
Step 4: Cook the Wraps
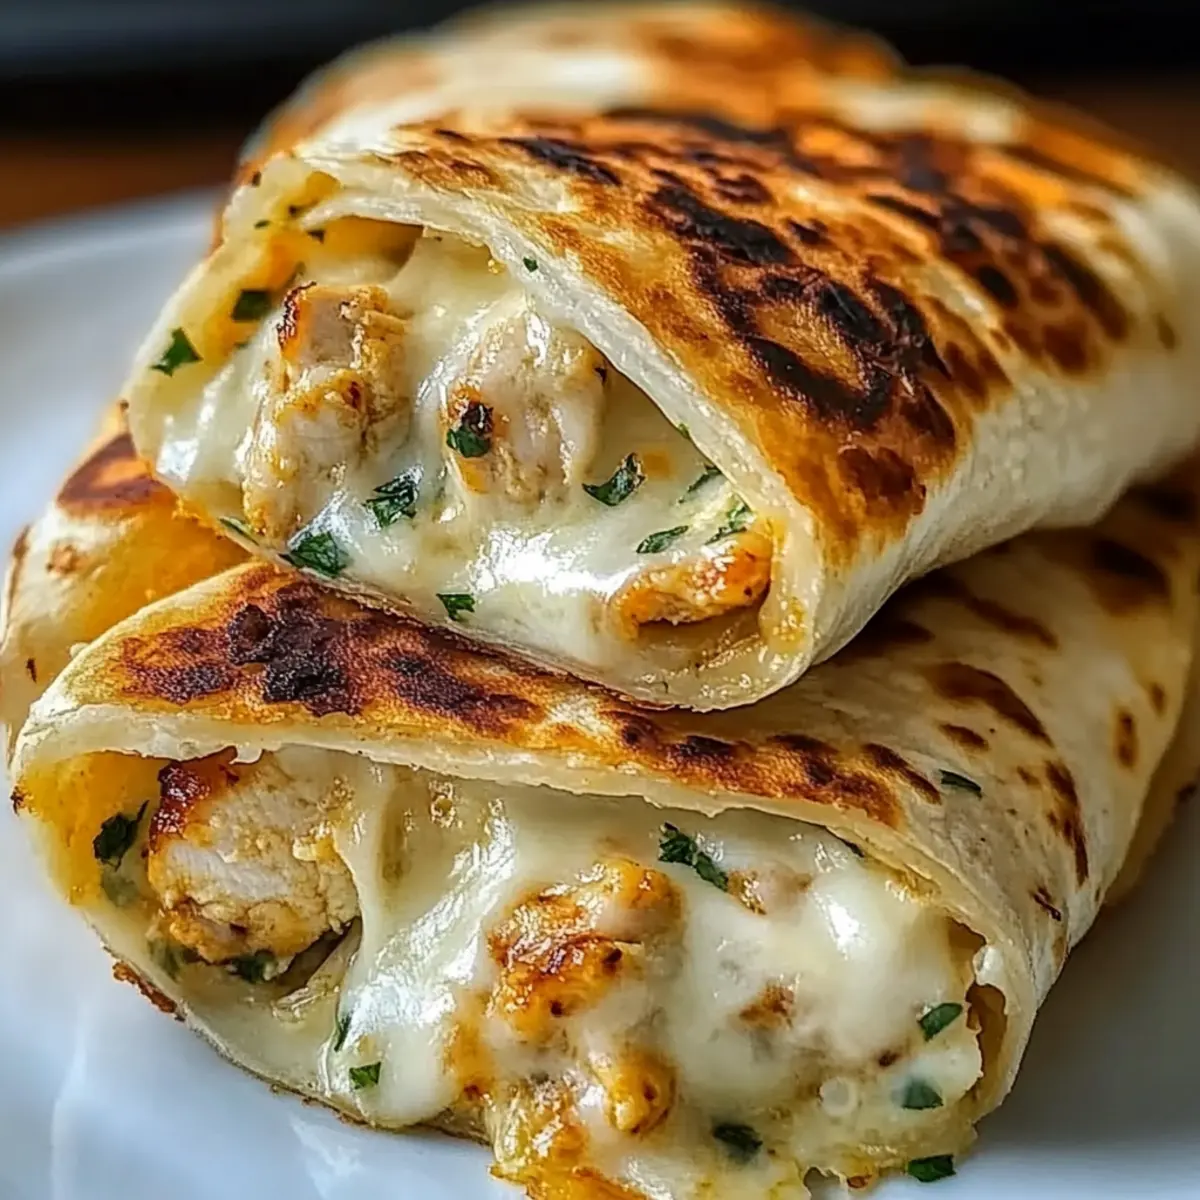
Carefully place the wrapped tortillas seam-side down in the preheated skillet. Cook the Cheesy Garlic Chicken Wraps for about 2-3 minutes per side until they turn golden brown and the cheese melts inside. Use a spatula to gently flip the wraps, ensuring an even crispness on both sides. Your kitchen will soon be filled with an irresistible aroma!
Step 5: Slice and Serve
Once golden and crispy on both sides, remove the wraps from the skillet and let them cool for a minute. With a sharp knife, slice the wraps diagonally into halves or quarters for easy serving. You can garnish with extra parsley for a pop of color and serve them hot, ready to enjoy with your favorite dipping sauce or a fresh salad!
What to Serve with Low Carb Cheesy Garlic Chicken Wraps
These wraps are delightful on their own, but pairing them with the right sides and drinks can elevate your dining experience into something truly special.
-
Mixed Green Salad: A refreshing salad with mixed greens, tomatoes, and a light vinaigrette provides a crisp contrast to the cheesy wraps. It’s the perfect way to add a fresh element to your meal.
-
Salsa and Sour Cream: Add a dip of zesty salsa and creamy sour cream on the side for a delightful explosion of flavor. The tanginess balances the rich cheese beautifully!
-
Garlic Breadsticks: For those who want to indulge further, a few slices of warm, buttery garlic bread are a perfect complement. The garlicky flavors harmonize beautifully with the wraps.
-
Roasted Vegetables: A medley of roasted bell peppers, zucchini, and onions adds a burst of color and nutrients. Their caramelized sweetness contrasts with the savory wraps for a well-rounded plate.
-
Crispy Potato Wedges: Golden-brown potato wedges seasoned with herbs make for a satisfying crunchy side. Their hearty texture will leave you feeling satisfied without overwhelming the meal.
-
Iced Tea or Lemonade: A cool glass of iced tea or refreshing lemonade can cleanse your palate and provide a delightful contrast to the rich flavors.
Each of these pairings is designed to enhance your meal experience, keeping things deliciously balanced and exciting while enjoying your Low Carb Cheesy Garlic Chicken Wraps!
Cheesy Garlic Chicken Wraps Variations & Substitutions
Feel free to get creative with these wraps—there’s a delicious world waiting for you beyond the basics!
-
Spicy Kick: Add sliced jalapeños or a splash of hot sauce to the filling for a fiery flavor boost. Your taste buds will rejoice with this additional zing!
-
Veggie Lovers: Incorporate leftover roasted vegetables like bell peppers or zucchini to the filling for an added nutrition punch. This twist adds color, flavor, and healthy goodness!
-
Dairy-Free Delight: Swap out cream cheese and mozzarella with plant-based alternatives for a creamy, dairy-free enjoyment. Perfect for those avoiding dairy without sacrificing taste!
-
Cheese Variety: Try using pepper jack cheese instead of mozzarella for a spicy twist. Each bite will have a wonderful kick that makes these wraps even more exciting!
-
Carb Alternatives: Use collard greens, large lettuce leaves, or even nori sheets as a wrap for a gluten-free and light option. It’s a refreshing take that keeps the wraps delightful and low-carb!
-
Flavor Infusion: Mix in fresh herbs such as basil or cilantro to the filling for an extra layer of flavor. These herbs elevate the dish and make it feel like a gourmet meal!
-
Crunch Factor: Add crushed tortilla chips or nuts into the filling for a satisfying crunch. This unexpected twist will create an enjoyable texture contrast!
These tasty variations not only add diversity to your meals but also provide delightful opportunities for culinary creativity. If you’re looking for more cheesy deliciousness, don’t forget to check out Cheesy Cajun Garlic, Cheesy Honey Garlic, or Sticky Garlic Chicken, where flavor meets simplicity!
Make Ahead Options
These Cheesy Garlic Chicken Wraps are perfect for busy home cooks looking to streamline meal prep! You can prepare the filling—combining the cooked chicken, cheeses, garlic, and seasonings—up to 24 hours in advance. Simply store the mixture in an airtight container in the refrigerator. Additionally, you can assemble the wraps and refrigerate them for up to 3 days—just make sure to wrap them tightly to maintain that golden crispness. When you’re ready to enjoy your wraps, cook them in the skillet for about 2-3 minutes per side until golden brown. This way, you’ll have delicious, fresh wraps with minimal effort on busy weeknights!
Expert Tips for Cheesy Garlic Chicken Wraps
-
Skillet Temperature: Ensure the skillet is preheated adequately; this is key for achieving that perfect golden, crispy exterior on your wraps.
-
Chicken Prep: If using frozen chicken, thaw it beforehand or pop it in the microwave for a quick defrost. This prevents uneven cooking.
-
Enhance Flavor: For an extra kick, consider adding chili flakes or sliced jalapeños to the cheesy chicken filling for your Cheesy Garlic Chicken Wraps.
-
Prevent Sogginess: When packing these wraps for lunch, line them with lettuce as a barrier to keep them from getting soggy.
-
Cheese Variation: Feel free to experiment with different cheeses; try pepper jack for a spicier twist or combine with leftover roasted vegetables for added nutrition.
How to Store and Freeze Cheesy Garlic Chicken Wraps
Fridge: Store leftovers in an airtight container for up to 2 days. The wraps will stay delicious, but be sure to reheat them properly for the best texture.
Freezer: For longer storage, individually wrap each Cheesy Garlic Chicken Wrap in foil and place them in a freezer bag. They can be frozen for up to 3 months.
Reheating: To enjoy, thaw overnight in the fridge and reheat in the oven at 350°F (175°C) for about 15 minutes, or until heated through. This helps restore their crispy exterior.
Packing for Lunch: If you’re making them ahead for lunch, line the inside with lettuce to maintain their crispness and prevent sogginess.
Cheesy Garlic Chicken Wraps Recipe FAQs
What should I look for when selecting chicken for my wraps?
When choosing chicken, opt for cooked chicken breast that is lean and succulent for the best flavor and texture. If you’re in a rush, shredded rotisserie chicken works wonderfully as a convenient alternative. Make sure the chicken is fresh and has no visible signs of spoilage, such as an off smell or discoloration.
How do I store leftover Cheesy Garlic Chicken Wraps?
Store any leftovers in an airtight container in the fridge for up to 2 days. This keeps them safe and tasty. To reheat, I recommend using an oven or an air fryer at 350°F (175°C) for about 10-15 minutes until they crisp back up, rather than using a microwave which can make them soggy.
Can I freeze these Cheesy Garlic Chicken Wraps?
Absolutely! To freeze, individually wrap each cooled wrap in aluminum foil and place them in a freezer-safe bag. They can be stored in the freezer for up to 3 months. When you’re ready to enjoy them, thaw overnight in the fridge before reheating in the oven to retain that perfect, crispy texture.
What can I do if my wraps turn out soggy?
If you find your wraps are soggy, it could be due to excess moisture from the filling or cooking method. To prevent this, ensure that your chicken mix is well-drained of any liquid before filling. Additionally, when reheating, consider putting them in the air fryer or oven instead of the microwave for a crispy finish. Also, remember to line the inside with lettuce if you’re packing them for lunch to help absorb moisture.
Are there any dietary considerations I should be aware of?
If you have dietary restrictions, you can easily customize these wraps. For a gluten-free option, use gluten-free low-carb tortillas or wrap them in large lettuce leaves. If you’re avoiding dairy, simply substitute the cheeses and cream cheese with dairy-free alternatives, which work just as well for keeping those flavors intact. Always check labels for any potential allergens.

Cheesy Garlic Chicken Wraps: Your New Low-Carb Obsession
Ingredients
Equipment
Method
- Preheat a large skillet over medium heat and add olive oil, heating until shimmering.
- In a mixing bowl, combine cooked chicken breast, mozzarella, cheddar, cream cheese, garlic, parsley, salt, and pepper. Mix well.
- Lay tortillas flat and distribute the cheesy chicken mixture evenly, then roll tightly.
- Place wraps seam-side down in the skillet and cook for 2-3 minutes per side until golden brown.
- Remove from skillet, cool for a minute, slice diagonally, and serve hot.
Leave a Reply