
There’s something absolutely delightful about the first bite into a chewy no-bake granola bar, isn’t there? These Chewy No-Bake Granola Bars with Nuts and Seeds are my go-to snack for when I’m craving something nutritious yet tasty. What I love most is that they require minimal effort—perfect for busy days—and are completely customizable to suit gluten-free or vegan diets. With the wholesome combination of rolled oats, nut butter, and your choice of add-ins, you’ll find yourself reaching for these delicious treats over any convenience store snack. Plus, they’re a satisfying lift of energy that can hold you until your next meal. Ready to dive into a world of flavor and nutrition? Let’s get started on crafting these delightful bars!
Why Make These Granola Bars?
Simplicity: You’ll love how this recipe requires only a handful of ingredients and comes together in minutes—perfect for busy lifestyles!
Customizable: With options for nut-free, vegan, or high-protein varieties, everyone can enjoy these bars their way.
Wholesome Goodness: Packed with fiber from rolled oats and healthy fats from nut butter, these bars provide a nutritious bite without the guilt.
Energy Boost: Ideal for breakfast on-the-go or a midday snack, these chewy treats deliver the energy you need to power through your day.
Taste Appeal: The combination of sweet honey or maple syrup with crunchy nuts and chewy fruits makes every bite satisfying—way better than store-bought options!
So, whether you’re preparing for a busy morning or need a pick-me-up, these Chewy No-Bake Granola Bars will quickly become your new favorite snack!
Chewy No-Bake Granola Bar Ingredients
• Get ready to whip up something delicious!
For the Base
- Rolled Oats – Provides structure and fiber; quick oats can be used for a softer touch.
- Nut Butter – Acts as a binder and adds healthy fats; try peanut, almond, or sunflower seed butter for different flavors.
- Honey or Maple Syrup – Adds natural sweetness and binds everything together; opt for maple syrup to keep it vegan.
For the Crunch
- Chopped Nuts – Enhances crunch and boosts protein content; substitute with seeds like pumpkin or sunflower for a nut-free version.
- Dried Fruits (e.g., cranberries, raisins) – Introduces chewy sweetness; fresh fruit can brighten up the flavor.
- Dark Chocolate Chips – Optional, for a delightful chocolate finish; carob chips offer a healthier alternative.
Embrace creativity with these customization options to create your ideal chewy no-bake granola bars!
Step‑by‑Step Instructions for Chewy No-Bake Granola Bars
Step 1: Combine Dry Ingredients
In a large mixing bowl, combine 2 cups of rolled oats, 1 cup of chopped nuts, and 1 cup of dried fruits, stirring them together until they’re well mixed. This base blend of dry ingredients will give your Chewy No-Bake Granola Bars both texture and flavor. Set the bowl aside as you prepare the next step.
Step 2: Warm Nut Butter and Sweetener
In a medium saucepan over low heat, add 1 cup of nut butter and ½ cup of honey or maple syrup. Stir continuously for about 2-3 minutes until the mixture is smooth and easily pourable. Keeping the heat low prevents burning, and you can tell it’s ready when it’s glossy and flows easily off the spoon.
Step 3: Mix Everything Together
Pour the warm nut butter and sweetener mixture over your dry ingredients. Using a spatula, mix vigorously for about 2-3 minutes until every oat and nut is fully coated. You’ll know it’s ready when everything is evenly distributed and sticky. This mixture is the heart of your Chewy No-Bake Granola Bars, providing delightful flavor and energy.
Step 4: Press into Baking Dish
Line an 8×8-inch baking dish with parchment paper for easy removal. Transfer the mixture into the dish, using the back of a spatula to firmly press it down into an even layer. Aim for a tightly packed surface, which ensures your bars hold their shape when cut. This pressing step usually takes about 3-5 minutes.
Step 5: Chill and Set
Place the baking dish in the refrigerator and chill for at least 1 hour, allowing the mixture to firm up completely. You’ll know they’re ready when the bars feel solid to the touch and can hold their shape without falling apart. This chill time is crucial for achieving that perfect chewy texture.
Step 6: Cut and Store
After the granola bars have set, remove the dish from the refrigerator and lift them out by the edges of the parchment paper. With a sharp knife, cut into bars or squares, depending on your preferred size. Store the Chewy No-Bake Granola Bars in an airtight container in the refrigerator for up to 2 weeks, ready for snacking any time!
What to Serve with Chewy No-Bake Granola Bars?
When crafting your next family-friendly snack time, consider these delicious pairings that enhance the wholesome goodness.
- Greek Yogurt: Creamy and rich, the tangy flavor of yogurt perfectly complements the nutty sweetness of the bars, making a deliciously balanced snack.
- Fresh Fruit Salad: A vibrant mix of seasonal fruits adds a refreshing burst of flavor and color, creating a delightful contrast to the chewy bars.
- Nut Milk: Pairing your granola bars with almond or oat milk offers a smooth, creamy texture that enhances their nutty flavor profile. Sip on this for a quick, rejuvenating boost!
- Cottage Cheese: This protein-packed option pairs wonderfully for breakfast or a midday pick-me-up, with its creamy texture and mild flavor enhancing the granola bars’ crunchiness.
- Trail Mix: A crunchy blend of seeds, nuts, and dried fruits echoes the ingredients of your bars, providing extra texture and nourishment in every bite.
- Coffee or Tea: A warm cup of your favorite brew can accentuate the wholesome flavors while providing an energizing lift—perfect for savoring during a cozy snack moment.
These delightful combinations will elevate your snacking experience while ensuring you enjoy every bite!
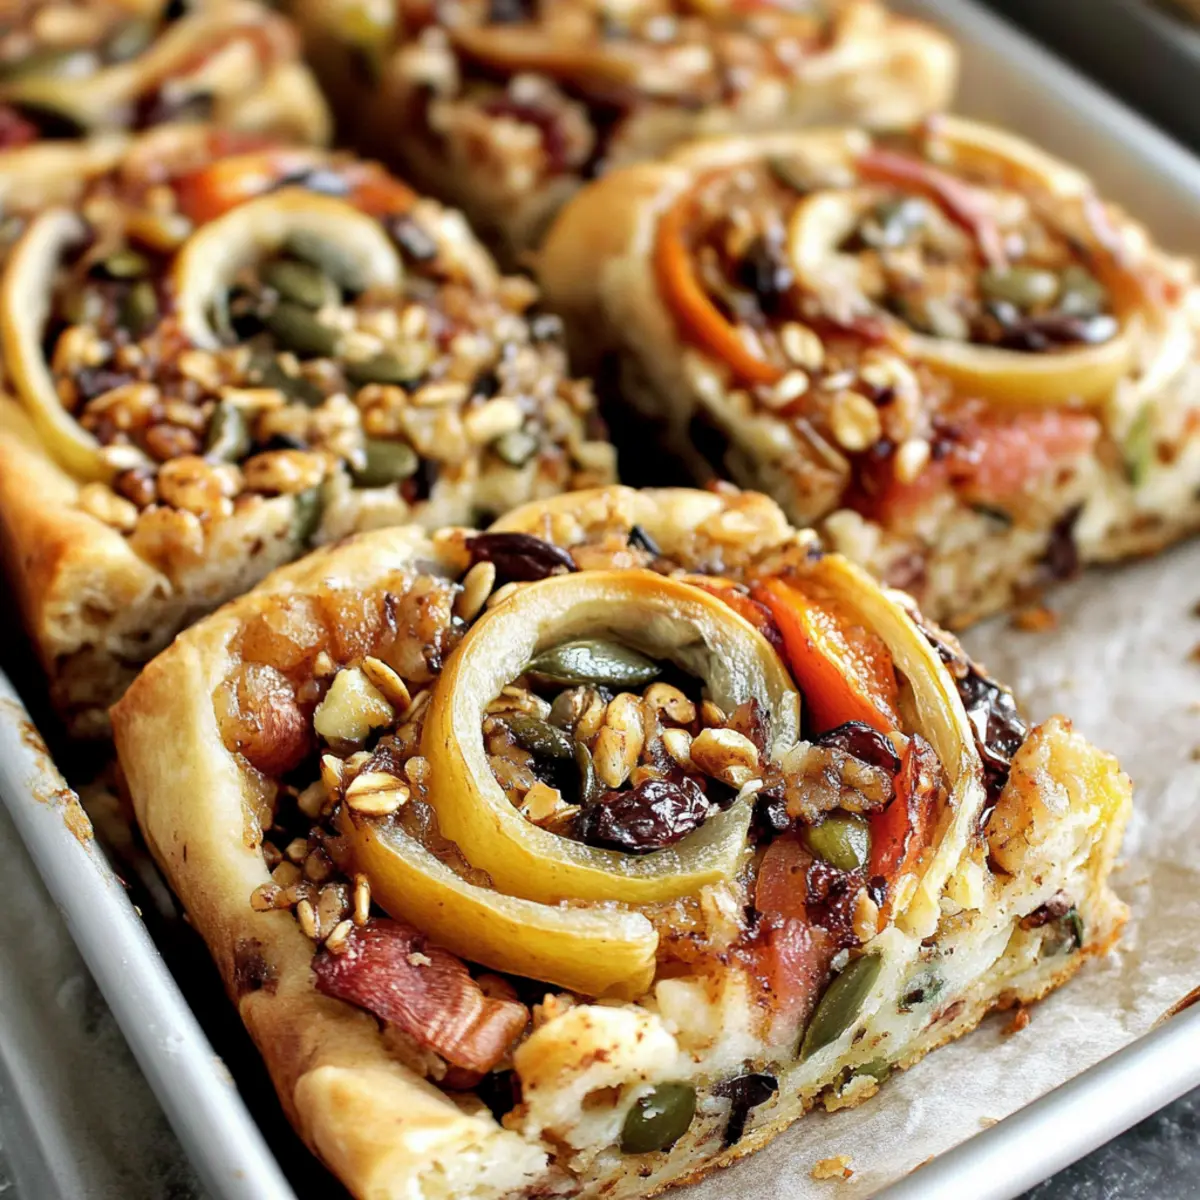
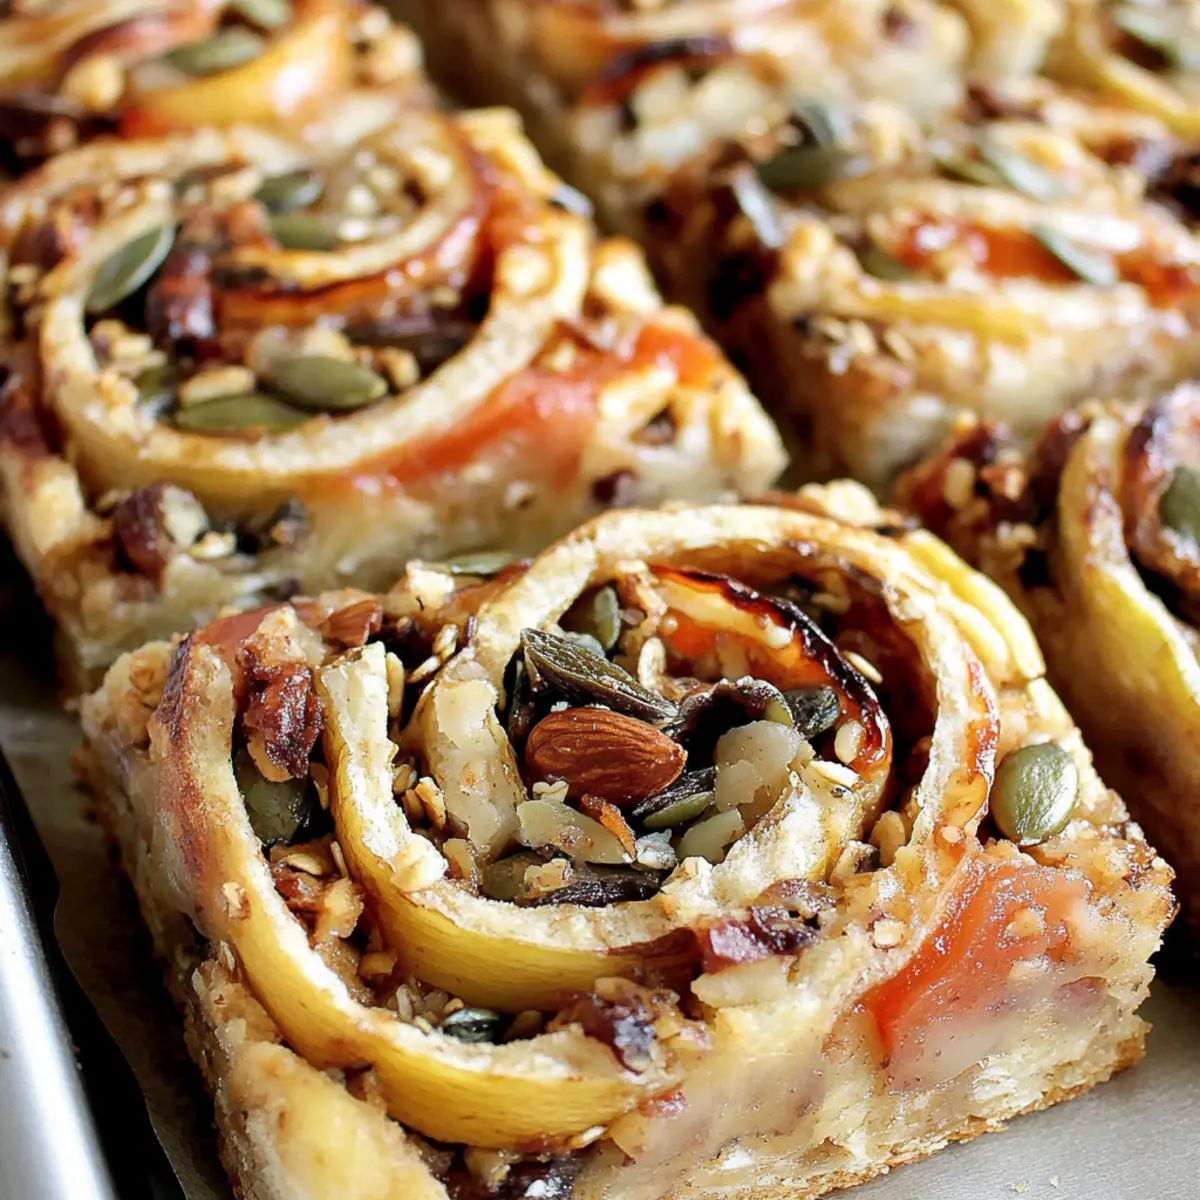
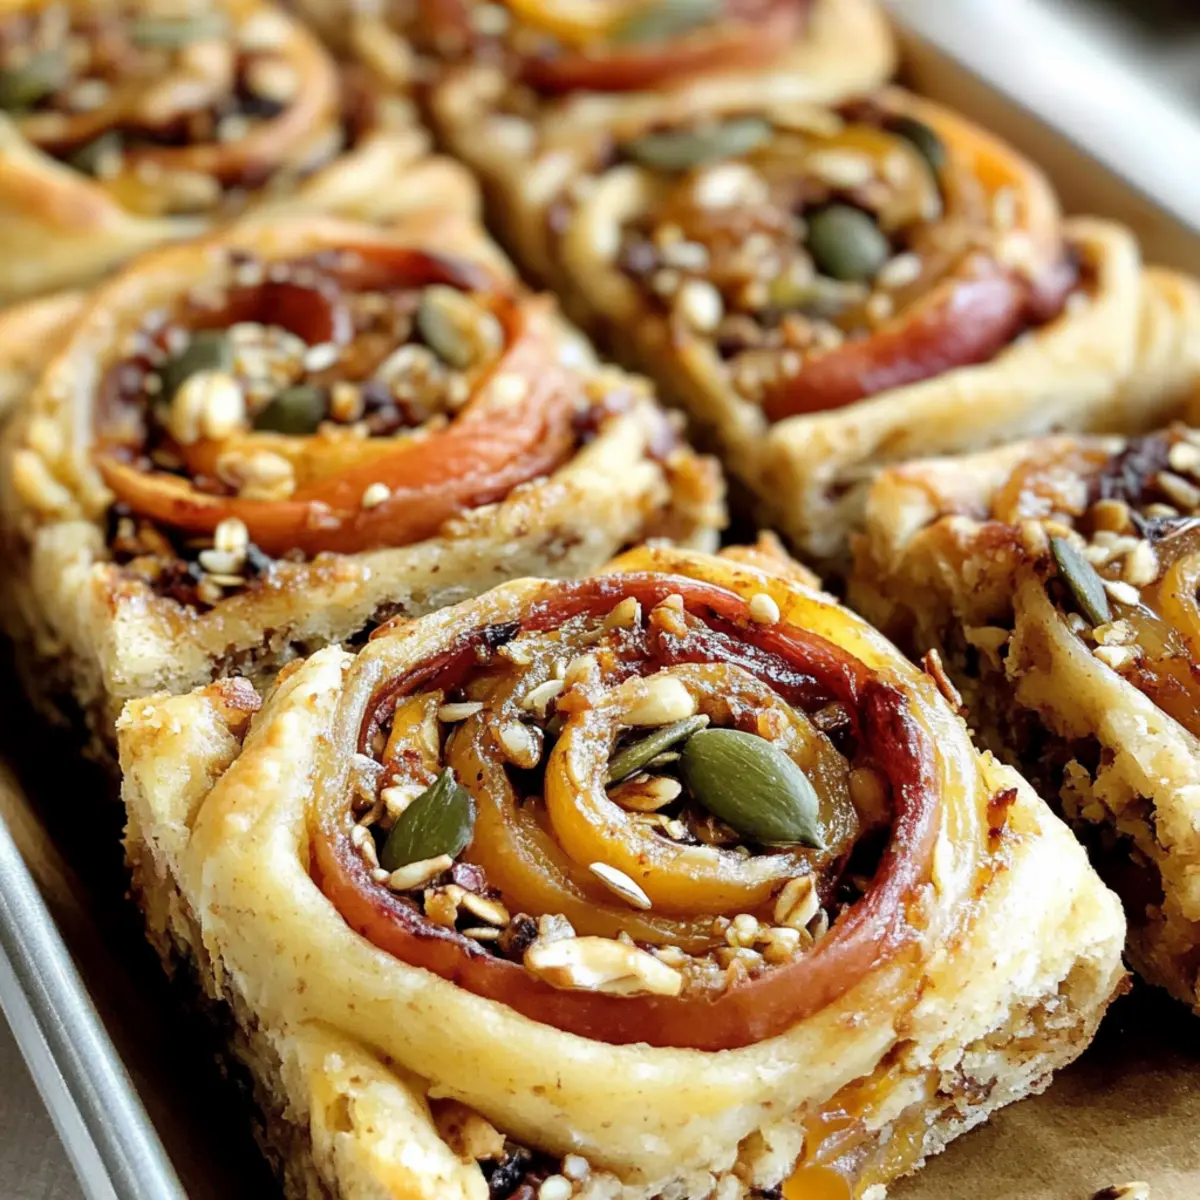
Muffuletta Pizza Rolls Variations
Feel free to explore your creativity and make these Muffuletta Pizza Rolls even more delicious with some fun tweaks!
-
Gluten-Free: Use a gluten-free pizza dough made from almond flour or cauliflower for a lighter option.
It’s a great way to enjoy the same flavors while accommodating dietary needs. -
Vegetarian: Swap out any meats for additional veggies like bell peppers, zucchini, or mushrooms for a hearty, meat-free delight.
The added veggies not only enhance the flavor but also add more textures to your rolls. -
Vegan: Replace cheese with plant-based alternatives and use a vegan-friendly dough to make them suitable for everyone.
You’ll love how the layers stay just as indulgent while being completely plant-based! -
High-Protein: Add protein-packed ingredients like cooked chicken or turkey into the filling.
This twist is perfect for a post-workout snack, making your pizza rolls super satisfying! -
Spicy: Toss in some sliced jalapeños or a sprinkle of red pepper flakes to turn up the heat!
The kick from spices pairs wonderfully with the savory elements of the rolls. -
Herbed: Fresh herbs like basil or oregano can be mixed into the dough or sprinkled in the filling for aromatic flavor.
A little herbaceous note takes these pizza rolls from simple to gourmet in no time! -
Cheesy Twist: Mix a variety of cheeses like mozzarella, provolone, or goat cheese to intensify the cheesy goodness.
This melty mix will have everyone reaching for seconds, guaranteed!
By exploring these variations, you can create unique flavors tailored to your cravings. And if you’re in the mood for more delicious snacks, don’t miss out on the mouthwatering Pepperoni Pizza Quesadilla or the delightful Cheesy Honey Pizza for more tasty inspirations!
Expert Tips for Chewy No-Bake Granola Bars
-
Press Firmly: Make sure to press the mixture tightly into the baking dish to avoid crumbling when you cut your Chewy No-Bake Granola Bars.
-
Mind the Heat: Pay close attention while warming the nut butter and sweetener. It can quickly burn if the heat is too high, ruining the flavor.
-
Mix Thoroughly: Stir the warm mixture into the dry ingredients until fully coated; this ensures each bite is deliciously balanced and enjoyable.
-
Customize Flavors: Don’t hesitate to add spices like cinnamon or vanilla extract for an extra flavor kick; feel free to get creative!
-
Patience Pays Off: Allow the bars to chill completely in the refrigerator—this step is vital for achieving that perfect chewy texture.
How to Store and Freeze Chewy No-Bake Granola Bars
Fridge: Store in an airtight container for up to 2 weeks; this keeps your chewy no-bake granola bars fresh and ready for snacking anytime!
Freezer: For longer storage, wrap bars individually in plastic wrap or foil, then place in a freezer-safe bag; they can last for up to 3 months in the freezer.
Thawing: When ready to enjoy, simply remove from the freezer and let them thaw at room temperature for about 15-20 minutes before indulging.
Refrigeration Reminder: Always ensure the bars are fully set and chilled before storing; this helps maintain their chewy texture and prevents crumbling.
Make Ahead Options
These Chewy No-Bake Granola Bars are ideal for meal prep, saving you time on busy mornings or snack times! You can prepare the mixture up to 24 hours ahead of time—simply combine the dry ingredients and store them in an airtight container. The nut butter and sweetener mixture can also be made in advance; just refrigerate it until you’re ready to use it. When you’re ready to finish your bars, warm the nut butter mixture, mix everything together, press it into the dish, and chill. This way, you can enjoy delicious homemade granola bars that are just as flavorful as when made fresh, giving you a nutritious option at your fingertips!
Chewy No-Bake Granola Bars Recipe FAQs
What type of oats should I use for granola bars?
Absolutely! For the best texture, I recommend using rolled oats, as they provide structure and a delightful chewiness. If you’re in a pinch, you can substitute with quick oats, but keep in mind they’ll yield a softer texture.
How long can I store granola bars, and what’s the best method?
You can store your chewy no-bake granola bars in an airtight container in the refrigerator for up to 2 weeks. This method keeps them fresh and ensures they’re always ready for a quick snack! Just remember to let them cool completely before you seal them to avoid moisture buildup.
Can I freeze granola bars, and if so, how?
Yes! For longer storage, wrap each bar individually in plastic wrap or aluminum foil. Place them in a freezer-safe bag, and they can last up to 3 months in the freezer. When you’re ready to enjoy them, simply take your desired number out and let them thaw at room temperature for about 15-20 minutes. It’s an easy way to have a quick, tasty snack that’s always on hand!
What are some common issues when making granola bars?
One common issue is crumbly bars, which usually happens if the mixture isn’t pressed firmly into the dish. To avoid this, make sure to use the back of your spatula to really pack down the mixture into an even layer. If you find the bars too sticky, consider adjusting your sweetener or nut butter ratios on your next batch.
Are there any allergy considerations I should be aware of?
Definitely! If making these granola bars for kids or friends, be cautious about nut allergies. You can easily make these nut-free by swapping chopped nuts for seeds like pumpkin or sunflower. Additionally, if you’re catering to vegans, always use maple syrup over honey. It’s perfect to adjust based on dietary needs, so everyone can enjoy them!
Can I add protein powder or other additions to these bars?
Very! You can incorporate protein powder to increase their nutritional value. Just replace a portion of the oats with the powder—start with 1 scoop for every 2 cups of oats. Also, feel free to throw in extras like flaxseeds, chia seeds, or even a dash of cinnamon for added flavor. The more the merrier!
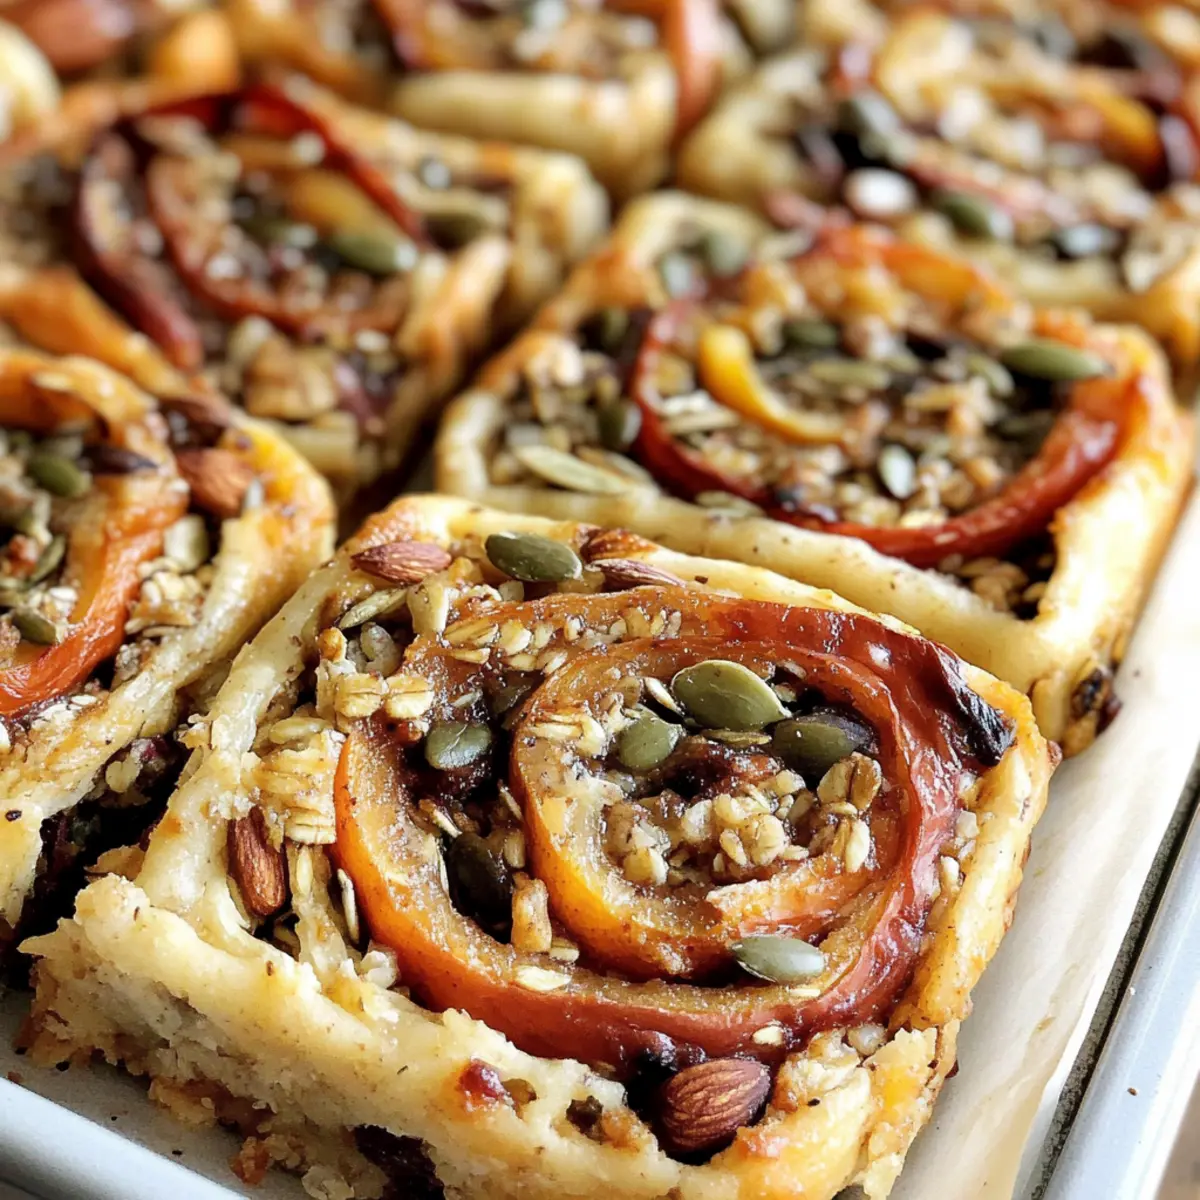
Muffuletta Pizza Rolls: A Flavor-Packed Snack Delight
Ingredients
Equipment
Method
- Combine by mixing rolled oats, chopped nuts, and dried fruits in a large bowl.
- Warm nut butter and sweetener in a saucepan over low heat, stirring until smooth.
- Pour the mixture over dry ingredients and mix vigorously until fully coated.
- Press the mixture into a lined baking dish using a spatula to achieve an even layer.
- Chill the dish in the refrigerator for at least 1 hour to set.
- Cut into bars and store in an airtight container in the fridge.
Leave a Reply