
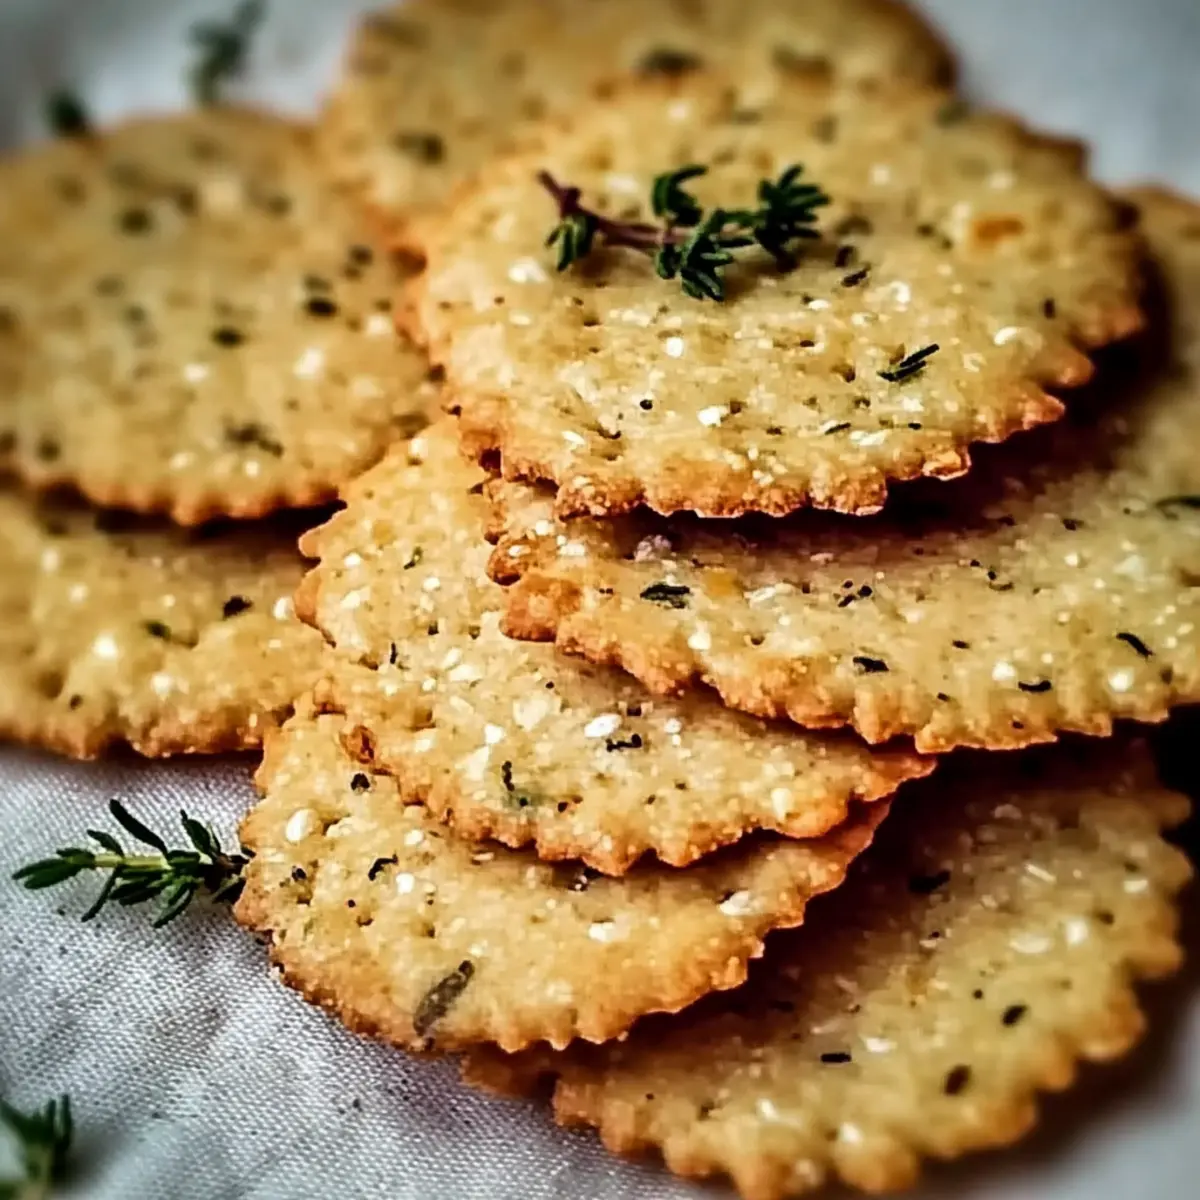
As I pulled my first batch of Crispy Homemade Chickpea Crackers from the oven, the warm, nutty aroma enveloped my kitchen, whisking me away to sun-kissed Mediterranean coasts. These little morsels are not just a delightful snack; they are gluten-free, protein-rich, and so simple to whip up that you’ll be reaching for homemade over store-bought every time. Whether you’re hosting a cozy movie night or crafting a sophisticated cheese board for guests, these savory crackers will impress. Plus, their versatility means you can play around with flavors—think thyme, oregano, and even cheesy notes from nutritional yeast! What new twist will you try on this crunchy classic?
Why Are These Chickpea Crackers a Must-Try?
Simple and Quick: Whipping up these crunchy delights takes mere minutes, making them perfect for those spontaneous snack attacks.
Versatile Flavor: From Mediterranean herbs to cheesy hints of nutritional yeast, customize them to suit your craving or season.
Health-Conscious Choice: These gluten-free, protein-rich goodies are a wholesome alternative to traditional snacks—perfect for the health-conscious eater!
Crowd-Pleasing: Whether served at a party alongside hummus or enjoyed solo, these crackers are sure to impress everyone, as you would with a platter of Blueberry Grilled Cheese.
Budget-Friendly Snack: Save money without sacrificing taste; homemade never tasted this good—or cost this little!
Crispy Homemade Chickpea Crackers Ingredients
For the Crackers
• Chickpea Flour – The star ingredient that gives these crackers their unique nutty flavor and gluten-free goodness.
• Water – Essential for hydrating the chickpea flour and creating a smooth dough.
• Olive Oil – Adds richness and helps achieve that beautiful, crispy texture.
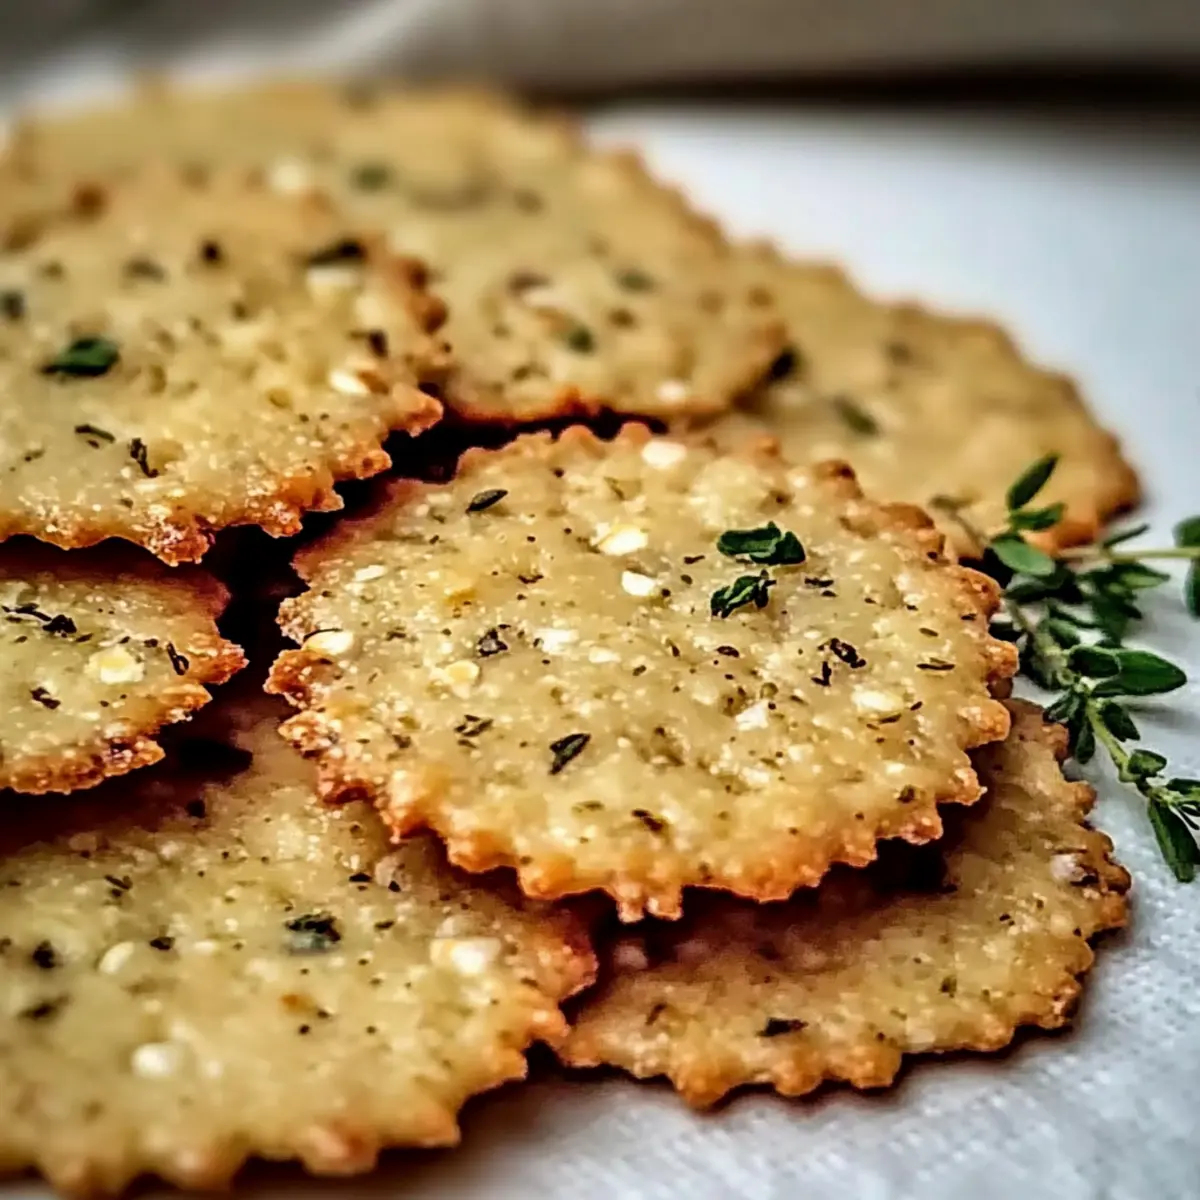
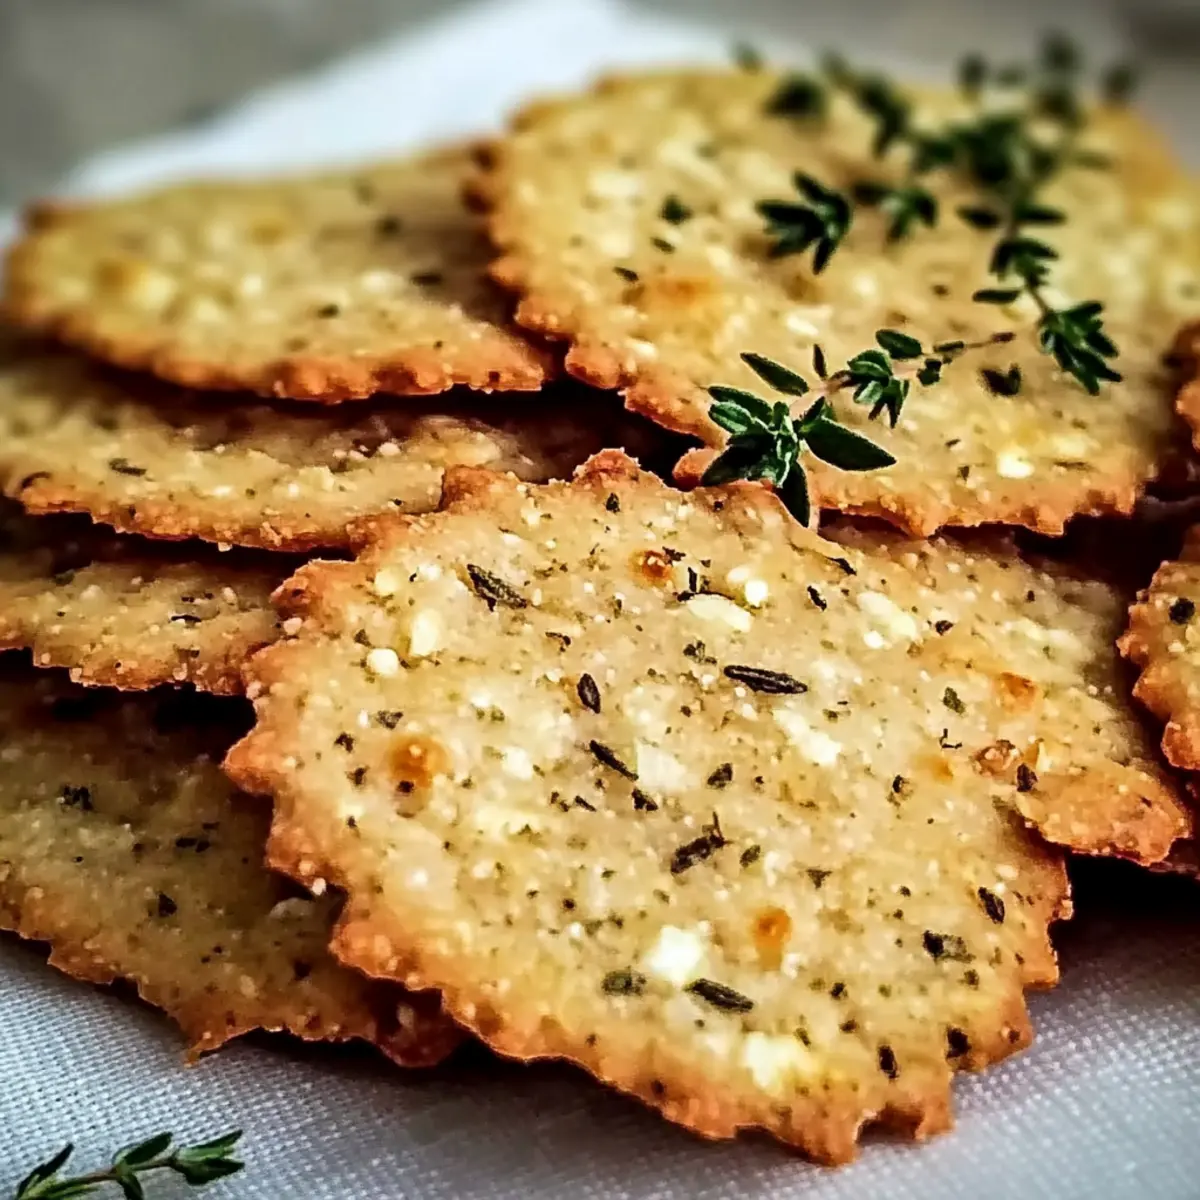
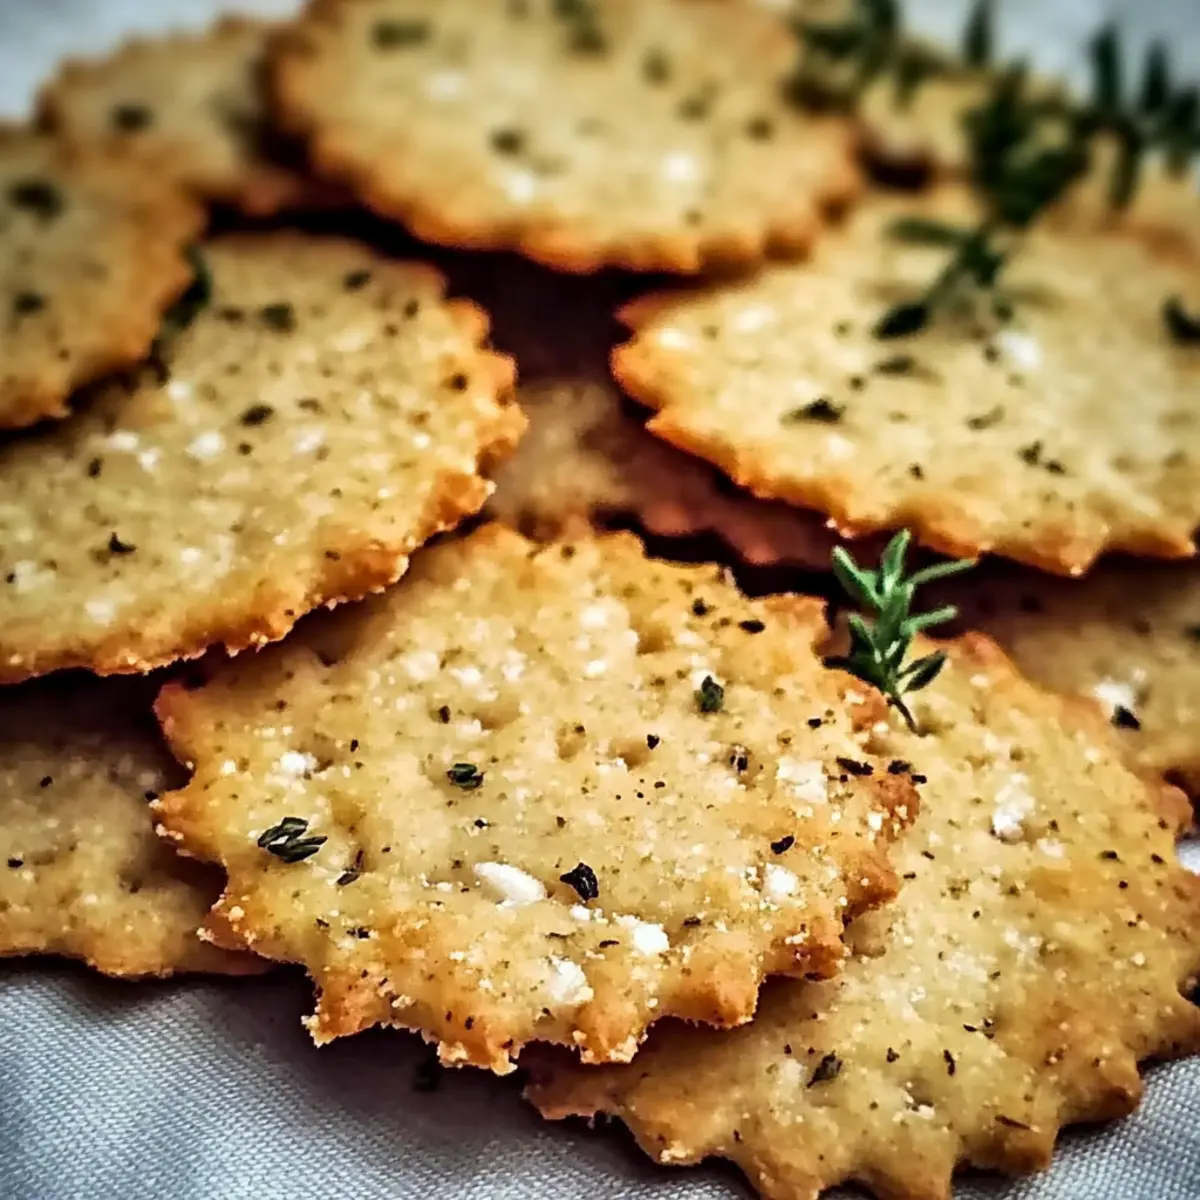
• Dried Mixed Herbs – Key for infusing Mediterranean-inspired flavors; use rosemary, thyme, or oregano according to your taste.
• Garlic Powder – Enhances the savory profile; feel free to add more if you’re a garlic lover!
• Salt – A crucial ingredient that brightens and balances flavors in every bite.
• Black Pepper – Introduces a hint of warmth and depth; adjust to your spice preference.
Optional Toppings
• Sesame Seeds – Sprinkle on top for added crunch and a nutty flavor twist.
• Flaky Sea Salt – A touch on top elevates the taste, making these crispy homemade chickpea crackers irresistible!
Step‑by‑Step Instructions for Crispy Homemade Chickpea Crackers
Step 1: Preheat the Oven
Begin by preheating your oven to 350°F (175°C). This essential step ensures that when your dough is ready, it will bake evenly, transforming into lovely, crispy homemade chickpea crackers. While the oven warms, line a baking sheet with parchment paper to prevent sticking and to make cleanup easier.
Step 2: Mix Dry Ingredients
In a large mixing bowl, thoroughly whisk together the chickpea flour, dried mixed herbs, garlic powder, salt, and black pepper until combined. This will create a flavorful base for your crackers and is crucial for ensuring the seasonings are evenly distributed throughout the dough.
Step 3: Combine Wet Ingredients
Make a well in the center of your dry mixture and pour in the olive oil along with half of the water. Stir the mixture with a spoon until it starts to come together into a cohesive dough. Gradually add the remaining water, mixing as you go, until you achieve a smooth and pliable consistency that holds together nicely.
Step 4: Knead the Dough
Transfer the dough onto a lightly floured surface. Gently knead it for about 30 seconds until it becomes smooth and elastic. Be careful not to over-knead; you want the dough for your crispy homemade chickpea crackers to remain light and airy for the best texture.
Step 5: Roll the Dough
Place the dough between two sheets of parchment paper and roll it out to a thickness of ⅛ inch (3mm). Use a sharp blade or a cookie cutter to score the dough into your desired shapes, ensuring they are evenly cut to promote uniform baking. This step is key for achieving those perfectly crunchy crackers.
Step 6: Apply Toppings
Optionally, brush the top of the rolled dough with a little olive oil or water to enhance adherence of toppings. Sprinkle sesame seeds or flaky sea salt over the surface, pressing down gently to ensure they stick. This not only adds flavor but makes your crispy homemade chickpea crackers even more appealing.
Step 7: Bake
Now, carefully transfer your scored crackers to the prepared baking sheet and bake them in the preheated oven for 15-20 minutes. Keep an eye on them, checking for golden-brown edges around the 12-minute mark. This visual cue indicates they are nearing completion and helps achieve that satisfying crunchiness.
Step 8: Cool
Once baked to golden perfection, remove the baking sheet from the oven and allow the crackers to cool on it. They will crisp up further as they cool, giving you the crunchy texture you’re aiming for in your delicious homemade chickpea crackers. Enjoy the delightful aroma while they cool!
What to Serve with Crispy Homemade Chickpea Crackers?
Transform your snack time into a delightful experience with an array of tasty pairings that compliment the warm, nutty flavors of these irresistible crackers.
-
Creamy Hummus: This traditional dip enhances the nuttiness of the crackers, creating a match made in Mediterranean heaven. A generous scoop will elevate your snacking experience.
-
Zesty Baba Ganoush: The smoky, rich flavors of baba ganoush pair beautifully, offering a delightful contrast to the crisp texture of the crackers. It will take your taste buds on a flavorful journey!
-
Tzatziki Sauce: Cool and refreshing, this yogurt-based sauce brings a creamy element that balances the savory flavors of the crackers. A spoonful adds a refreshing twist that’s perfect for warm days.
-
Charcuterie Board: Arrange your chickpea flour crackers on a platter alongside olives, nuts, and dried fruits for a stunning visual treat. It becomes the perfect conversation starter at gatherings.
-
Roasted Red Pepper Dip: Vibrant and flavorful, this dip brightens up the snacking experience while its smooth texture complements the crispiness of the crackers. A delightful dance of flavors in every bite!
-
Wine Pairing: A refreshing white wine or a light rosé can elevate the overall experience, enhancing the flavors of both the crackers and your selected dips. Cheers to great flavors!
-
Fresh Vegetables: Pair your crackers with crunchy carrots, cucumber sticks, or bell pepper strips for a wholesome and colorful touch. The variety of textures and flavors makes each bite exciting!
-
Fruit Compote: A dollop of fruit compote brings a sweet touch that contrasts wonderfully with the savory flavors of the crackers, making for an unexpectedly delightful pairing.
Make Ahead Options
Making these Crispy Homemade Chickpea Crackers in advance is a great way to save time during busy weeknights or entertaining. You can prepare the dough up to 24 hours ahead by following the steps up to rolling it out. Simply wrap the rolled-out dough tightly in parchment paper and refrigerate it to prevent it from drying out. When you’re ready to bake, just score the dough into desired shapes, apply your toppings, and pop them in the oven as per the baking instructions. This way, you’ll enjoy freshly baked, crispy crackers in no time, just as delicious as if you made them from scratch that day!
Storage Tips for Crispy Homemade Chickpea Crackers
Room Temperature: Store your crispy homemade chickpea crackers in an airtight container at room temperature for up to 1 week to maintain their delightful crunch.
Fridge: If you prefer, you can refrigerate them for up to 2 weeks; just ensure they are in a tightly sealed container to prevent moisture.
Freezer: For longer storage, freeze the uncooked rolled dough between parchment sheets for up to 3 months. This keeps the flavor and texture intact for when you’re ready to bake a fresh batch.
Reviving Softened Crackers: If your crackers soften, pop them back in a 300°F (150°C) oven for 5-10 minutes to restore that irresistible crunch.
Variations & Substitutions for Crispy Homemade Chickpea Crackers
Feel free to let your creativity roam by customizing these delightful crackers with flavors and ingredients that excite your taste buds!
-
Cheesy Vegan: Stir in nutritional yeast for a cheese-like flavor, perfect for satisfying cheesy cravings without dairy.
-
Spicy Kick: Add smoked paprika or cayenne pepper for a fiery twist! Just a pinch can pack a zesty punch that takes your crackers to the next level.
-
Herb-Infused: Swap out Mediterranean herbs for za’atar or Italian seasoning. The combinations are endless, each adding its own unique flair and fragrance.
-
Seasonal Touch: Incorporate dried pumpkin spice or cinnamon during fall for a cozy, sweet version that pairs beautifully with warm beverages.
-
Topping Variety: Get creative with toppings—try poppy seeds or everything bagel seasoning for a tasty texture twist; they add delightful crunch and flavor excitement.
-
Gluten-Free Swap: If chickpea flour isn’t your jam, substitute it with almond flour or buckwheat flour, simply adjusting the liquids as needed to maintain the right dough consistency.
-
Savory Surprise: Mix in finely chopped olives or sun-dried tomatoes to infuse your crackers with Mediterranean charm, creating an inviting tidbit bursting with flavor.
There you have it! With these variations, creating unique versions of your crispy homemade chickpea crackers will keep your snack game exciting for every occasion. Pair them with a delicious dip, like hummus or baba ganoush, and you can’t go wrong! So, what flavor adventure will you embark on next?
Expert Tips for Crispy Homemade Chickpea Crackers
• Even Thickness: Ensure your dough is rolled to ⅛ inch (3mm) for perfect crunchy crackers and to avoid any chewy bits.
• Crispiness Fix: If your crackers turn out chewy, place them back in a 300°F (150°C) oven for 5-10 minutes. This can revive them beautifully!
• Herb Use: When using fresh herbs, chop finely and reduce the quantity to maintain flavor balance in your crispy homemade chickpea crackers.
• Baking Watch: Keep an eye on your crackers, checking for golden edges around the 12-minute mark to prevent overbaking.
• Topping Tip: To enhance flavors, try brushing the dough with olive oil before adding toppings like sesame seeds or flaky sea salt.
Crispy Homemade Chickpea Crackers Recipe FAQs
How do I choose the right chickpea flour?
When selecting chickpea flour, look for a fine texture to ensure a smooth dough. You want to use high-quality, fresh flour for the best flavor and texture. If you notice any dark spots or an off smell, it’s best to find a fresher batch.
How should I store my homemade chickpea crackers?
Store your crispy homemade chickpea crackers in an airtight container at room temperature for up to 1 week. If you find they lose their crunch, you can revive them by placing them back in a preheated oven at 300°F (150°C) for 5-10 minutes.
Can I freeze chickpea cracker dough?
Absolutely! For longer storage, you can freeze the uncooked rolled dough. Simply place it between sheets of parchment paper, wrap it tightly, and store it in an airtight freezer bag for up to 3 months. When you’re ready to bake, let the dough thaw in the fridge overnight, then roll and bake as per the recipe.
What if my crackers turn out chewy?
If your crackers are chewy, don’t fret! Place them in a low oven at 300°F (150°C) for 5-10 minutes, or leave them in the turned-off oven with the door slightly ajar. This extra baking time can help achieve the perfect crunch.
Are these crackers safe for those with common allergies?
Yes, these crispy homemade chickpea crackers are gluten-free, vegan, and dairy-free, making them suitable for many dietary restrictions. However, if you have specific allergies, always double-check the individual ingredients, especially if you plan to include toppings like sesame seeds.
Crispy Homemade Chickpea Crackers: Flavorful & Fun Snack!
Ingredients
Equipment
Method
- Preheat your oven to 350°F (175°C) and line a baking sheet with parchment paper.
- In a large mixing bowl, whisk together chickpea flour, dried mixed herbs, garlic powder, salt, and black pepper.
- Pour in the olive oil and half of the water, stirring until a cohesive dough forms. Add remaining water gradually.
- Transfer the dough to a floured surface and gently knead for about 30 seconds.
- Roll the dough between two sheets of parchment paper to ⅛ inch (3mm) thick and cut into desired shapes.
- Optionally brush the top with olive oil or water, sprinkle with sesame seeds or flaky sea salt.
- Transfer to the baking sheet and bake for 15-20 minutes, checking for golden edges.
- Allow the crackers to cool on the baking sheet to achieve the desired crunch.
Leave a Reply