
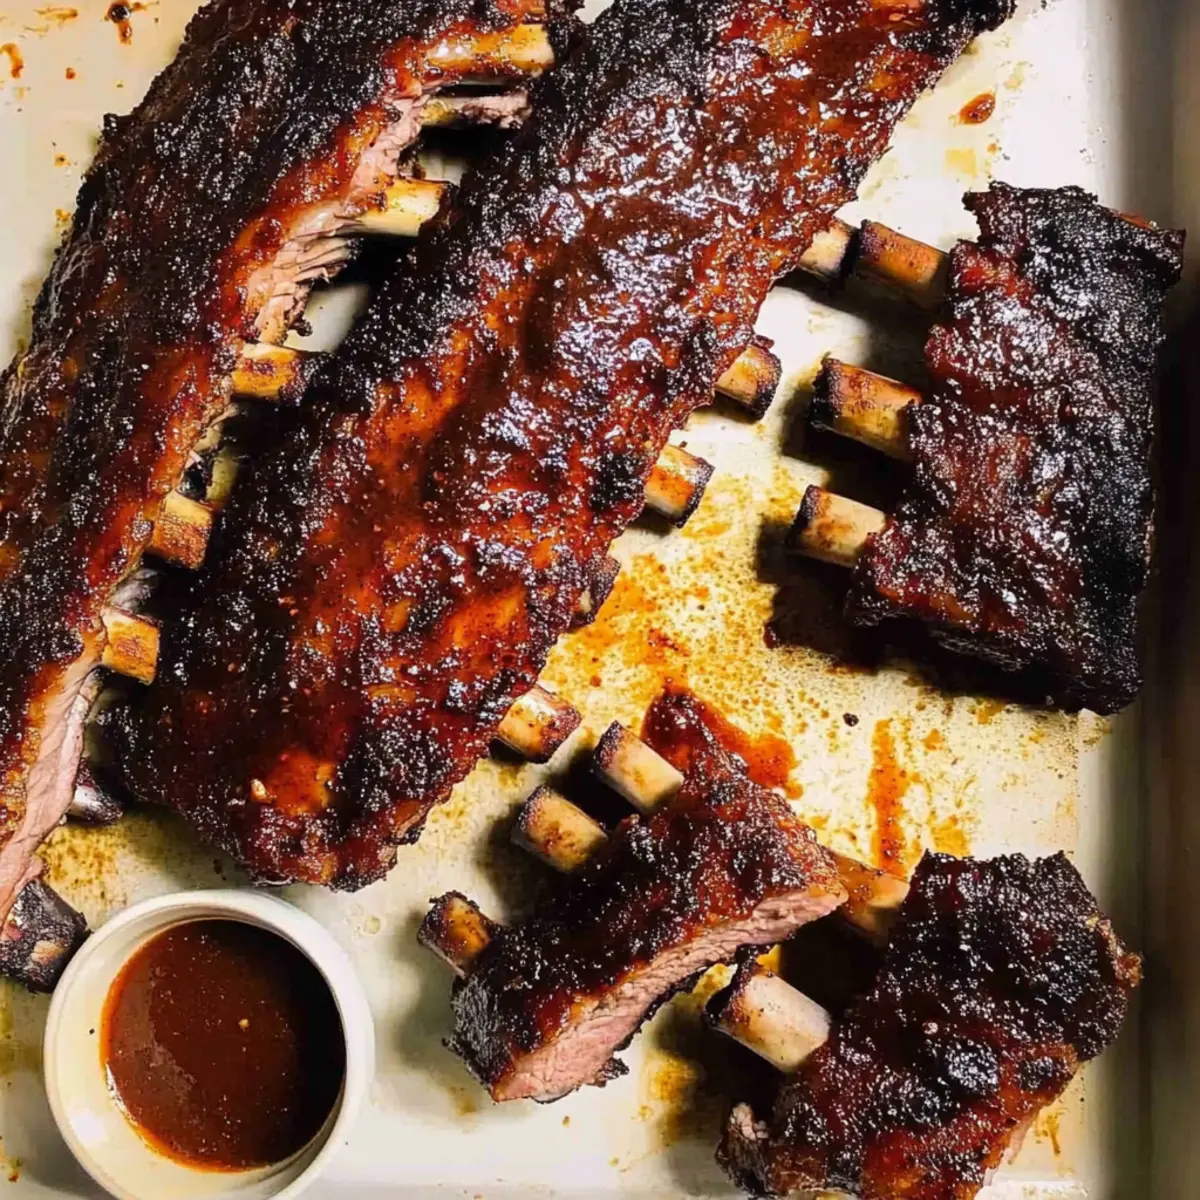
The enticing aroma of slow-baked ribs wafts through my kitchen, a comfort that turns my ordinary evening into a feast. Today, I’m thrilled to share my go-to recipe for Fall-Off-the-Bone Dry Rub Ribs, a simple yet exquisite dish that elevates any gathering. With just a handful of pantry staples, these oven-baked ribs transform into tender bites, coated in a perfectly seasoned crust that’s sure to impress. The beauty of this recipe lies not only in its easy preparation but also in its ability to serve as a crowd-pleaser—perfect for game day or a cozy family dinner. Imagine sinking your teeth into juicy, flavorful ribs without ever needing a grill; this is true kitchen magic! Ready to dive into this irresistible adventure? Let’s get started!
Why Are These Ribs So Irresistible?
Tender, Juicy Perfection: Your taste buds will rejoice as these ribs fall off the bone, delivering rich, succulent meat that keeps you coming back for more.
Savory Spice Blend: The homemade dry rub enhances every savory bite with a balance of smoky, sweet, and piquant flavors—something you won’t find at fast food joints!
Effortless Cooking: With simple steps, you can bake these ribs to perfection in the comfort of your kitchen without a grill. It’s an easy dinner solution that doesn’t skimp on flavor.
Crowd-Pleasing Appeal: Perfect for gatherings, these ribs are sure to impress friends and family alike—pair them with coleslaw or cornbread for a full experience!
Make-Ahead Magic: Prep these ribs a day in advance and let your oven do the work while you focus on the fun! Check out our serving suggestions for some great side ideas.
Fall-Off-the-Bone Dry Rub Ribs Ingredients
For the Ribs
• Baby Back Ribs – The star of the show; ensures tenderness and flavor. Remove the thick membrane for optimal tenderness.
For the Dry Rub
• Yellow Mustard – Helps the spice rub stick and tenderizes the meat. Can substitute with Dijon mustard or olive oil if allergic.
• Dark Brown Sugar – Provides sweetness and aids in caramelization. White sugar can be used as a substitute.
• Smoked Paprika – Delivers a rich smoky flavor and vibrant color. Regular paprika can be used if you prefer a milder taste.
• Chili Powder – Adds depth and a mild kick. Adjust according to your heat preference.
• Granulated Garlic & Onion – Enhances the overall flavor. Powder forms can be used instead, but reduce amounts to half.
• Ground Black Pepper – Offers a balanced spiciness. Can substitute with cracked pepper for a different texture.
• White Pepper – Adds subtle heat without overpowering the dish. Black pepper can replace it if necessary.
• Cayenne Pepper – Introduces heat, to taste. Omit for a milder rib experience.
• Smoked Sea Salt & Kosher Salt – Elevates the natural flavors of the meat. Regular salt can substitute, but it may be saltier, so adjust accordingly.
For Glazing
• BBQ Sauce – Adds a sweet, sticky finish after baking. Feel free to use your favorite BBQ sauce, whether homemade or store-bought.
Step‑by‑Step Instructions for Fall-Off-the-Bone Dry Rub Ribs
Step 1: Prep Ribs
Begin by removing the tough membrane from the back of the baby back ribs; this ensures a more tender bite. Use a sharp knife to gently lift one end of the membrane and pull it off, being careful not to tear the meat. Once done, rinse the ribs under cold water and pat them dry with paper towels for a better spice adherence.
Step 2: Apply Mustard
Brush the ribs generously on both sides with yellow mustard, which helps the dry rub adhere and aids in tenderizing the meat. Make sure to cover every inch of the ribs, as this will create a flavorful base. The coating should be even, giving the ribs a slight shine and stickiness that will hold the spices beautifully.
Step 3: Season
Create the flavorful dry rub using dark brown sugar, smoked paprika, chili powder, granulated garlic, and other spices. Generously sprinkle this mix all over both sides of the mustard-coated ribs, ensuring that every crevice is covered. Massage the spice blend in for about 5 minutes to infuse the flavors. The ribs should look nicely coated with the vibrant spices.
Step 4: Wrap in Foil
Take a large piece of aluminum foil and place the seasoned ribs curved side down in the center. Wrap the foil tightly around the ribs to create a sealed pouch, which will retain moisture during baking. Make sure the seams are well-pressed to prevent any juices from escaping. This step is crucial for achieving that fall-off-the-bone tenderness in your dry rub ribs.
Step 5: Bake
Preheat the oven to 275°F (135°C). Place the wrapped ribs on a baking sheet to catch any drips and bake them in the oven for approximately 2.5 hours. You’ll know they’re done when the ribs are tender and the aromatic scent fills your kitchen, signaling that they are well on their way to being fall-off-the-bone delicious.
Step 6: Check Temperature
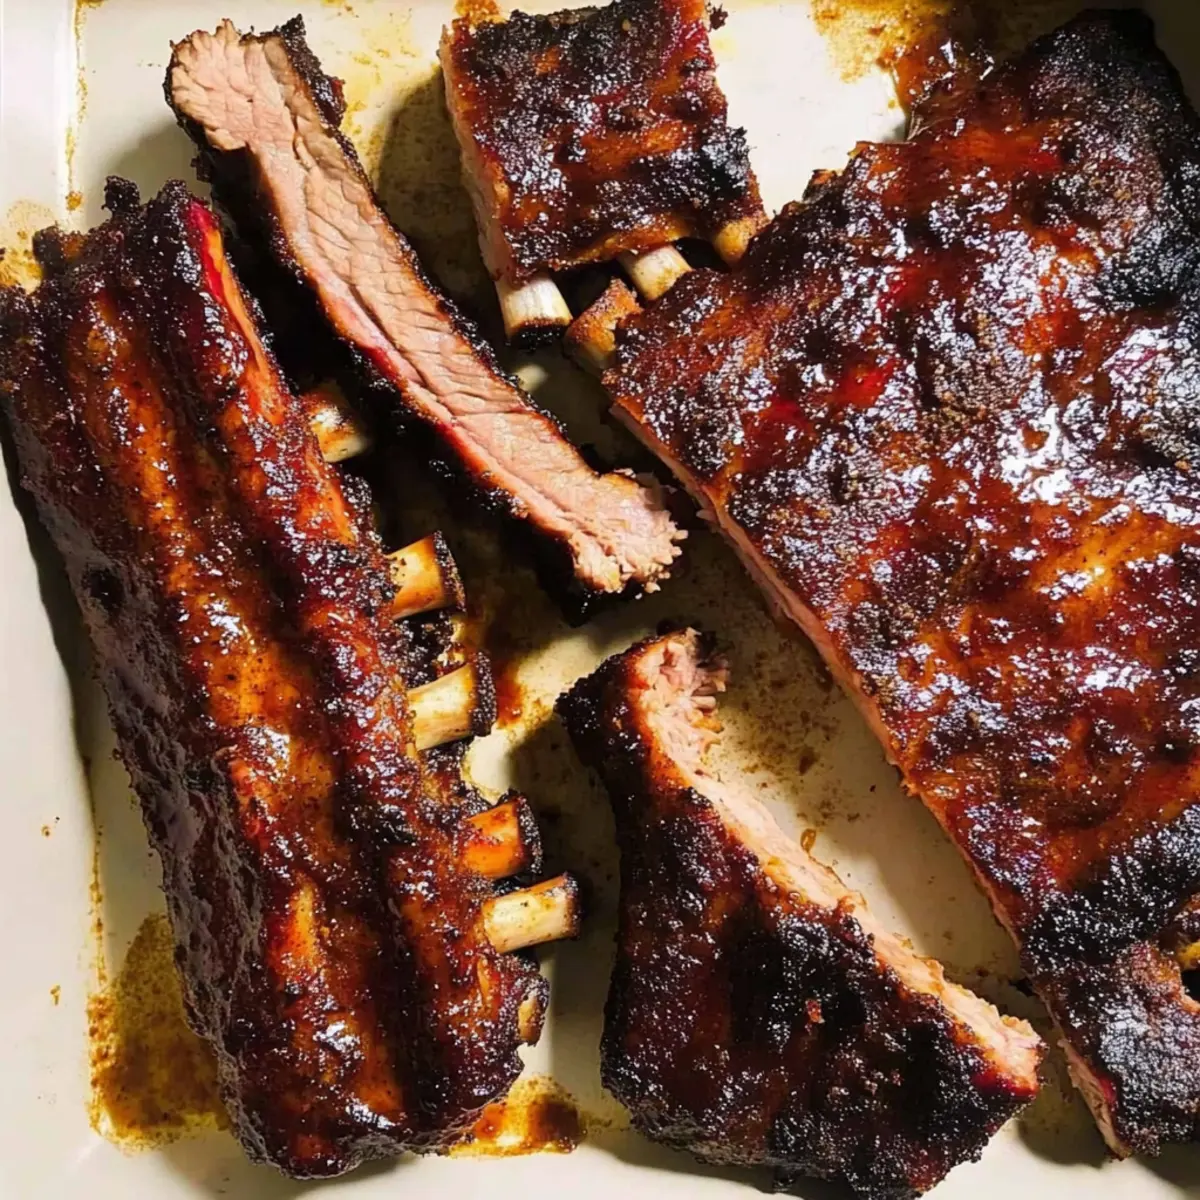
After 2.5 hours, carefully unwrap the foil to check the internal temperature of the ribs, which should be between 190°F and 200°F for that perfect fall-off-the-bone texture. Use a meat thermometer inserted between the bones to ensure accuracy. If they’re not quite there, rewrap and return them to the oven for another 15-30 minutes.
Step 7: Grill/Broil
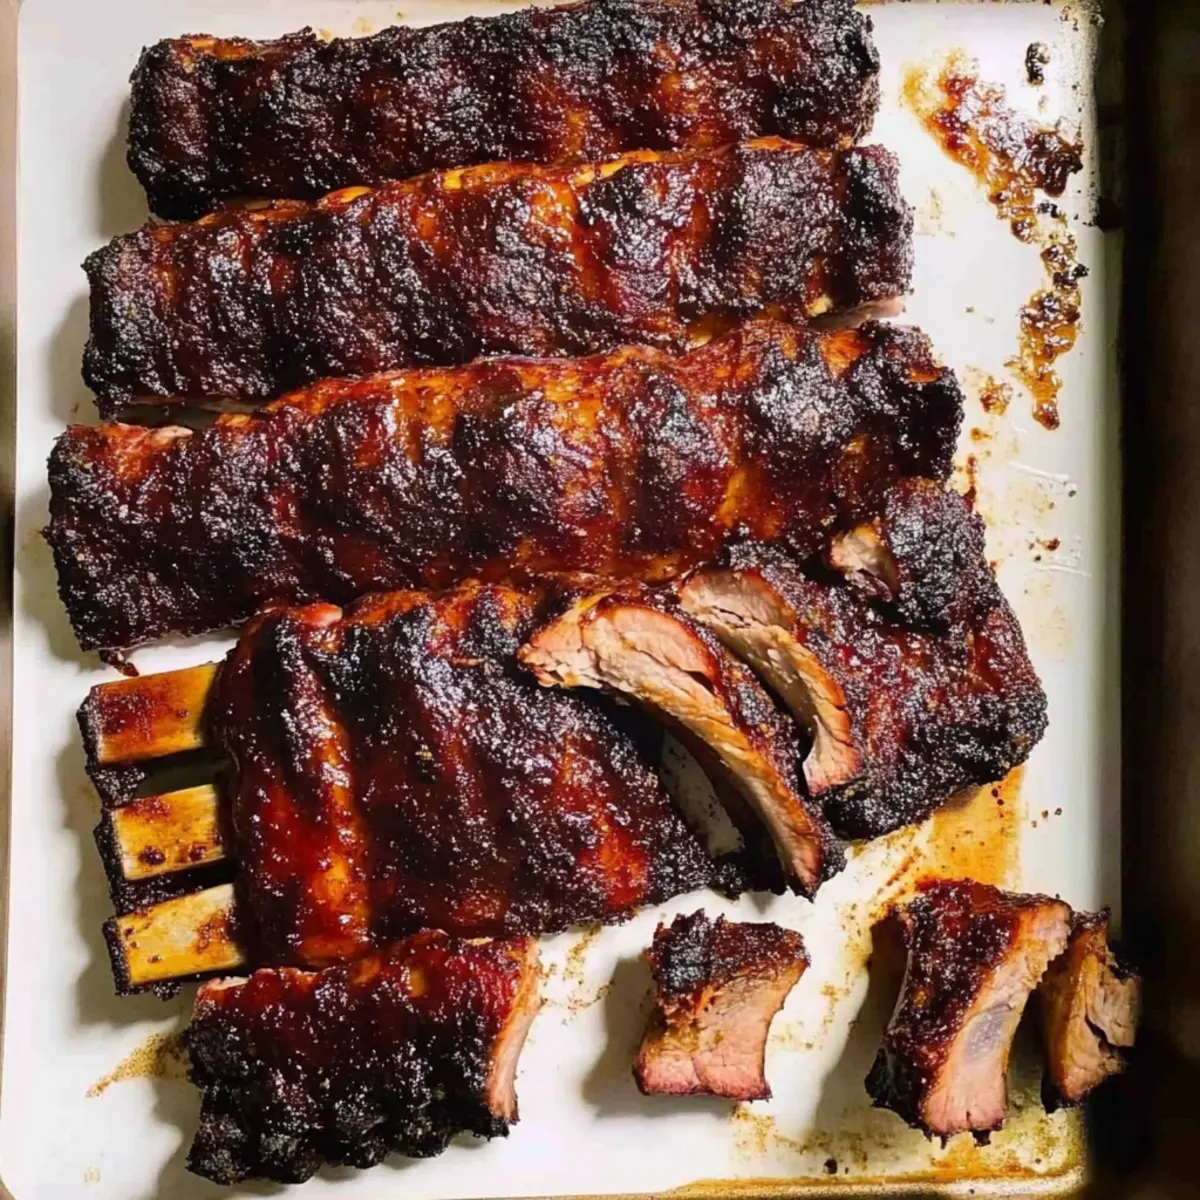
For added caramelization, you can finish the ribs on a grill set to 350°F (175°C) for about 10 minutes. Brush your favorite BBQ sauce over the ribs, turning occasionally until they are beautifully charred and sticky. Alternatively, broil the unwrapped ribs in the oven for a few minutes to achieve a similar effect. Watch closely to avoid burning!
Step 8: Slice & Serve
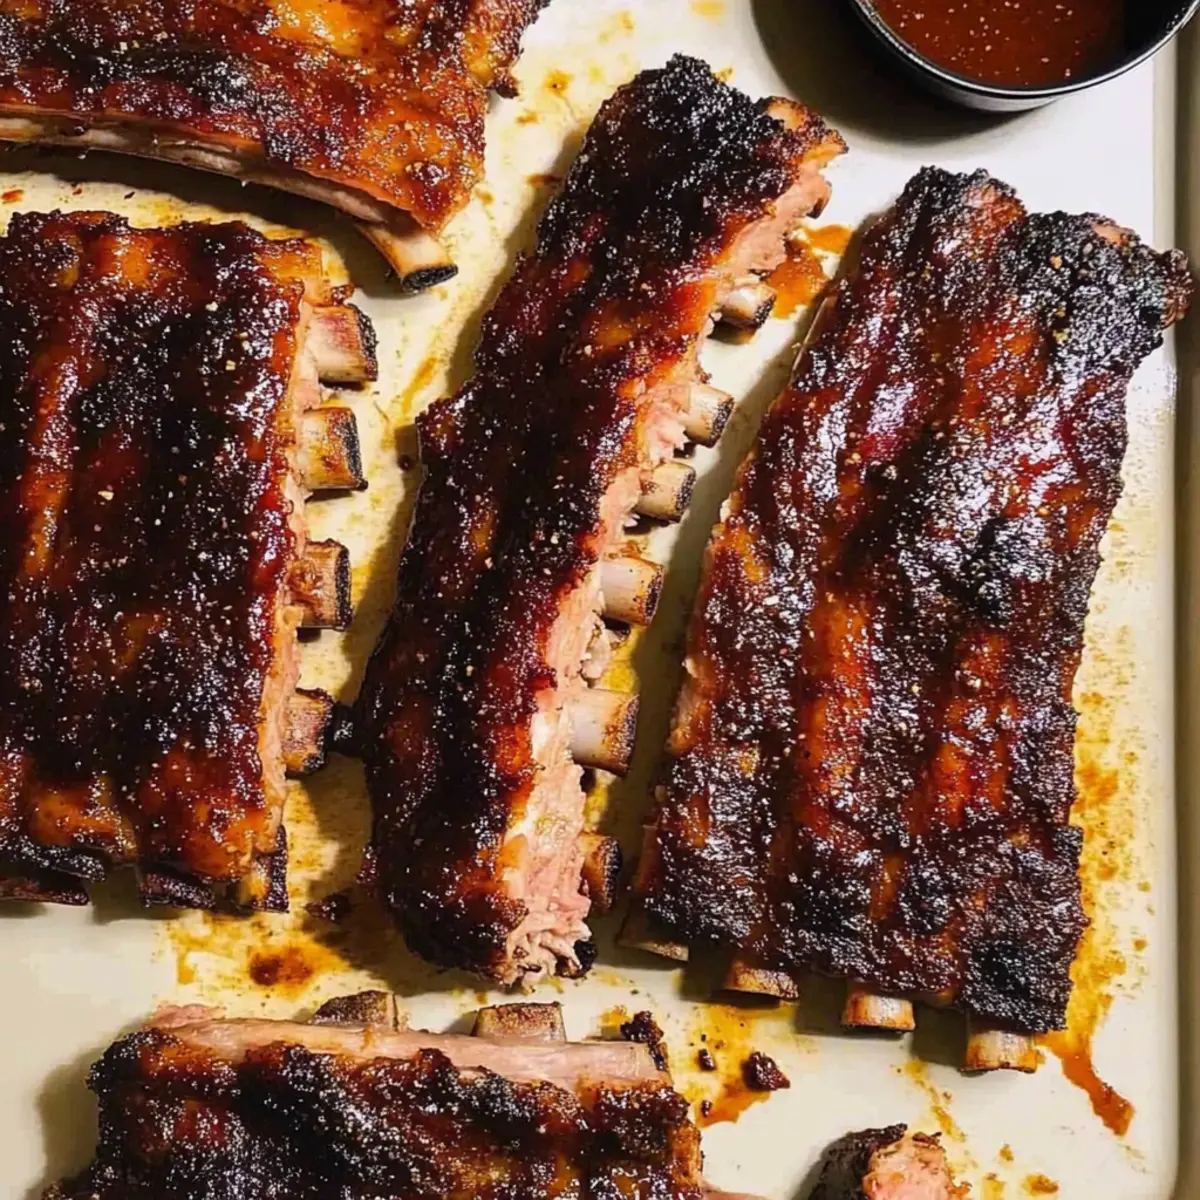
Once the ribs are beautifully cooked and glazed, let them rest for a few minutes. Use a sharp knife to slice between the bones for perfectly portioned servings. Serve your fall-off-the-bone dry rub ribs with additional BBQ sauce on the side for dipping. Pair them with your favorite sides like coleslaw or cornbread for a true feast!
What to Serve with Fall-Off-the-Bone Dry Rub Ribs
A delicious meal awaits, combining flavors and textures that will elevate your dinner experience.
-
Creamy Coleslaw: The crunchy freshness of coleslaw contrasts beautifully with tender ribs, adding a refreshing bite and color to your plate.
-
Baked Beans: Sweet and savory baked beans complement the smoky ribs, creating a warm, hearty side that everyone will love.
-
Cornbread Muffins: Their slightly sweet flavor and fluffy texture balance the boldness of the ribs, making each bite satisfying and delightful.
-
Grilled Vegetables: Lightly charred zucchini and bell peppers add a fresh crunch, enhancing the meal with their colorful, vibrant essence.
-
Potato Salad: Creamy potato salad, with its rich flavors, is a classic pairing that fills out the meal while bringing a delightful contrast to the ribs.
-
Pickle Chips: The acidity of pickle chips acts as a tangy contrast to the rich, savory ribs, cutting through the sauce for a balanced bite.
-
Iced Tea: Especially sweet tea, offers a refreshing sip that complements the smoky flavors of the ribs while cooling down the palate beautifully.
-
Chocolate Cake: End your meal on a sweet note with moist chocolate cake, perfect for satisfying any sweet tooth after a savory feast.
-
Apple Pie: A slice of homemade apple pie offers warm spices and a comforting end to your ribs, capturing the essence of home-cooked love.
Expert Tips for Fall-Off-the-Bone Dry Rub Ribs
-
Membrane Removal: Ensure you remove the tough membrane on the back of the ribs; this is crucial for achieving that tender and juicy texture.
-
Low and Slow Baking: Baking the ribs at a low temperature (275°F) allows for the meat to become incredibly tender. Don’t rush the process!
-
Foil Wrapping: Seal the ribs tightly in aluminum foil to trap moisture. A well-wrapped rib will result in the best fall-off-the-bone results.
-
Internal Temperature Check: Use a meat thermometer to check that the internal temperature reaches 190°F-200°F, ensuring optimal tenderness.
-
Grill or Broil Finish: For that perfect glaze, finish the ribs on a grill or under the broiler. This adds a delicious caramelized crust without drying out the meat.
-
Quality BBQ Sauce: Choose a good quality BBQ sauce for glazing. The sauce enhances the flavor and adds a sticky, irresistible finish to your fall-off-the-bone dry rub ribs.
How to Store and Freeze Fall-Off-the-Bone Dry Rub Ribs
Fridge: Store leftover ribs in an airtight container for up to 3 days. Reheat gently in the oven, covered with foil, to maintain moisture.
Freezer: For longer storage, wrap cooked ribs tightly in plastic wrap and aluminum foil, freezing for up to 3 months. Thaw in the fridge before reheating.
Reheating: When you’re ready to enjoy your ribs, reheat them in the oven at 300°F (150°C) until warmed through, about 20-30 minutes. Add BBQ sauce before serving for extra flavor.
Make-Ahead Tip: You can season the ribs, wrap them, and store them in the fridge a day in advance to save time on meal day.
Make Ahead Options
These Fall-Off-the-Bone Dry Rub Ribs are perfect for busy home cooks looking to save time without sacrificing flavor! You can prepare the ribs up to 24 hours in advance by removing the membrane, applying the yellow mustard, and generously seasoning with the dry rub. After wrapping the seasoned ribs tightly in aluminum foil, store them in the refrigerator. This advanced prep ensures the flavors meld beautifully while keeping the meat fresh. When you’re ready to bake, simply preheat your oven, unwrap the ribs, and follow the baking instructions. You’ll enjoy tender, flavorful ribs with minimal effort, making mealtime a breeze!
Fall-Off-the-Bone Dry Rub Ribs: Customizable Ideas
Feel free to unleash your creativity and personalize these ribs with delightful twists that will tantalize your taste buds!
-
Gluten-Free: Use a gluten-free BBQ sauce or substitute Worcestershire sauce to keep your ribs safe and scrumptious.
-
Spicy Kick: Add a pinch of cayenne pepper or crushed red pepper flakes to the dry rub for an extra layer of heat. Your taste buds will tingle with excitement!
-
Sweetness Adjustment: Swap dark brown sugar with maple syrup for a unique flavor profile and a hint of natural sweetness that pairs beautifully with the smoky spices.
-
Herb Infusion: Elevate the flavor profile with fresh herbs like rosemary or thyme; add them to the foil wrap before baking for an aromatic enhancement that’s simply irresistible.
-
Vegetarian Option: Try this spice rub on hearty eggplant or cauliflower ribs. They soak up flavors wonderfully, offering a delightful plant-based twist to the classic recipe.
-
Apple Cider Glaze: Incorporate apple cider into the BBQ sauce for a tangy sweetness that’s especially delightful during fall. It’s like a warm hug in every bite!
-
Seasoned Crunch: Top the finished ribs with crushed fried onions for added texture and a savory crunch that takes your ribs to the next level.
-
Smoky Twist: If you have a smoker, try adding wood chips for an even deeper smoky flavor; it’ll give your ribs that outdoor-grilled charm without firing up the grill.
Whatever you choose, let your imagination run wild! For some great side ideas to accompany your delicious ribs, check out our serving suggestions.
Fall-Off-The-Bone Dry Rub Ribs Recipe FAQs
How do I choose the best ribs for this recipe?
Look for baby back ribs that are well-marbled and fresh. The meat should be a nice pink color without any dark spots, which indicate spoilage. Generally, the thicker the ribs, the more meat you’ll get, but I recommend opting for those that feel firm and have a good amount of fat, as this contributes to juiciness.
What is the best way to store leftover ribs?
To store leftovers, place the ribs in an airtight container in the refrigerator. They will stay fresh for up to 3 days. When you reheat them, cover with foil in the oven to keep the meat moist, warming at a low temperature to avoid drying out.
Can I freeze my fall-off-the-bone dry rub ribs?
Absolutely! Wrap the cooked ribs tightly in plastic wrap followed by aluminum foil to prevent freezer burn. They can be frozen for up to 3 months. When you’re ready to eat them, move them to the fridge for an overnight thaw and then reheat in the oven at 300°F for about 20-30 minutes, adding some BBQ sauce for extra moisture.
What should I do if my ribs don’t reach the desired tenderness?
If your ribs aren’t tender enough after baking, simply rewrap them in foil and return them to the oven at 275°F for another 15-30 minutes. Check the temperature to ensure it reaches between 190°F and 200°F, which is essential for that fall-off-the-bone texture.
Are there any dietary considerations I should keep in mind?
If cooking for guests with dietary restrictions, always double-check the ingredients in your BBQ sauce and dry rub for potential allergens. The mustard and certain spices might not be suitable for those with allergies, so feel free to substitute with safe alternatives. Opt for gluten-free mustard and sugar if needed!
Can I make these ribs ahead of time?
Yes! You can season and wrap the ribs a day in advance. Store them in the fridge, and when it’s time to bake, just pop them in the oven as per the instructions. This make-ahead tip is a real time-saver, allowing you to focus on enjoying your gathering without fussing over the cooking!
Fall-Off-the-Bone Dry Rub Ribs: Juicy, Flavorful, and Easy
Ingredients
Equipment
Method
- Begin by removing the tough membrane from the back of the baby back ribs; this ensures a more tender bite. Use a sharp knife to gently lift one end of the membrane and pull it off, being careful not to tear the meat. Once done, rinse the ribs under cold water and pat them dry with paper towels for a better spice adherence.
- Brush the ribs generously on both sides with yellow mustard, which helps the dry rub adhere and aids in tenderizing the meat. Make sure to cover every inch of the ribs, as this will create a flavorful base.
- Create the flavorful dry rub using dark brown sugar, smoked paprika, chili powder, granulated garlic, and other spices. Generously sprinkle this mix all over both sides of the mustard-coated ribs, ensuring that every crevice is covered. Massage the spice blend in for about 5 minutes to infuse the flavors.
- Take a large piece of aluminum foil and place the seasoned ribs curved side down in the center. Wrap the foil tightly around the ribs to create a sealed pouch, which will retain moisture during baking.
- Preheat the oven to 275°F (135°C). Place the wrapped ribs on a baking sheet to catch any drips and bake them in the oven for approximately 2.5 hours.
- After 2.5 hours, carefully unwrap the foil to check the internal temperature of the ribs, which should be between 190°F and 200°F for that perfect fall-off-the-bone texture.
- For added caramelization, you can finish the ribs on a grill set to 350°F (175°C) for about 10 minutes. Brush your favorite BBQ sauce over the ribs, turning occasionally until they are beautifully charred and sticky.
- Once the ribs are beautifully cooked and glazed, let them rest for a few minutes. Use a sharp knife to slice between the bones for perfectly portioned servings.
Leave a Reply