
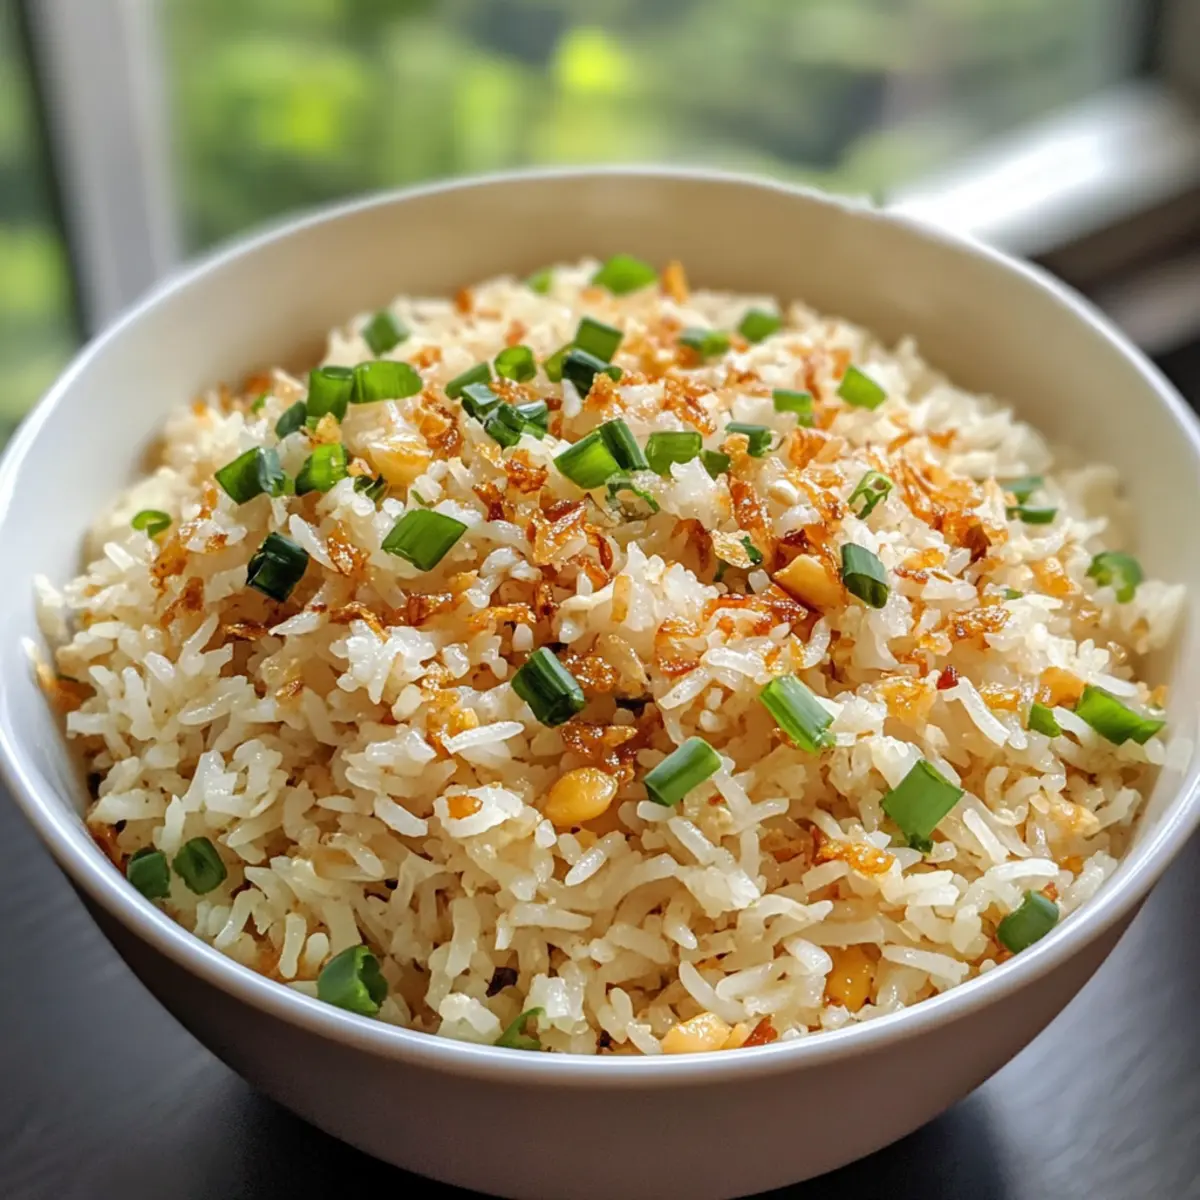
The enticing aroma of garlic wafting through the air immediately transports me back to countless family gatherings, where Sinangag—Filipino Garlic Fried Rice—was a comforting staple on our table. This easy-to-make dish is not just a delightful way to use up leftover rice but also a trusty side that can elevate any meal, making it a true crowd-pleaser. With only a handful of ingredients and the freedom to customize with your favorite vegetables or proteins, Sinangag is perfect for anyone seeking a quick, satisfying comfort food option. Whether you’re looking for a hearty breakfast or a flavorful side for dinner, this dish truly embodies the essence of home cooking. Are you ready to bring a touch of Filipino flavor to your kitchen?
Why is Garlic Fried Rice So Irresistible?
Simplicity at Its Best: This Filipino garlic fried rice is incredibly straightforward to prepare—perfect for both novice cooks and seasoned chefs.
Customization Freedom: With options for adding various proteins or vegetables, every meal can be a new experience!
Comfort Food Vibes: There’s nothing like the comforting aroma of garlic sizzling on the stove, creating delicious memories with every bite.
Perfect for Meal Prep: Whip up a big batch to enjoy throughout the week—just reheat for quick breakfasts or sides!
Crowd-Pleasing Delight: Whether served at a family gathering or a casual dinner with friends, Sinangag will have everyone coming back for seconds.
This recipe is your ticket to quick, flavorful meals that feel like a warm hug. Pair it with Sticky Garlic Chicken for an unforgettable dining experience!
Filipino Garlic Fried Rice Ingredients
• Perfect for customizing to your taste!
For the Rice
- Cooked White Rice (4 cups) – Day-old rice is best for a fluffy texture.
For the Flavor
- Minced Garlic (5-6 cloves) – Adjust the amount based on your love for garlic’s aromatic punch.
- Vegetable Oil (2 tablespoons) – Essential for sautéing and achieving that perfect fried rice texture.
- Salt (1 teaspoon) – Enhances all flavors; feel free to adjust for personal preference.
- Black Pepper – Adds a mild warmth; season to your liking.
For the Garnish
- Chopped Green Onions (optional) – Adds a fresh touch and vibrant color to your dish.
Feel free to explore variations by adding proteins or vegetables to create your own unique take on this Filipino garlic fried rice!
Step‑by‑Step Instructions for Filipino Garlic Fried Rice
Step 1: Heat the Oil
In a large skillet or wok, pour in 2 tablespoons of vegetable oil and heat over medium heat. Allow the oil to warm for about 1-2 minutes until shimmering but not smoking. This step is crucial as it will create the perfect base for flavor as we sauté the garlic for our Filipino Garlic Fried Rice.
Step 2: Sauté Garlic
Add 5-6 cloves of minced garlic to the hot oil, stirring constantly for about 2-3 minutes. Cook until the garlic turns golden brown, releasing its wonderful aroma. Keep a close eye to ensure it doesn’t burn, as this can impart a bitter taste. This step is key to the unforgettable flavor of your Sinangag.
Step 3: Add Rice
Once the garlic is perfectly sautéed, introduce 4 cups of cooked white rice into the skillet. Using a spatula, break up any clumps gently as you stir the rice into the aromatic garlic. Allow it to mix thoroughly for about 2 minutes, ensuring that each grain is infused with that heavenly garlic flavor.
Step 4: Mix Thoroughly
Continue to stir the rice diligently for another 2-3 minutes, maintaining an even distribution of garlic throughout. The goal is to ensure every bite of your Filipino Garlic Fried Rice is flavorful and satisfying. Watch for the rice to warm through and start to take on a light golden hue.
Step 5: Season
Sprinkle 1 teaspoon of salt and add black pepper to taste over your rice mixture. Stir well to incorporate the seasoning evenly. Taste the rice to determine if you need to adjust the seasoning—a little extra salt or pepper can elevate the flavors beautifully.
Step 6: Fry
Increase the heat to medium-high and let the Sinangag cook for an additional 5-7 minutes. Stir occasionally, allowing the rice to crisp up slightly and heat through. You’ll know it’s ready when the rice develops a beautiful toasted color and a slightly crispy texture—not too hard, just enough for that delightful crunch.
Step 7: Garnish & Serve
Once cooked, remove the skillet from heat and transfer your fragrant Filipino Garlic Fried Rice to a serving platter. If desired, garnish with chopped green onions for a burst of color and freshness. Serve this comforting dish hot, either as a stand-alone treat or as a delicious side to accompany your favorite mains.
Make Ahead Options
These Filipino Garlic Fried Rice are perfect for busy home cooks looking to streamline their meal prep! You can prepare the rice and sauté the garlic up to 24 hours ahead of time; simply refrigerate them in an airtight container after cooking. When it’s time to enjoy your Sinangag, reheat the rice and garlic mixture in a skillet, adding a splash of oil to prevent sticking. For added flavor, you can also mix in any proteins or vegetables you desire at this stage. Just be sure to taste and adjust the seasonings before serving, and you’ll have a delightful and comforting dish ready in no time!
Expert Tips for Sinangag
-
Use Day-Old Rice: Ensure the rice is a day old for the best texture. Freshly cooked rice can get too sticky, resulting in mushy Sinangag.
-
Watch the Garlic: Sauté the minced garlic until golden but not burnt, as burnt garlic can turn bitter and spoil the flavor of your Filipino Garlic Fried Rice.
-
Gradual Seasoning: Start with the suggested salt, taste frequently, and adjust as needed. It’s easier to add more seasoning than to fix an overly salty dish.
-
High Heat at the End: Increase the heat during the last frying stage to create that delightful crispy texture without overcooking the rice.
-
Customize Wisely: If adding vegetables or protein, make sure they’re cooked beforehand to prevent the rice from steaming and becoming soggy.
Filipino Garlic Fried Rice Variations
Feel free to explore and customize your Sinangag, enhancing flavors and textures that suit your taste buds!
-
Vegetable Boost: Add diced vegetables like peas, carrots, or bell peppers for a colorful mix. This adds both nutrition and crunch, making each bite a delightful surprise!
-
Protein-Packed: Incorporate cooked chicken, shrimp, or tofu for a filling main course. This twist turns your garlic fried rice into a complete meal that your family will love.
-
Spicy Kick: Mix in sliced chili peppers or sprinkle chili flakes for a thrilling heat. The spice complements the garlic beautifully, creating a flavor explosion that warms the soul.
-
Cheesy Delight: Add shredded cheese during frying for a creamy texture. The melted cheese mingles with garlic flavors, adding a comfort food twist that’s hard to resist.
-
Herb Infusion: Boost freshness by mixing in chopped herbs like cilantro or parsley at the end. It brightens up the dish and adds a refreshing layer of flavor.
-
Smoky Flavor: Toss in some smoked paprika or a splash of liquid smoke for a depth of flavor. This unique twist takes your Sinangag from simple to extraordinary!
-
Coconut Twist: Substitute a bit of vegetable oil with coconut oil, and add shredded coconut for a tropical vibe. This variation brings warmth and a hint of sweetness to every bite.
-
Nutty Crunch: Top with toasted sesame seeds or crushed nuts for an unexpected crunch. The added texture elevates this simple dish into something special, perfect for impressing guests.
Experimenting with these variations can elevate your Sinangag experience! Pair it with Sticky Garlic Chicken for a meal that feels like a hug on a plate or try it alongside Cheesy Honey Garlic for a delightful dinner option!
Storage Tips for Filipino Garlic Fried Rice
Fridge: Store leftover Sinangag in an airtight container for up to 3-4 days. Be sure to let the rice cool completely before sealing to maintain optimal texture.
Freezer: If you want to keep your Filipino Garlic Fried Rice longer, freeze it in an airtight container or heavy-duty freezer bag for up to 1 month. Label with the date for easy tracking!
Reheating: When you’re ready to enjoy it again, reheat in a skillet over medium heat with a splash of water or oil to help restore moisture. Stir frequently until heated through and slightly crispy.
Room Temperature: Avoid leaving Sinangag out at room temperature for more than 2 hours to ensure food safety and maintain its deliciousness.
What to Serve with Sinangag?
Enjoy Sinangag as part of a satisfying meal that tantalizes your taste buds and warms your heart.
-
Crispy Fried Eggs: The runny yolk adds richness that beautifully balances the garlicky rice.
-
Tocino: This sweet, savory pork dish pairs perfectly with Sinangag’s flavors, making each bite a delightful contrast.
-
Longganisa: Juicy Filipino sausage brings a meaty complement, enhancing the comfort food experience.
-
Lumpiang Shanghai: Crispy spring rolls add crunch and freshness, making for a colorful and exciting plate.
-
Pickled Vegetables: Tangy pickles brighten up the dish, providing a refreshing contrast to the rich garlic notes.
-
Fresh Tomato Salad: Juicy tomatoes offer a cool and revitalizing element that lightens the meal.
-
Soy Sauce Drizzle: A splash of soy sauce can introduce a savory depth, making every bite even more satisfying.
-
Calamansi Juice: This refreshing drink cuts through the richness and ties the meal together with its zesty notes.
-
Halo-Halo for Dessert: End the meal with this refreshing Filipino dessert—sweet, icy, and bursting with flavors!

Sinangag (Filipino Garlic Fried Rice) Recipe FAQs
What type of rice should I use for Sinangag?
Absolutely! For the best texture in your Sinangag, I recommend using day-old cooked white rice. Freshly cooked rice tends to be sticky and can become mushy when frying. Day-old rice is drier and has a fluffier consistency, making it easier to get that desired texture.
How do I store leftover Sinangag?
After enjoying your delicious Sinangag, transfer any leftovers to an airtight container. It will keep well in the refrigerator for 3-4 days. Make sure it’s cooled to room temperature before storing to maintain the right texture. If you find yourself with too much Sinangag, freezing is a fantastic option!
Can I freeze Sinangag?
Very! To freeze your Sinangag, allow it to cool completely and then pack it into a freezer-safe container or heavy-duty freezer bag. Be sure to remove as much air as possible and label it with the date. It can be stored in the freezer for up to 1 month. When you’re ready to enjoy it again, simply reheat it in a skillet with a little oil or water to bring back moisture.
How can I prevent my garlic from burning?
Watching the garlic is crucial! To prevent burning, sauté the minced garlic over medium heat, stirring constantly for 2-3 minutes until it turns golden brown. If it shows signs of darkening too quickly, reduce the heat immediately. Burnt garlic can lead to a bitter taste in your Sinangag, which we certainly want to avoid!
Is Sinangag gluten-free?
Yes, Sinangag is naturally gluten-free, as long as you ensure that any sauces or additional ingredients you incorporate are also gluten-free. If you’re using soy sauce or other condiments, check labels carefully, as some variations may contain gluten. Enjoy customizing your dish without worry!
Can I add vegetables or proteins to Sinangag?
The more the merrier! Sinangag is incredibly versatile. You can enhance it by adding diced vegetables like peas, carrots, or bell peppers, or protein such as cooked chicken, shrimp, or tofu. Just make sure that any fresh ingredients are pre-cooked before adding them to the rice to maintain the right texture.
Filipino Garlic Fried Rice: Comfort in Every Savory Bite
Ingredients
Equipment
Method
- Heat the oil in a large skillet or wok over medium heat for 1-2 minutes until shimmering but not smoking.
- Add the minced garlic and sauté for about 2-3 minutes until golden brown.
- Introduce the cooked white rice, breaking up any clumps and mixing with the garlic thoroughly for about 2 minutes.
- Continue to stir the rice for another 2-3 minutes, ensuring even flavor distribution.
- Season with salt and black pepper to taste, adjusting as needed.
- Increase the heat and cook for an additional 5-7 minutes, stirring occasionally, until the rice is crispy.
- Remove from heat, garnish with chopped green onions if desired, and serve hot.
Leave a Reply