
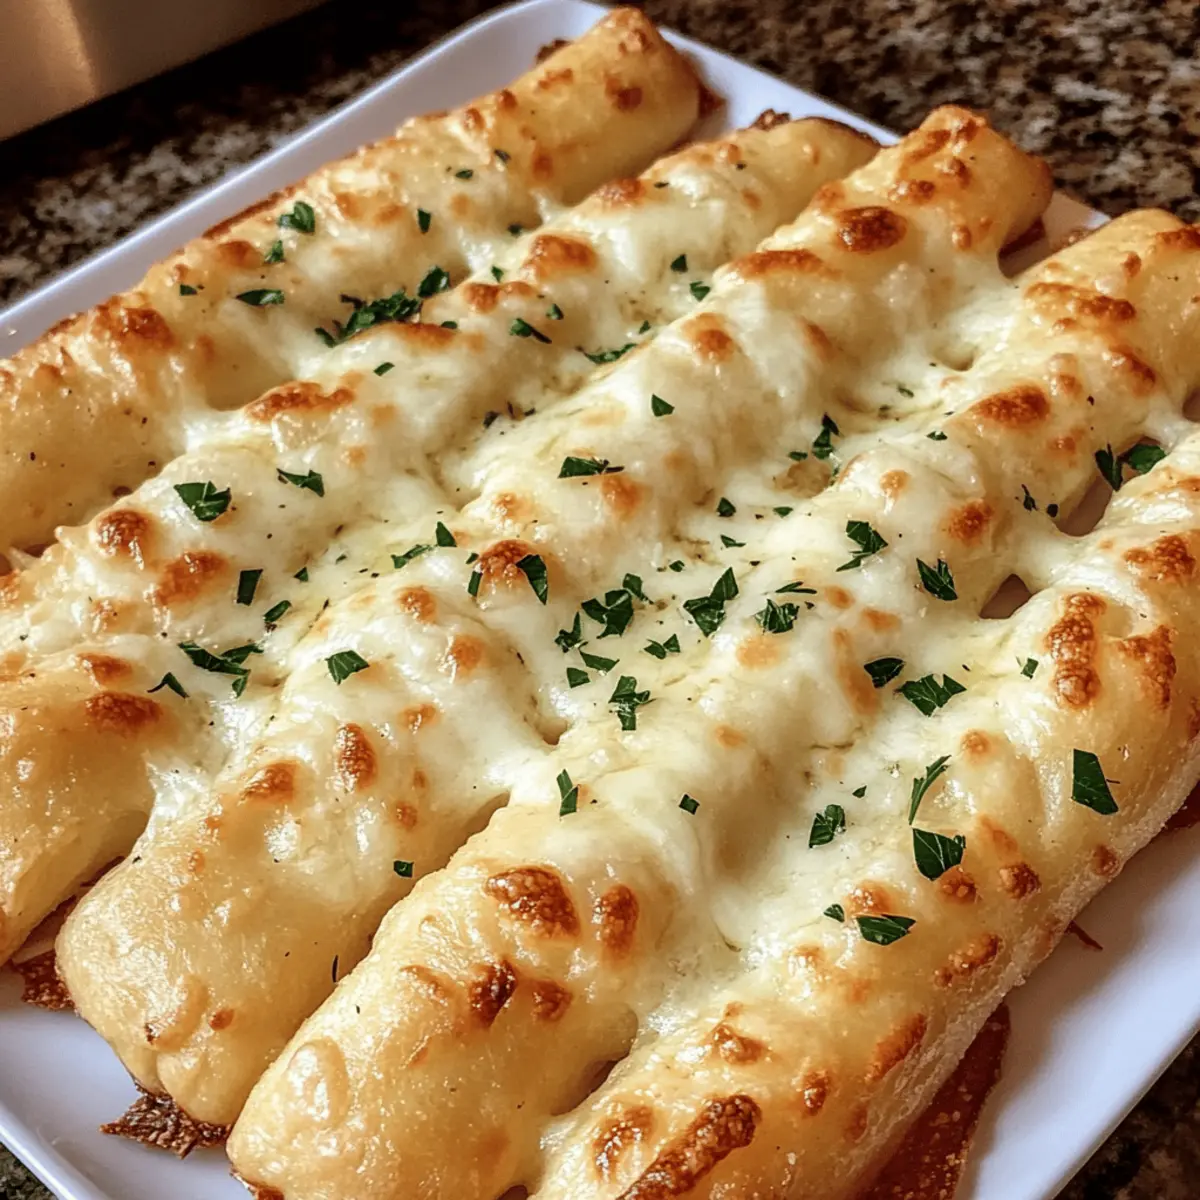
As the aroma of warm, buttery garlic fills the kitchen, I can’t help but smile at the anticipation of my favorite comfort food: Homemade Cheesy Garlic Breadsticks. This easy recipe combines simple ingredients to create a gooey, cheesy delight that pairs perfectly with any meal or stands alone as an irresistible snack. Not only are these breadsticks a crowd-pleaser, but they also provide a fantastic opportunity for customization—add herbs or a spicy kick to make them your own! Whether it’s a cozy family dinner or a lively gathering with friends, these melt-in-your-mouth treats will surely impress. Curious about how to achieve that perfect golden crust? Let’s dive into this deliciously satisfying recipe together!
Why Are These Breadsticks So Irresistible?
Comforting and warm, these Homemade Cheesy Garlic Breadsticks are like a hug in food form, perfect for any meal. Quick and easy to prepare, you’ll have them ready in no time—a fantastic option for busy weeknights! Customizable with herbs or spices, you can tailor them to your taste, whether you prefer a touch of heat or herby freshness. Perfect for sharing, they are great for parties or family dinners, making everyone feel special. Don’t forget to pair them with marinara sauce for an extra dip of flavor, just like with our Cheesy Dynamite Chicken or Sticky Garlic Chicken for an unforgettable meal!
Homemade Cheesy Garlic Breadsticks Ingredients
For the Dough
• Warm Water – Activates yeast for dough rise; make sure it’s warm, not hot, to keep the yeast thriving.
• Active Dry Yeast – Ferments the dough for leavening; instant yeast can be used as a quicker alternative.
• Sugar – Feeds the yeast; optional but can enhance browning and flavor significantly.
• All-Purpose Flour – Provides essential structure; whole wheat flour works too but may create a denser breadstick.
• Salt – Enhances flavor and strengthens gluten; a must-have for depth of taste.
• Olive Oil – Adds richness and moisture to the dough; any cooking oil can be substituted if necessary.
For the Topping
• Garlic – Imparts rich flavor; fresh garlic is ideal, but garlic powder is a quick fix in a pinch.
• Butter – Adds richness and helps the garlic stick; unsalted butter is preferred, but margarine or flavored oil can stand in.
• Mozzarella Cheese – Melts beautifully to create a gooey center; feel free to experiment with other cheeses.
• Parmesan Cheese – Brings a sharp, nutty flavor as a finishing touch; optional yet highly recommended.
• Fresh Parsley – Enhances freshness and color for garnish; dried herbs can be substituted or omitted.
Elevate your Homemade Cheesy Garlic Breadsticks with these delightful ingredients, and savor the joy they bring to your table!
Step‑by‑Step Instructions for Homemade Cheesy Garlic Breadsticks
Step 1: Activate Yeast
In a small bowl, combine 1 cup of warm water (around 110°F), 2 teaspoons of active dry yeast, and 1 teaspoon of sugar. Let this mixture sit for about 5 minutes until it’s frothy and bubbly, indicating the yeast is active. This step is crucial for your Homemade Cheesy Garlic Breadsticks to rise properly.
Step 2: Prepare the Dough
In a large mixing bowl, whisk together 3 cups of all-purpose flour and 1 teaspoon of salt. Create a well in the center, pour in the frothy yeast mixture, and add 2 tablespoons of olive oil. Stir until the dough starts to come together. This forms the base of your Homemade Cheesy Garlic Breadsticks, providing delightful texture.
Step 3: Knead the Dough
Turn the dough onto a floured surface and knead it for 5-7 minutes until smooth and elastic. You want the dough to be soft yet not sticky; it should spring back when poked. Once kneaded, place it in a greased bowl, cover it with a clean kitchen towel, and let it rise in a warm spot for about 1 hour or until it has doubled in size.
Step 4: Prep the Garlic Butter
While the dough rises, in a small bowl, mix 4 cloves of minced garlic with ¼ cup of melted unsalted butter. This flavorful garlic butter will be brushed onto your breadsticks later. Preheat your oven to 425°F (220°C) and prepare a baking sheet by lining it with parchment paper to prevent sticking.
Step 5: Shape the Dough
After the dough has risen, punch it down to release excess air and roll it out on a floured surface into a rectangle approximately ½ inch thick. Brush the surface generously with the garlic butter, ensuring an even coating. This is where the magic of your Homemade Cheesy Garlic Breadsticks begins to shine through.
Step 6: Add the Cheese
Sprinkle 1 ½ cups of shredded mozzarella cheese evenly over the brushed surface of the dough, leaving a small border around the edges. For added flavor, you can sprinkle some fresh herbs or crushed red pepper flakes. This cheesy layer is what makes the breadsticks irresistibly gooey and delicious.
Step 7: Cut and Arrange
Starting from one edge, carefully roll the dough tightly into a log shape. Once rolled, slice the log into 1-inch wide strips and arrange them on the prepared baking sheet. Ensure a little space between each strip to allow the Homemade Cheesy Garlic Breadsticks to rise and bake evenly.
Step 8: Bake to Perfection
Place the baking sheet in the preheated oven and bake for 15-20 minutes, or until the breadsticks are golden brown and the cheese is bubbly. Keep an eye on them toward the end to achieve that perfect color. Your kitchen will smell divine as they bake, building anticipation for the tasty treat ahead!
Step 9: Final Touches
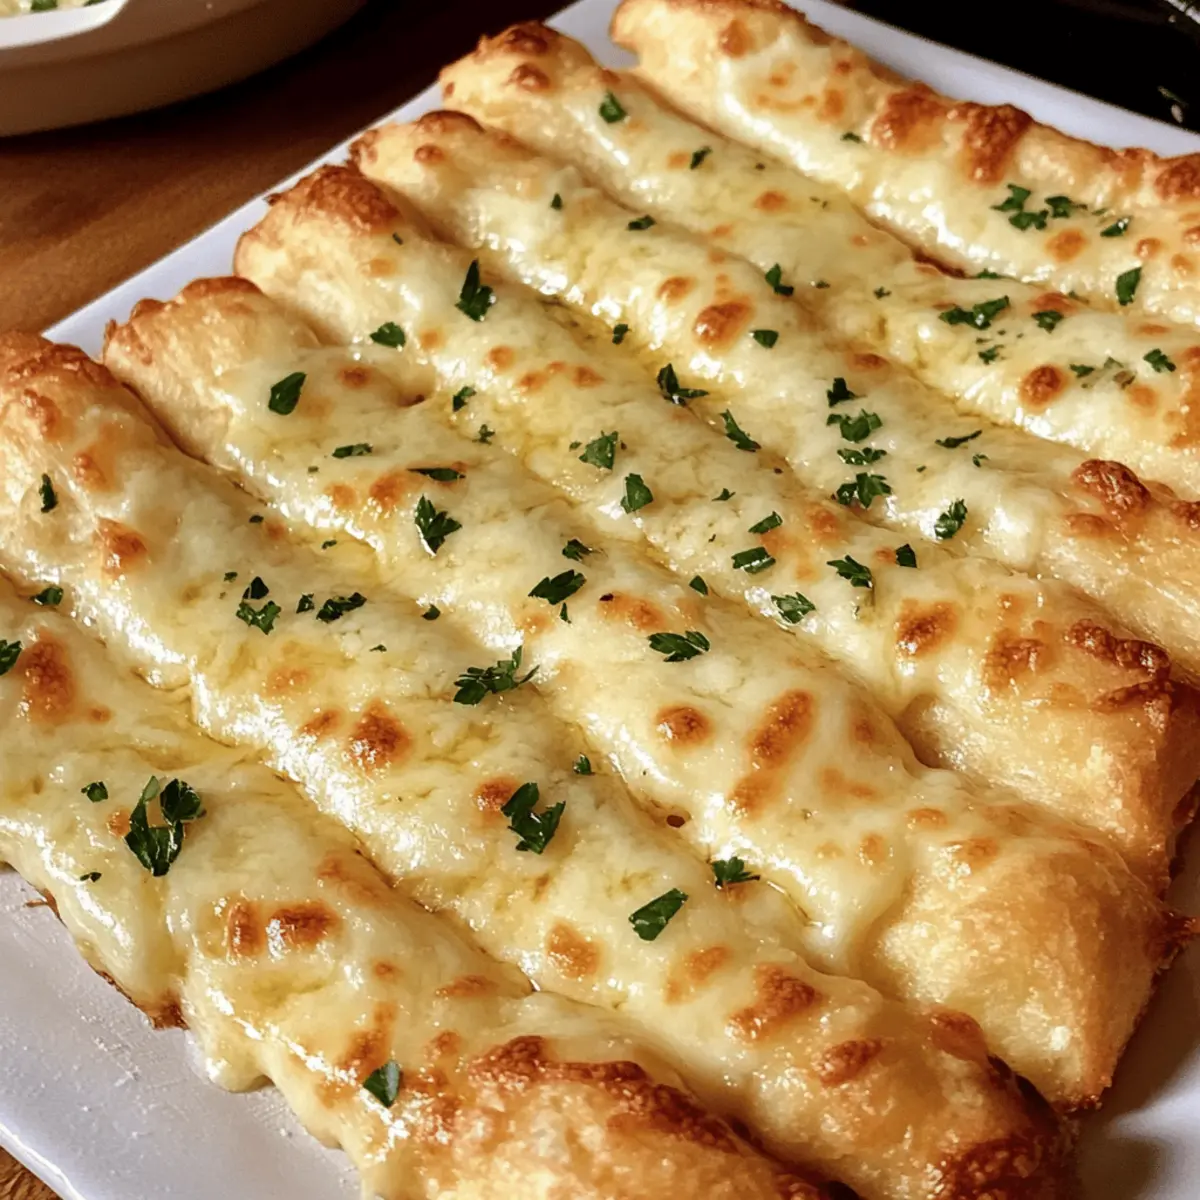
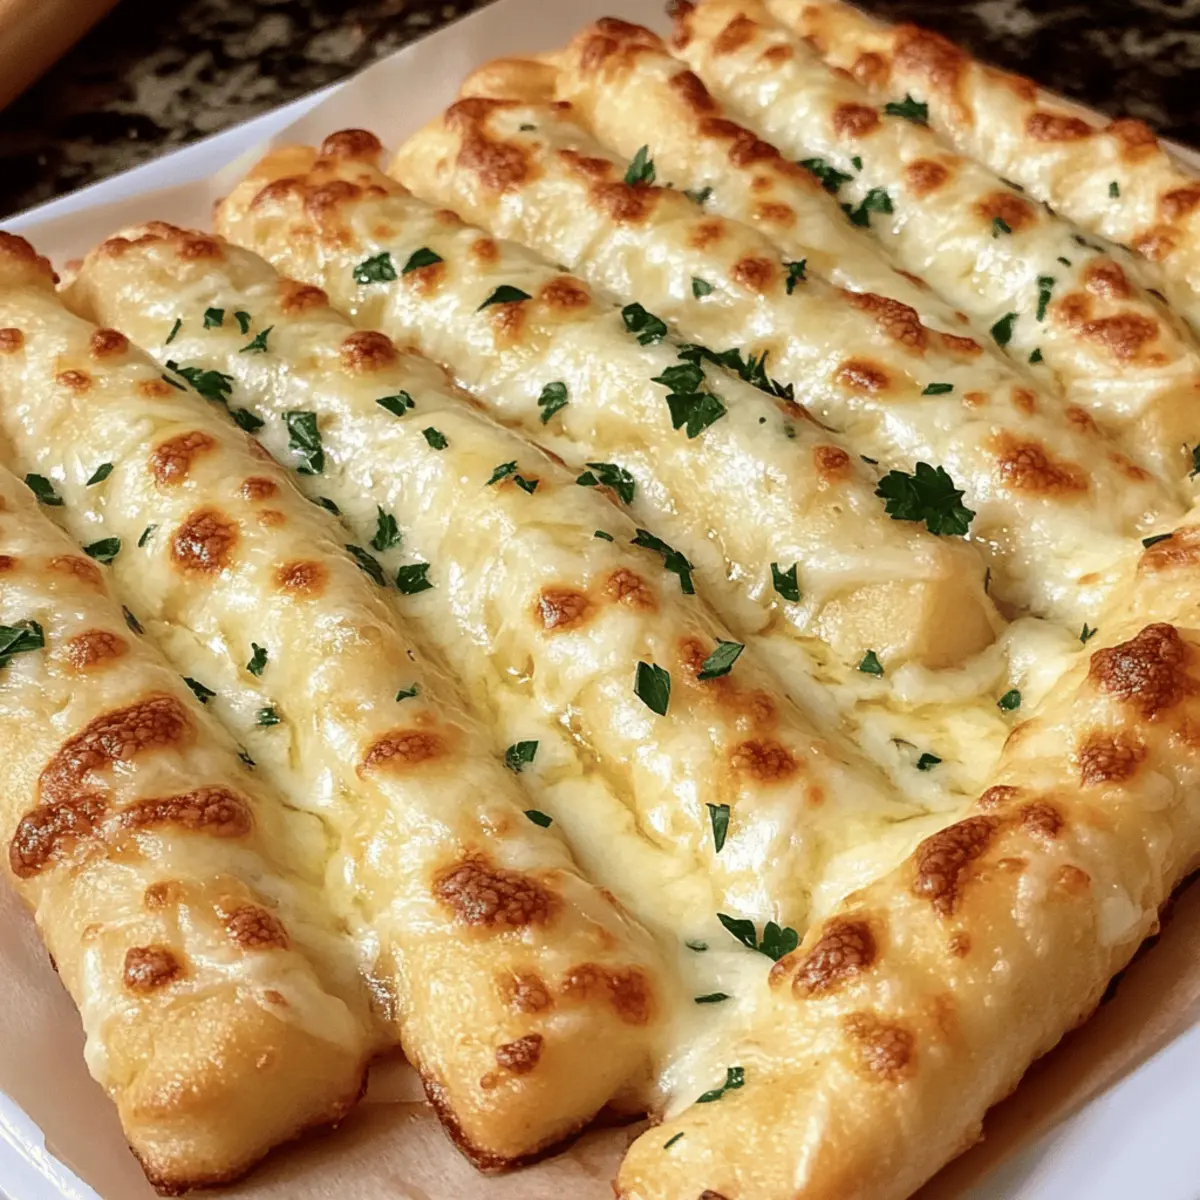
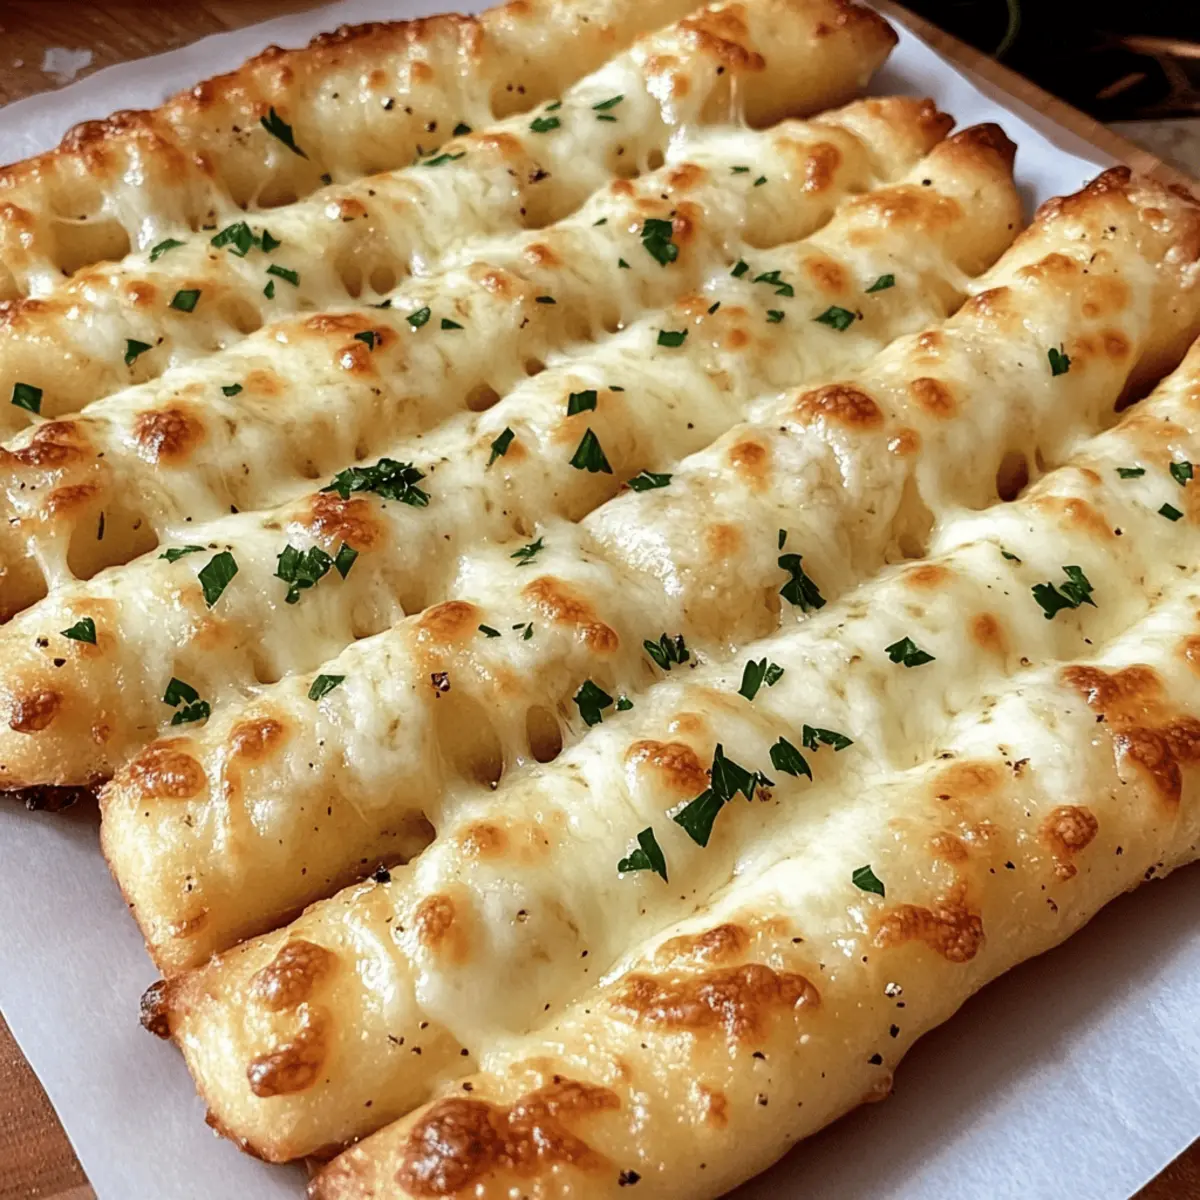
Once baked, remove the breadsticks from the oven and brush the tops with any remaining garlic butter. If desired, sprinkle grated Parmesan cheese and freshly chopped parsley over the top for added flavor and presentation. Allow them to cool for a few minutes before serving, making them a delightful addition to any meal.
Homemade Cheesy Garlic Breadsticks: Customization Ideas
Feel free to get creative with your Homemade Cheesy Garlic Breadsticks; every twist adds a unique flavor that makes these treats even more enjoyable!
-
Fresh Herbs: Mix in fresh herbs like basil or rosemary into the garlic butter for a fragrant lift. This extra touch transforms each bite into a delightful herb-infused experience, making your breadsticks stand out.
-
Spicy Kick: Add red pepper flakes to the garlic butter for a fiery twist. Adjust the amount depending on your heat tolerance, allowing you to control the level of spiciness to perfectly suit your taste preferences.
-
Cheese Variety: Experiment with different cheeses such as cheddar, Gouda, or Monterey Jack for unique flavors. Each cheese brings its character, adding an exciting dimension to your cheesy breadsticks.
-
Savory Add-ins: Incorporate crispy bacon bits or chopped sun-dried tomatoes for an explosion of flavor and texture. Each strip will surprise you with delicious bites of goodness, making your breadsticks even more irresistible!
-
Sweet Touch: Drizzle a little honey or balsamic glaze over the baked breadsticks for a sweet contrast. This unexpected combination will impress and delight anyone lucky enough to take a bite.
-
Garlic Powder Substitute: In a hurry? Use garlic powder instead of fresh garlic for a quick flavor boost. While fresh is ideal, this speedy option delivers flavor without sacrificing quality in a pinch, especially when time is tight.
-
Dough Enhancements: Fold in shredded veggies or olives into the dough for added nutrients and flavor. It’s another fun way to customize your breadsticks, making them not just tasty but a bit more nutritious too!
-
Cheesy Dips: Pair your breadsticks with various dips like marinara sauce or creamy ranch for a delightful snack experience. Just like our Cheesy Honey Garlic dish, this combo ensures every bite is full of flavor.
So, put on your chef’s hat and let your imagination run wild while preparing these comforting Homemade Cheesy Garlic Breadsticks; each variation brings a new twist that’s sure to please!
Storage Tips for Homemade Cheesy Garlic Breadsticks
- Room Temperature: Allow your breadsticks to cool completely before placing them in an airtight container; they can be stored at room temperature for up to 3 days.
- Fridge: For longer storage, refrigerate the cooled breadsticks in an airtight container for up to a week; always reheat before serving to revive their gooey texture.
- Freezer: For long-term storage, freeze the breadsticks wrapped tightly in plastic wrap and then in foil for up to 2 months. Thaw in the fridge overnight before reheating for the best results.
- Reheating: To reheat, wrap the desired number of breadsticks in foil and place in a preheated oven at 350°F (175°C) for about 10 minutes; this will keep them warm and delicious, just like when they were freshly made!
Make Ahead Options
These Homemade Cheesy Garlic Breadsticks are perfect for meal prep and will save you time on busy weeknights! You can prepare the dough ahead of time and refrigerate it for up to 24 hours after the first rise (just cover it well to prevent drying out). Alternatively, you can shape the breadsticks and store them on the baking sheet, covering them with plastic wrap, and refrigerate for up to 3 days. When you’re ready to bake, simply preheat your oven and pop them in straight from the fridge—there’s no need to let them rise again. This way, you’ll have warm, gooey, and cheesy breadsticks on the table with minimal effort, making your meal “just as delicious” as if you made them from scratch that day!
What to Serve with Homemade Cheesy Garlic Breadsticks
There’s nothing quite like the warm, cheesy goodness of breadsticks complementing a hearty meal or standing alone as the star of the show.
- Marinara Sauce: A classic pairing, this tangy sauce brings the perfect contrast to the gooey cheese, making every dip a delight.
- Caesar Salad: Crisp romaine, rich dressing, and savory Parmesan enhance the flavors of your breadsticks, providing a refreshing balance.
- Spaghetti Aglio e Olio: The bold garlic and olive oil flavor of this dish harmonizes beautifully with cheesy breadsticks, creating a comforting Italian experience.
- Homemade Pizza: Serve alongside your favorite pizza for a melty, cheesy feast that satisfies every craving and leaves everyone smiling.
- Bruschetta: This fresh tomato and basil topping on toasted bread adds a vibrant, juicy touch that contrasts the cheesy richness of the sticks.
- Grilled Vegetables: Smoky, charred vegetables offer a healthy, flavorful side that pairs wonderfully, balancing the indulgence of the breadsticks.
- Chilled White Wine: A glass of crisp Chardonnay or Sauvignon Blanc complements the overall experience, elevating your meal with each sip.
- Chocolate Lava Cake: As a dessert, this decadent cake creates a delightful end to your meal, leaving everyone wanting just one more bite of that cheesiness!
Expert Tips for Homemade Cheesy Garlic Breadsticks
-
Water Temperature: Ensure your water is around 110°F to properly activate the yeast; too hot can kill it.
-
Rising Time: Don’t rush your dough’s rising time. Allow it to rise until doubled for the fluffiest Homemade Cheesy Garlic Breadsticks.
-
Cheese Variations: Experiment with different cheeses like cheddar or Gouda for unique flavors. Mixing cheeses can elevate your breadsticks.
-
Garlic Flavor: Use fresh garlic for the richest flavor; if using garlic powder, start with a smaller amount to avoid overpowering.
-
Soft Crust: Brush the breadsticks with melted butter immediately after baking for a soft, flavorful crust that enhances the overall experience.
Homemade Cheesy Garlic Breadsticks Recipe FAQs
How do I choose ripe ingredients for my Homemade Cheesy Garlic Breadsticks?
Absolutely! For the best results, always select fresh garlic—look for firm cloves with no dark spots or sprouting. When it comes to cheese, opt for whole blocks of mozzarella and grate them yourself for the freshest melt and flavor.
What is the best way to store leftover Homemade Cheesy Garlic Breadsticks?
Very good question! Allow the breadsticks to cool completely before storing them in an airtight container. They can stay at room temperature for up to 3 days. If you want to keep them longer, refrigerate them in an airtight container for up to a week, and remember to reheat to restore their gooeyness.
Can I freeze my Homemade Cheesy Garlic Breadsticks? How do I do it properly?
Of course! Freezing your breadsticks is easy. After they’ve cooled, tightly wrap each one in plastic wrap, followed by a layer of aluminum foil to prevent freezer burn. They can be stored in the freezer for up to 2 months. When you’re ready to enjoy them, simply thaw them in the refrigerator overnight and reheat, wrapping them in foil and placing them in a preheated oven at 350°F (175°C) for about 10 minutes.
What if my dough doesn’t rise properly?
If your dough isn’t rising, don’t panic! Here are a few troubleshooting tips: First, ensure your water is warm—not too hot or cold—at around 110°F. If your yeast mixture didn’t froth up in Step 1, the yeast may have been expired. In future batches, consider letting your dough rise in a slightly warmer area (like near a preheating oven) to encourage activation.
Are there any dietary considerations for Homemade Cheesy Garlic Breadsticks?
Great question! These breadsticks are vegetarian but do contain gluten due to the all-purpose flour. If someone has a gluten intolerance, you can try using a gluten-free flour blend instead. For dairy-free options, consider using plant-based cheeses and substitute the butter with a dairy-free alternative. Always check ingredient labels for potential allergens!
Homemade Cheesy Garlic Breadsticks: Gooey Comfort in Every Bite
Ingredients
Equipment
Method
- In a small bowl, combine warm water, active dry yeast, and sugar. Let sit for about 5 minutes until frothy.
- In a large bowl, whisk together all-purpose flour and salt. Create a well, pour in the yeast mixture and olive oil, stir until a dough forms.
- Knead the dough on a floured surface for 5-7 minutes until smooth and elastic. Let rise in a greased bowl for about 1 hour.
- Mix minced garlic with melted butter for garlic butter. Preheat oven to 425°F (220°C) and prepare a baking sheet.
- Roll the risen dough into a rectangle, brush with garlic butter.
- Sprinkle mozzarella cheese over the dough, leaving a small border.
- Roll the dough tightly into a log, slice into 1-inch wide strips, and arrange on the baking sheet.
- Bake for 15-20 minutes until golden brown and cheese is bubbly.
- Brush tops with remaining garlic butter, sprinkle with Parmesan cheese and parsley before serving.
Leave a Reply