
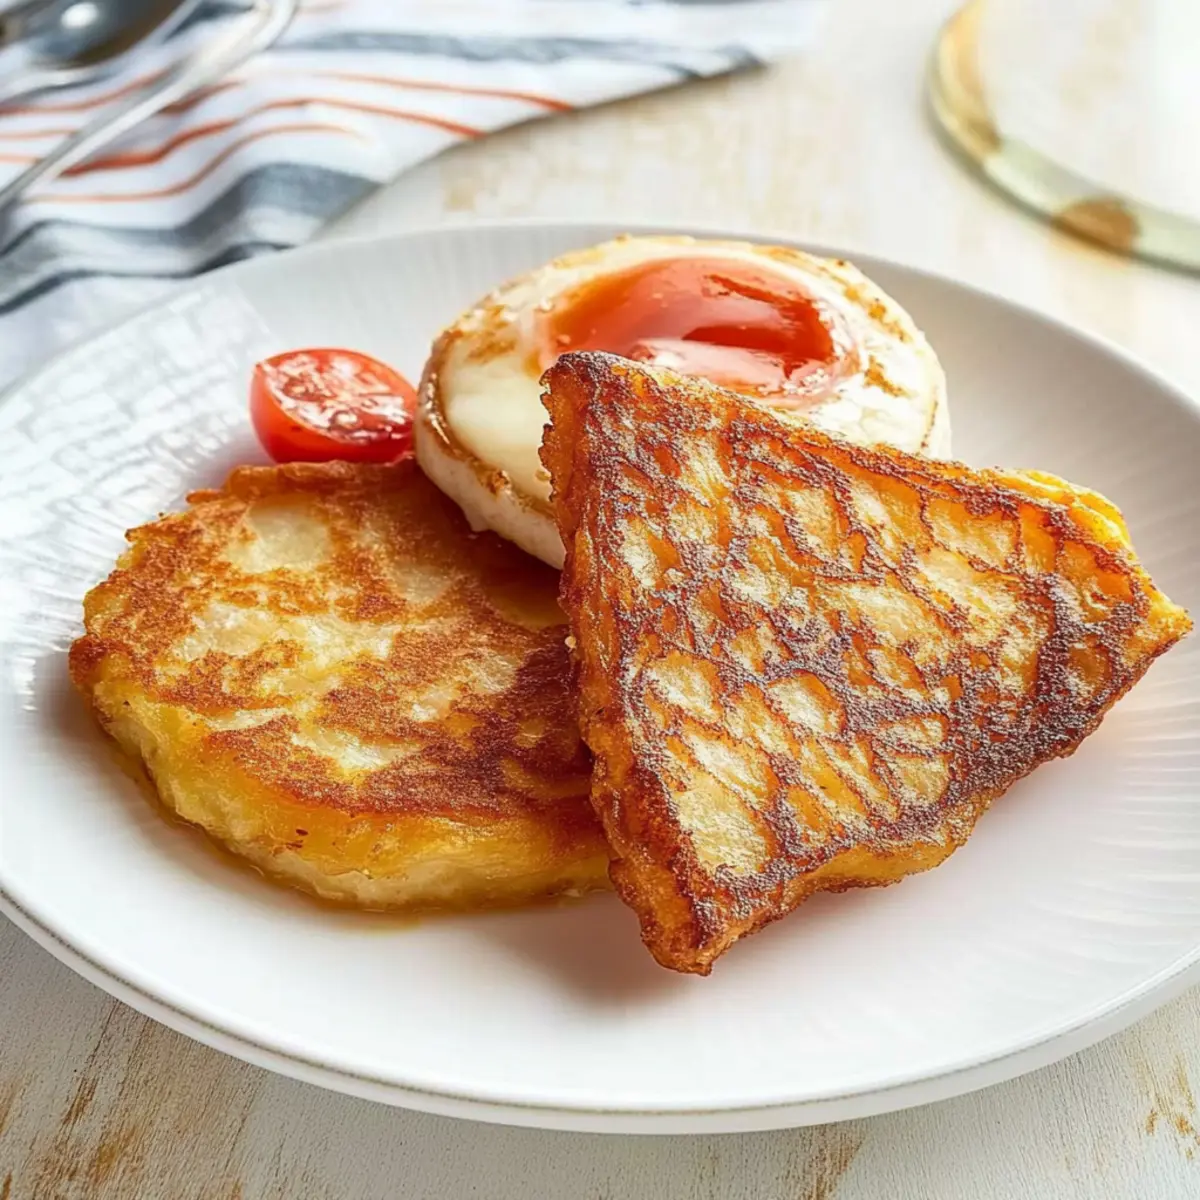
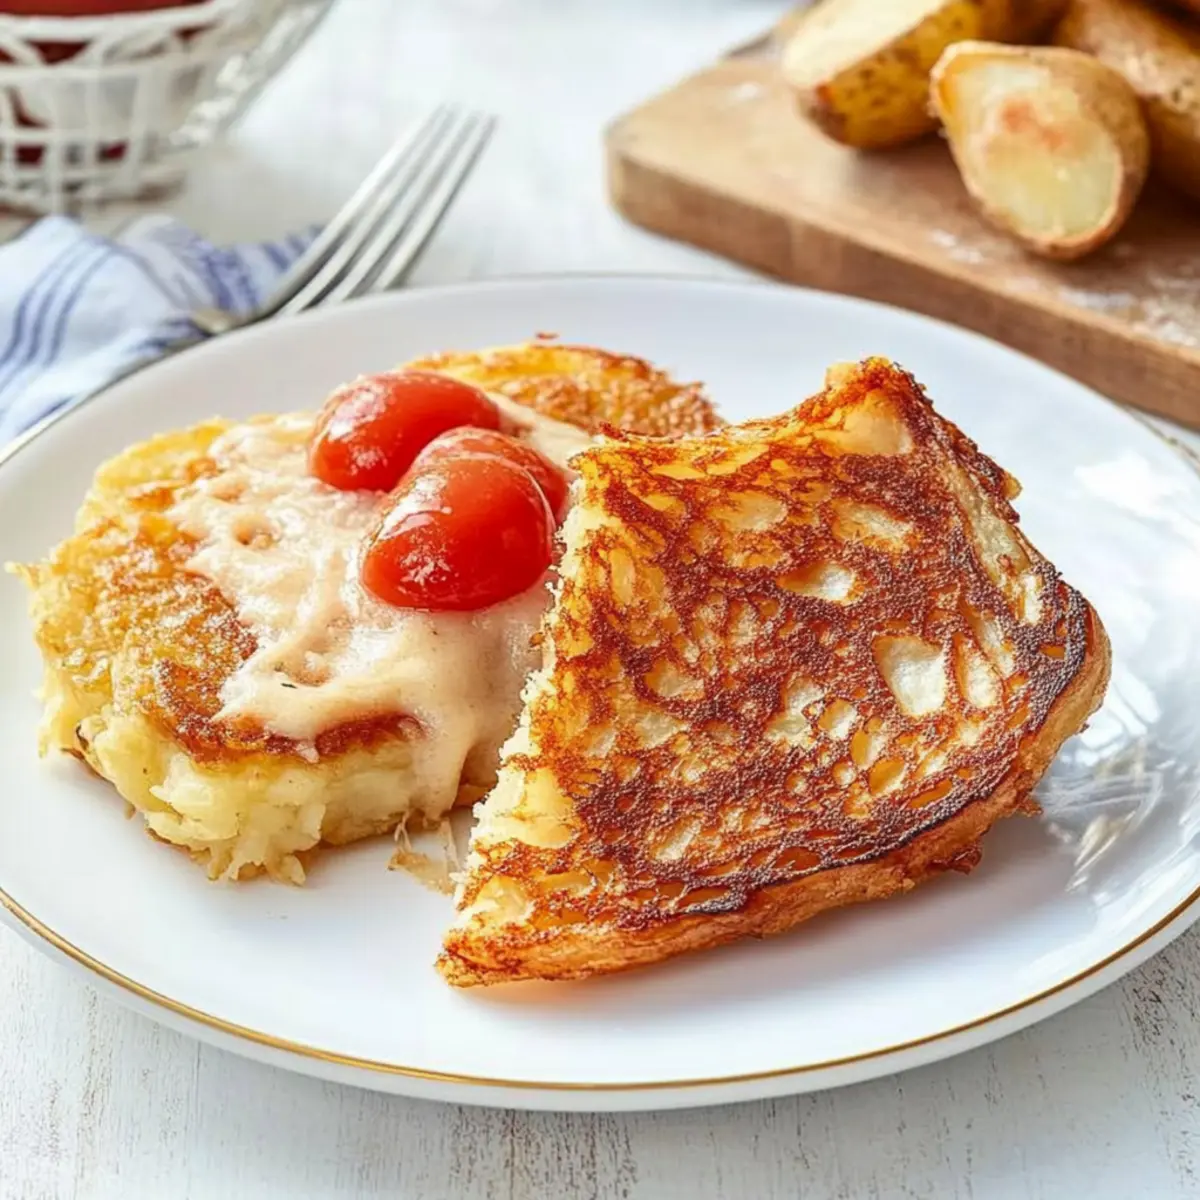
As I stood in my kitchen, the comforting aroma of sizzling butter danced through the air, instantly transforming my space into an Irish haven. Today, I’m thrilled to share my take on Authentic Irish Potato Farls—delicious breakfast cakes that are crispy on the outside and irresistibly fluffy within. With only four simple ingredients and a prep time of about 30 minutes, this recipe is perfect for those rushed mornings or lazy weekends when you crave something hearty yet hassle-free. Not only are these potato farls egg-free, making them suitable for many diets, but they also adapt beautifully, allowing you to get creative with whatever you have on hand. Curious about how to bring a taste of Ireland to your breakfast table? Let’s dive in!
Why Are Irish Potato Farls So Appealing?
Simplicity: With just four ingredients, you can whip up these delightful farls in under 30 minutes, making them perfect for busy mornings or leisurely breakfasts.
Flavor Explosion: The buttery, crispy crust pairs wonderfully with the fluffy interior, delivering a delicious taste that complements any meal.
Versatility: Serve them plain, topped with butter, or alongside eggs and bacon — they adapt beautifully to your breakfast desires!
Cultural Treasure: These farls connect you to a rich Irish culinary tradition, showcasing the resourcefulness of using up leftover mashed potatoes for a delicious breakfast dish.
For a heartier meal, try pairing them with Hearty Meatloaf Mashed Potatoes for a comforting Irish-inspired feast!
Irish Potato Farls Ingredients
For the Dough
- Potatoes – Choose fluffy varieties like Russet or Maris Piper for the best texture.
- All-Purpose Flour – This helps bind the potatoes; gluten-free flour can be used for a different twist.
- Sea Salt – A necessary ingredient for enhancing the overall flavor.
- Black Pepper – A dash adds warmth and complements the dish beautifully.
- Butter – Essential for richness; use extra for frying to achieve that perfect golden crust.
Now that you have the basic ingredients, let’s get cooking and bring a little Ireland to your breakfast table!
Step‑by‑Step Instructions for Irish Potato Farls
Step 1: Prepare Potatoes
Begin by peeling and chopping your potatoes into even chunks. Place them in a pot of boiling salted water, ensuring they are covered, and cook for about 20-25 minutes until fork-tender. You want them soft enough to mash but not waterlogged, as this will help achieve the perfect texture for your Irish Potato Farls.
Step 2: Dry the Potatoes
Once the potatoes are tender, drain them and let them sit in a sieve or colander for about 5 minutes to dry out. This step is crucial because any excess moisture can lead to a sticky mixture that won’t hold its shape. You’ll want to see steam rising as they cool, indicating that they’re on the right track!
Step 3: Mash
While still warm, pass the potatoes through a sieve or use a potato ricer for that fluffy texture. This method ensures no lumps remain, creating a smoother base for your Irish Potato Farls. The warmth of the potatoes will help them absorb flavors from the other ingredients later in the process.
Step 4: Mix Ingredients
In a medium mixing bowl, combine the fluffy mashed potatoes with all-purpose flour, sea salt, black pepper, and melted butter. Use your hands to knead the mixture gently until a soft dough forms. You want it cohesive but not sticky, which will allow you to easily shape the farls that are lightly seasoned and full of flavor.
Step 5: Shape Dough
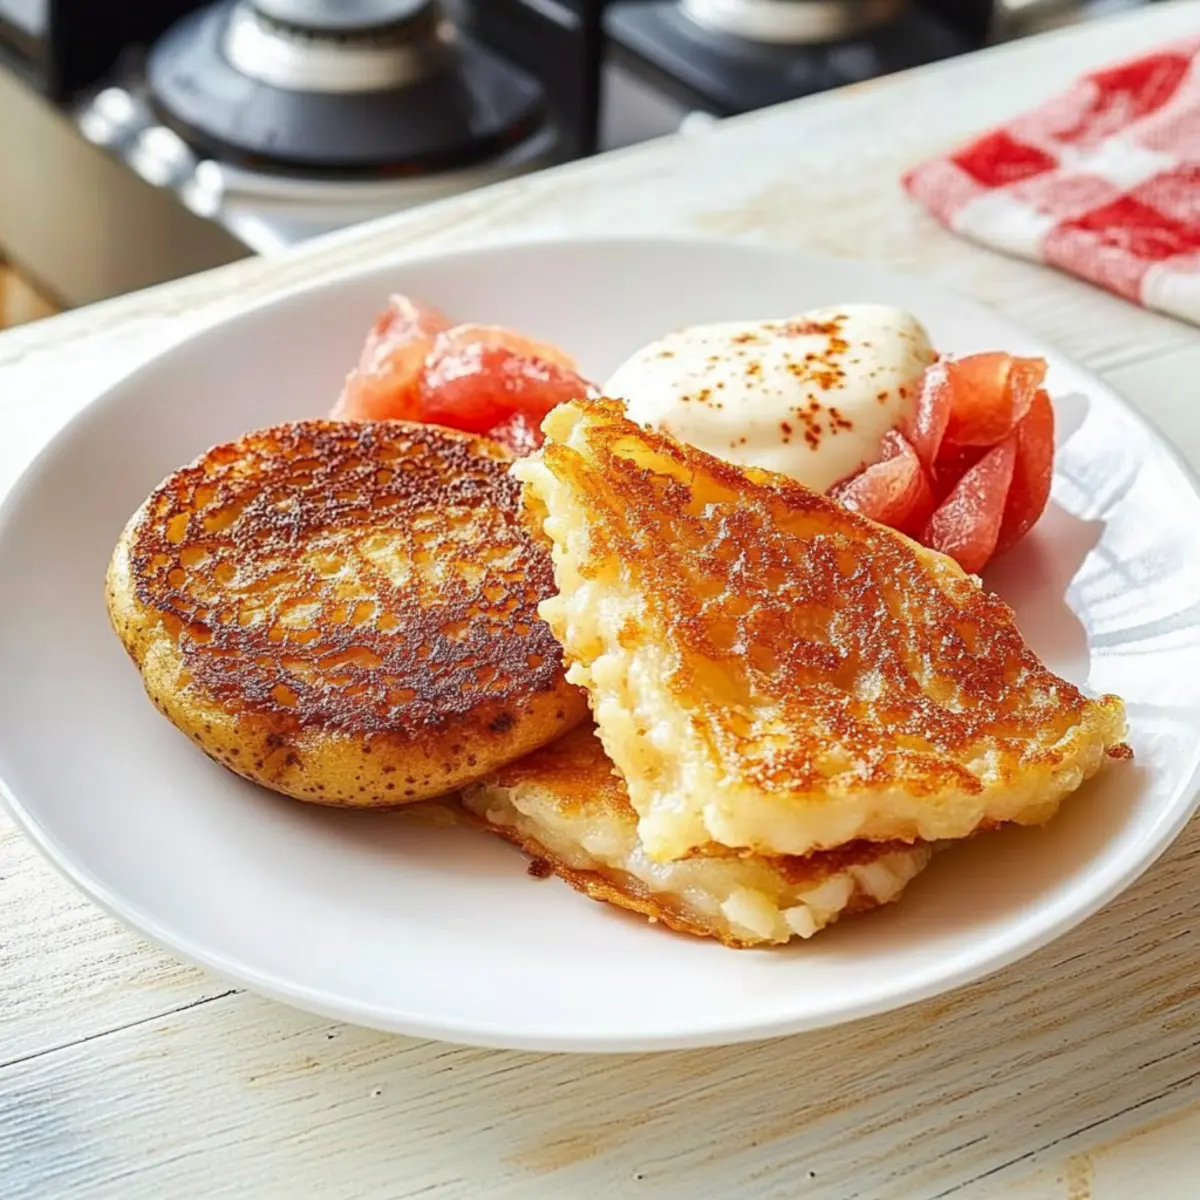
Transfer the dough onto a floured surface and press it down gently to form an 8-inch disc about ½ inch thick. Cut the disc into six equal pieces, creating triangular shapes. These will be your Irish Potato Farls, ready to be transformed into crispy delights on the skillet!
Step 6: Fry Farls
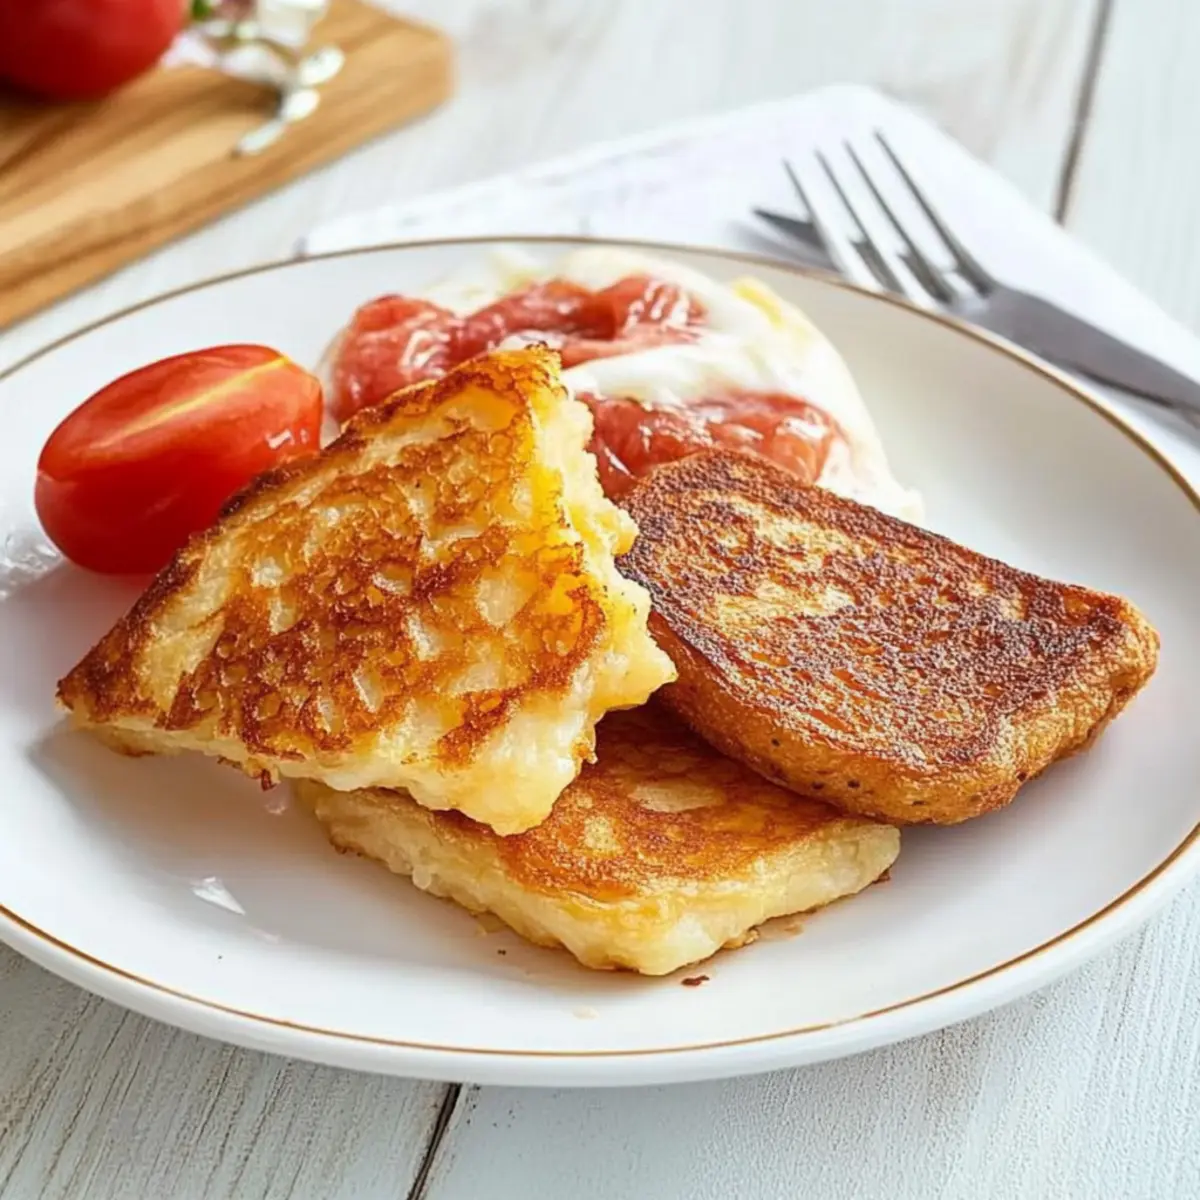
In a skillet over medium heat, melt some butter until it sizzles, then carefully add your shaped farls. Fry them for about 5 minutes on each side or until they turn a beautiful golden brown. The butter will help develop a crispy crust, while the insides remain fluffy—a hallmark of a perfect Irish Potato Farls.
Step 7: Serve
Remove the farls from the skillet and let them drain briefly on paper towels. Serve immediately for the best experience, whether as part of a traditional Irish breakfast or on their own. The crispy texture and rich flavor of your freshly made Irish Potato Farls will surely delight anyone at the breakfast table!
Storage Tips for Irish Potato Farls
Room Temperature: Store leftover Irish Potato Farls at room temperature for up to 1 day in a cool, dry place but consume them fresh for the best flavor.
Fridge: Refrigerate farls in an airtight container for up to 3 days. Make sure they cool completely before sealing to avoid sogginess.
Freezer: For long-term storage, freeze uncooked farls by laying them flat on a baking sheet for one hour, then transfer to a freezer bag with parchment between layers. Cook from frozen when ready to enjoy!
Reheating: To reheat, warm in a skillet over medium heat for a few minutes on each side until heated through and crispy again.
Variations & Substitutions for Irish Potato Farls
Feel free to adapt these delicious Irish Potato Farls to suit your taste and dietary needs while still enjoying their delightful flavors!
-
Gluten-Free: Use a 1:1 gluten-free flour blend for a suitable alternative without sacrificing taste or texture.
-
Herb-Infused: Add fresh or dried herbs like chives or rosemary into the dough for an aromatic boost, perfect for herb lovers.
Imagine the warm scent of herbs wafting through your kitchen as you fry these farls; it’s a delightful way to elevate your breakfast!
-
Onion Flavor: Incorporate finely chopped green onions or caramelized onion into the dough for an extra layer of savory goodness.
-
Cheesy Delight: Stir in shredded cheddar or a cheese of your choice for a melty, indulgent twist that pairs well with the farls’ crispy exterior.
Picture biting into a golden farl with gooey cheese oozing out—it’s breakfast bliss!
-
Spicy Kick: Add a pinch of cayenne pepper or fresh jalapeños to the mix if you crave a bit of heat; it’ll electrify the flavors beautifully.
-
Sweet Option: For a sweet treat, swap out some of the flour for a bit of sugar and serve with apple slices or a drizzle of honey.
These sweet variations create a unique breakfast experience that transforms your farls into a delightful brunch option!
-
Vegan Alternative: Replace the butter with olive oil or a plant-based butter alternative for a vegan-friendly version without losing richness.
-
Bacon Fat Frying: For a traditional touch, consider frying your farls in bacon fat instead of butter; the smoky flavor enhances their overall deliciousness.
Exploring these variations lets you make Irish Potato Farls your own. You can pair them with Hearty Meatloaf Mashed Potatoes for a comforting, full breakfast that’ll fill you with warmth and satisfaction!
Make Ahead Options
These Authentic Irish Potato Farls are perfect for meal prep enthusiasts! You can prepare the dough and shape the farls up to 24 hours in advance, simply wrapping them in plastic wrap and refrigerating them to keep them fresh. If you’re in a pinch, you can also freeze the shaped farls for up to 3 months; just lay them on a tray to freeze before transferring them to a freezer bag (with parchment paper between layers to prevent sticking). When ready to serve, simply fry them directly from the fridge or frozen, adding a couple of extra minutes to the cooking time. This way, you can enjoy just as delicious, hassle-free Irish Potato Farls any morning of the week!
What to Serve with Authentic Irish Potato Farls
Enjoy these delightful cakes with a combination of savory and fresh flavors that enhance your breakfast experience.
-
Crispy Bacon: Pair with crunchy, salty bacon for a savory kick that perfectly complements the fluffy texture of the farls.
-
Fried Eggs: Top with a sunny-side-up egg; its runny yolk adds richness and enhances the meal’s hearty character.
-
Grilled Tomatoes: Fresh, grilled tomatoes bring a burst of brightness and acidity that contrasts beautifully with the richness of the farls.
-
Sautéed Spinach: Lightly sautéed spinach adds a fresh, vibrant green that balances the dish while providing a delightful flavor boost.
-
Irish Soda Bread: Serve alongside slices of warm Irish soda bread to create a satisfying, traditional Irish breakfast spread.
-
Baked Beans: A spoonful of savory baked beans offers a delightful contrast in texture and can add a sweet undertone to your meal.
-
Herbed Butter: Spread fresh herbed butter on top of the farls for an extra layer of flavor that melts beautifully into every bite.
-
Tea or Coffee: A warm cup of Irish breakfast tea or strong coffee enhances the meal experience with bold flavors.
-
Apple Compote: For a touch of sweetness, serve with homemade apple compote, bringing flavors of fall to your plate.
Expert Tips for Irish Potato Farls
-
Potato Choice: Use fluffy potatoes like Russet or Maris Piper; avoid waxy varieties to ensure a light and airy texture in your Irish Potato Farls.
-
Drying is Key: Let the boiled potatoes dry properly before mashing. Excess moisture can lead to a too-sticky dough that lacks the desired fluffiness.
-
Perfect Frying: Fry the farls in butter for that classic flavor, but don’t overcrowd the skillet; this helps achieve an even golden crisp on all sides.
-
Serving Suggestions: Enjoy them fresh off the skillet or serve with fried eggs, grilled tomatoes, and crispy bacon for a traditional Irish breakfast experience.
-
Storage Tips: Store any leftovers in the refrigerator for up to three days, and reheat in a skillet for optimal texture—no one likes a soggy farl!
Authentic Irish Potato Farls Recipe FAQs
What type of potatoes should I use for Irish Potato Farls?
For the best results, choose fluffy, starchy potato varieties like Russet, Maris Piper, or Roosters. These types ensure light, airy farls. Avoid waxy potatoes, as they tend to hold too much moisture, affecting the texture.
How should I store leftover Irish Potato Farls?
Store any leftover farls in an airtight container in the refrigerator for up to 3 days. Be sure they are completely cool before sealing to avoid sogginess. To reheat, place them in a skillet over medium heat for a few minutes on each side until they’re crispy again.
Can I freeze Irish Potato Farls?
Absolutely! To freeze, lay the uncooked farls in a single layer on a baking sheet for one hour. Once they’re firm, transfer them to a freezer bag, inserting parchment paper between each layer to prevent sticking. They can be cooked from frozen; just allow a few extra minutes of frying time.
What can I do if my farls are too sticky?
If you find your dough is too sticky, it may be due to excess moisture in the potatoes. To fix this, try adding a little more flour, about a tablespoon at a time, until the dough is workable. If there’s a lot of moisture, ensure potatoes are well dried after boiling.
Are Irish Potato Farls suitable for various diets?
Yes! These authentic Irish Potato Farls are egg-free, making them a great option for vegans or those with egg allergies. You can substitute the all-purpose flour with a gluten-free blend if needed. Always check the labels of your specific ingredients to ensure they align with your dietary requirements.
What’s the best way to serve Irish Potato Farls?
Serve your farls hot, topped with butter, or alongside classic breakfast staples like fried eggs, grilled tomatoes, and crispy bacon for an authentic experience. You can also enjoy them plain or with a dollop of sour cream or your favorite chutney for a twist.
Crispy Irish Potato Farls: A Savory Breakfast Delight
Ingredients
Equipment
Method
- Peel and chop potatoes into even chunks. Boil in salted water until fork-tender, about 20-25 minutes.
- Drain the potatoes and let them sit in a sieve for about 5 minutes to dry out.
- Mash the potatoes using a sieve or potato ricer until smooth and fluffy.
- Combine mashed potatoes with flour, salt, pepper, and melted butter. Knead until a soft dough forms.
- Shape the dough into an 8-inch disc about ½ inch thick, and cut into six triangular pieces.
- In a skillet over medium heat, melt butter and fry the farls for about 5 minutes on each side until golden brown.
- Let them drain briefly on paper towels and serve immediately.
Leave a Reply