
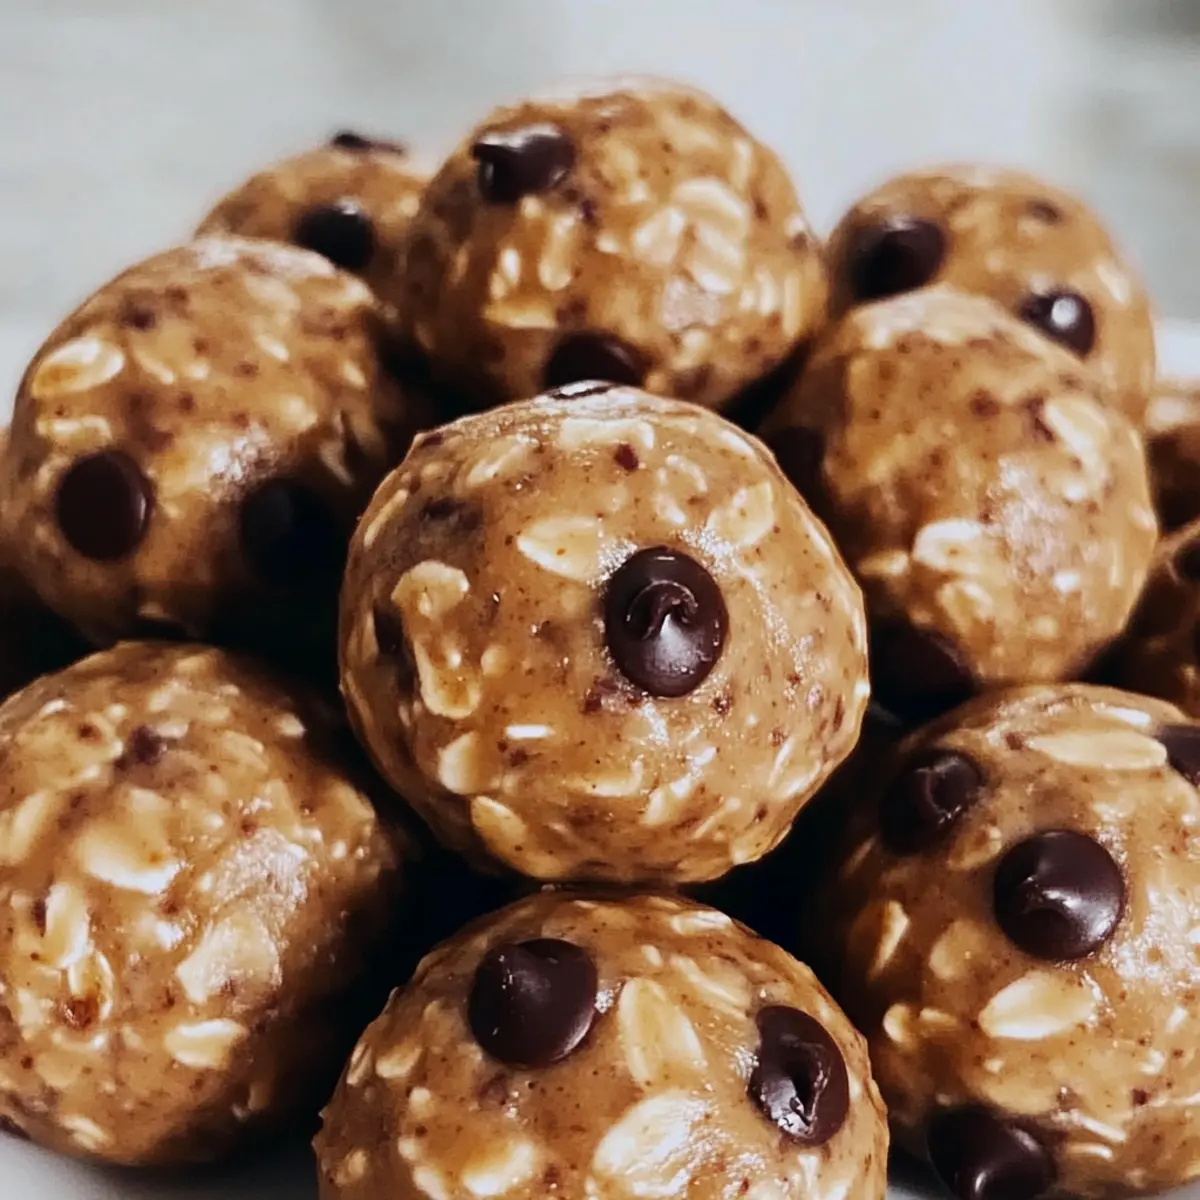
As I scoured my pantry for a quick pick-me-up, I stumbled upon a mix of peanut butter, oats, and chocolate chips, leading me to an exciting experiment: No Bake Protein Balls. These little gems not only come together in minutes but also offer a healthy, satisfying snack whenever hunger strikes. Perfect for pre-workout energy or as a guilt-free treat, they pack a punch of protein and fiber while being fully customizable to suit your taste. Whether you want an extra crunch from nuts or a twist of cinnamon, the possibilities are endless. Ready to ditch the store-bought snacks and whip up something homemade? Let’s dive into this simple yet delightful recipe!
Why are No Bake Protein Balls a Game Changer?
Healthy Snacking Made Easy: These No Bake Protein Balls require minimal effort, blending pantry staples into a delightful treat in just a few minutes.
Customizable Flavors: Experiment with various protein powders or mix-ins like nuts, seeds, or spices for endless flavor possibilities!
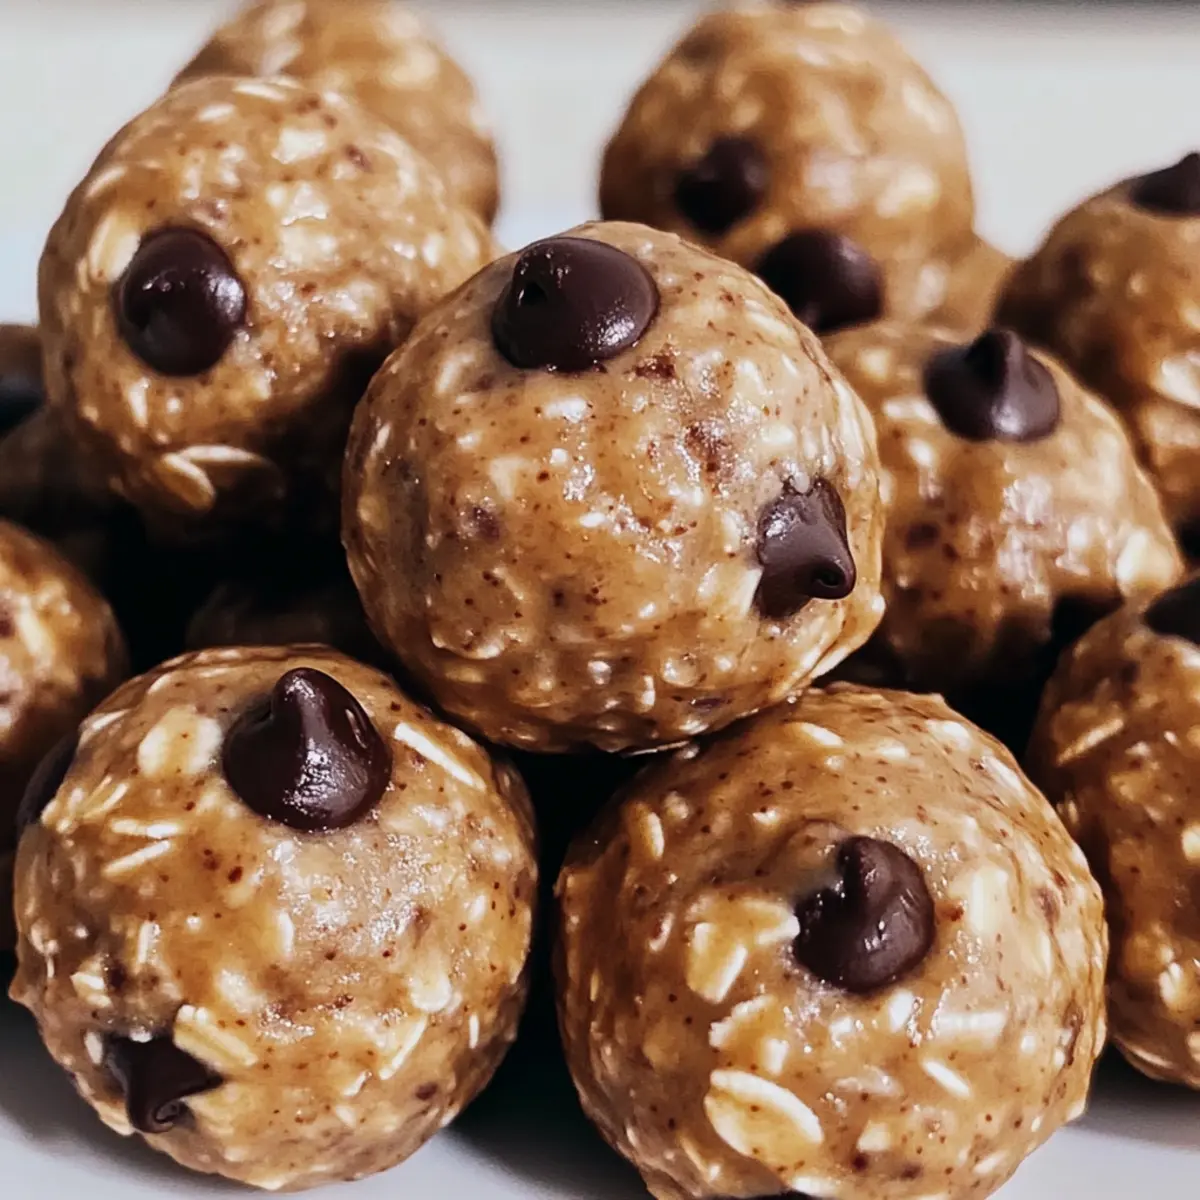
Guilt-Free Indulgence: With just 104 calories and 6g of protein per ball, they serve as a perfect solution for sweet cravings without the guilt.
On-the-Go Convenience: Store them in your fridge or freezer, making them a ready-to-eat snack for busy days.
Great for Everyone: Whether you’re fueling a workout or simply want a healthy snack option, these protein balls cater to all ages and dietary preferences. Dive into this delightful recipe and check out similar options like High Protein Bake for more tasty treats!
No Bake Protein Balls Ingredients
For the Base
• No Stir Creamy Peanut Butter – Provides healthy fats and creaminess; almond butter can be used for a nut-free option.
• Honey (or Maple Syrup for vegan) – Acts as a natural sweetener and binds the ingredients; maple syrup is a great vegan alternative.
• Rolled Oats – Adds structure and fiber to keep you full; ensure oats are certified gluten-free if necessary.
• Vanilla Protein Powder – Boosts the protein content; any protein powder flavor is fine, but vanilla complements the mix beautifully.
• Salt – Enhances flavors; a pinch is just enough to balance the sweetness.
For the Sweet Touch
• Mini Chocolate Chips – Adds sweetness and texture; consider dark chocolate chips or omit for a lower-sugar option.
These No Bake Protein Balls are versatile and so easy to prepare—perfect for mindful snackers!
Step‑by‑Step Instructions for No Bake Protein Balls
Step 1: Gather Your Ingredients
Start by gathering all your ingredients for the No Bake Protein Balls: creamy peanut butter, honey (or maple syrup), rolled oats, vanilla protein powder, salt, and mini chocolate chips. Retrieve a mixing bowl and a spoon for combining everything. This preparation is key to smooth transitions, as it keeps your workspace organized and ensures a seamless cooking process.
Step 2: Mix the Base Ingredients
In your mixing bowl, combine the peanut butter and honey; stir them together until well incorporated. Next, add the rolled oats, vanilla protein powder, and a pinch of salt. Use your spoon to mix everything thoroughly, ensuring an even distribution of ingredients. You’ll know it’s ready when the mixture is sticky and well-blended, with all elements cohesively sticking together.
Step 3: Incorporate the Chocolate Chips
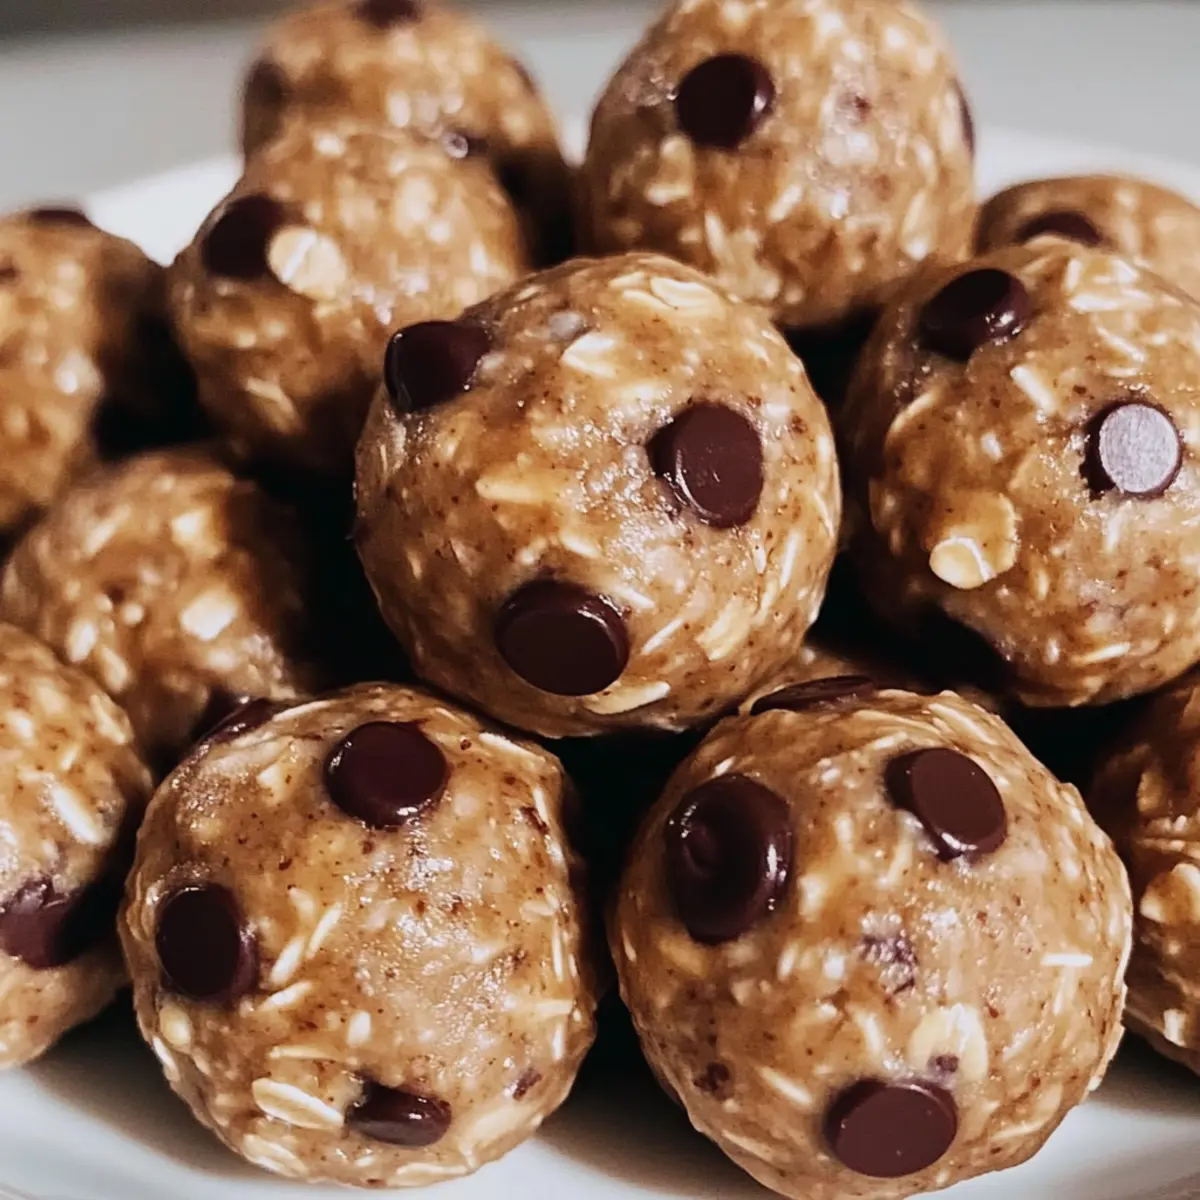
Once the base mixture is smooth, gently fold in the mini chocolate chips. This step adds a delightful sweetness and texture to your No Bake Protein Balls. Keep mixing until the chocolate chips are evenly distributed throughout the mixture. You’ll want to see the chocolate bits throughout the dough—this means you’re on the right track!
Step 4: Portion the Mixture
Using a mini cookie scoop or a spoon, portion the mixture into one-inch-sized balls. Place each ball onto a wax paper-lined cookie sheet, making sure they are spaced out to avoid sticking. This step allows the No Bake Protein Balls to retain their shape as they chill, so take your time to get even portions for an appealing look.
Step 5: Shape the Balls by Hand
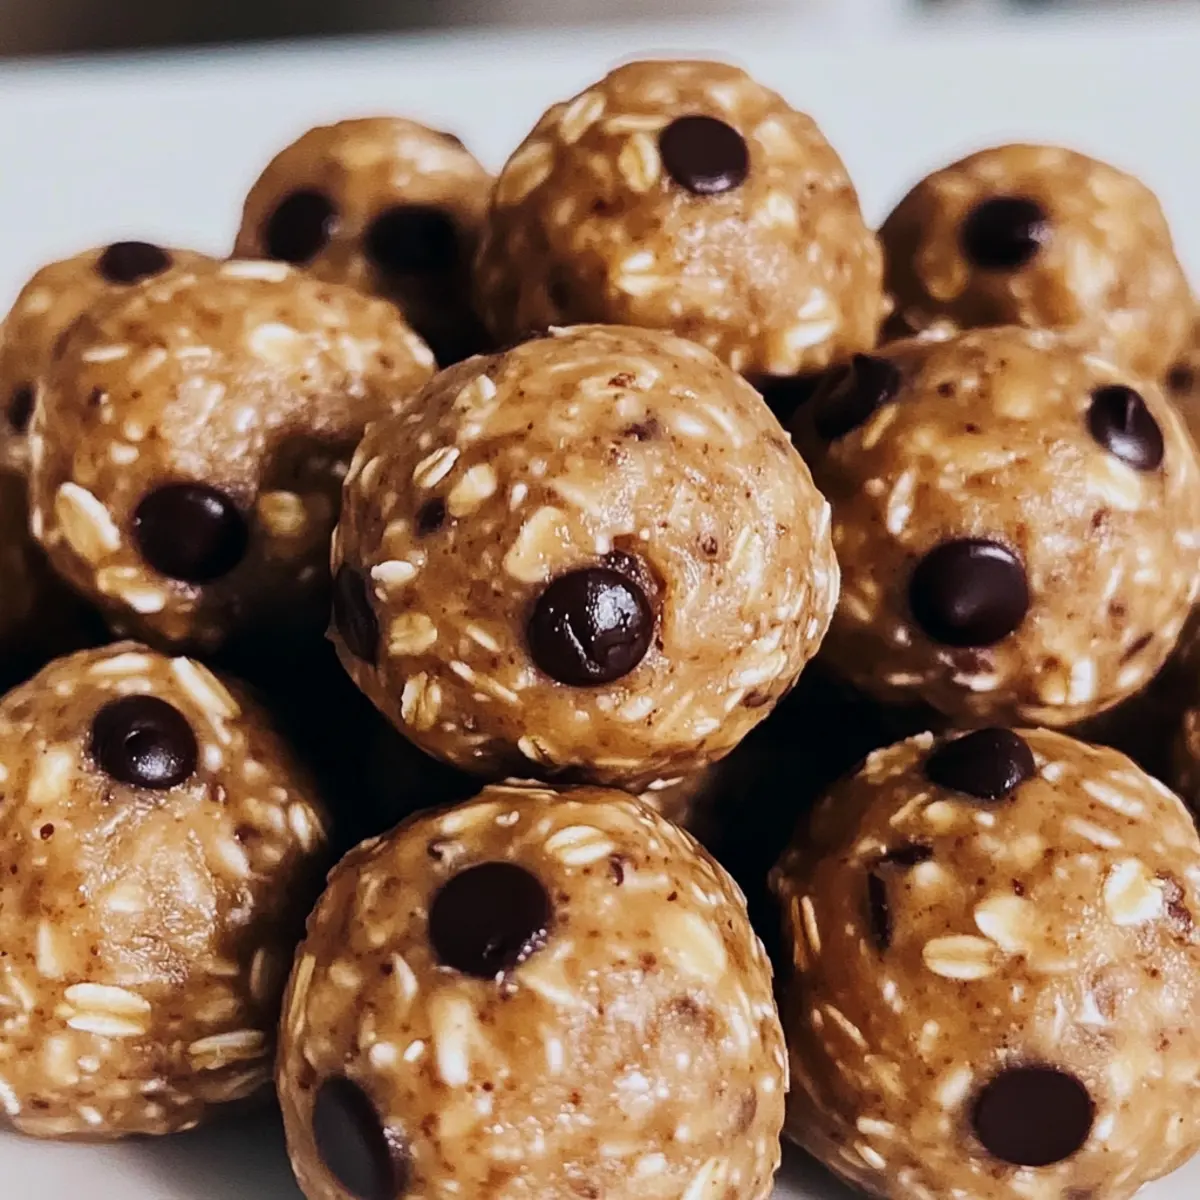
With your hands, roll each portion into a firm ball, ensuring they stick together nicely. This extra step not only helps form them better but also gives you a chance to feel their texture. If the mixture is too crumbly, simply add a touch more peanut butter to help bind it. Your balls should have a smooth surface and be ready for chilling.
Step 6: Chill for Firmness
Place the cookie sheet with the shaped balls in the refrigerator and let them chill for about one hour. This cooling period is essential, as it helps the No Bake Protein Balls firm up, making them easier to store and enjoy later. You’ll know they’re ready when they become slightly hardened and hold their shape nicely.
Step 7: Store for Enjoyment
After they’ve chilled, transfer your delicious No Bake Protein Balls to a Ziploc bag or an airtight container. You can keep them in the refrigerator for up to one week or freeze them for 2-3 months for longer enjoyment. Just be sure to label the container with the date, so you can easily track their freshness, ready for snacking at any time!
Tips for the Best No Bake Protein Balls
• Mix Well: Ensure all ingredients are thoroughly mixed for optimal binding. Inadequate mixing can lead to crumbly balls that won’t hold together.
• Don’t Overmix: While mixing is essential, overmixing can create a dense texture. Stir just until combined for a light, chewy consistency.
• Chill Properly: Allow the No Bake Protein Balls to chill adequately. Skipping this step can result in soft balls that fall apart easily.
• Be Creative: Experiment with different mix-ins like nuts, seeds, or dried fruits for a personalized touch. This keeps your snacks exciting and tailored to your taste.
• Storage Matters: Keep the protein balls in an airtight container to maintain freshness. Label with the date, so you enjoy them at their best!
How to Store and Freeze No Bake Protein Balls
Fridge: Keep your No Bake Protein Balls in an airtight container for up to 1 week, ensuring they stay fresh and delicious.
Freezer: For long-term storage, freeze the protein balls in a Ziploc bag or airtight container for up to 2-3 months.
Thawing: When ready to enjoy, simply remove the desired amount from the freezer and let them thaw in the fridge for a couple of hours.
Reheating: Though ideally eaten cold, you can warm them slightly in the microwave for 10-15 seconds if you prefer a softer texture.
What to Serve with Easy No Bake Protein Balls
Enjoy these protein-packed bites on their own, or pair them with delightful options to create a full and satisfying meal.
- Greek Yogurt Parfait: Layer with fruit and granola for a creamy and crunchy experience that balances the protein balls beautifully.
- Fruit Salad Medley: Fresh fruits like berries or apples add a refreshing touch that enhances the sweetness of the protein balls. The natural sugars will satisfy your cravings while giving you extra vitamins.
- Vegetable Sticks with Hummus: Crunchy carrots, celery, or cucumber dipped in hummus create a colorful and nutritious contrast, making for a wholesome snack session.
- Nutty Granola: A crunchy homemade granola with nuts and seeds complements the chewiness of the protein balls while adding more fiber and healthy fats.
- Coconut Chia Pudding: The creamy texture and tropical flavors of this pudding create a deliciously unique side that pairs exceptionally well with the chocolatey notes of the protein balls.
- Dark Chocolate Drizzle: Elevate your protein balls by drizzling melted dark chocolate on top; the richness enhances their flavor without overwhelming sweetness.
- Herbal Tea or Infused Water: A light beverage like herbal tea or refreshing fruit-infused water can cleanse the palate and hydrate, keeping your snack time balanced and enjoyable.
- Oatmeal Bowl: A warm bowl of oatmeal topped with sliced bananas and a sprinkle of cinnamon ties together heartiness and nutrition in your meal.
- Protein Smoothie: Blend your favorite fruits with yogurt and a scoop of protein powder for a nutritious smoothie that works perfectly alongside your no-bake treats.
No Bake Protein Balls Variations & Substitutions
Feel free to let your creativity shine while customizing these protein balls for extra flavor and texture!
- Nut-Free: Substitute peanut butter with sunflower seed butter for a deliciously creamy, nut-free version.
- Vegan Sweetener: Use agave syrup instead of honey for a completely vegan-friendly option that still binds beautifully.
- Flavor Boost: Add a teaspoon of cinnamon or a scoop of cocoa powder to heighten the flavor profile for a fun twist.
- Chia Crunch: Mix in 2 tablespoons of chia seeds for an added crunch and a delightful burst of nutrients.
- Dried Fruit Delight: Incorporate some chopped dried fruits like cranberries or apricots for a sweet, chewy surprise in each bite.
- Protein Powder Swap: Try different flavors of protein powder, such as chocolate or salted caramel, to create unique variations for your taste buds.
- Seeds Galore: Replace some oats with pumpkin seeds or hemp seeds for a nutritious boost and lovely texture.
- Heat It Up: For a spicy kick, add 1/4 teaspoon of cayenne pepper or chili flakes to excite the taste buds!
As you explore these variations, don’t forget to check out the delightful High Protein Bake for more inspiration in healthy snacking!
Make Ahead Options
These No Bake Protein Balls are perfect for meal prep, enabling you to enjoy healthy snacks throughout the week with minimal effort! You can prepare the mixture up to 24 hours in advance; simply store it in an airtight container in the fridge before rolling it into balls. If you prefer, form the balls and refrigerate them for about 1 hour to set, then transfer them to a Ziploc bag, where they’ll stay fresh for up to one week! For longer storage, these protein bites can be frozen for 2-3 months without losing quality. When you’re ready to enjoy, just grab a ball from the fridge or freezer, and you’ll have a delicious, energizing snack waiting for you!
No Bake Protein Balls Recipe FAQs
How do I choose ripe ingredients for the No Bake Protein Balls?
Absolutely! When selecting your peanut butter, look for a “no stir” variety that has a smooth consistency. If you prefer a nut-free option, almond butter should be creamy and well-mixed. For honey, opt for a natural variety—raw honey often offers the best flavor. If using maple syrup, ensure it’s pure maple syrup, not pancake syrup, for better taste and quality.
How should I store my No Bake Protein Balls, and how long do they last?
To keep your No Bake Protein Balls fresh, store them in an airtight container in the fridge for up to 1 week. If you’re planning on making a larger batch, they freeze beautifully! You can keep them in a Ziploc bag or an airtight container for up to 2-3 months—just make sure to label with the date!
Can I freeze No Bake Protein Balls, and what’s the best way to do it?
Yes, you can! To freeze your No Bake Protein Balls, first, let them chill in the fridge for an hour to set. Then, transfer them to a Ziploc bag or an airtight container, making sure to remove as much air as possible. For the best results, place parchment paper between layers if stacking them. When you’re ready to enjoy, just take out the desired portion and let them thaw in the fridge for a couple of hours.
What if my No Bake Protein Balls are too crumbly?
If you find that your mixture is too crumbly, don’t fret! This can happen if there isn’t enough moisture. Simply add an extra tablespoon of peanut butter to the mixture and mix well until it binds together. You can also consider adding a bit more honey or maple syrup, but be cautious not to make it too sticky. Just mix until you achieve a cohesive dough that forms easily into balls.
Are No Bake Protein Balls safe for pets, and what should I watch out for?
Great question! While the ingredients in No Bake Protein Balls are mostly safe for humans, it’s important to be cautious with pets. Avoid feeding them to dogs, especially if they contain chocolate or excessive sugar. Always check for potential allergens, and consult a vet if you’re unsure about any ingredient. It’s best to keep these delicious snacks just for you!
Can I modify the recipe for dietary restrictions or preferences?
Absolutely! This recipe is very customizable. For a vegan version, simply swap honey with maple syrup. If you have nut allergies, almond butter can be substituted with sun butter or soy nut butter. Additionally, ensure that your oats are labeled gluten-free if that’s a concern. Feel free to get creative with your mix-ins—think dried fruits, seeds, or even spices like cinnamon for a flavorful twist!
No Bake Protein Balls: Your Delicious, Guilt-Free Snack
Ingredients
Equipment
Method
- Gather all your ingredients: creamy peanut butter, honey (or maple syrup), rolled oats, vanilla protein powder, salt, and mini chocolate chips.
- In a mixing bowl, combine the peanut butter and honey; stir until well incorporated. Add the rolled oats, protein powder, and a pinch of salt. Mix until sticky and blended.
- Gently fold in the mini chocolate chips until evenly distributed.
- Using a cookie scoop or spoon, portion the mixture into one-inch-sized balls on a wax paper-lined cookie sheet.
- Roll each portion into a firm ball by hand. If mixture is too crumbly, add more peanut butter.
- Chill the cookie sheet of shaped balls in the refrigerator for about one hour until firm.
- Transfer the chilled protein balls to a Ziploc bag or airtight container for storage.
Leave a Reply