
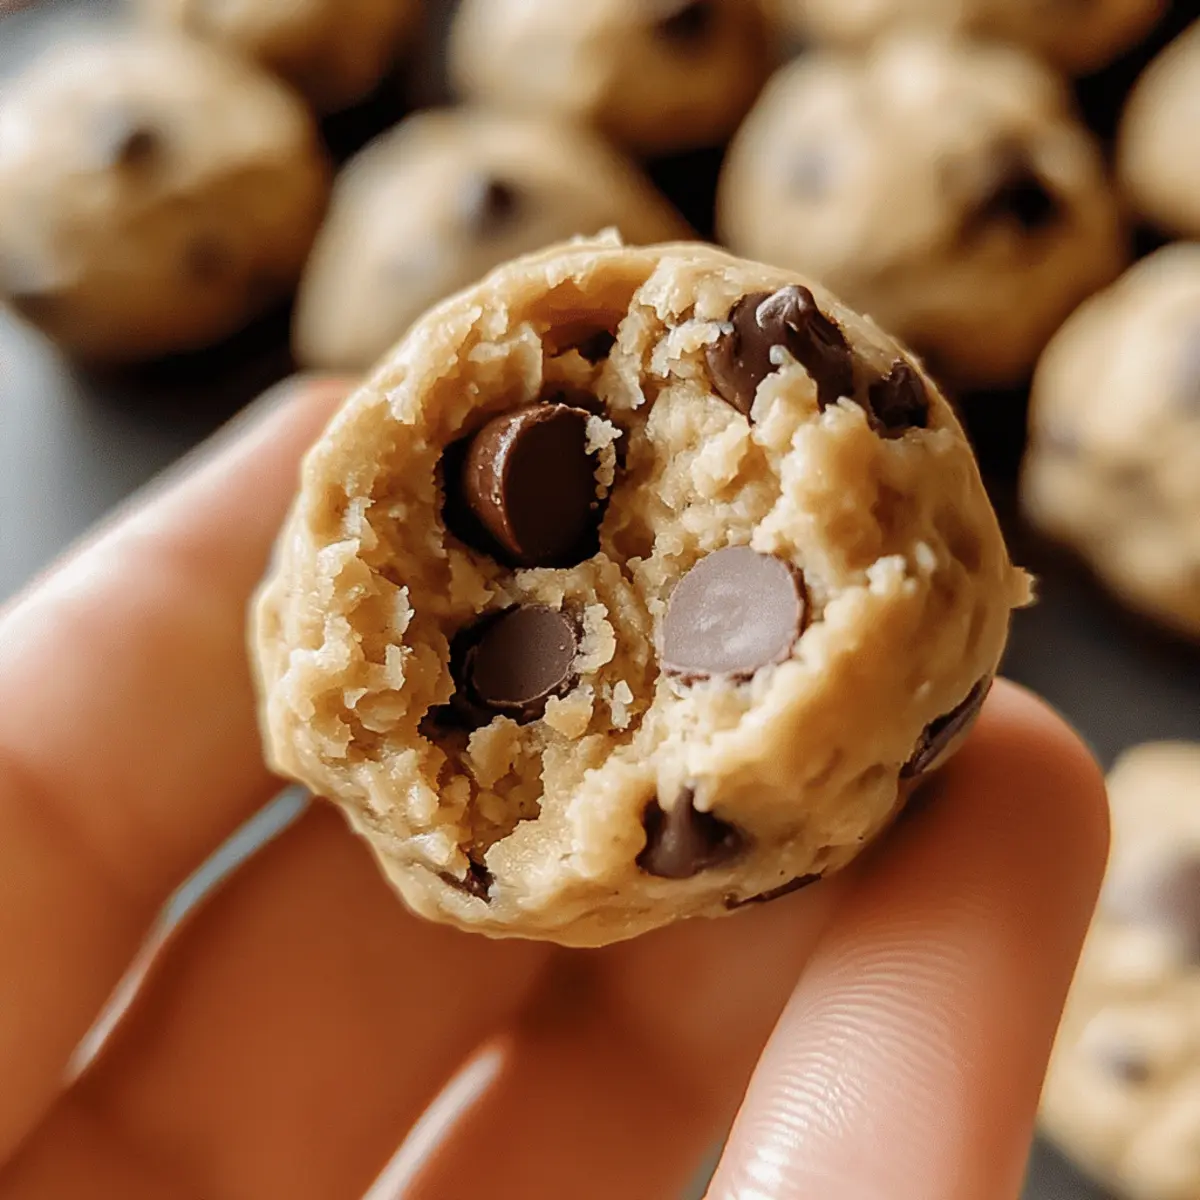
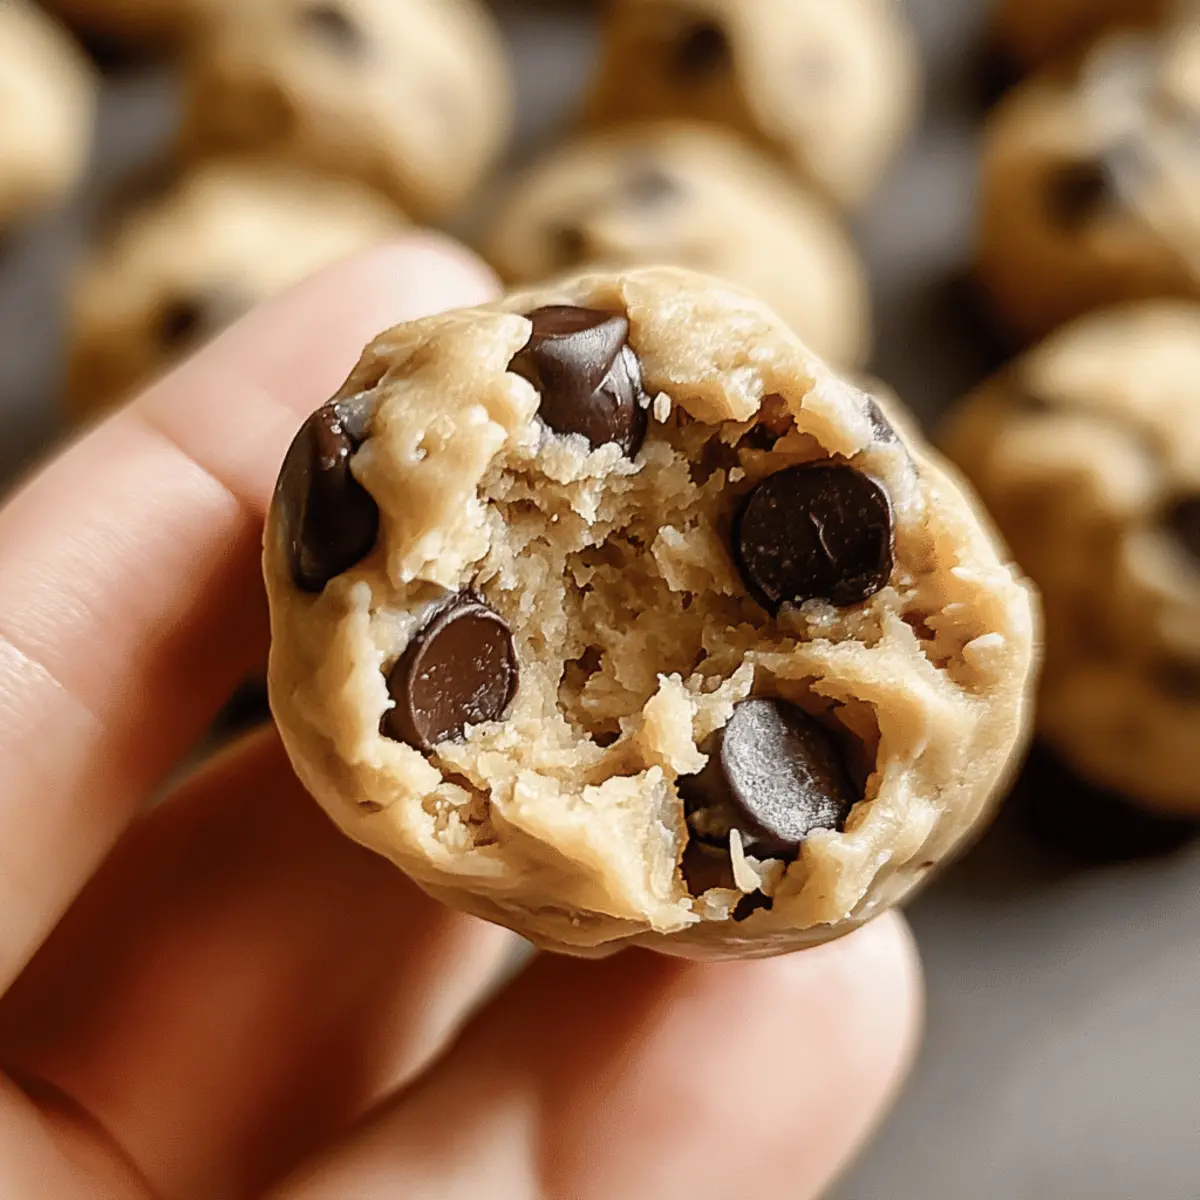
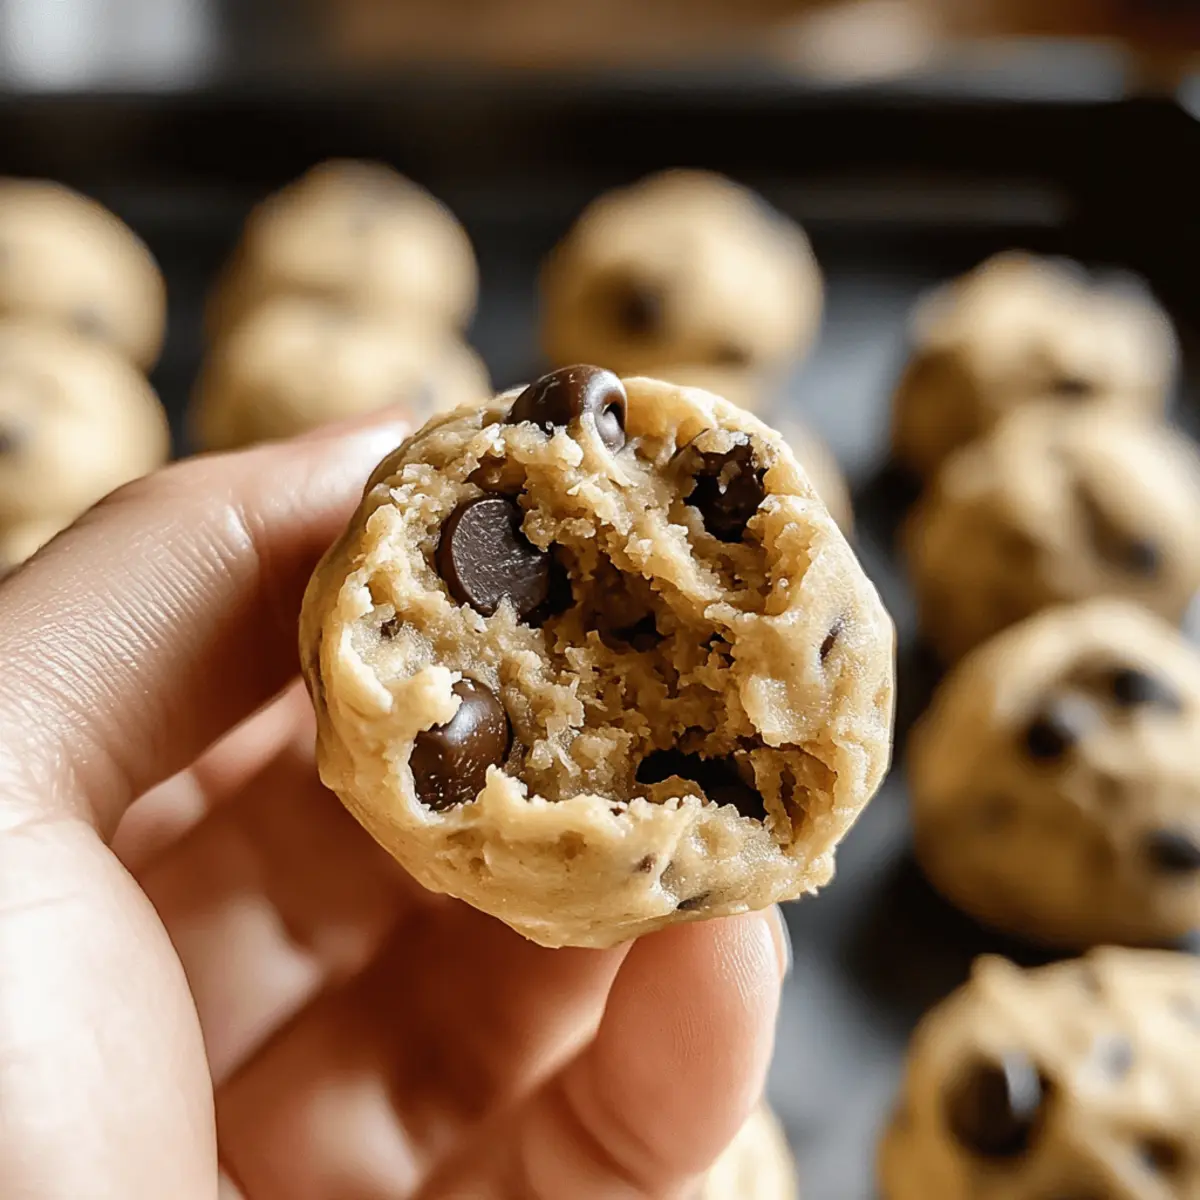
Remember the thrill of sneaking spoonfuls of raw cookie dough when baking? It’s a taste that still evokes warmth and coziness, and I’m excited to share a way to savor that nostalgic flavor without the guilt. These No-Bake Protein Balls With Cookie Dough Flavor give you all the satisfaction of indulgence, packed with protein and fiber to keep you energized throughout your day. Whether you need a quick boost before hitting the gym or a late-night snack that won’t derail your health goals, these bites are customizable and oh-so-easy to whip up. Plus, you can tweak the ingredients based on what you have at home! Ready to relive those delightful cookie dough days in a healthier form? Let’s dive into the recipe!
Why Choose No-Bake Protein Balls?
Nostalgic Flavor: Relive the delight of cookie dough without the guilt, offering a taste that warms the heart.
Protein-Packed: Burst of energy from protein-rich ingredients, perfect for workouts or an afternoon slump.
Customizable: Easily swap ingredients like nut butters or sweeteners to fit your preference—try using Yogurt Cookie Dough for a twist!
Quick Prep: No baking required—mix, roll, and enjoy in no time.
Storage Friendly: Prepare ahead and store in the fridge or freezer for delicious, healthy snacks anytime!
No-Bake Protein Balls With Cookie Dough Flavor
Ingredients Breakdown
• Here’s your handy guide to crafting those delightful No-Bake Protein Balls!
For the Base
- Rolled Oats – Provides structure and fiber; can be substituted with ground almonds or coconut flour (note: adjust liquid accordingly).
- Vanilla Protein Powder – Adds a protein boost; swap in chocolate protein powder for a different, rich flavor.
- Flaxseed Meal (or Chia Seeds) – Acts as a binding agent while packing omega-3s.
- Pinch of Salt – A little pinch enhances all the flavors beautifully.
For the Creamy Goodness
- Almond Butter – Adds a creaminess and healthy fats; substitute with peanut butter, tahini, or sunflower seed butter for nut-free options.
- Honey or Maple Syrup – Adds sweetness and moisture; consider reducing if using flavored protein powders.
- Vanilla Extract – Enhances the overall flavor, making every bite a dream!
- Milk – Helps achieve the desired consistency; add gradually to bind the mixture smoothly.
For the Cookie Dough Experience
- Mini Chocolate Chips – Delivers the real cookie dough experience; reserve a few to press into the rolled balls if desired.
Feel free to mix and match to create your own perfect batch of No-Bake Protein Balls With Cookie Dough Flavor!
Step‑by‑Step Instructions for No-Bake Protein Balls With Cookie Dough Flavor
Step 1: Combine Dry Ingredients
In a large mixing bowl, whisk together rolled oats, vanilla protein powder, flaxseed meal, and a pinch of salt. Ensure the mixture is uniform and sandy in texture, as it serves as the base for your No-Bake Protein Balls With Cookie Dough Flavor. This should take about 2 minutes of whisking to achieve a consistent blend.
Step 2: Add Creamy Elements
Next, add almond butter, honey (or maple syrup), and vanilla extract to the dry mixture. Using a spatula, mix vigorously until everything combines and a crumbly texture forms. This step should take about 3 minutes, and you’ll want to ensure that no dry ingredients remain at the bottom of the bowl.
Step 3: Achieve Desired Consistency
Begin adding milk to the mixture, one tablespoon at a time. Mix thoroughly after each addition, until the dough holds together when pressed between your fingers—this is key for your No-Bake Protein Balls to maintain their shape. This process usually takes about 3–5 tablespoons of milk, depending on the dryness of your ingredients, and should take about 4 minutes.
Step 4: Fold in Chocolate Chips
Once the mixture holds together, gently fold in the mini chocolate chips using a spatula. Make sure to evenly distribute the chocolate throughout the dough for that authentic cookie dough experience. This should take around 2 minutes, and the dough should feel sticky yet manageable.
Step 5: Form the Balls
Using your hands, grab tablespoon-sized portions of the mixture and roll them into balls. Place these on a parchment-lined tray, ensuring there’s some space between each ball for easy handling. This step should take about 5 minutes, creating a joyful and tactile experience as you recreate the cookie dough feel.
Step 6: Chill for Firmness
If you prefer a firmer bite, place the tray in the refrigerator and let the protein balls chill for 30 to 60 minutes. This resting time allows the flavors to meld and the balls to set, making them easier to eat. Enjoy fresh if you’re in a hurry, but the chilling process adds a delightful texture.
Step 7: Store for Later Enjoyment
Finally, transfer any leftover No-Bake Protein Balls With Cookie Dough Flavor into an airtight container. Store them in the fridge for up to 10 days or in the freezer for 2–3 months for a quick, healthy snack anytime. Ensure they are well-sealed to keep them fresh and delicious!
What to Serve with No-Bake Protein Balls With Cookie Dough Flavor?
These delightful bites make snacking such a treat, and pairing them with the right accompaniments can elevate your experience even further.
-
Fresh Fruit Salad: A refreshing touch of sweet and tart fruits complements the rich cookie dough flavor, adding vibrant color and nutrients. Enjoy a mix of berries, apples, and citrus to invigorate your palate.
-
Greek Yogurt Parfait: Layering these protein balls with creamy Greek yogurt and granola creates a deliciously satisfying balance of textures. It’s perfect for breakfast or a mid-afternoon refreshment.
-
Nutty Trail Mix: Pair your protein balls with a variety of nuts and seeds for a crunchy texture contrast. This combination provides extra crunch and heart-healthy fats to fuel your day.
-
Smoothie Bowl: Blend your favorite fruits with some spinach or kale, then top with these protein balls. It’s a smoothie experience that’s filling, nutritious, and oh-so-delicious.
-
Cheese Platter: A selection of cheeses, crackers, and honey can take your snack time to the next level. The creaminess of cheese pairs beautifully with the sweetness of the protein balls.
-
Iced Matcha Latte: For a delightful drink, enjoy a chilled matcha latte alongside your protein balls. The earthy notes of matcha create a refreshing contrast to the sweet richness of cookie dough.
-
Protein Shake: Enhance your post-workout routine by pairing these no-bake delights with a protein shake. It keeps your energy levels up while satisfying your cravings.
Enjoy these No-Bake Protein Balls with your favorite sides for a well-rounded, indulgent snack that doesn’t compromise on health!
Expert Tips for No-Bake Protein Balls
-
Cohesion Check: Ensure the mixture binds well. If it feels too crumbly, gradually add more milk or nut butter until it holds together.
-
No Baking Required: Remember, these are no-bake protein balls! Baking changes the texture. If you must bake, form into a tray and bake for a short time.
-
Smart Portioning: To optimize energy intake, keep an eye on portion sizes when rolling your balls. Consistency is key to enjoying your No-Bake Protein Balls With Cookie Dough Flavor.
-
Flavor Experimentation: Don’t hesitate to swap in different protein powders or nut butters based on your taste preferences. A chocolate protein powder adds a fun twist!
-
Add It Up: Feel free to mix in additional ingredients like nuts or dried fruits for extra texture and flavor—tailor your batch to suit your cravings!
-
Storage Tip: Store in an airtight container in the fridge for a week, or freeze for longer-lasting snacks. Enjoy them anytime to keep your energy levels up!
No-Bake Protein Balls With Cookie Dough Flavor Variations
Feel free to get creative and customize your no-bake protein balls to match your taste buds and dietary needs!
-
Nut Butter Swap: Substitute almond butter with peanut butter, sunflower seed butter, or tahini for a nut-free version. Each option offers a unique flavor profile to explore!
-
Flavor Twist: Replace vanilla protein powder with chocolate, salted caramel, or any favorite flavor for a delicious twist. Each variation creates a different taste adventure!
-
Natural Sweetener: Use stevia, monk fruit, or erythritol instead of honey for a lower-sugar option. The sweetness can be adjusted to fit your personal preferences.
-
Add Texture: Mix in nuts, coconut flakes, or cocoa nibs for an extra crunch! These ingredients enhance the nutrition and create delightful surprises in every bite.
-
Superfood Boost: Add chia seeds or hemp seeds to increase nutritional value. They’re packed with fiber, Omega-3s, and protein, perfect for elevating your energy!
-
Chocolate Lovers: Fold in mini chocolate chips or dark chocolate chunks for an indulgent treat. You can reserve a few to press into the balls for added appeal!
-
Protein Variety: Try different protein powders, like pea protein or collagen, to cater to dietary restrictions or preferences. Finding the best blend for your body can be a fun experiment!
These exciting variations can make your No-Bake Protein Balls With Cookie Dough Flavor uniquely yours! Don’t forget, you can explore more delightful options like High Protein Triple or indulge in Oreo Cheesecake Cookie variations to keep the fun rolling!
How to Store and Freeze No-Bake Protein Balls
Fridge: Store your No-Bake Protein Balls in an airtight container to keep them fresh for up to 10 days. This way, you can enjoy a quick, healthy snack whenever you crave one.
Freezer: For longer storage, place the protein balls in a freezer-safe container or bag. They’ll stay delicious for 2–3 months, ready to thaw whenever you need a tasty energy boost.
Reheating: Enjoy them straight from the fridge or freezer. If you prefer them at room temperature, simply let them sit out for about 10–15 minutes before indulging!
Tip: Make sure they are well-wrapped to prevent freezer burn and to preserve that delightful cookie dough flavor!
Make Ahead Options
These No-Bake Protein Balls With Cookie Dough Flavor are perfect for meal prep enthusiasts! You can mix the dry ingredients (rolled oats, protein powder, flaxseed meal, and salt) up to 24 hours in advance and store them in an airtight container. Additionally, you can prepare the entire mixture and roll them into balls, then refrigerate for up to 3 days before enjoying. Just remember to keep them well-sealed to prevent drying out. When you’re ready to indulge, simply remove them from the fridge and enjoy them as a quick snack or post-workout treat. With these make ahead options, you’ll have delicious, protein-rich snacks ready whenever you need a boost!

No-Bake Protein Balls With Cookie Dough Flavor Recipe FAQs
How do I select the right ingredients for my No-Bake Protein Balls?
Absolutely! For the best results, choose rolled oats that are fresh and not stale. Look for protein powder with minimal added sugars to keep your snack healthy. Almond butter should be creamy and smooth, while honey or maple syrup should be pure to enhance flavor without additives. When buying flaxseed meal, opt for ground seeds, and check expiration dates to ensure freshness!
How should I store my No-Bake Protein Balls for freshness?
The more the merrier! Store your No-Bake Protein Balls in an airtight container in the fridge, where they’ll stay fresh for up to 10 days. If you plan to keep them longer, consider freezing them. Place the balls in a single layer on a parchment-lined tray, freeze until solid, then transfer them to a freezer-safe bag. They’ll retain their deliciousness for 2-3 months!
Can I freeze these protein balls?
Yes, indeed! To freeze your No-Bake Protein Balls, arrange them in a single layer on a parchment-lined tray for about an hour until they’re firm. Once frozen, pop them into a freezer-safe container or bag, eliminating as much air as possible. They’ll remain fresh for 2-3 months! Whenever you crave a quick snack, just take out a few and let them thaw for about 10-15 minutes before enjoying.
What should I do if my mixture is too crumbly?
No worries, we’ve all been there! If your mixture feels crumbly and doesn’t hold together, gradually add a bit more milk or almond butter, one tablespoon at a time, until the dough reaches the right consistency. It should feel sticky yet manageable. Just mix thoroughly after each addition—it might take a little patience, but you’ll get there!
Are there any dietary considerations I should keep in mind?
Very much so! If you’re making these No-Bake Protein Balls for someone with allergies, be mindful of nut butters—use sunflower seed butter for nut-free options. Additionally, if you’re avoiding sugar, you can swap honey or maple syrup with stevia or monk fruit. Always check protein powder labels for allergens, as some may contain dairy or gluten.
How can I customize my No-Bake Protein Balls?
Get creative! You can swap almond butter for peanut butter or even tahini for a nut-free alternative. Try different protein powders like chocolate or salted caramel for variations. Adding in nuts, seeds, or dried fruits can enhance texture and flavor. Don’t shy away from tweaking the recipe to match your preferences—it’ll be a fun and delicious experiment!
No-Bake Protein Balls With Cookie Dough Flavor for Guilt-Free Snacking
Ingredients
Equipment
Method
- Combine rolled oats, vanilla protein powder, flaxseed meal, and a pinch of salt in a large mixing bowl.
- Add almond butter, honey (or maple syrup), and vanilla extract. Mix until a crumbly texture forms.
- Gradually add milk one tablespoon at a time until the dough holds together when pressed.
- Fold in mini chocolate chips until evenly distributed.
- Roll tablespoon-sized portions into balls and place on a parchment-lined tray.
- Chill in the refrigerator for 30 to 60 minutes.
- Store in an airtight container in the fridge for up to 10 days or freeze for 2–3 months.
Leave a Reply