
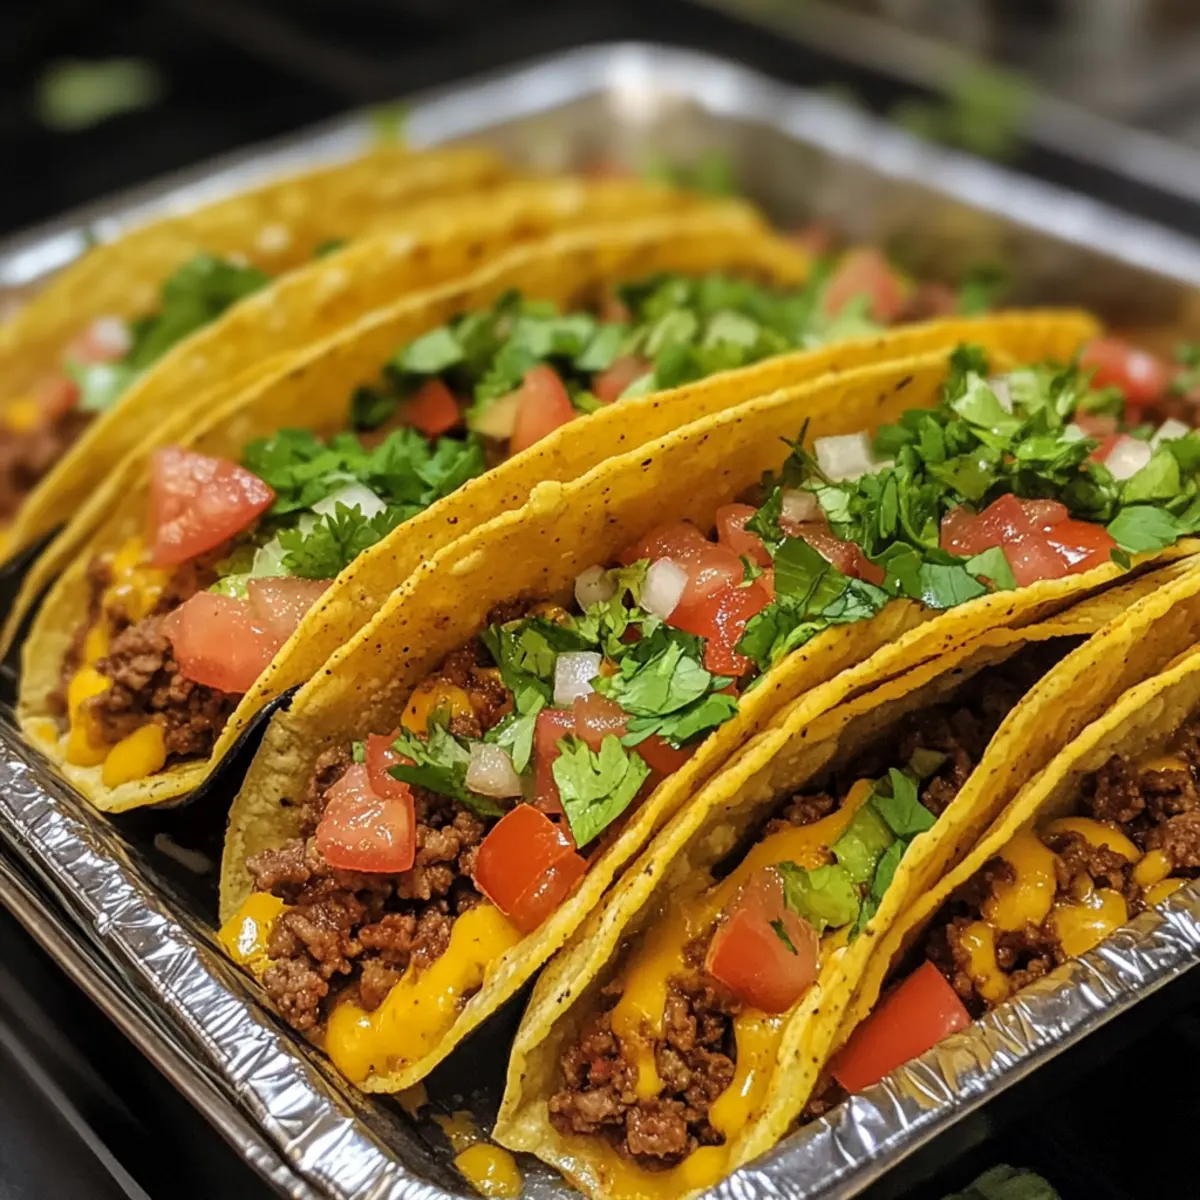
The aroma of roasted spices wafts through the kitchen, instantly transporting me back to family gatherings where laughter and delicious food filled the air. Enter my Oven-Baked Cheesy Tacos, a dish that redefines comfort food while offering a delightful twist to a classic favorite. These easy-to-make tacos promise a quick dinner solution, turning a busy weeknight into a cozy gathering with minimal mess. The best part? They’re incredibly versatile! You can customize them with ground turkey, fresh veggies, or even scrambled eggs for brunch. Whether you’re preparing them for family meals or meal prep, these cheesy tacos are sure to impress and satisfy. Ready to elevate your taco night? Let’s dive into this scrumptious recipe!
Why Are Oven-Baked Cheesy Tacos a Game Changer?
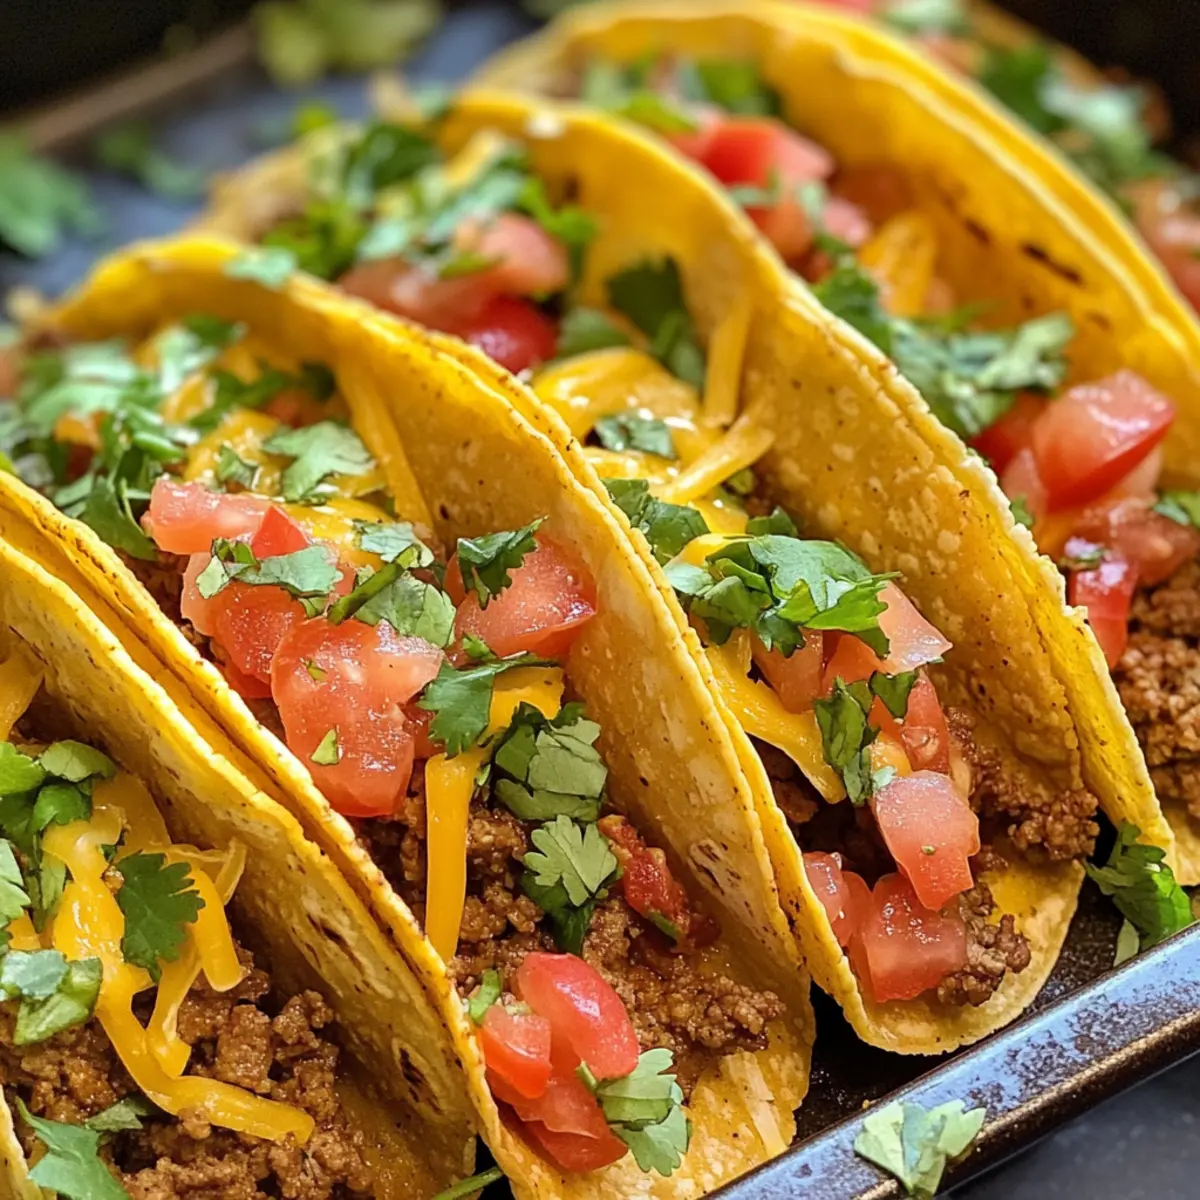
Crispy Perfection: The oven-baking method ensures each taco shell is delightfully crispy without the hassle of frying.
Limitless Customization: Choose from ground beef, turkey, or a hefty layer of black beans or lentils for a vegetarian feast. It’s taco night, your way!
Easy Meal Prep: These cheesy tacos are perfect for making ahead; assemble and refrigerate them for quick weeknight dinners.
Flavor Explosion: Melted cheese combined with seasoned fillings creates a symphony of flavors that will impress even your pickiest eaters.
Mess-Free Enjoyment: No more messy hands! These baked tacos eliminate spills, making clean-up a breeze—ideal for entertaining guests or family dinners.
Perfect for Any Occasion: Serve them with a garden salad or pair with your favorite drink, and you’ve got a satisfying meal that fits any gathering. Want to try another twist on taco night? Check out my Pumpkin Pie Tacos for a sweet variation!
Oven-Baked Cheesy Tacos Ingredients
For the Filling
• Ground Beef (or Ground Turkey/Chicken) – This serves as the hearty protein base; swap for turkey or chicken for a lighter dinner.
• Olive Oil – Essential for sautéing the aromatics; any cooking oil will work if you’re low on olive oil.
• Onion (diced) – Adds a flavorful foundation; feel free to substitute with yellow or white onions for a different taste.
• Garlic (minced) – Elevates the dish with aromatic goodness; use garlic powder as a quick alternative if fresh isn’t available.
• Taco Seasoning – Provides that delicious, signature taco flavor; opt for a packet or blend your spices for additional control.
• Tomato Sauce or Salsa – Keeps the filling moist and tangy; salsa adds an extra punch if you’re looking for texture.
For the Shells
• Small Taco Shells – These hold everything together; flour or corn shells work beautifully—warm them slightly to avoid cracks.
• Shredded Cheddar Cheese (or Mexican Blend) – Melts to creamy perfection; try pepper jack if you’re craving a spicy kick.
For Toppings
• Lettuce (shredded) – Offers a fresh, crunchy topping; swap with cabbage for an added crunch factor.
• Tomatoes (diced) – Introduces fresh juiciness; pico de gallo can add extra zest if you prefer.
• Red Onion (diced) – Provides a sharp contrast and color; use green onions for a milder taste if that’s your preference.
• Cilantro (chopped) – Brings a lovely herbaceous note; skip it if it’s not your thing, or use parsley instead.
• Optional Toppings – Customize with sour cream, jalapeños, guacamole, and hot sauce to elevate your tacos.
Dive into these Oven-Baked Cheesy Tacos that will not only satisfy your cravings but also bring a host of flavor-packed possibilities to your dinner table!
Step‑by‑Step Instructions for Oven-Baked Cheesy Tacos
Step 1: Preheat Your Oven
Begin by preheating your oven to 375°F (190°C). While the oven warms up, take a moment to prepare your baking dish by greasing it lightly with cooking spray or lining it with aluminum foil. This will help prevent sticking and ensure easy cleanup after baking your delicious Oven-Baked Cheesy Tacos.
Step 2: Sauté Aromatics
In a skillet over medium heat, pour in a drizzle of olive oil. Allow the oil to heat for a moment before adding diced onions and minced garlic. Sauté for 2-3 minutes, stirring frequently, until the onions turn translucent and the garlic is fragrant, creating a flavorful base for your taco filling.
Step 3: Cook the Meat
Next, add your choice of ground beef, turkey, or chicken to the skillet. Cook for approximately 6-8 minutes, breaking it up with a spatula, until the meat is browned and fully cooked. Stir in taco seasoning, tomato sauce, salt, and pepper, letting the mixture simmer for about 5 minutes until it thickens, developing rich flavors for your filling.
Step 4: Prepare Taco Shells
While the meat mixture simmers, warm your small taco shells slightly in the microwave for about 20-30 seconds. This step is essential to prevent cracking during filling. Once warmed, carefully fill each taco shell with the meat mixture, being mindful to leave room for the shredded cheese on top, ensuring an even melt.
Step 5: Add Cheese and Arrange
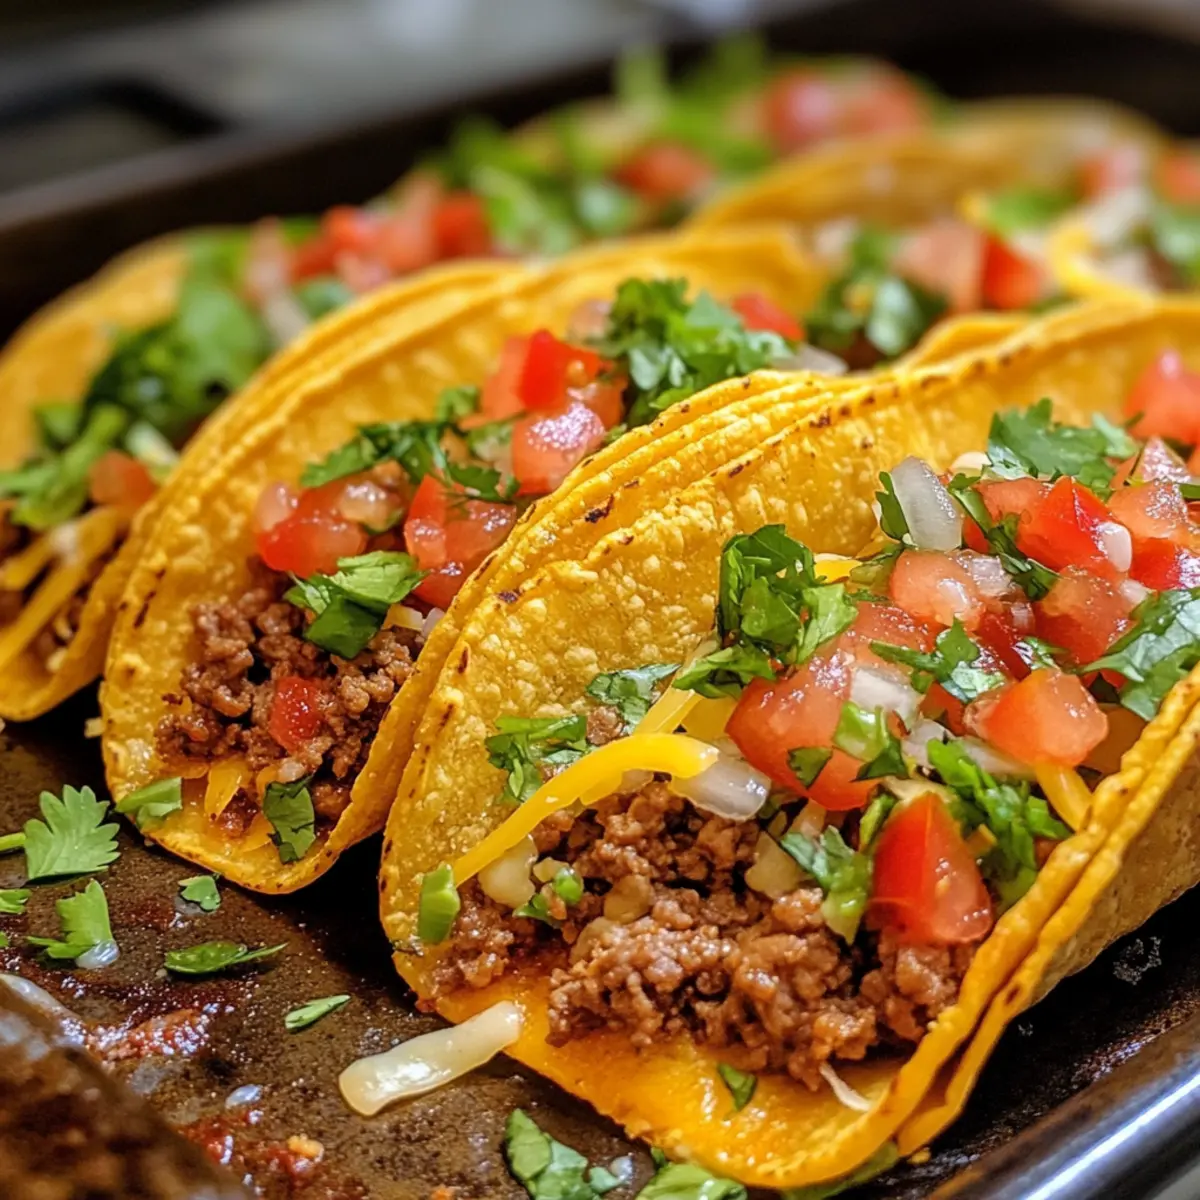
Sprinkle a generous amount of shredded cheddar or Mexican blend cheese over the filled taco shells. Arrange the filled shells upright in your prepared baking dish, snugly fitting them together. This positioning allows them to stay stable while baking and provides that delightful cheesy crust that makes Oven-Baked Cheesy Tacos irresistible.
Step 6: Bake to Perfection
Place the baking dish in the preheated oven and bake for 10-15 minutes. Keep an eye on them as they bake; you’re looking for bubbly, melty cheese and slightly golden edges on the taco shells. The smell will be divine as the cheese transforms into a gooey layer enveloping each taco.
Step 7: Top and Serve
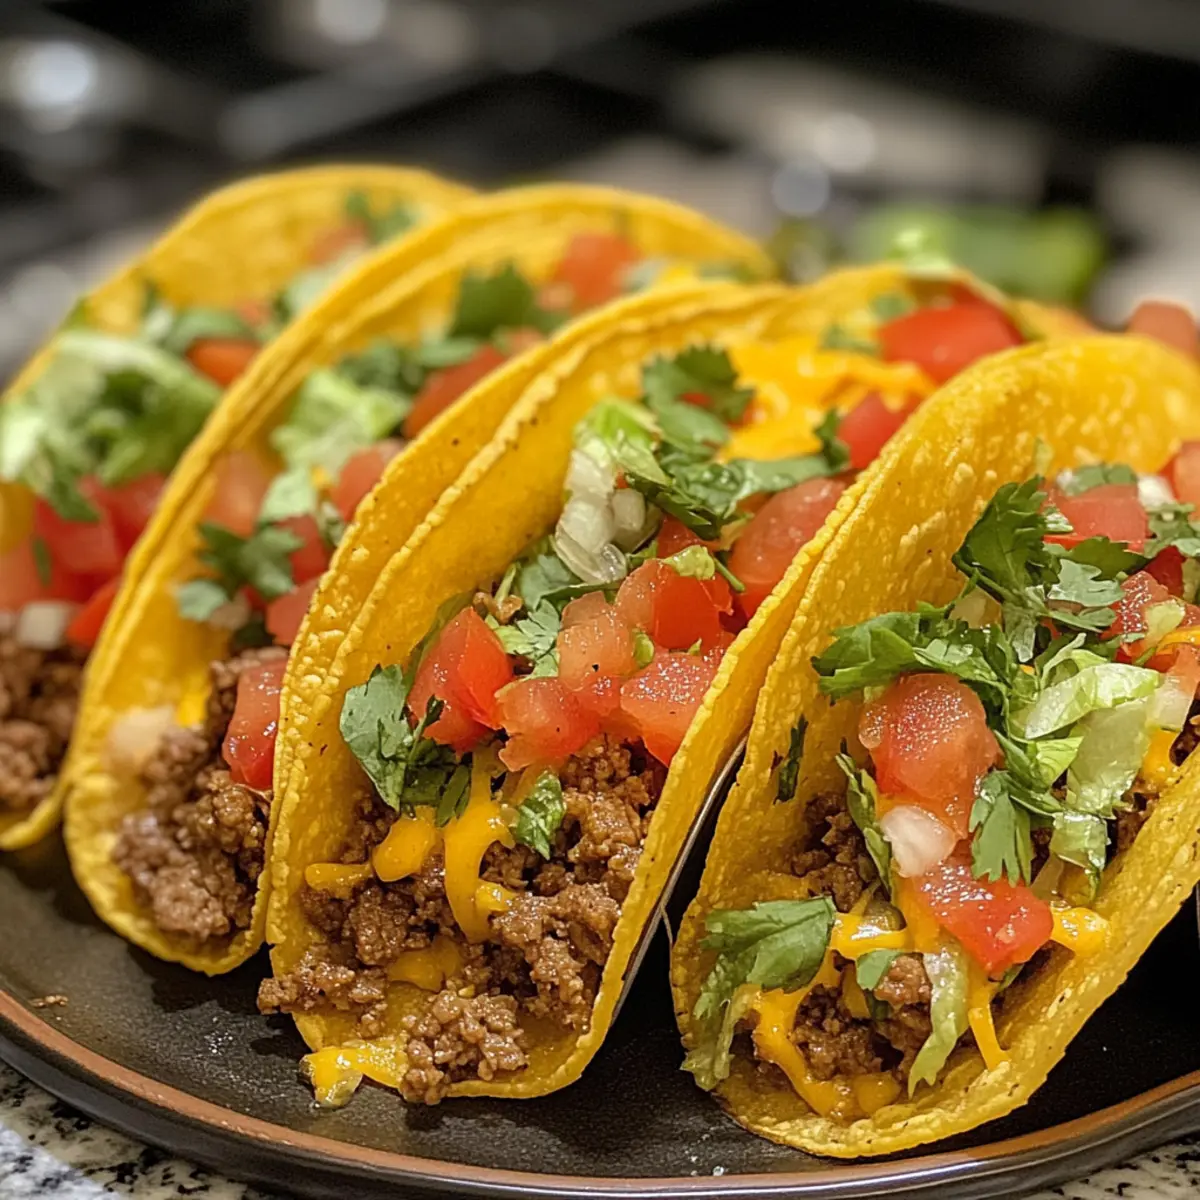
Once baked, carefully remove the baking dish from the oven. Allow the tacos to cool for a minute before topping them with your choice of fresh toppings such as shredded lettuce, diced tomatoes, red onion, or cilantro. Feel free to add sour cream, jalapeños, or guacamole for an extra flavor boost, and enjoy your Oven-Baked Cheesy Tacos together with loved ones!
Make Ahead Options
These Oven-Baked Cheesy Tacos are perfect for busy weeknight meal prep! You can assemble the tacos, fill the shells, and refrigerate them up to 24 hours in advance before baking. To maintain quality, make sure to cover the assembled tacos tightly with plastic wrap or foil to keep the shells from getting soggy. For longer storage, you can freeze the unbaked tacos for up to 2 months; just allow them to bake from frozen, adding an extra 5-10 minutes to the cooking time. When you’re ready to enjoy, simply pop them in the oven and let the cheesy goodness melt together for a delicious and effortless dinner that tastes just as wonderful!
Expert Tips for Oven-Baked Cheesy Tacos
-
Heat the Shells: Warming taco shells prevents cracking. A short time in the microwave helps them stay pliable while filling.
-
Don’t Overfill: Be cautious not to overstuff the taco shells. Leaving space for cheese ensures they stay upright during baking.
-
Fresh Cheese is Key: Use freshly shredded cheese for the best melting result. Pre-shredded cheese contains anti-caking agents, which can hinder smoothness.
-
Check Shell Freshness: Old or cold taco shells are prone to breaking. If they seem stale, reheat gently to help restore their structure.
-
Customize Your Fillings: These Oven-Baked Cheesy Tacos are versatile! Swap in your favorite proteins or veggies to suit your taste and dietary preferences.
-
Keep an Eye on Baking: Bake until cheese is bubbly and edges are golden. Different ovens may vary, so check often to prevent over-baking.
Oven-Baked Cheesy Tacos Variations
Feel free to let your creativity shine and customize these delicious tacos to match your taste buds!
-
Turkey Swap: Substitute ground beef with ground turkey for a lighter option that’s equally delicious.
-
Veggie Delight: Replace the meat filling with seasoned black beans or lentils, making it a hearty vegetarian treat that’ll please everyone at the table.
-
Extra Crunch: Add diced bell peppers or sweet corn to the meat mixture for a delightful texture boost, creating colorful, flavor-packed bites that brighten your meal!
-
Breakfast Tacos: For a morning twist, swap out the meat for scrambled eggs and serve with salsa verde. Breakfast tacos are a fun way to start your day!
-
Gluten-Free Alternative: Use gluten-free taco shells or large lettuce leaves to make this recipe suitable for those with gluten sensitivities.
-
Spicy Kick: Incorporate pepper jack cheese instead of cheddar, or top with jalapeños for an extra layer of heat that will warm your palate delightfully!
-
Creamy Addition: Drizzle a creamy chipotle sauce over the top after baking for a tangy, zesty finish—perfect for adding that gourmet touch to your dish.
-
Herbed Twist: Swap out cilantro for fresh parsley or basil, fitting your flavor preferences yet still delivering a burst of freshness.
Looking for more taco inspiration? Don’t miss our Cheesy Honey Garlic Chicken Pizza or dive into the flavorful world of Birria Tacos for yet another delicious twist on your favorite dish!
How to Store and Freeze Oven-Baked Cheesy Tacos
-
Fridge: Store leftover tacos in an airtight container for up to 3 days. Reheat in the oven at 350°F (175°C) for about 10 minutes for optimal crispiness.
-
Freezer: Unbaked assembled tacos can be frozen for up to 2 months. Wrap tightly in foil or plastic wrap, and bake directly from frozen, adding extra time to the original cooking duration.
-
Reheating: If you have baked leftovers, reheat them in the oven at 350°F (175°C) for about 10-15 minutes. Microwaving can make the shells chewy, so prefer the oven for that crispy texture.
-
Make-Ahead: Assemble your Oven-Baked Cheesy Tacos in advance and refrigerate them for up to 24 hours before baking. This makes for a quick weeknight dinner!
What to Serve with Oven-Baked Cheesy Tacos?
Experience a vibrant meal that brings together flavors and textures, creating a feast for both the eyes and the taste buds.
-
Light Garden Salad: A crisp mix of greens, tomatoes, and cucumbers adds freshness and balances the cheesy richness of the tacos. Toss in a tangy vinaigrette for a zesty kick!
-
Spanish Rice: This traditional side is infused with spices and offers a delicious comfort next to your savory tacos. The fluffy rice easily soaks up any extra toppings you might add.
-
Cilantro-Lime Quinoa: Swapping rice for quinoa brings a protein-packed twist, with cilantro and lime bringing a bright flavor that complements the taco filling beautifully.
-
Guacamole: Creamy and rich, guacamole adds a luxurious layer flavor to your meal. Its coolness perfectly contrasts the warm, cheesy tacos for a delightful experience.
-
Mexican Beer with Lime: Refresh your palate with a light Mexican beer like a Corona or Pacifico. The subtle bitterness pairs excellently with the cheesy crunch of your tacos.
-
Margaritas: For a celebratory touch, blend up some margaritas on the rocks. Their citrusy sweetness will elevate your taco night while adding a festive spirit!
-
Churros: For dessert, crispy churros with a side of rich chocolate sauce will end your meal on a high note. The sweetness is a perfect follow-up to the savory tacos.
Oven-Baked Cheesy Tacos Recipe FAQs
How do I choose the best ground beef for my tacos?
Absolutely! When selecting ground beef, look for a blend with a higher fat content, such as 80/20, as it provides more flavor and moisture during cooking. If you’re opting for a leaner option, ground turkey or chicken can be great alternatives. Just ensure they are fresh and stored at the right temperatures.
How should I store leftover Oven-Baked Cheesy Tacos?
Store any leftovers in an airtight container in the refrigerator for up to 3 days. To enjoy them crispy again, reheat in the oven at 350°F (175°C) for about 10 minutes. This method keeps the shells from becoming chewy, preserving that delightful crunch!
Can I freeze the assembled tacos?
Yes, certainly! Assemble your unbaked tacos and wrap them tightly in foil or plastic wrap to prevent freezer burn. They can be frozen for up to 2 months. When you’re ready to bake them, there’s no need to thaw; just pop them into the oven from frozen, adding an extra 5-10 minutes to the baking time.
What should I do if my taco shells break?
Very! If your taco shells are cracking or breaking, it may be due to them being old or cold. To remedy this, warm them in the microwave for 20–30 seconds before filling. This softens the shells, making them pliable and easier to handle. Alternatively, be sure to purchase fresh shells for ultimate stability!
Are there any dietary considerations I should be aware of?
Absolutely! If you’re cooking for someone with dietary restrictions, you can easily customize these Oven-Baked Cheesy Tacos. For gluten-free options, use gluten-free taco shells or large lettuce leaves as a wrap. Additionally, for plant-based diets, replace meat with seasoned black beans or lentils, ensuring everyone can enjoy this tasty meal.
Can I make these tacos in advance?
Yes! For a convenient meal prep option, assemble your Oven-Baked Cheesy Tacos up to 24 hours ahead of time and keep them covered in the fridge. This approach simplifies your dinner routine on busy nights and ensures that a hearty meal is just a quick bake away!
Oven-Baked Cheesy Tacos: Easy, Crispy Goodness Tonight
Ingredients
Equipment
Method
- Preheat your oven to 375°F (190°C) and prepare your baking dish.
- Sauté diced onions and minced garlic in olive oil over medium heat for 2-3 minutes.
- Cook ground beef, turkey, or chicken in the skillet for 6-8 minutes. Stir in taco seasoning and tomato sauce, simmer for 5 minutes.
- Warm taco shells in the microwave for 20-30 seconds, then fill with meat mixture and top with cheese.
- Arrange filled shells in the baking dish and bake for 10-15 minutes until cheese is bubbly and edges are golden.
- Remove from oven, cool slightly, and add desired fresh toppings before serving.
Leave a Reply