
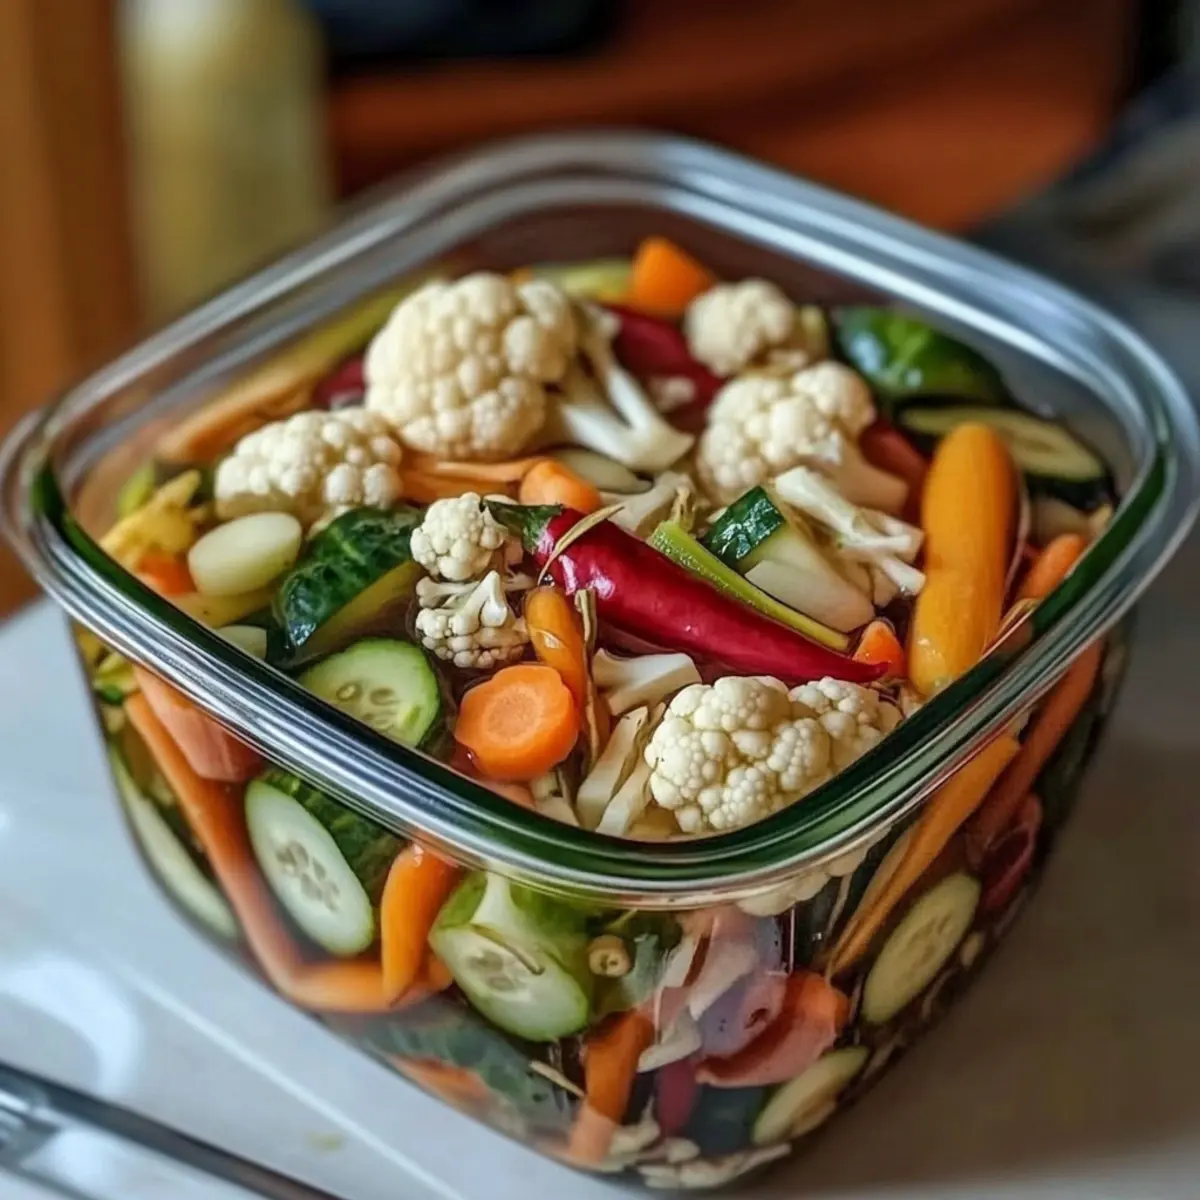
As I stood in my kitchen, a rainbow of fresh vegetables beckoned for attention, whispering of culinary adventures ahead. Today, I’m excited to share my recipe for Easy Refrigerator Pickled Vegetables, a delightful solution for those craving a crunchy, tangy bite without the fuss of traditional canning. This quick pickles recipe not only allows me to customize my veggies but also packs a nutritious punch; each vibrant jar becomes a versatile addition to any meal. The best part? You can whip these up in just 30 minutes! With a weeknight dinner or picnic-style lunch in mind, these pickles are a refreshing way to elevate your dishes while keeping your health goals in check. Curious about how easy it is to transform ordinary vegetables into zesty goodness? Let’s dive into this vibrant recipe!
Why Make Refrigerator Pickled Vegetables?
Quick pickling magic: In just 30 minutes, you’ll have a colorful medley of crunchy veggies, bursting with flavor.
Customizable delight: Mix and match your favorite vegetables to cater to your taste, creating unique flavor profiles every time.
Healthy treat: Low-calorie and packed with nutrients, these pickles are a guilt-free addition to meals.
No canning required: Enjoy the rewarding taste of homemade pickles without the fuss of traditional canning methods.
Zesty versatility: Perfect for snacking, on sandwiches, or as toppings for salads or grain bowls! Want to discover more easy ways to use pickled veggies? Check out our Serving Suggestions.
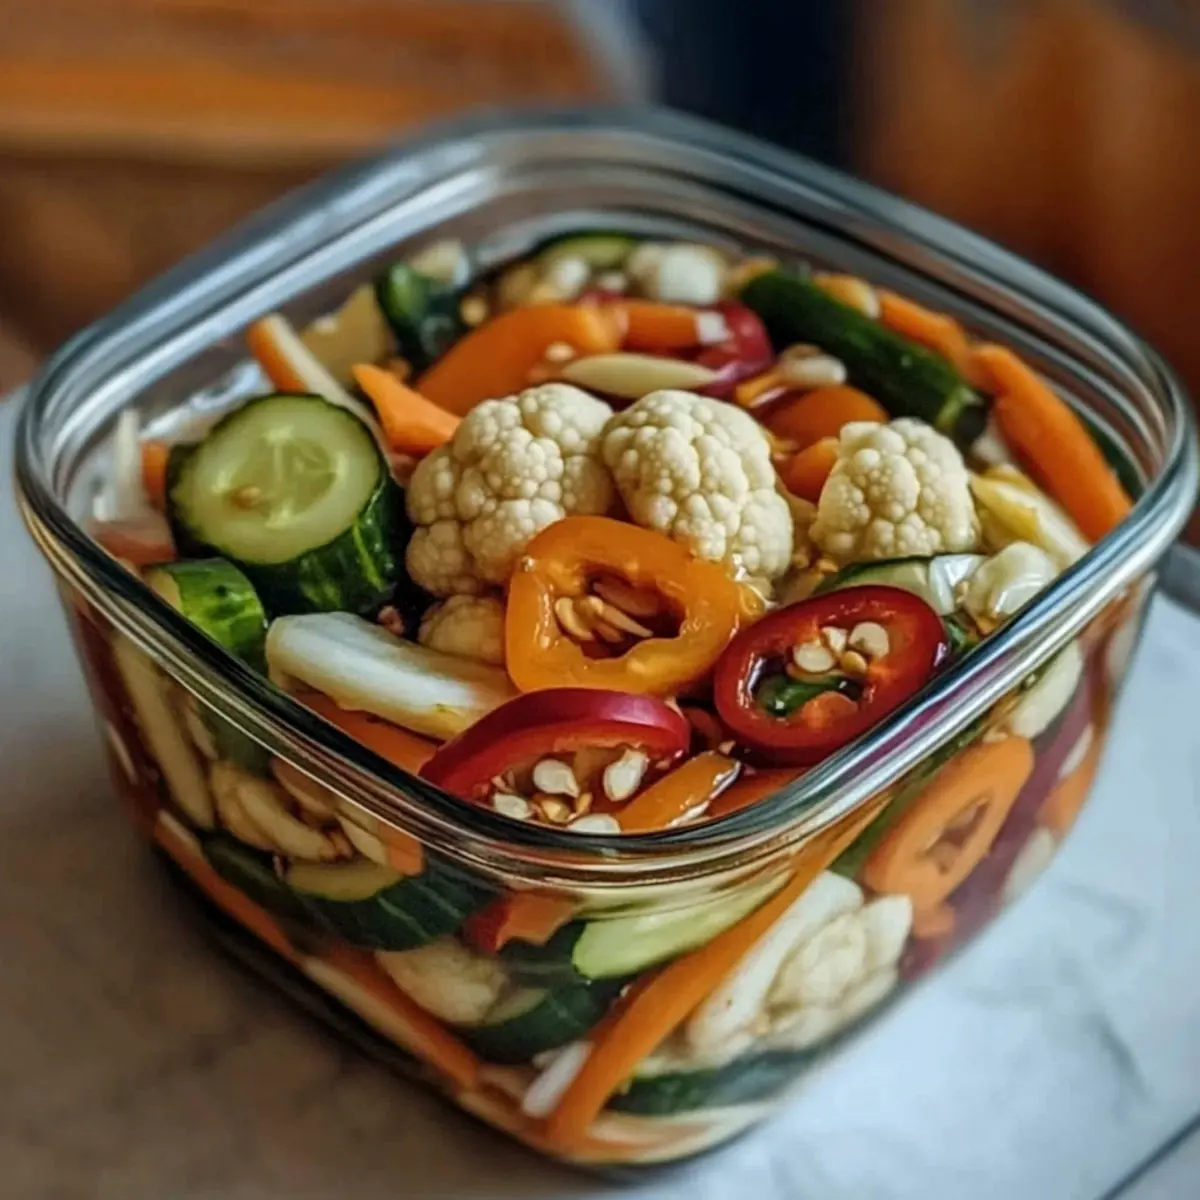
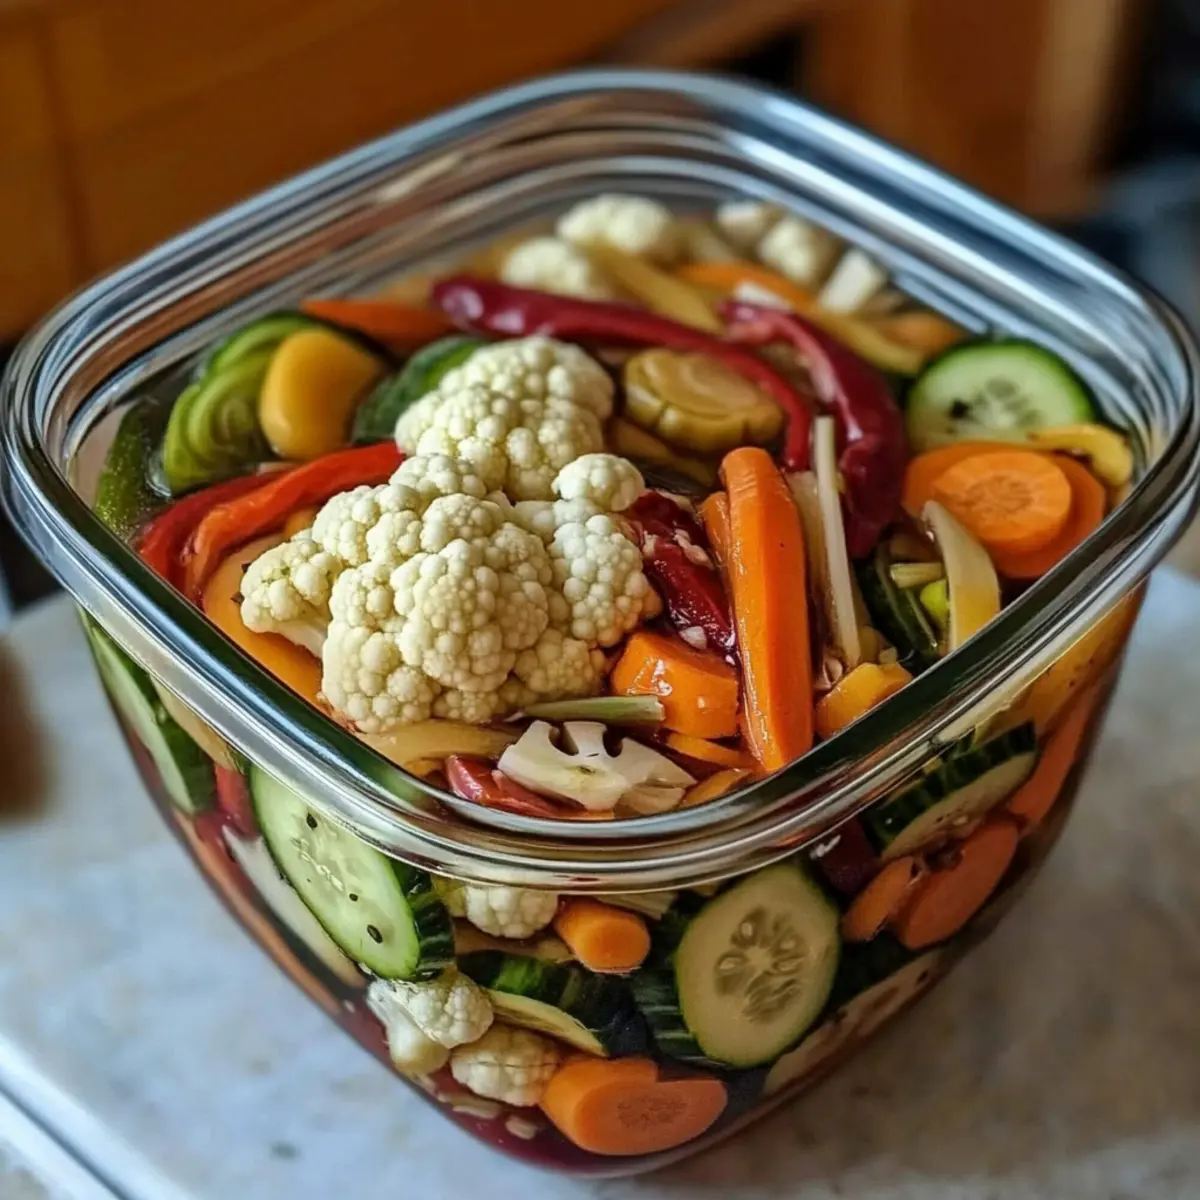
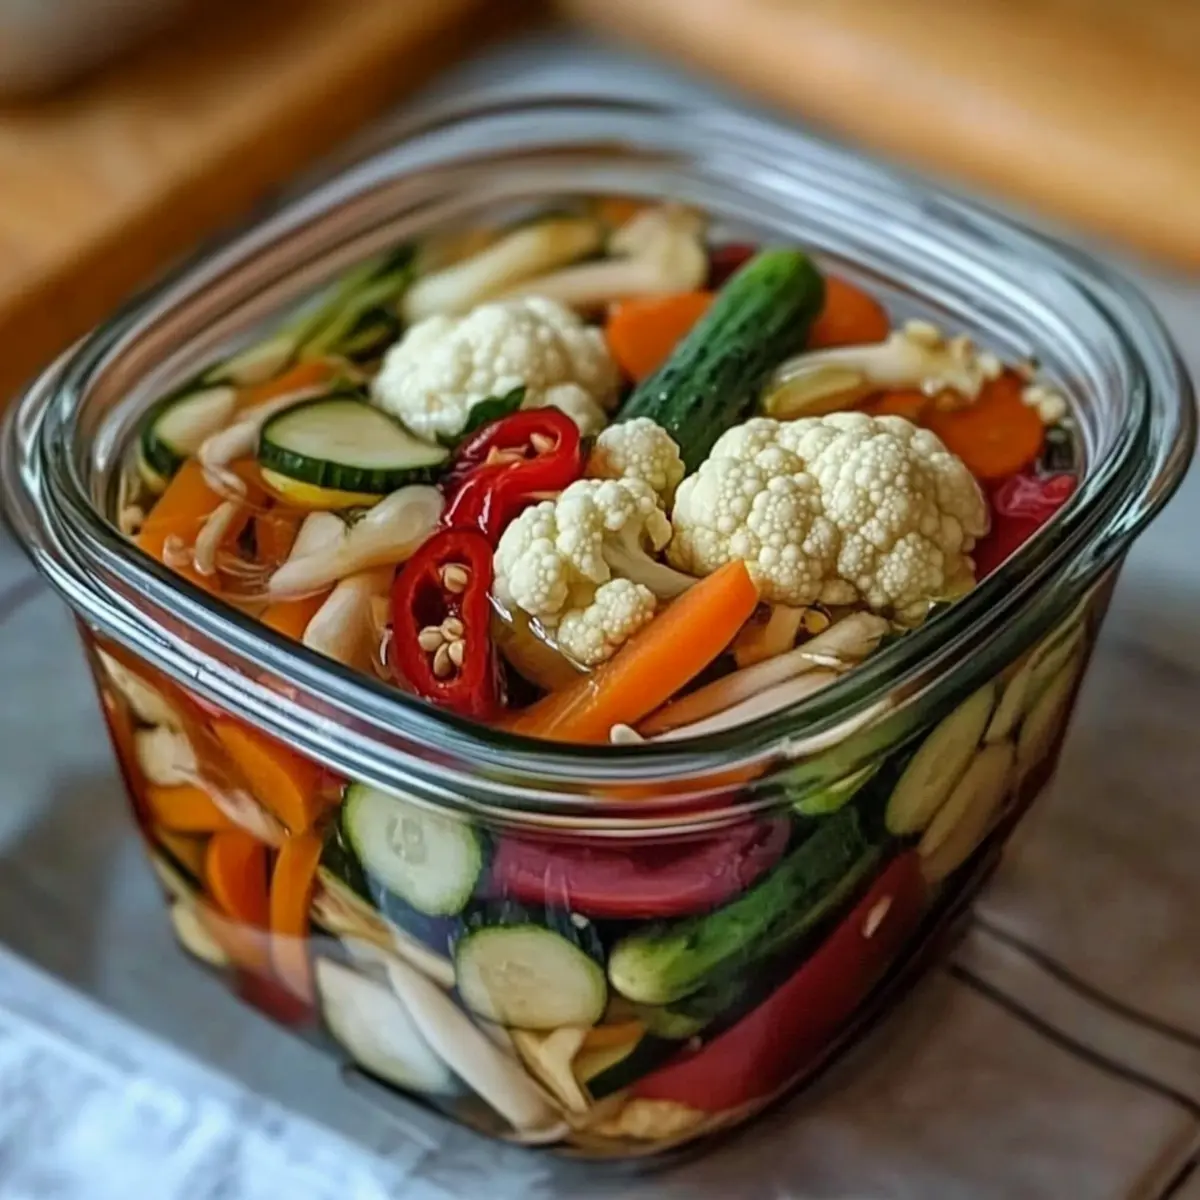
Pickled Vegetables Ingredients
• Transform your pantry staples into delicious pickled veggies with this simple guide.
-
For the Vegetables
-
Cauliflower Florets – Adds a crunchy texture; substitute with broccoli for a delightful twist.
-
Carrots – Provides sweetness and vibrant color; baby carrots work beautifully if you’re short on time.
-
Cucumbers – Offers that refreshing crunch; choose English cucumbers for minimal seeds.
-
Red Bell Pepper – Contributes sweetness and bright flair; any sweet pepper can step in as a substitute.
-
Green Beans – Introduces a crisp bite; asparagus can make for a fun alternative.
-
For Flavor Boost
-
Garlic (minced) – Deepens flavor; adjust the amount to suit your taste for milder or stronger notes.
-
Mustard Seeds – Adds a distinct kick; coriander seeds can provide a unique twist if desired.
-
Black Peppercorns – Infuses subtle heat; ground black pepper can easily replace whole peppercorns.
-
Red Pepper Flakes (optional) – Introduces a zesty heat; feel free to omit or adjust for personal spice tolerance.
-
For the Brine
-
White Vinegar (5% acidity) – Main preservative and flavor enhancer; apple cider vinegar offers a sweeter option.
-
Water – Dilutes vinegary notes; consider using more vinegar for a sharper brine.
-
Kosher or Pickling Salt – Ensures proper brining; regular table salt will suffice when needed.
-
Sugar – Balances the brine’s acidity; honey or agave serves as a lovely natural alternative.
Whether you serve these pickled vegetables as a zesty side or sneak them onto a sandwich, your culinary journey to crunchiness is about to begin!
Step‑by‑Step Instructions for Easy Refrigerator Pickled Vegetables
Step 1: Prep Vegetables
Begin by washing and drying your fresh vegetables thoroughly to remove any dirt. Cut them into uniform, bite-sized pieces, ensuring even pickling. Aim for consistent shapes, such as slicing cucumbers into rounds or carrots into sticks. This preparation step will set the stage for the zesty transformation in your Easy Refrigerator Pickled Vegetables.
Step 2: Make Brine
In a medium saucepan, combine white vinegar, water, kosher salt, sugar, minced garlic, mustard seeds, black peppercorns, and optional red pepper flakes. Heat the mixture over medium-high flame, stirring occasionally, until it reaches a rolling boil. Allow it to boil for about 2-3 minutes, ensuring the salt and sugar fully dissolve into a flavorful brine.
Step 3: Combine Vegetables & Brine
Once the brine is ready, carefully pour it over the prepped vegetables placed in a heat-proof bowl. Gently press the vegetables down to submerge them completely under the hot brine. Allow the mixture to cool to room temperature for about 1 hour, letting the flavors infuse beautifully into your crunchy vegetable medley.
Step 4: Jar and Seal
After the mixture has cooled, pack the pickled vegetables tightly into clean glass jars, ensuring you layer them for full coverage. Pour over any remaining brine so that the veggies are fully submerged. Seal the jars tightly with lids to lock in those vibrant flavors, making sure there are no air bubbles trapped.
Step 5: Chill
Place the sealed jars in the refrigerator, allowing the pickled vegetables to chill for at least 24 hours. For the best flavor, let them sit for 3–5 days. The waiting is worth it, as the tangy brine will work its magic, creating a delightful balance of flavor and crunch in your homemade pickled vegetables.
Pickled Vegetables Variations & Substitutions
Feel free to put your own spin on these vibrant pickled vegetables, transforming them into a personalized masterpiece that’s bursting with flavor!
-
Spicy Twist: Add sliced jalapeños or other hot peppers for a fiery kick. Just be mindful of how much you add—start small to gauge heat levels.
-
Herb Infusion: Incorporate fresh dill, thyme, or cilantro for a fragrant herbaceous note. This aromatic addition can elevate the entire dish, making it even more refreshing.
-
Crunchy Alternative: Try adding thinly sliced radishes for an extra crunch and a peppery bite. Their bright color will add to the visual appeal, too!
-
Sweet Surprise: Substitute sugar with honey or agave for a natural sweetness that balances the brine nicely. This twist gives a lovely depth of flavor that pairs wonderfully with savory dishes.
-
Colorful Mix: Don’t just stop at the basics—grab colorful vegetables like purple carrots or yellow squash for visual excitement and unique tastes in your pickles.
-
Creative Brine: Use flavored vinegar like red wine or rice vinegar to change up the taste profile. Each type of vinegar brings its own distinct character—experiment to find your favorite!
-
Citrusy Zing: Add a splash of lemon or lime juice to enhance the tangy flavor. It’ll brighten up the pickles and beautifully complement spicy dishes.
-
Sweet Heat: Mix in some crushed pineapple or peach slices for a surprising sweet-and-spicy flavor combination. It creates a delightful contrast that’s hard to resist!
With these variations, you can keep your pickled vegetables exciting and fresh every time you make them! Don’t forget, for more inspiration, check out our Serving Suggestions on how to elevate your meals with these delicious pickles.
Make Ahead Options
These Easy Refrigerator Pickled Vegetables are perfect for meal prep enthusiasts! You can wash and cut the vegetables (like cucumbers, carrots, and cauliflower) up to 24 hours in advance, storing them in an airtight container in the refrigerator to maintain their crispness. Additionally, you can prepare the brine ahead of time and refrigerate it separately for up to 3 days. When you’re ready to make the pickles, simply combine the prepped veggies with the chilled brine, allow them to sit at room temperature for about an hour, and then jar them up! This way, you’ll have zesty, crunchy pickled vegetables ready with minimal effort, adding vibrant flavor to your meals even on the busiest nights.
Storage Tips for Pickled Vegetables
Fridge: Keep your pickled vegetables in the refrigerator, where they will stay fresh for up to 2–3 weeks. Always ensure they are fully submerged in the brine to maintain that delightful crunch.
Airtight Jars: Store pickles in clean, airtight glass jars to minimize exposure to air, which can lead to spoilage. Make sure the lids are securely sealed after each use.
Longer Storage: For best flavor, consume your refrigerator pickled vegetables within the first week or two. However, they can last a bit longer, with optimal texture maintained when stored properly.
Reheating: If using pickles in warm dishes, add them at the end of cooking to preserve their crunch. They’re fantastic cold, but a quick warm-up can elevate flavors too!
What to Serve with Easy Refrigerator Pickled Vegetables
Delight in the endless possibilities that come alive when you pair vibrant pickled veggies with your favorite dishes!
- Grilled Meats: Serve these pickles alongside juicy grilled chicken or steak for a zesty contrast that enhances the flavors and adds crunch.
- Fresh Salads: Toss them into your greens for a refreshing bite, elevating any salad with tangy notes and a delightful crunch.
- Sandwiches & Wraps: Layer them in sandwiches or wraps for extra texture and flavor—these pickles bring a pop of brightness to every bite!
- Cheese Platters: Pair with creamy cheeses like goat cheese or brie; the acidity of pickles cuts through richness and creates a harmonious balance.
- Tacos: Top your tacos with pickled veggies for an explosion of flavor; the tangy crunch complements the savory filling beautifully.
- Rice Bowls: Add to grain or rice bowls for a burst of color and zest; the pickled vegetables will awaken the entire dish.
- Cocktails: Use as a garnish in cocktails like Bloody Marys, where their bright, tangy flavor will enhance the drink’s overall profile.
- Fish Dishes: Serve with grilled or baked fish to add a refreshing note; the acidity helps cut through the richness of the fish.
- Savory Pastries: Enjoy them with savory pastries or quiches, offering a sharp contrast that brightens rich flavors.
Expert Tips for Perfect Pickled Vegetables
-
Chop Uniformly: Ensuring vegetables are cut to a consistent size promotes even pickling. Bites that are too large may remain crunchier, while small pieces may become too soft.
-
Cool Properly: After pouring the hot brine over your veggies, let them cool to room temperature before sealing. This helps flavors meld and prevents condensation from watering down the brine.
-
Stay Submerged: To maintain the best texture in your pickled vegetables, make sure every piece is fully submerged in brine. If needed, weigh them down with a clean object or add more brine.
-
Avoid Overcrowding: When packing jars, don’t overstuff with vegetables; leave some space for brine. Overcrowding can hinder proper flavor infusion and lead to uneven seasoning.
-
Timing Matters: While you can enjoy your pickled vegetables after just 24 hours, waiting 3–5 days significantly enhances the flavor profile, leading to a more delicious experience.
Refrigerator Pickled Vegetables Recipe FAQs
What kind of vegetables can I use for pickling?
Absolutely! You can customize your pickled vegetables with a variety of fresh choices. Typical options include cauliflower, carrots, cucumbers, red bell peppers, and green beans. For a fun twist, try adding radishes, asparagus, or jalapeños to the mix. The more the merrier, and experimenting with different vegetables can lead to delightful flavor combinations!
How should I store my pickled vegetables?
I recommend keeping your pickled vegetables in clean, airtight glass jars in the refrigerator. They’ll stay fresh for up to 2–3 weeks. Make sure they are completely submerged in the brine to maintain that delicious crunch. Check regularly and enjoy them before they start to lose their texture!
Can I freeze pickled vegetables?
While freezing isn’t recommended for refrigerator pickled vegetables due to their texture changes, you can freeze the vegetables raw before pickling. To freeze: wash and cut your vegetables, blanch them in boiling water for about 1-2 minutes, and then plunge them into an ice bath to stop cooking. Drain, and pack them into airtight containers for up to 3 months. Once thawed, you can quickly pickle them using this recipe, relishing in their fresh flavor!
What if my pickles taste too salty?
If you find your refrigerator pickled vegetables are too salty, it’s likely due to the brine ratio. To fix this, you can soak the vegetables in water for about 30 minutes to draw out some saltiness and then re-refrigerate them. Alternatively, consider balancing the flavors with a touch more sugar in the brine next time; it can suavely mellow the salty taste.
How can I ensure my pickled vegetables stay crisp?
To keep your pickled vegetables crispy, it’s crucial that they remain fully submerged in the brine and that they are properly prepared before pickling. Uniformly chop the veggies into similar sizes and let the mixture cool to room temperature prior to sealing the jars. For an extra crunch, you could also add a small piece of fresh horseradish or a couple of grape leaves to the jar, which can help maintain that lovely texture!
Could these pickled vegetables be safe for pets?
While the ingredients in your refrigerator pickled vegetables are generally safe, it’s best to check for any specific allergies in pets. The vinegar and some spices may be too strong for sensitive animals. Always consult your vet regarding introducing new foods to your pet, and make sure to keep your pickles away from them for their safety!
Flavor-Packed Pickled Vegetables Ready in Just 30 Minutes
Ingredients
Equipment
Method
- Begin by washing and drying your fresh vegetables thoroughly to remove any dirt. Cut them into uniform, bite-sized pieces, ensuring even pickling.
- In a medium saucepan, combine white vinegar, water, kosher salt, sugar, minced garlic, mustard seeds, black peppercorns, and optional red pepper flakes. Heat over medium-high flame, stirring occasionally, until it reaches a rolling boil. Allow to boil for about 2-3 minutes.
- Once the brine is ready, carefully pour it over the prepped vegetables in a heat-proof bowl. Gently press the vegetables down to submerge them completely. Allow the mixture to cool to room temperature for about 1 hour.
- After the mixture has cooled, pack the pickled vegetables into clean glass jars, layering them to ensure full coverage. Pour over any remaining brine.
- Seal the jars tightly with lids, then place them in the refrigerator for at least 24 hours. For best flavor, let sit for 3-5 days.
Leave a Reply