
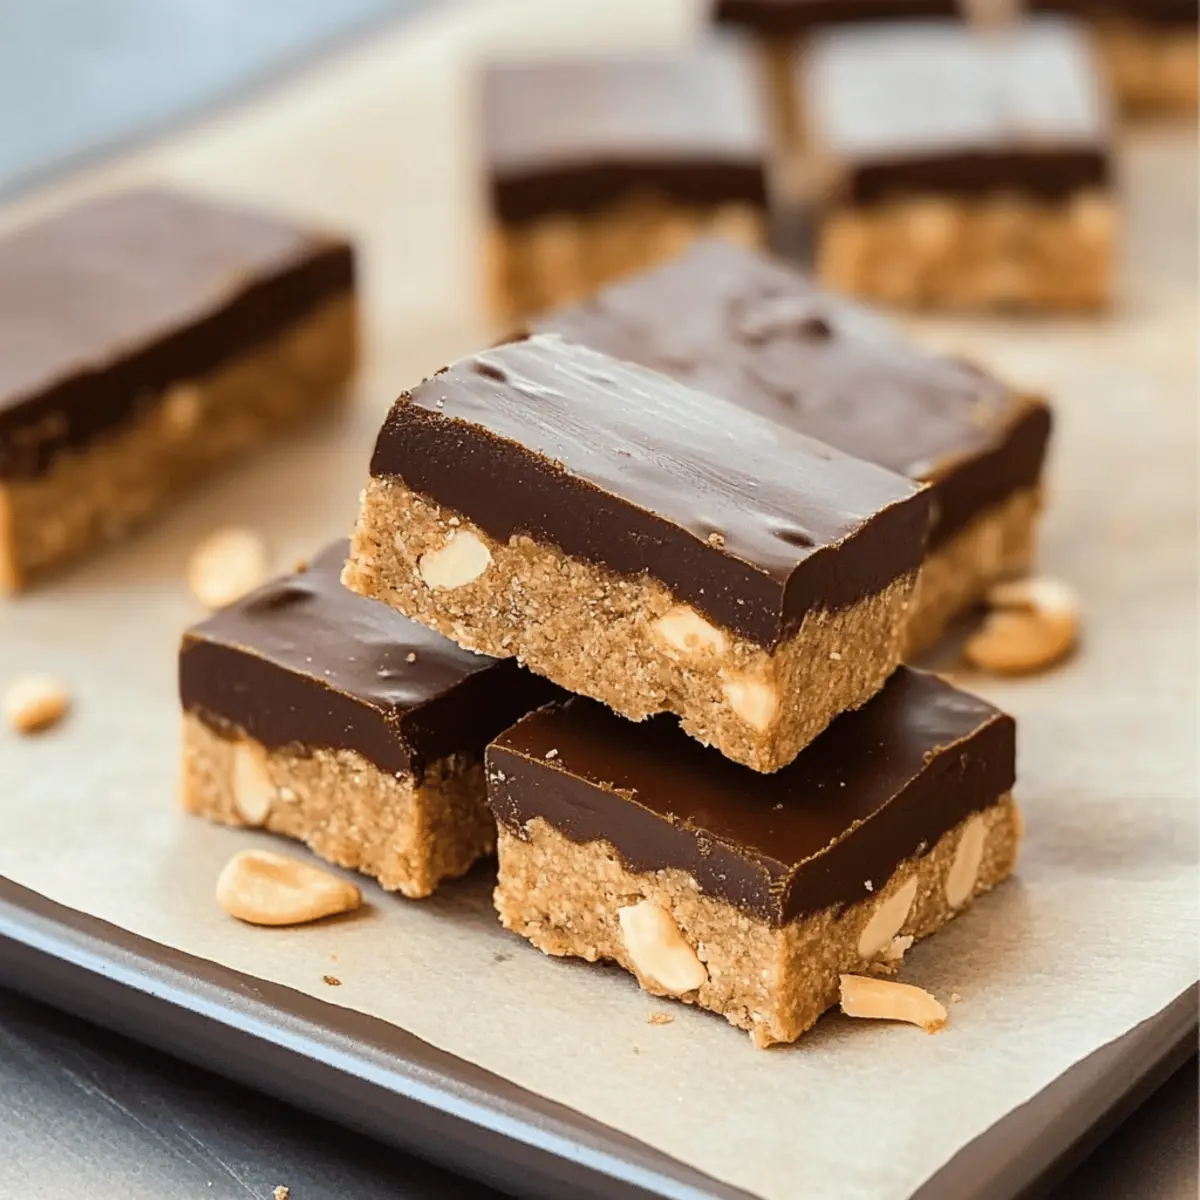
As I rummaged through my pantry one afternoon, I discovered a stash of protein powder that I had forgotten about—an unexpected treasure! It sparked a delicious idea: why not create homemade Protein Bars that are not only tasty but also customizable? With just four simple ingredients, these bars come together effortlessly in a no-bake process, making them an ideal choice for anyone craving a wholesome snack. They’re perfect for meal prep, allowing you to satisfy your sweet tooth without the guilt of store-bought snacks filled with preservatives. Plus, they can easily fit into your dietary needs—whether you’re vegan, gluten-free, or following a low-carb lifestyle. Curious about how to whip up this easy recipe that marries flavor and nutrition? Let’s dive in!
Why are protein bars a game changer?
Simplicity at its Finest: With only four ingredients, you can whip up these bars in no time!
Customizable Flavors: Whether you prefer chocolate, banana, or a cookie dough twist, the options are endless.
Nutrient-Packed Goodness: Each bar boasts over 12 grams of protein, keeping you energized throughout the day.
Perfect Snack Anytime: Ideal for busy days, they serve as a quick pre- or post-workout fuel.
Healthy Alternatives: Say goodbye to processed snacks; these homemade bars are vegan, gluten-free, and guilt-free. For more tasty snacks that fit your dietary needs, check out our High Protein Triple berry bake or our refreshing Southwest Chicken Salad!
Protein Bars Ingredients
For the Base
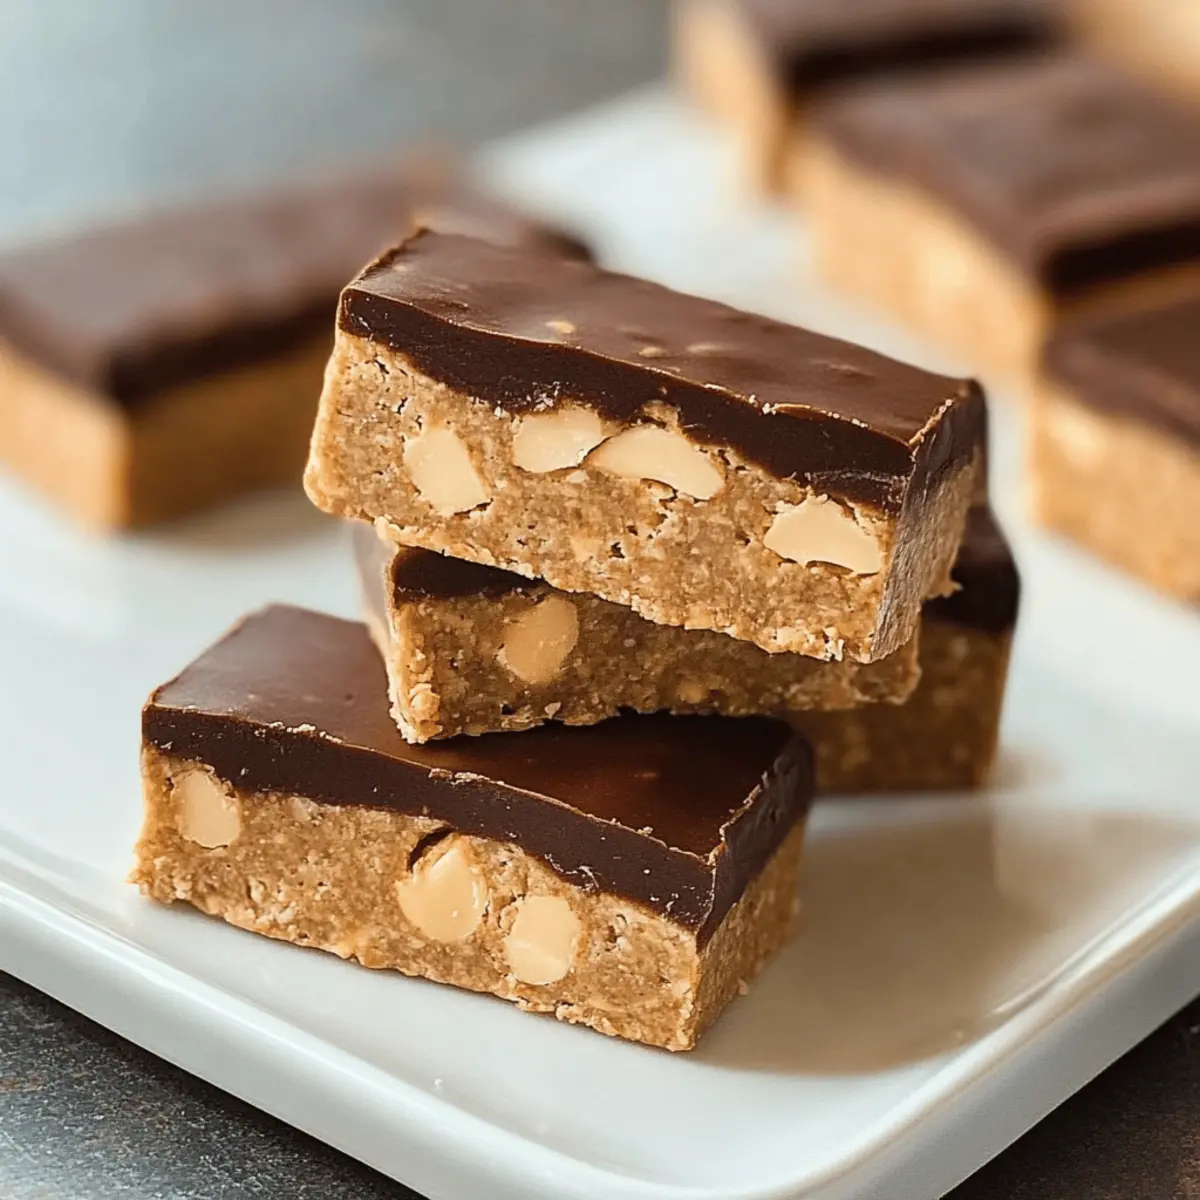
- Peanut Butter – Offers a rich, creamy texture; swap it for almond or sunflower seed butter for a nut-free treat.
- Protein Powder – The star ingredient for protein-packed goodness; choose your favorite flavor that aligns with your dietary needs.
- Pure Maple Syrup – Infuses sweetness and moisture; if you’re not strictly vegan, try using honey instead.
- Salt – A little pinch goes a long way in enhancing the overall flavor.
For Optional Coating
- Melted Chocolate Chips – Adds an indulgent chocolate layer; ensure to use dairy-free chocolate for a vegan-friendly option.
These protein bars not only satisfy your cravings, but they also align with your health goals, making them a stellar choice for anyone seeking nutritious, homemade snacks!
Step‑by‑Step Instructions for Protein Bars
Step 1: Mix the Base
In a medium bowl, combine 1 cup of peanut butter, 1 cup of your favorite protein powder, 1/2 cup of pure maple syrup, and a pinch of salt. Use a spatula or spoon to mix the ingredients vigorously until a dough forms that is smooth and slightly sticky. This may take about 2–3 minutes of mixing, so don’t rush it!
Step 2: Shape the Mixture
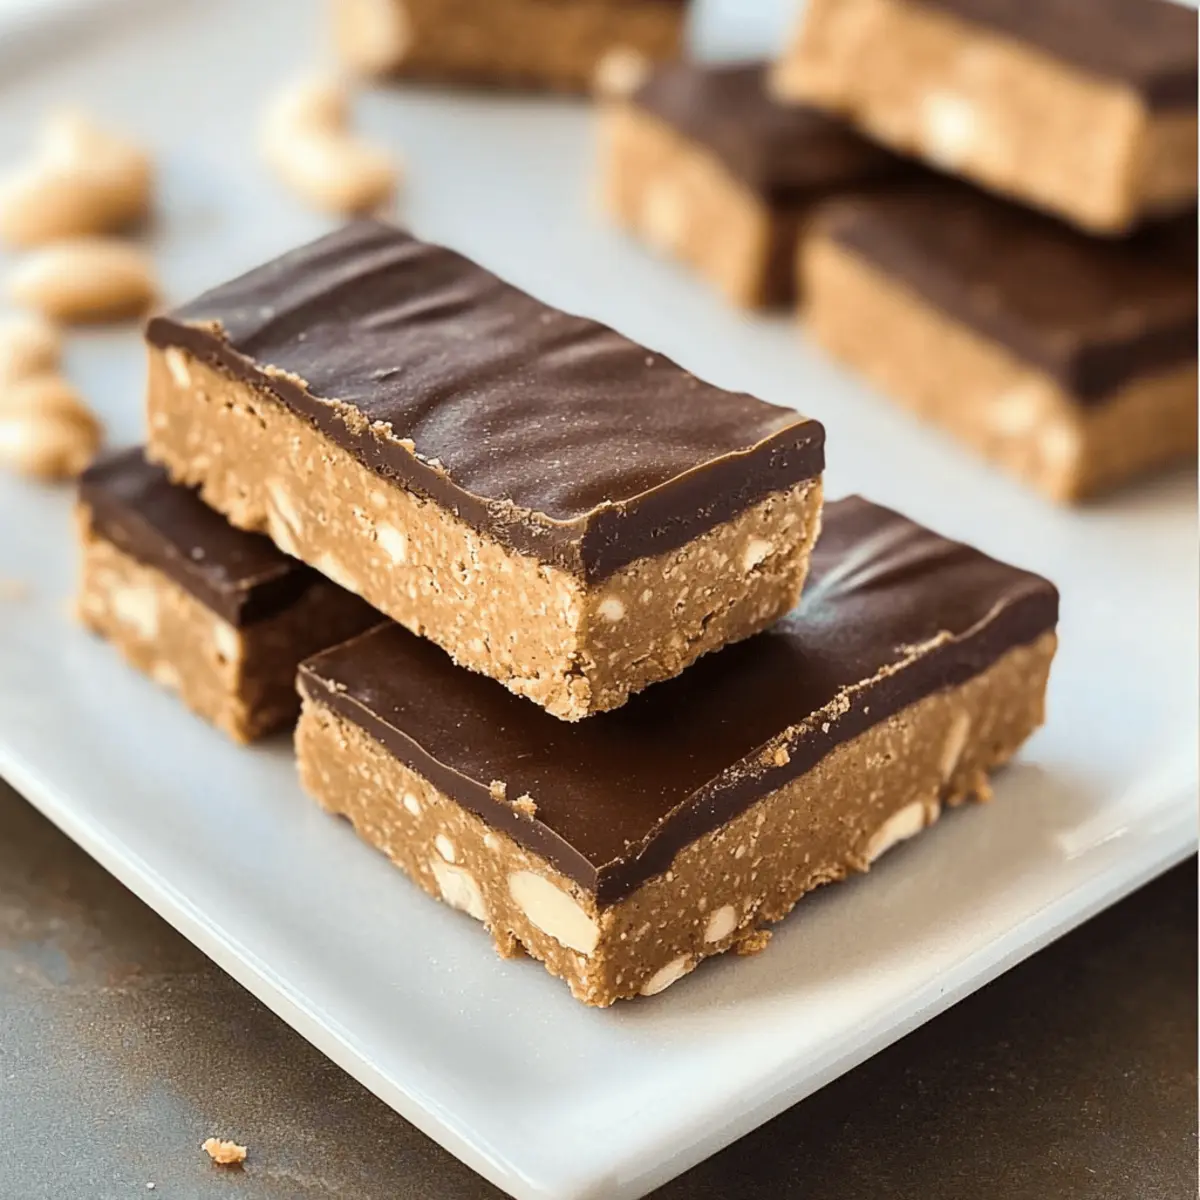
Once the dough is ready, you can either shape it into individual bars by hand or press it into a lined 8×8 inch pan to form a large bar. If you choose to make bars, aim for approximately 1-inch thickness to ensure they hold together well. Smooth the top with a spatula for an even finish, then get ready to chill.
Step 3: Chill to Firm Up
Place the shaped bars or the pan in the refrigerator and let them chill for at least 30 minutes. This cooling period helps the bars to firm up and makes them easier to cut or handle. As they chill, the protein bars will become more cohesive, so check to ensure they’re firm before the next step.
Step 4: Add Optional Coating
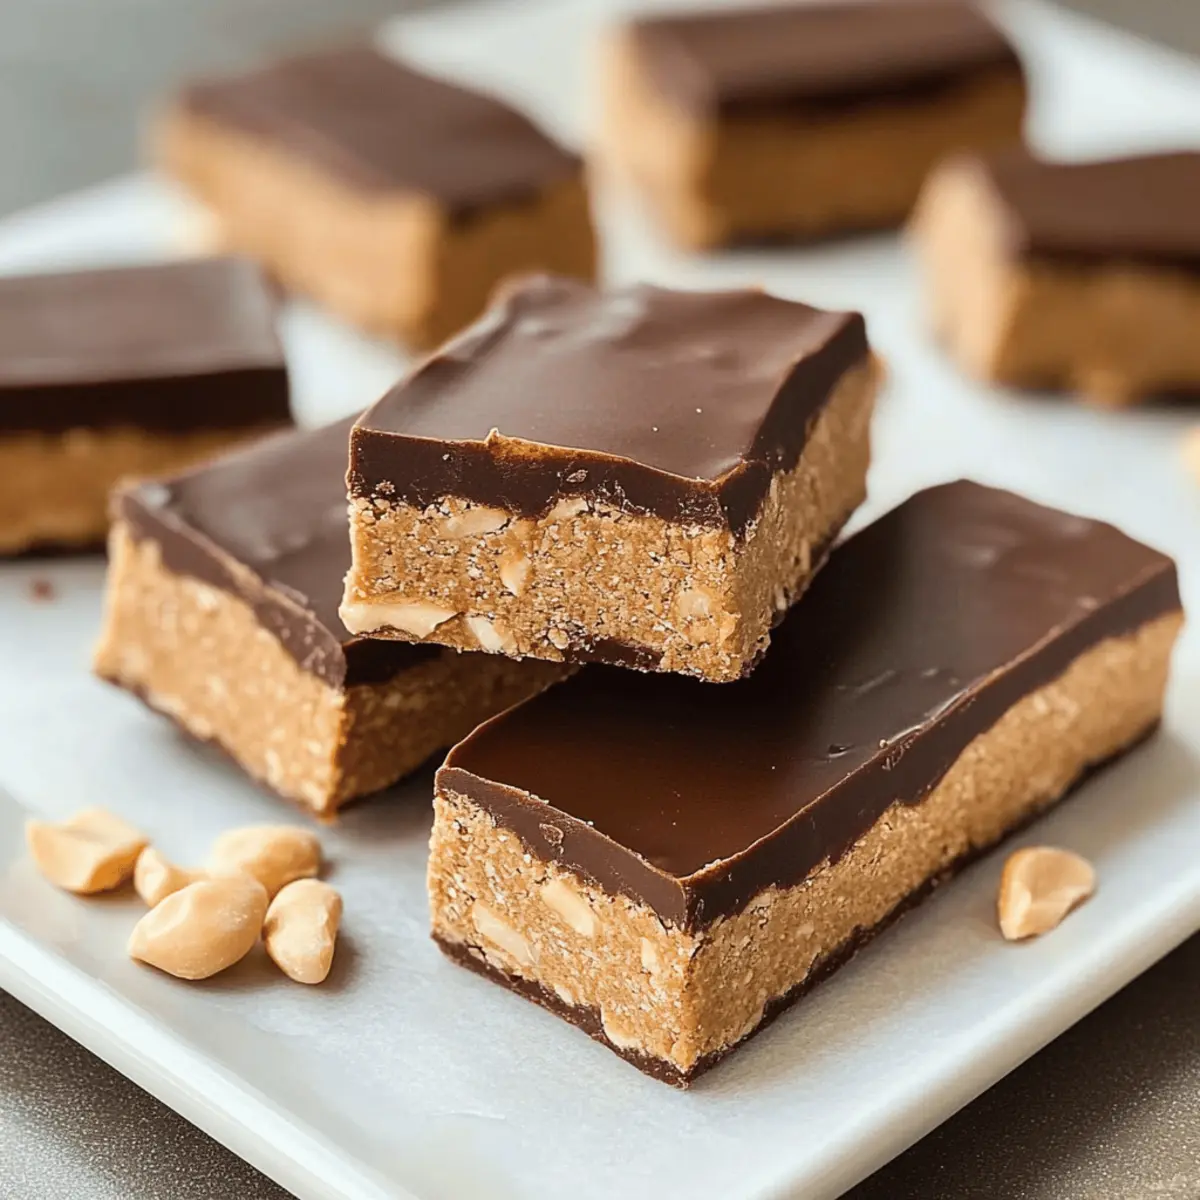
If you desire a chocolate coating, melt 1/2 cup of dairy-free chocolate chips in a microwave or double boiler, stirring occasionally until smooth. Dip each bar into the melted chocolate or drizzle it over the top for a delicious finish. Return the bars to the refrigerator for about 10 minutes to allow the chocolate to set completely.
Step 5: Slice and Store
Once the chocolate has hardened, if you’ve used a pan, carefully lift the bars out using the parchment paper. Cut them into your desired bar sizes, approximately 2 inches wide. Store your homemade protein bars in an airtight container at room temperature for up to a week, or in the fridge for an even longer shelf life, ready to fuel your day!
Expert Tips for Making Protein Bars
-
Choose Your Protein Wisely: Pick a protein powder you love, as each brand can taste different. A flavor you enjoy will make these bars even better!
-
Mix Thoroughly: Make sure to mix the ingredients well. This prevents clumps in your protein bars and ensures a consistent texture throughout.
-
Chill Effectively: Allow the bars to chill for at least 30 minutes. This step is crucial for firming up the bars, making them easier to handle.
-
Make Storage Easy: Store your protein bars in an airtight container. They maintain freshness for a week at room temperature, or even longer if refrigerated.
-
Experiment with Variations: Don’t hesitate to try different ingredients! From cookie dough to banana flavors, your protein bars can be customized to suit any craving.
What to Serve with Customizable High-Protein Vegan Bars
Elevate your snacking experience by pairing these delicious protein bars with wholesome sides and drinks that complement their rich, satisfying flavors.
-
Fresh Fruit Salad: A vibrant assortment of berries and melons adds a refreshing contrast and enhances vitamin intake.
-
Greek Yogurt Parfait: Creamy yogurt layered with granola and fruits brings a luxurious texture, creating a well-rounded protein-rich snack.
-
Nutty Granola: The crunchy texture of homemade or store-bought granola adds deliciousness and pairs beautifully with the chewy bars.
-
Smoothie Bowl: A smoothie made with leafy greens and frozen fruits offers a nutritious and colorful balance to your snack time.
-
Herbal Tea: A warm cup of chamomile or peppermint tea soothes the senses, creating a calming, delightful break.
-
Nut Butter Dips: Pair with a dollop of almond or cashew butter for a rich, creamy complement—perfect for enhancing protein intake!
These pairings not only make your protein bars more enjoyable but also bring a variety of textures and flavors to your overall snack experience!
How to Store and Freeze Protein Bars
Room Temperature: Keep your protein bars in an airtight container at room temperature for up to 7 days. This makes them easy to grab on the go!
Fridge: For longer freshness, store the bars in the refrigerator where they can last up to 2 weeks. This is ideal if you’ve made a big batch!
Freezer: Want to stock up? You can freeze these protein bars for up to 3 months. Just wrap each bar individually in plastic wrap, then place them in a freezer-safe bag.
Reheating: When you’re ready to enjoy a frozen bar, simply let it thaw at room temperature for about 10 minutes. This keeps the fresh, chewy texture intact, making your protein bars a delightful snack anytime!
Make Ahead Options
These Protein Bars are perfect for meal prep enthusiasts looking to save time during their busy weeks! You can mix the base up to 24 hours in advance and refrigerate it in an airtight container. This helps the flavors meld beautifully. Once you’re ready to serve, simply shape the mixture into bars, chill for at least 30 minutes to firm them up, and then add your optional chocolate coating before enjoying. If stored properly, these bars can be kept in the refrigerator for up to 1 week, making them an ideal, wholesome snack on demand. With these make-ahead options, you’ll have a delicious treat ready to fuel your day without any last-minute fuss!
Protein Bars: Customization Galore!
Ready to unleash your creativity in the kitchen? Discover delightful ways to make these protein bars your own!
-
Vegan Swap: Use almond butter or sunflower seed butter instead of peanut butter for a nut-free option. It’s still creamy and delicious!
-
Moisture Boost: Replace pure maple syrup with agave syrup for a different sweetness that’s vegan-friendly. This subtle change adds a unique twist to the flavor.
-
Banana Bliss: Substitute maple syrup with 1 ripe mashed banana for a naturally sweet, fruity flavor. The banana will enhance moistness while providing added nutrition.
-
Snack on Cookies: Stir in mini chocolate chips and a dash of vanilla extract for cookie dough-inspired bars, creating a delightful treat everyone will love. These bars are a nostalgic nod to your favorite childhood snack!
-
Low-Carb Option: Use unsweetened cocoa powder instead of protein powder, and add almond flour to maintain protein and create a low-carb variant. Ideal for keto enthusiasts!
-
Nutty Delight: Mix in chopped nuts or seeds for an added crunchy texture that complements the chewiness of the bars perfectly. Think of sunflower seeds or pumpkin seeds for a delightful chew!
-
Heat Level: Add a pinch of cayenne pepper or chili powder for a surprising heat boost, creating a savory-sweet experience. This unexpected kick is sure to thrill adventurous taste buds!
-
Dairy-Free Indulgence: Swap in dairy-free chocolate chips for your optional coating; they melt beautifully and maintain that rich, chocolatey finish. It’s all the indulgence without the dairy!
Your kitchen holds endless possibilities—get experimenting! These variations not only enhance flavor but also help cater to your personal dietary needs. For more flavor adventure, don’t forget to check out our High Protein Triple berry bake and refreshing Southwest Chicken Salad.
Protein Bars Recipe FAQs
What type of peanut butter should I use?
Absolutely! I recommend using natural peanut butter with no added sugar or oils for the best flavor and texture. Look for one that simply lists peanuts (and maybe a bit of salt) in the ingredients. If you’re looking for a nut-free option, try sunflower seed butter or almond butter instead!
How should I store my homemade protein bars?
Great question! You can keep your protein bars in an airtight container at room temperature for up to 7 days, which is super convenient for on-the-go snacking. If you want them to last longer, refrigerate them where they’ll stay fresh for up to 2 weeks.
Can I freeze protein bars for later?
Yes, you can absolutely freeze these protein bars! Wrap each bar individually in plastic wrap and then place them in a freezer-safe bag. They will maintain their quality for up to 3 months. When you’re ready to enjoy one, just thaw it at room temperature for about 10 minutes!
What if my mixture is too dry or too sticky?
If your mixture is too dry, try adding a teaspoon of water or more maple syrup to reach the desired consistency. On the flip side, if it’s too sticky, sprinkle a little extra protein powder into the mix until it firms up nicely. Don’t be afraid to experiment a bit to get that perfect texture!
Are there any dietary considerations I should keep in mind?
Definitely! These protein bars can be easily customized to fit various dietary needs. For vegan options, use plant-based protein powder and dairy-free chocolate. If you have nut allergies, stick with seed butters like sunflower seed butter. Always double-check ingredient labels to ensure they’re free from allergens!
Can I use alternatives for the protein powder?
Absolutely! If you prefer not to use protein powder, you can substitute it with oat flour for a different texture. Just remember to increase the amount of sweetener slightly to balance it out! You can also experiment with other protein sources like ground flaxseed for a healthy twist.
Protein Bars That Taste Amazing and Fuel Your Day
Ingredients
Equipment
Method
- In a medium bowl, combine 1 cup of peanut butter, 1 cup of your favorite protein powder, 1/2 cup of pure maple syrup, and a pinch of salt. Mix vigorously until a smooth, slightly sticky dough forms, about 2–3 minutes.
- Shape the mixture into individual bars by hand or press it into a lined 8x8 inch pan. Aim for approximately 1-inch thickness.
- Place the bars or pan in the refrigerator and chill for at least 30 minutes.
- Melt 1/2 cup of dairy-free chocolate chips until smooth. Dip each bar into the melted chocolate or drizzle it over the top. Return to the refrigerator for about 10 minutes to set.
- Once the chocolate has hardened, cut the bars into desired sizes. Store in an airtight container at room temperature for up to a week or in the fridge for longer shelf life.
Leave a Reply