
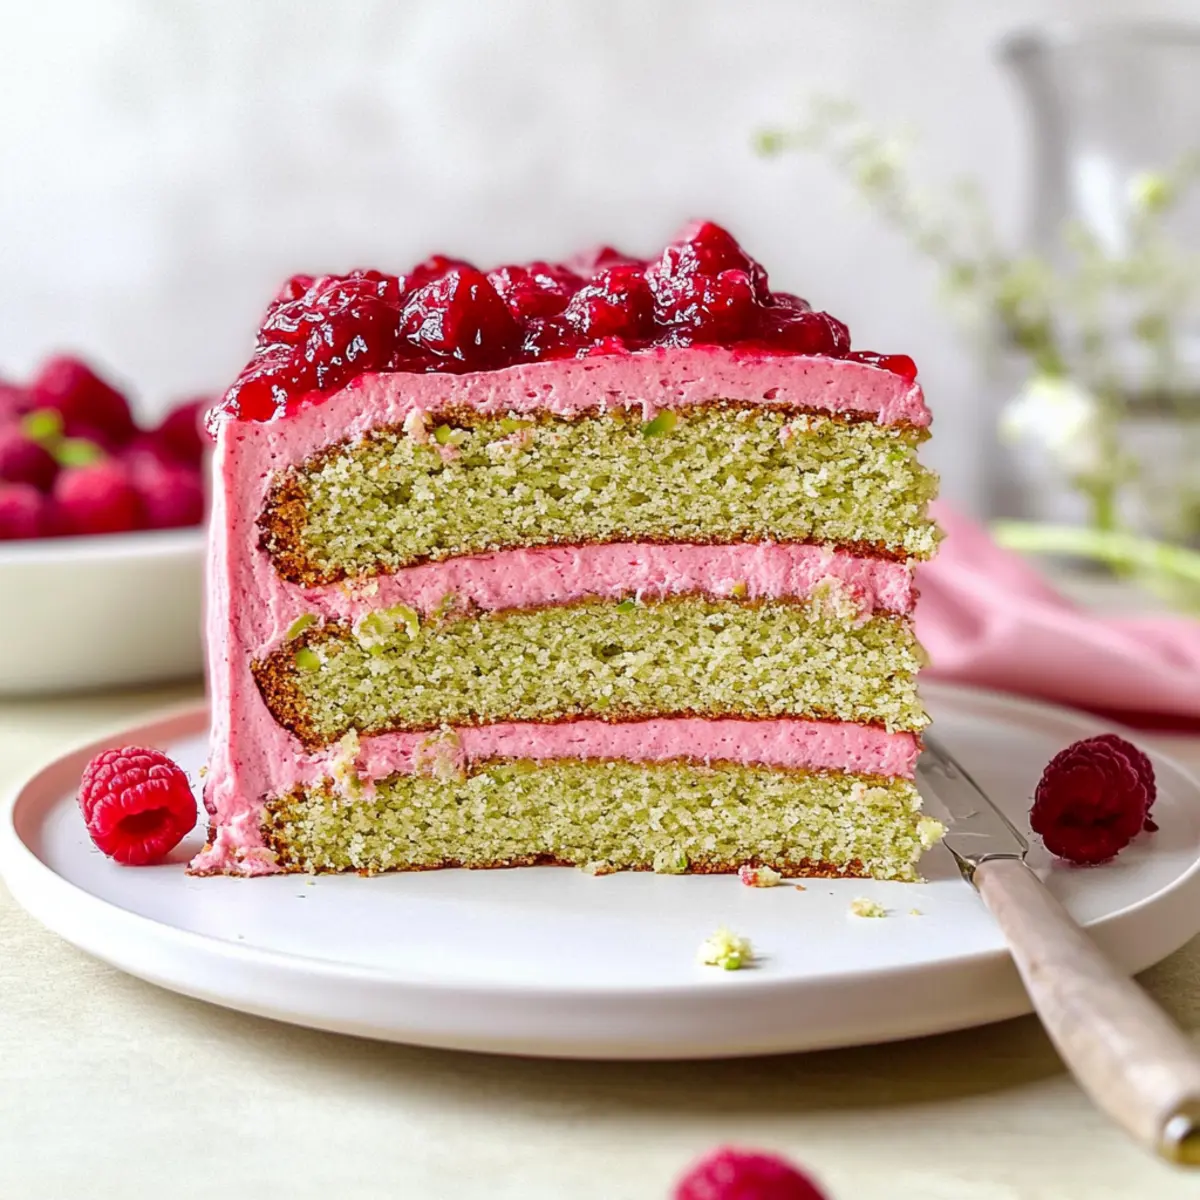
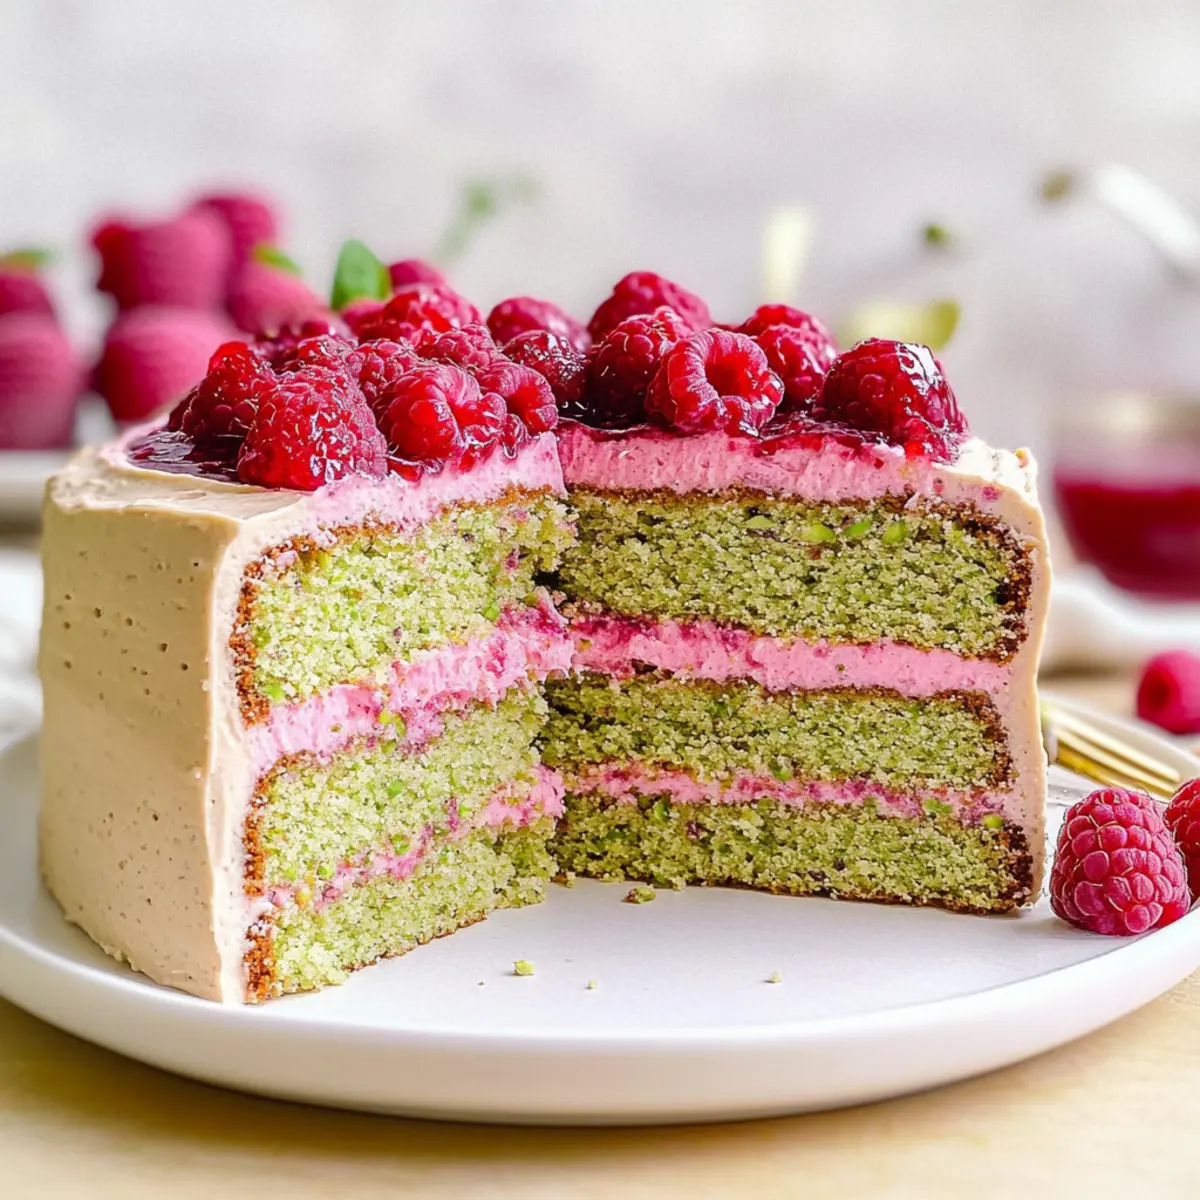
As spring begins to paint the world with vibrant colors, there’s nothing quite like celebrating the season with a stunning Raspberry Pistachio Layer Cake. The combination of soft pistachio cake layers, rich raspberry buttercream, and homemade raspberry jam creates a delightful medley that not only looks beautiful but also tastes divine. This cake is a true showstopper for gatherings like birthdays or baby showers; it shines with its radiant pink hue while offering a crowd-pleasing flavor profile. Plus, it’s a delightful way to elevate your baking skills with just a bit of effort. Are you ready to impress your friends and family with a slice of this spring-inspired masterpiece?
Why Is This Cake So Irresistible?
Spring Flavors burst forth with every bite! The combination of soft, moist pistachio cake layers and rich raspberry buttercream creates an unforgettable taste experience that will leave everyone begging for seconds. Homemade raspberry jam adds a burst of freshness, making this cake perfect for any celebration—from Valentine’s Day to casual gatherings. Plus, its eye-catching pink hue not only looks tempting but also makes for an impressive centerpiece. Elevate your baking repertoire and delight your loved ones with this stunning treat, and if you’re feeling adventurous, check out my favorite Chocolate Raspberry Cheesecake for another delicious spin on dessert!
Raspberry Pistachio Layer Cake Ingredients
• Get ready to bake a delightful masterpiece with these essential ingredients!
For the Cake
- Unsalted Pistachios – Provides a nutty flavor and texture; you can substitute with another nut, but it may alter the cake’s taste.
- All-Purpose Flour – Gives structure to the cake; for a gluten-free option, substitute with a gluten-free flour blend.
- Baking Powder & Baking Soda – Leavening agents that help the cake rise; always check their freshness for optimal results.
- Salt – Enhances other flavors; kosher or table salt can be used interchangeably.
- Butter – Adds richness and moisture; consider using plant-based butter for a vegan alternative.
- Granulated Sugar – Sweetens the cake; brown sugar will add moisture and a deeper flavor.
- Large Eggs – Acts as a binder, giving structure; for egg-free options, flax eggs can work, though texture may vary.
- Sour Cream – Provides moisture and a slight tang; Greek yogurt can serve as an excellent alternative.
- Vegetable Oil (e.g., Canola) – Adds moisture without heaviness; melted coconut oil offers a unique flavor profile.
- Vanilla Extract – Enhances overall flavor; homemade vanilla extract gives an extra special touch.
For the Raspberry Jam
- Frozen Raspberries – Key ingredient for the jam; fresh raspberries are great when in season, but frozen provide consistency.
- Granulated Sugar for Jam – Sweetens the raspberry mixture; adjust the amount based on the tartness of the raspberries used.
- Lemon Juice – Balances out the sweetness; lime juice can provide a different kick if preferred.
- Cornstarch – Thickens the jam; arrowroot powder is a wonderful alternative.
For the Buttercream
- Butter for Buttercream – Creates a smooth and creamy texture; swap with margarine for a dairy-free version.
- Powdered Sugar – Sweetens and thickens the buttercream; be sure to sift it to avoid lumps.
- Freeze-Dried Raspberry Powder – Intensifies raspberry flavor and color; in a pinch, extra raspberry jam can be used, though it won’t be as vibrant.
- Whole Milk – Adds creaminess to the buttercream; feel free to use dairy-free milk if desired.
Now that you’ve gathered all the essentials, it’s time to whip up this irresistible Raspberry Pistachio Layer Cake and impress everyone at your next gathering!
Step‑by‑Step Instructions for Raspberry Pistachio Layer Cake
Step 1: Preheat the Oven
Start by preheating your oven to 170ºC (340ºF). While the oven heats up, grab three 20 cm (8 in) baking pans and line them with parchment paper. This will prevent the cake layers from sticking and make for easy removal once baked, ensuring that your Raspberry Pistachio Layer Cake can be beautifully assembled without any hassle.
Step 2: Prepare the Dry Ingredients
In a food processor, blend the unsalted pistachios until they are finely ground. Sift this mixture together with all-purpose flour, baking powder, baking soda, and salt in a large bowl. This combination will add delightful texture and flavor to the cake. The vibrant green of the pistachios will start to shine through as you prepare your dry ingredients for the Raspberry Pistachio Layer Cake.
Step 3: Cream the Butter and Sugar
In a mixing bowl, beat unsalted butter and granulated sugar on high speed for about 3 minutes until the mixture is light and fluffy. This crucial step adds air into the batter, making your cake tender. Next, add the large eggs, two at a time, mixing well after each addition until fully incorporated. The creamy texture will set the base for your incredible Raspberry Pistachio Layer Cake.
Step 4: Combine Wet and Dry Mixtures
Gradually add the dry ingredient mixture to the butter and sugar mixture, alternating with sour cream, vegetable oil, and vanilla extract. Mix gently until just combined; be cautious not to overmix, as this can toughen the cake. The batter should be smooth and slightly thick, with beautiful flecks of ground pistachios visible—perfectly suited for your Raspberry Pistachio Layer Cake!
Step 5: Bake the Cake Layers
Divide the batter evenly among the prepared pans, smoothing the tops with a spatula. Bake in the preheated oven for 20-23 minutes or until a toothpick inserted in the center comes out clean. The cakes should have a lightly golden hue on top. Once baked, let them cool in the pans for a few minutes before transferring them to wire racks to cool completely.
Step 6: Prepare the Raspberry Jam
In a saucepan, combine the frozen raspberries, granulated sugar, vanilla extract, and fresh lemon juice. Cook over medium heat, stirring occasionally until the mixture comes to a gentle simmer. Continue to simmer for about 10-15 minutes or until it thickens. Remove from heat and let it cool in the fridge while you prepare the buttercream, creating a luscious filling for your Raspberry Pistachio Layer Cake.
Step 7: Make the Buttercream
Using a mixer, beat unsalted butter until it becomes creamy, about 2-3 minutes. Gradually add sifted powdered sugar and freeze-dried raspberry powder, mixing in whole milk a little at a time until you achieve a fluffy, spreadable consistency. The buttercream should have a vibrant pink color from the raspberry powder, perfectly complementing your Raspberry Pistachio Layer Cake’s layers.
Step 8: Assemble the Cake
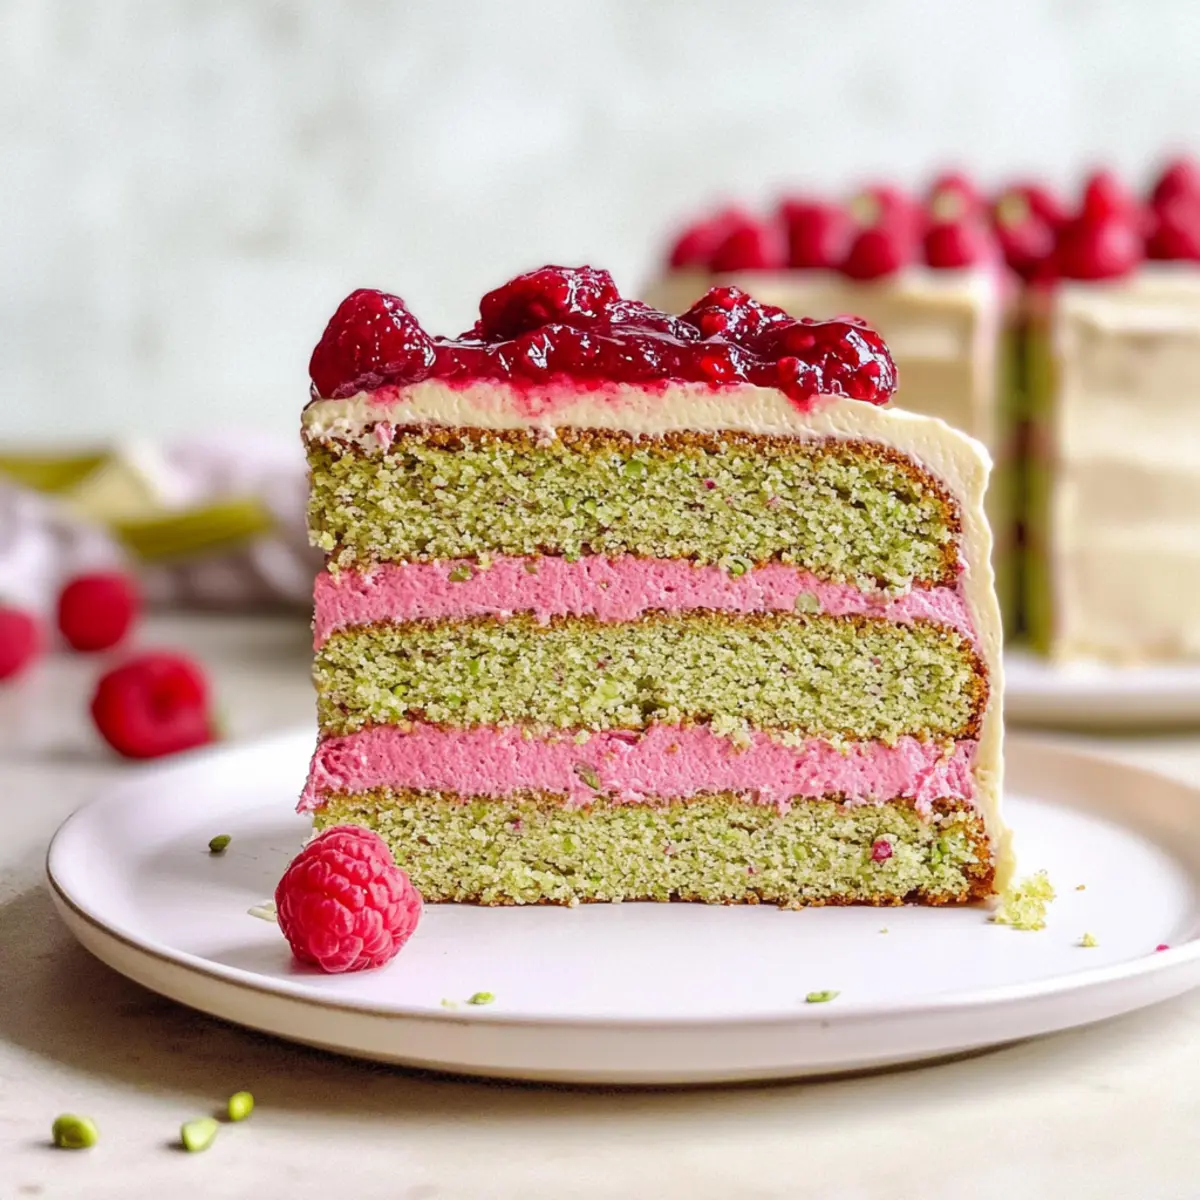
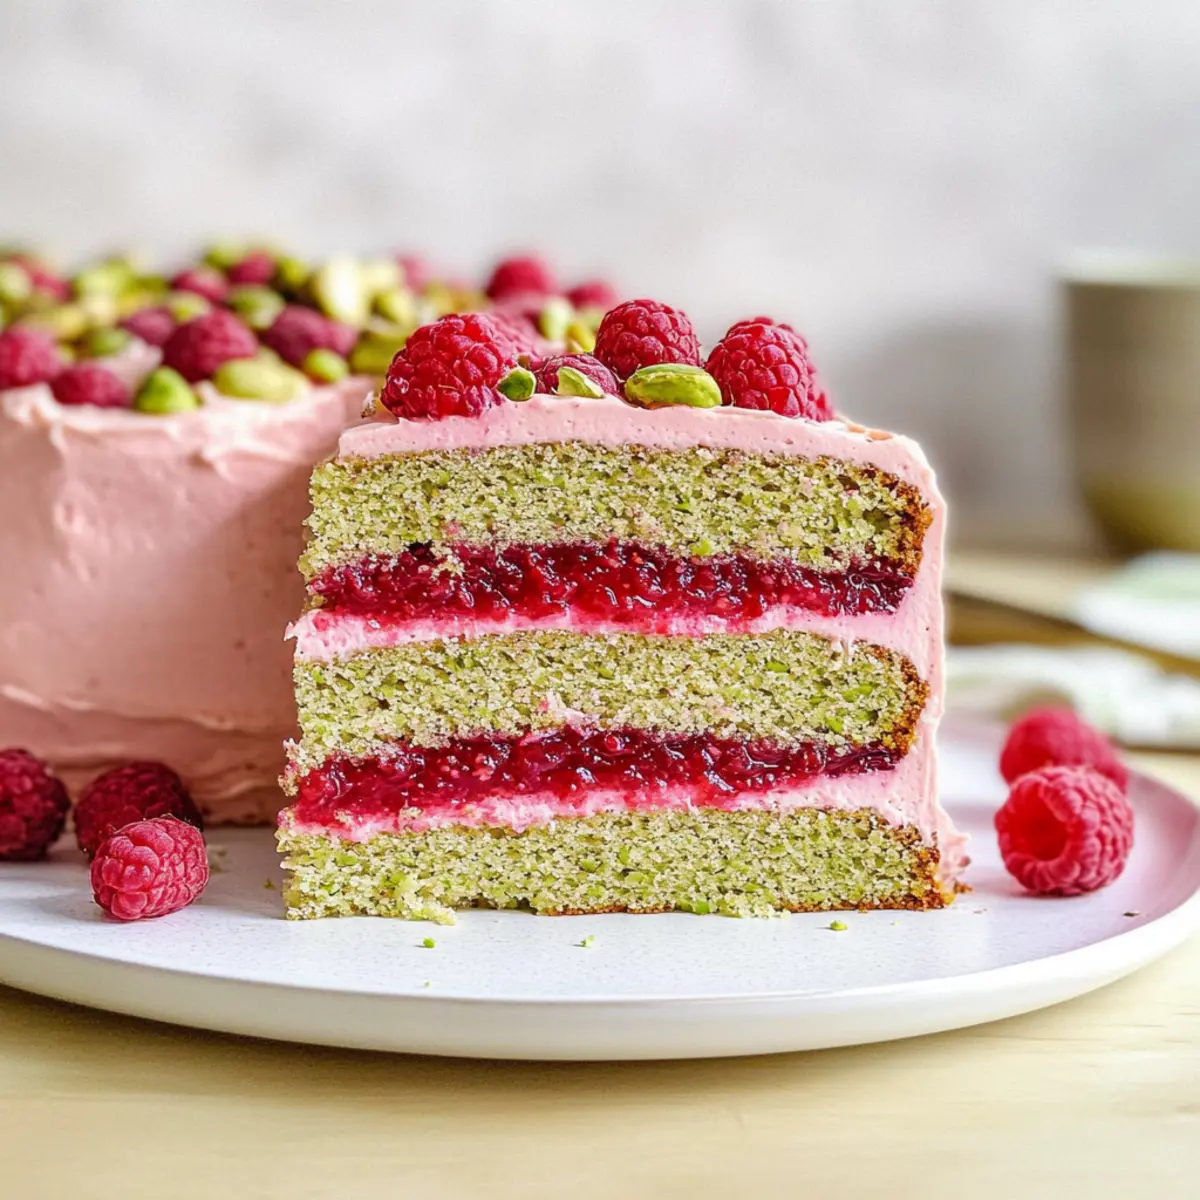
Once the cake layers have cooled completely, place one layer on a serving plate. Spread a layer of raspberry jam followed by a generous amount of buttercream on top. Repeat this process with the second cake layer, ensuring even distribution of jam and buttercream. Finish with the last layer on top, creating a beautiful stack that showcases the stunning colors of your Raspberry Pistachio Layer Cake.
Step 9: Frost and Decorate
Apply a thin crumb coat of buttercream around the entire cake to lock in any crumbs. Chill the cake in the refrigerator for about 15 minutes to set the crumb coat. Once set, generously frost the entire cake with the remaining buttercream. Optionally, decorate with fresh raspberries and chopped pistachios for a delightful touch that brightens your Raspberry Pistachio Layer Cake, making it truly stand out.
Make Ahead Options
Preparing the Raspberry Pistachio Layer Cake ahead of time is a wonderful way to save precious minutes on a busy day! You can bake the cake layers up to 3 days in advance. Once they are completely cooled, wrap each layer in plastic wrap and store them in the refrigerator to keep them moist. The raspberry jam can also be made ahead; simply refrigerate it for up to a week, storing it in an airtight container. For the buttercream, prepare it up to 24 hours in advance, keeping it chilled in the fridge, and rewhip briefly before frosting. When you’re ready to assemble, simply layer the cooled cake with the jam and buttercream, and you’ll have a stunning dessert ready to impress without the last-minute rush!
What to Serve with Raspberry Pistachio Layer Cake
Looking to create a delightful dining experience that showcases your Raspberry Pistachio Layer Cake? These complementary dishes will elevate your meal and surprise your taste buds.
-
Creamy Mashed Potatoes: The richness of buttery mashed potatoes contrasts beautifully with the light, fruity flavors of the cake, offering a comforting balance to your meal.
-
Fresh Mixed Greens Salad: A light salad with crunchy greens and a tart vinaigrette brings a refreshing contrast, allowing the cake’s sweetness to shine through without feeling heavy.
-
Scoop of Vanilla Ice Cream: The creamy sweetness of vanilla ice cream pairs perfectly with the tart raspberry flavors, enriching the cake experience with a delightful temperature contrast.
-
Raspberry Lemonade: This refreshing drink enhances the cake’s flavors, creating a cohesive theme of raspberry while offering a zesty kick that brightens your palate.
-
Chocolate Drizzle: A warm chocolate drizzle over the slice adds a luxurious touch, introducing deep flavors that complement the pistachios while enhancing the visual appeal.
-
Lemon Tart: The tangy brightness of a lemon tart provides an excellent counterpoint to the sweet, nutty layers of cake, keeping your dessert course lively and interesting.
-
Coconut Cream Pie: A slice of smooth coconut cream pie introduces a tropical flair, contrasting the Raspberry Pistachio Layer Cake’s earthiness with its creamy richness.
-
Chilled Rosé Wine: A glass of chilled rosé offers fruity notes and a hint of floral aroma, making it an elegant choice to sip alongside your dessert.
Expert Tips for Raspberry Pistachio Layer Cake
-
Room Temperature Ingredients: Ensure all ingredients are at room temperature for better mixing and a more uniform batter. This helps your Raspberry Pistachio Layer Cake rise beautifully.
-
Avoid Overmixing: Be careful not to overmix the batter once you add flour. This can lead to a tougher cake texture. Mix just until combined for fluffy layers.
-
Cool Completely: Let each cake layer cool completely before frosting to prevent the buttercream from melting. This step is crucial for a beautifully frosted Raspberry Pistachio Layer Cake.
-
Chill Layers: Refrigerate the layers briefly before assembly. Cold cakes are easier to stack and frost, ensuring a neat look for your final dessert.
-
Customize Flavor: Experiment with different flavors in your buttercream, such as almond or vanilla, to give a unique twist to your Raspberry Pistachio Layer Cake.
Storage Tips for Raspberry Pistachio Layer Cake
Fridge: Keep the cake refrigerated in an airtight container for up to 3 days. This ensures the layers stay fresh and moist while preserving the delicious raspberry flavors.
Freezer: For longer storage, you can freeze individual slices of the Raspberry Pistachio Layer Cake wrapped tightly in plastic wrap and aluminum foil for up to 2 months. Allow to thaw in the fridge overnight before enjoying.
Reheating: If you prefer your cake warm, gently reheat individual slices in the microwave for about 10-15 seconds. This brings back the soft texture without compromising its flavor.
Serving Tip: Allow the cake to come to room temperature before serving to enhance the rich raspberry buttercream experience. Enjoy every bite!
Raspberry Pistachio Layer Cake Variations
Feel free to take the tasty leap into your own personalized version of this delightful cake!
- Nut-Free: Replace pistachios with sunflower seed flour or oats for a nut-free option. You’ll still get a flavorful cake without any nut allergy concerns.
- Fruit-Filled: Instead of raspberry jam, try using homemade blueberry or strawberry jam for a different fruity spin. Each fruit offers its own unique sweet-tart balance!
- Chocolate Delight: Add cocoa powder to half the batter for a swirl effect, and create a rich chocolate raspberry layer cake. The chocolate and raspberry flavors create a heavenly combination.
- Vegan-Friendly: Swap butter for vegan butter, eggs for flax eggs, and use plant-based milk for a delicious vegan version that everyone can enjoy.
- Cream Cheese Frosting: Use cream cheese instead of butter in your frosting for a tangy twist that pairs beautifully with fruit flavors.
- Spicy Kick: Add a pinch of cayenne pepper or cinnamon to the batter for a surprising warmth that elevates the flavor profile of the cake. It’s a unique twist that surprises the palate!
- Zesty Twist: Incorporate lemon or orange zest into the batter or frosting for a citrusy freshness that complements the raspberry well.
- Layering Upgrade: Enhance the textural experience by adding a layer of whipped cream between the cake layers, creating a cloud-like sensation with each bite.
Just like this vibrant Raspberry Pistachio Layer Cake, every variation can bloom into a delicious centerpiece, and for an equally delightful dessert, consider checking out my Oreo Cheesecake Cookie recipe!
Raspberry Pistachio Layer Cake Recipe FAQs
How do I select ripe raspberries for the jam?
Absolutely! When selecting raspberries, look for ones that are bright red with a firm texture. Avoid any that have dark spots all over or appear mushy, as that indicates overripeness. Fresh, plump berries will ensure a flavorful jam that beautifully complements your Raspberry Pistachio Layer Cake.
How should I store the Raspberry Pistachio Layer Cake?
You can keep the cake refrigerated in an airtight container for up to 3 days. This will maintain its freshness and moisture. Before serving, allow it to come to room temperature to appreciate the flavors fully. If you find the cake a bit firm after refrigeration, a little time outside the fridge will do wonders!
Can I freeze Raspberry Pistachio Layer Cake?
Yes! To freeze, slice the cake first and wrap each slice tightly in plastic wrap followed by aluminum foil. This prevents freezer burn and keeps it fresh for up to 2 months. When you’re ready to enjoy a slice, simply thaw it in the fridge overnight. It’ll taste just as delicious as when it was freshly baked!
What if the cake layers domed in the oven?
Very! If your cake layers dome in the oven, it typically means the oven temperature was too high. For future bakes, double-check the oven temperature with an oven thermometer. If doming occurs, you can level the tops with a serrated knife. Just remember to let the layers cool completely before frosting to keep the integrity of your Raspberry Pistachio Layer Cake.
Are there any dietary considerations for this recipe?
Sure thing! If you or your guests have nut allergies, you can substitute the pistachios with sunflower seeds or omit the nuts altogether. Additionally, for egg-free options, you can replace each egg with a flax egg (1 tablespoon of flaxmeal mixed with 2.5 tablespoons of water, let sit for 5 minutes). Just know that the texture may vary slightly with these changes, but it will still be a wonderful treat!
Raspberry Pistachio Cake: A Sweet Slice of Spring Delight
Ingredients
Equipment
Method
- Preheat the oven to 170ºC (340ºF) and line three 20 cm (8 in) baking pans with parchment paper.
- Blend unsalted pistachios until finely ground. Mix with flour, baking powder, baking soda, and salt.
- Cream butter and sugar together for about 3 minutes until light and fluffy, then add eggs one at a time.
- Gradually add the dry mixture to the creamed mixture along with sour cream, oil, and vanilla extract.
- Divide batter into prepared pans and bake for 20-23 minutes or until a toothpick comes out clean.
- Combine frozen raspberries, sugar, lemon juice, and cornstarch in a saucepan over medium heat.
- Simmer for about 10-15 minutes until thickened, then cool in the fridge.
- Beat butter until creamy, then add powdered sugar and raspberry powder, mixing in milk until fluffy.
- Layer cooled cake with raspberry jam and buttercream, finishing with a third layer and frosting the cake completely.
- Chill for 15 minutes, then decorate as desired with raspberries and chopped pistachios.
Leave a Reply