
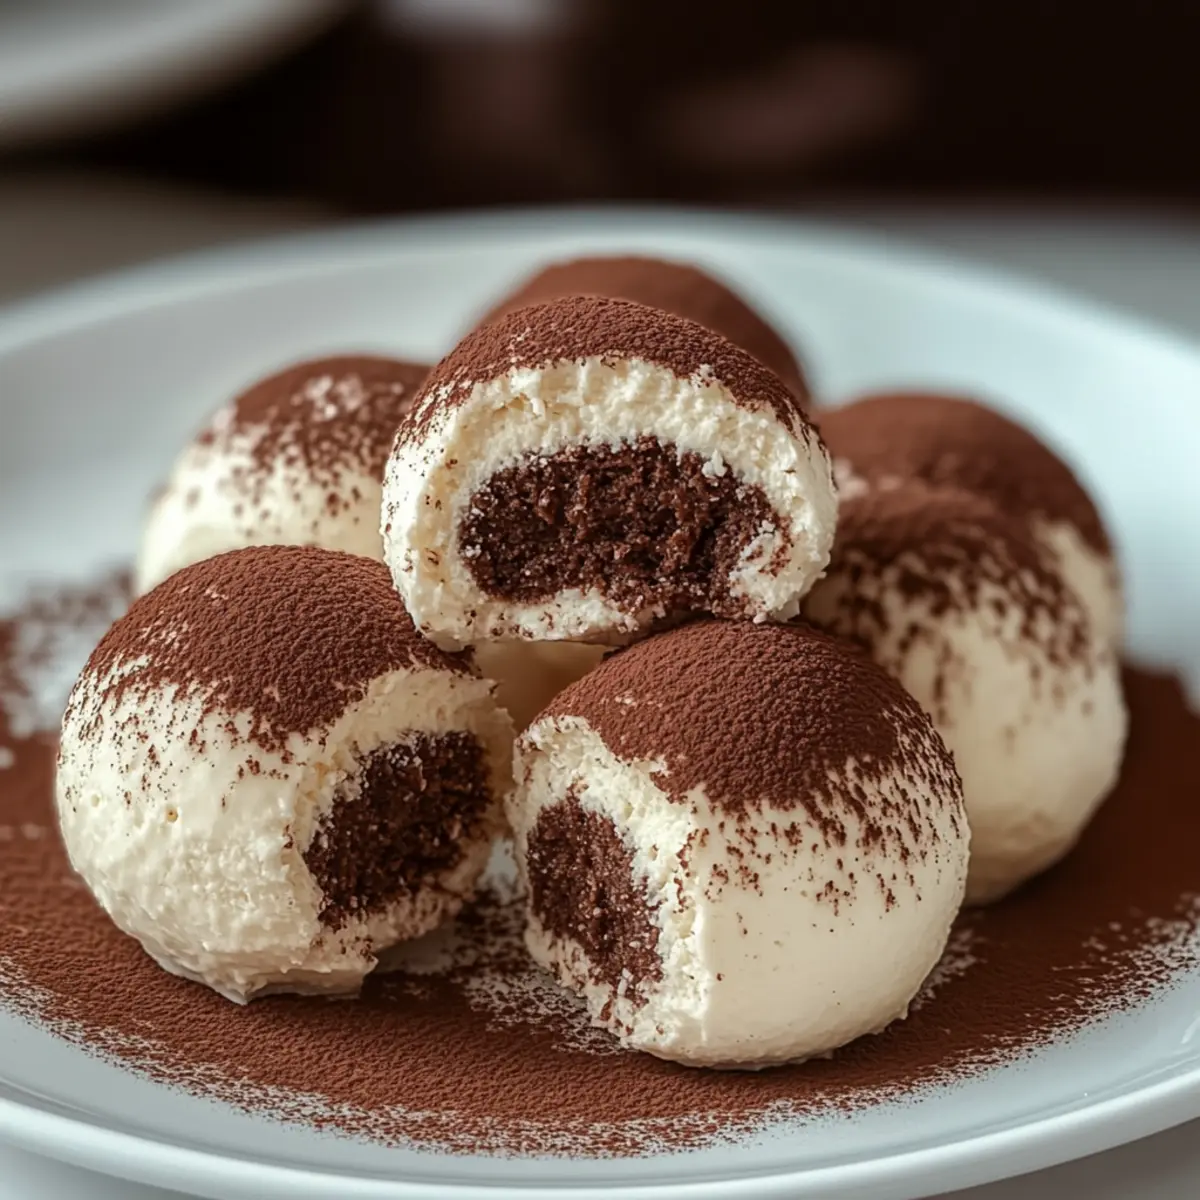
As I strolled through a bustling Italian marketplace recently, the robust aroma of freshly brewed espresso wrapped around me like a warm hug. It reminded me of the sheer joy of indulging in a traditional Tiramisu, that classic dessert I’ve always adored. Today, I’m excited to share my twist on this beloved treat—the 10-Minute No-Bake Tiramisu Balls! These delightful bites capture the essence of the original but come together in a fraction of the time. Not only are they an easy, no-bake dessert, but they’re also perfect for customizing to suit your taste and impressing friends at gatherings. Want to bring a touch of Italy into your kitchen without the hassle? Let’s dive into this deliciously simple recipe and satisfy those cravings!
Why Try These Tiramisu Balls?
Quick and Easy: In just 10 minutes, you can whip up these delightful treats, making them perfect for unexpected guests or last-minute cravings.
Customizable Flavors: Feel free to play around with different liqueurs or extra flavor extracts for a personal touch that caters to your taste buds.
No-Bake Perfection: Enjoy the indulgence of Tiramisu without turning on the oven—ideal for warm days or busy schedules!
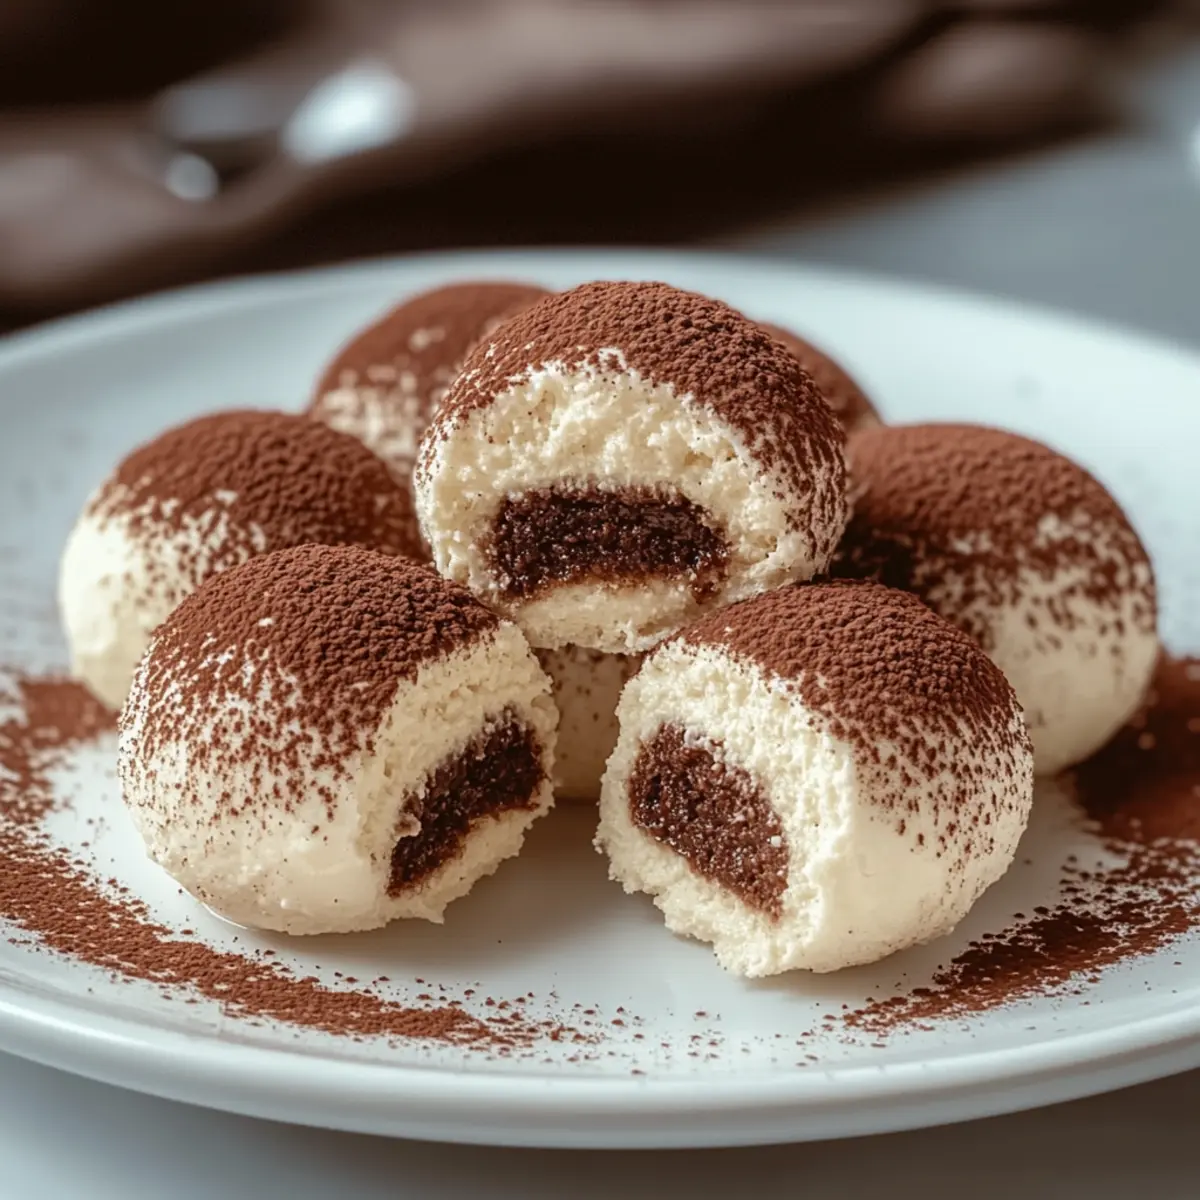
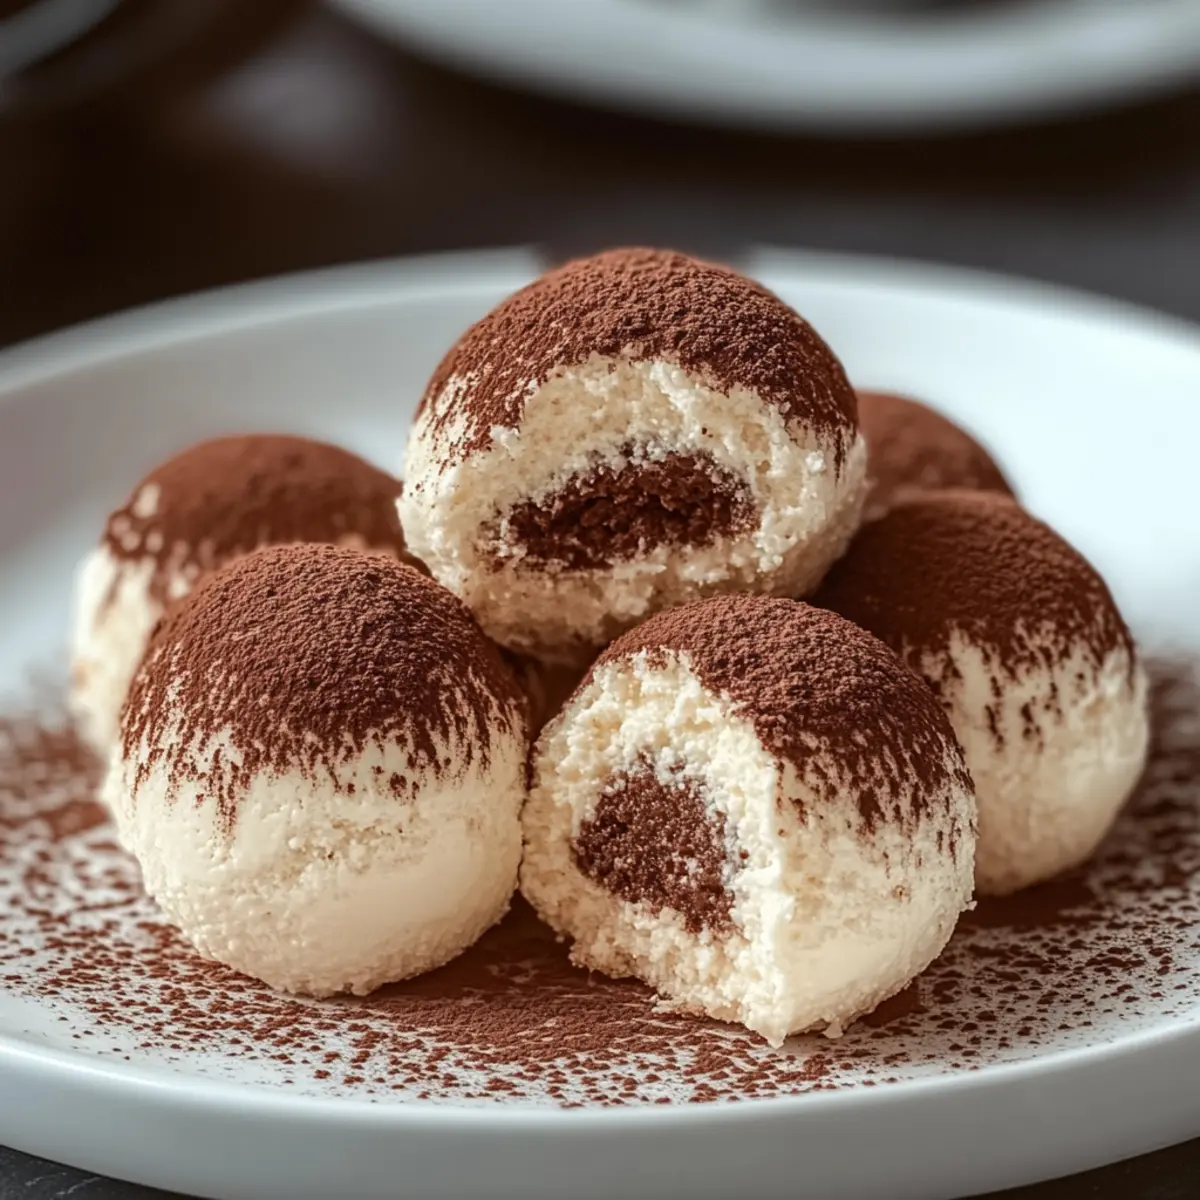
Impressive Presentation: Dust with cocoa powder and serve on a separate platter to wow your friends. They’ll never guess how simple they really are!
Rich and Decadent: Each bite offers a creamy filling paired with a light crunch from the ladyfingers, making it a luxurious dessert that still feels approachable.
For more delicious dessert options, check out our Classic Italian Tiramisu Decadent or try something fruity with the Cherry Amaretto Tiramisu.
Tiramisu Balls Ingredients
For the Base
• Ladyfingers (savoiardi) – Provides texture and structure; consider using gluten-free ladyfingers for a dietary-friendly option.
• Brewed Espresso – Delivers the essential coffee flavor; ensure it’s cooled to prevent melting the mascarpone.
• Mascarpone Cheese – Offers richness and creaminess; substitute with cream cheese or Greek yogurt for a lighter twist.
For Sweetness
• Powdered Sugar – Adds sweetness and aids in achieving a smooth texture; adjust to taste for milder sweetness.
For Flavor
• Cocoa Powder – Enhances both visual appeal and flavor; additional cocoa can intensify the chocolate experience.
• Coffee Liqueur (optional) – Introduces an extra layer of flavor; switch to amaretto if you prefer a nutty note.
• Vanilla Extract – Complements the overall flavor beautifully.
• Pinch of Salt – Balances the sweetness and enhances all flavors in the recipe.
There you have it! With these ingredients, you’ll be well on your way to creating delightful Tiramisu Balls in no time. Enjoy this simple, no-bake dessert that captures the indulgent essence of classic Tiramisu!
Step‑by‑Step Instructions for Tiramisu Balls
Step 1: Crush Ladyfingers
Begin by placing the ladyfingers in a food processor, pulsing them until they become fine crumbs, resembling sand, which should take about 30 seconds. This texture is crucial for the perfect Tiramisu Balls, so ensure there are no large pieces left. Transfer the crushed ladyfingers into a mixing bowl and set aside as you prepare the creamy filling.
Step 2: Mix Mascarpone
In a large mixing bowl, combine the mascarpone cheese, powdered sugar, vanilla extract, and a pinch of salt. Using an electric mixer, beat the mixture on medium speed for about 2 minutes until it’s smooth and creamy. The goal is to achieve a luscious texture that will envelop the ladyfinger crumbs perfectly, making those Tiramisu Balls irresistibly delectable.
Step 3: Combine Ingredients
Now, take your cooled brewed espresso and, if desired, add in the coffee liqueur for extra flavor. Gradually stir this espresso mixture into the mascarpone blend using a spatula. Make sure to mix until everything is well-integrated, and you see the rich, dark espresso blending beautifully with the creamy mascarpone—this will be the heart of your Tiramisu Balls.
Step 4: Fold in Ladyfinger Crumbs
Gently fold the crushed ladyfingers into the mascarpone mixture. Use a spatula to combine these components, ensuring that every crumb is coated in the creamy filling. This step should take about 1-2 minutes; watch as the mixture transforms into a luscious, thick batter, which will hold its shape as you start forming your Tiramisu Balls.
Step 5: Form Balls
With clean hands, scoop out small portions of the mixture, roughly the size of walnuts. Roll each portion into a smooth ball by gently rolling it between your palms, creating a solid shape. Place each ball on a tray lined with parchment paper. Repeat until all the delightful mixture is used up, creating a beautiful assortment of Tiramisu Balls that are ready for the chilling process.
Step 6: Dust and Chill
Once you’ve formed all the Tiramisu Balls, it’s time to give them that classic finishing touch. Lightly dust each ball with cocoa powder using a fine sieve, ensuring even coverage. Now, transfer the tray to the refrigerator and chill for at least 30 minutes. This helps the flavors meld together and allows the balls to firm up, making them easier to enjoy.
Tiramisu Balls Variations & Substitutions
Feel free to let your creativity shine and customize these delightful Tiramisu Balls to match your personal taste and dietary needs!
-
Gluten-Free: Substitute ladyfingers with gluten-free versions or crushed gluten-free cookies for a worry-free treat.
-
Dairy-Free: Use a dairy-free mascarpone alternative or cashew cream for a vegan-friendly version that maintains the creamy texture.
-
Sweetness Level: Adjust the powdered sugar to your preference—swap some out for honey or maple syrup for a more natural sweetener.
-
Flavor Boost: Add a splash of almond extract or orange zest for a fresh twist that pairs beautifully with the coffee flavor.
-
Texture Twist: Mix in some finely chopped nuts like hazelnuts or almonds to add an extra crunch, providing a lovely contrast to the soft filling.
-
Flavored Variations: Try using flavored liqueurs like Frangelico for a nutty taste or Bailey’s Irish Cream for an extra layer of richness. Imagine the indulgence of these flavors dancing on your palate!
-
Chocolate Lovers: Fold in mini chocolate chips into the mixture before shaping them into balls for a luxurious chocolaty surprise in every bite.
For more delectable dessert inspirations, don’t forget to explore our White Chocolate Balls or the ever-delightful Cherry Amaretto Tiramisu. Enjoy experimenting!
Make Ahead Options
These 10-Minute Tiramisu Balls are a fantastic choice for meal prep, saving you time during busy weeknights or unexpected gatherings! You can prepare the filling (mascarpone mixture combined with espresso and ladyfinger crumbs) up to 24 hours in advance. Just make sure to store it in an airtight container in the refrigerator to maintain its creamy texture. When you’re ready to serve, roll the mixture into balls and dust with cocoa powder right before serving; this ensures they look fresh and inviting. By prepping ahead, you’ll enjoy all the indulgence of Tiramisu Balls with minimal last-minute effort!
What to Serve with 10-Minute Tiramisu Balls
Elevate your dessert experience with delicious pairings that complement the rich flavors and textures of these delightful treats.
- Fresh Berries: Their bright acidity balances the creamy sweetness beautifully, adding a refreshing burst in every bite.
- Espresso Martini: A delightful cocktail that echoes the espresso flavor in the Tiramisu Balls, perfect for fans of coffee-infused drinks.
- Whipped Cream: Light and airy, it enhances the dessert’s creaminess, offering a luxurious touch to each indulgent bite.
- Chocolate Drizzle: A decadent touch of melted chocolate adds richness and a beautiful visual appeal, elevating your presentation.
- Pistachio Crumble: Crunchy and slightly salty, it introduces a delightful contrast in texture while complementing the dessert’s flavors.
- Coconut Macaroons: Chewy and sweet, these add a tropical flair that serves as a delicious counterpoint to the coffee notes in Tiramisu Balls.
- Mint Leaves: A fresh garnish that provides a fragrant touch, mint brightens every mouthful and adds an elegant finish to your dessert platter.
- Vanilla Ice Cream: Creamy and smooth, the cold ice cream paired with Tiramisu delivers a delightful contrast in temperature and texture.
- Red Wine: A smooth, fruity red balances the rich flavors, creating a sophisticated pairing that delights the senses.
Expert Tips for Tiramisu Balls
• Cool Espresso First: Ensure your brewed espresso is completely cooled before mixing; hot espresso will melt the mascarpone and impact texture.
• Sift for Smoothness: For a velvety filling, sift the powdered sugar before adding it to the mascarpone. This prevents any clumps and ensures a silky finish for your Tiramisu Balls.
• Avoid Sogginess: Crush ladyfingers finely to avoid large chunks that can make your Tiramisu Balls soggy. A fine crumb will help maintain the perfect texture.
• Customize Freely: Don’t hesitate to experiment! Different liqueurs or flavored extracts can be added to the mascarpone mixture for a unique twist on these classic Tiramisu Balls.
• Chill Properly: Allow the Tiramisu Balls to chill for at least 30 minutes; this step enhances the flavors and makes them easier to handle.
Storage Tips for Tiramisu Balls
Fridge: Keep your Tiramisu Balls in an airtight container in the refrigerator for up to 3 days. This way, they will stay fresh and delicious when cravings hit!
Freezer: If you want to store them longer, place the Tiramisu Balls in a single layer on a tray and freeze for 1-2 hours. Once firm, transfer them to a freezer-safe container, where they can last for up to 2 months.
Reheating: Tiramisu Balls are best enjoyed chilled, so simply take them out of the refrigerator or freezer and let them sit for a few minutes before indulging.
Serving after Storage: Dust with additional cocoa powder if desired after removing from the fridge or freezer for that fresh, decadent touch when serving.
Tiramisu Balls Recipe FAQs
What type of ladyfingers should I use for Tiramisu Balls?
For the best texture, I recommend using traditional savoiardi ladyfingers. If you’re looking for a gluten-free option, several brands offer gluten-free ladyfingers that work perfectly. Alternatively, homemade ladyfingers can be a delightful touch if you have the time!
How long can I store Tiramisu Balls in the fridge?
You can keep your Tiramisu Balls in an airtight container in the refrigerator for up to 3 days. They’ll stay fresh and delicious, so you can indulge whenever the craving strikes!
Can I freeze Tiramisu Balls?
Absolutely! To freeze, lay the Tiramisu Balls in a single layer on a tray and place them in the freezer for 1-2 hours until firm. Once they’re solid, transfer them to a freezer-safe container. They can be stored this way for up to 2 months. Just remember to let them thaw in the refrigerator before enjoying!
What should I do if my filling is too runny?
If you find your filling is too runny, it’s often due to hot espresso melting the mascarpone or not enough ladyfinger crumbs. I recommend placing the mixture in the fridge for about 15-20 minutes to thicken. If it’s still too loose, consider adding more crushed ladyfinger crumbs gradually until it reaches your desired consistency.
Are Tiramisu Balls safe for those with dairy allergies?
Unfortunately, Tiramisu Balls are not suitable for those with dairy allergies since they contain mascarpone cheese. However, you can substitute mascarpone with a vegan cream cheese alternative, though the flavor and texture will differ slightly. Always check ingredient labels to ensure other components like ladyfingers are safe for your dietary needs.
Can I customize the flavor of my Tiramisu Balls?
Absolutely! These Tiramisu Balls are highly customizable. You can switch out the coffee liqueur for almond or hazelnut liqueurs for a fun twist. Additionally, feel free to play around with flavored extracts in the mascarpone mixture for a unique touch that suits your taste!

Decadent Tiramisu Balls Ready in Just 10 Minutes!
Ingredients
Equipment
Method
- Begin by placing the ladyfingers in a food processor, pulsing them until they become fine crumbs, resembling sand, which should take about 30 seconds.
- In a large mixing bowl, combine the mascarpone cheese, powdered sugar, vanilla extract, and a pinch of salt. Using an electric mixer, beat the mixture on medium speed for about 2 minutes until it's smooth and creamy.
- Gradually stir the cooled brewed espresso mixture into the mascarpone blend using a spatula, mixing until everything is well-integrated.
- Gently fold the crushed ladyfingers into the mascarpone mixture using a spatula.
- With clean hands, scoop out small portions of the mixture and roll each into a smooth ball.
- Dust each ball with cocoa powder using a fine sieve and chill in the refrigerator for at least 30 minutes.
Leave a Reply