
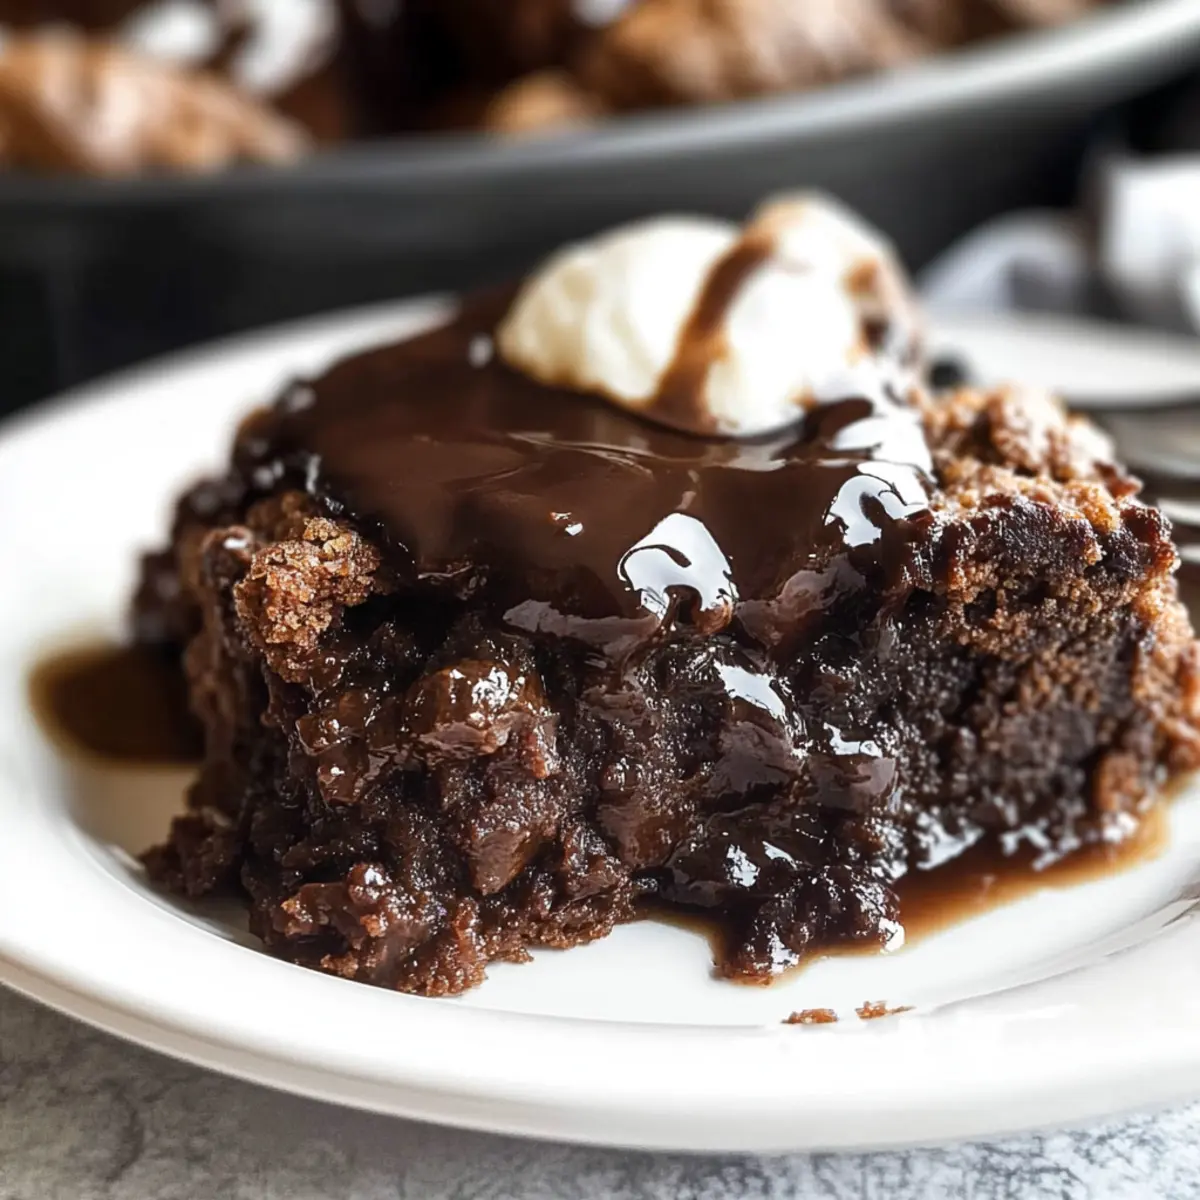
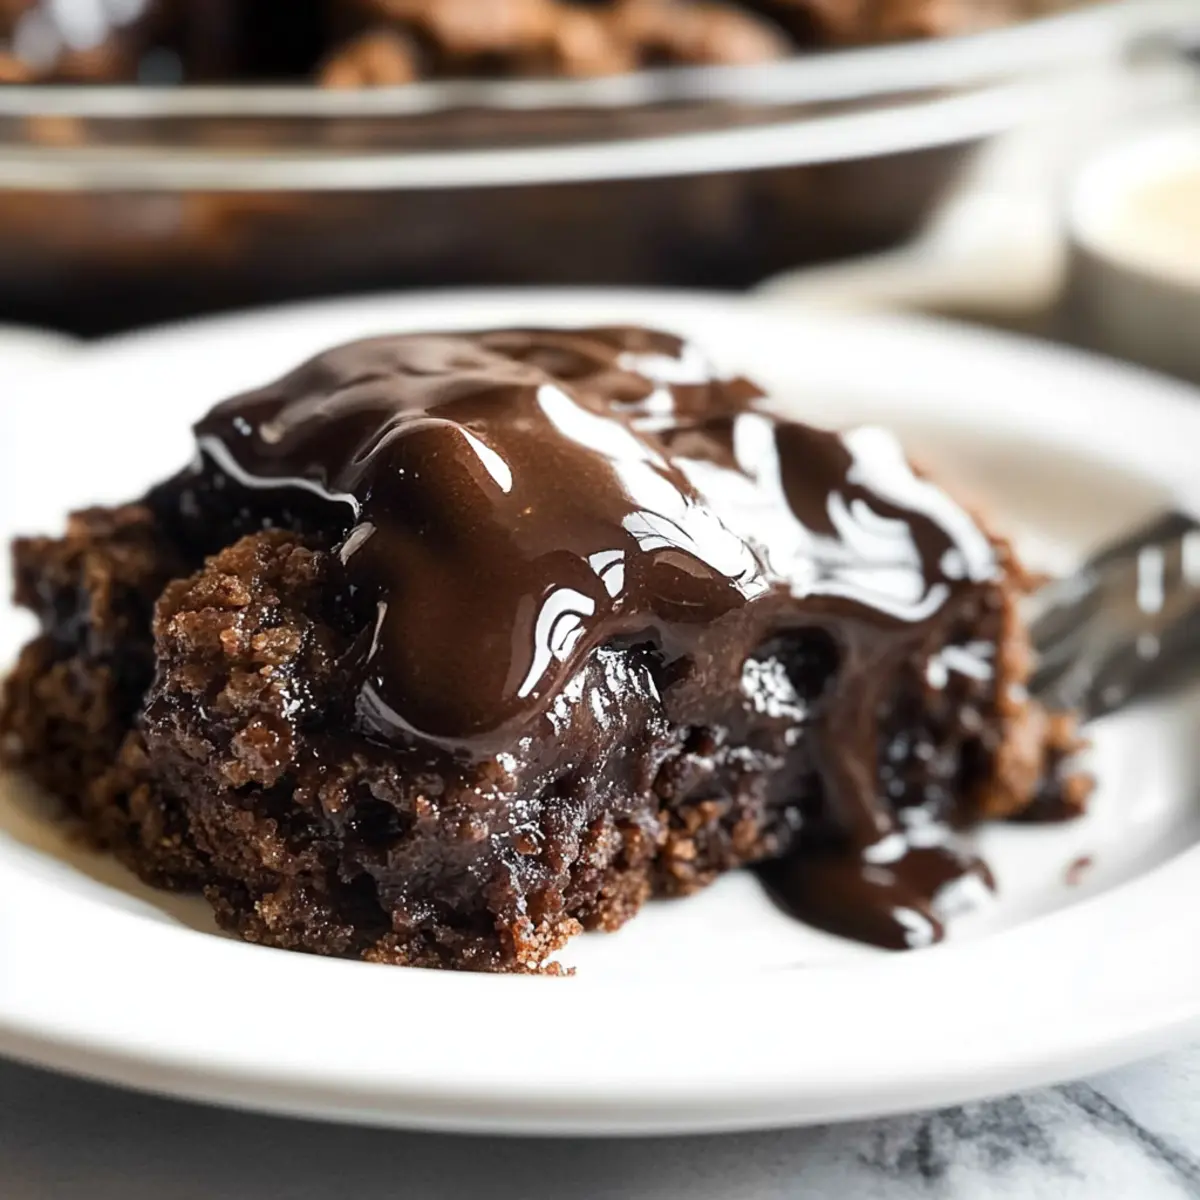
Aromatic whispers filled the kitchen as I mixed together simple ingredients, ready to create my family’s prized secret, the Chocolate Cobbler. This delightful dish doesn’t just satisfy your sweet tooth; it transforms a few pantry staples into a scrumptious dessert that’s both comforting and quick to prepare. Imagine a fudgy pudding layer nestled beneath a soft chocolate cake, giving you all the joy of a rich lava cake without the fuss. Perfect for gatherings or just a cozy night in, it’s sure to evoke smiles and warm memories around the table. So, are you ready to dive into this decadent experience that will have everyone asking for seconds?
Why is Chocolate Cobbler so irresistible?
Comforting, this dessert is a warm hug in a bowl, perfect for chilly evenings or family gatherings. Quick preparation makes it an ideal option for those busy weeknights when you crave something sweet but don’t want to spend hours in the kitchen. Decadent layers of fudgy goodness and soft cake create a delightful contrast that melts in your mouth. Versatile, you can easily swap ingredients, making it a winner for various dietary needs—try it with Frozen Greek Chips for a fun twist! You’ll also find family support, as this nostalgic favorite often brings people together.
Chocolate Cobbler Ingredients
For the Cake Layer
• Flour – Provides structure to the cake; gluten-free flour works as a perfect substitute for gluten-free diets.
• Baking Powder – Acts as a leavening agent to help the cake rise; avoid substitutions for best results.
• Salt – Enhances the flavor and balances the sweetness; don’t skip this step!
• Sugar – Sweetens the cake; feel free to use coconut sugar for a healthier choice.
• Cocoa Powder – Infuses rich chocolate flavor; use unsweetened cocoa for the best depth.
• Butter (Melted) – Adds moisture and richness; melted coconut oil can replace it for a dairy-free option.
• Milk – Provides needed moisture; substitute with almond or oat milk to keep it dairy-free.
• Vanilla Extract – Adds depth of flavor; for best taste, stick with pure vanilla extract.
• Chopped Walnuts (optional) – Introduces delightful texture and nutty flavor; simply omit if there are allergies.
For the Pudding Layer
• Sugar and Brown Sugar – Sweeten the pudding layer; both are essential for richness and depth of flavor.
• Salt – Balances out the sweetness perfectly; you’ll want every bit as it enhances the dish.
• Cocoa Powder – Intensifies the chocolate flavor in the pudding layer; make sure to use unsweetened.
• Boiling Water – Creates the magical pudding layer during baking; must be boiling for the recipe to work properly.
This Chocolate Cobbler is designed for ease and ultimate satisfaction, making it the perfect easy dessert for any gathering or cozy night in! Enjoy every melty, fudgy bite!
Step‑by‑Step Instructions for Chocolate Cobbler
Step 1: Preheat the Oven
Begin by preheating your oven to 350°F (175°C). This ensures that your Chocolate Cobbler bakes evenly when you transfer it in. While the oven warms up, gather all your ingredients and equipment, including a mixing bowl, a whisk, and a greased 1.5-quart casserole dish or square baking pan.
Step 2: Prepare the Cake Batter
In a medium mixing bowl, whisk together the flour, baking powder, salt, sugar, and cocoa powder until fully combined. This step creates the foundation of your Chocolate Cobbler. Next, stir in the melted butter, milk, and vanilla extract. Mix until the batter is smooth and well blended, and feel free to add chopped walnuts if desired for extra texture.
Step 3: Pour the Batter Into the Dish
Carefully pour the cake batter into your greased casserole dish, spreading it evenly across the bottom. Ensure the batter is level to create a balanced cake layer. This layer will rise and form a soft base, so take a moment to smooth the top with a spatula for a nice finish before moving on to the next step.
Step 4: Mix the Topping Ingredients
In a separate bowl, combine the sugar, brown sugar, salt, and cocoa powder for the pudding layer. Mix these ingredients well until they are evenly distributed. Once combined, sprinkle this dry mixture evenly over the cake batter that you just poured into the dish. Remember, do not stir; keeping the layers separate is key for a delicious result.
Step 5: Add the Boiling Water
Now, take care to pour boiling water evenly over the top of the mixture in the dish. This step creates the signature fudgy pudding layer beneath your cake. Be gentle and avoid stirring, as this will help maintain the beautiful layers you’ve created. The heat of the boiling water will activate the recipe’s magic during baking.
Step 6: Bake the Chocolate Cobbler
Place the dish in the preheated oven and bake for 30 minutes. Watch closely as the top sets; it should look firm yet slightly wobbly in the center when done. After the baking time, remove the Chocolate Cobbler from the oven and let it cool for a few minutes before serving to allow the flavors to meld beautifully.
Step 7: Serve and Enjoy
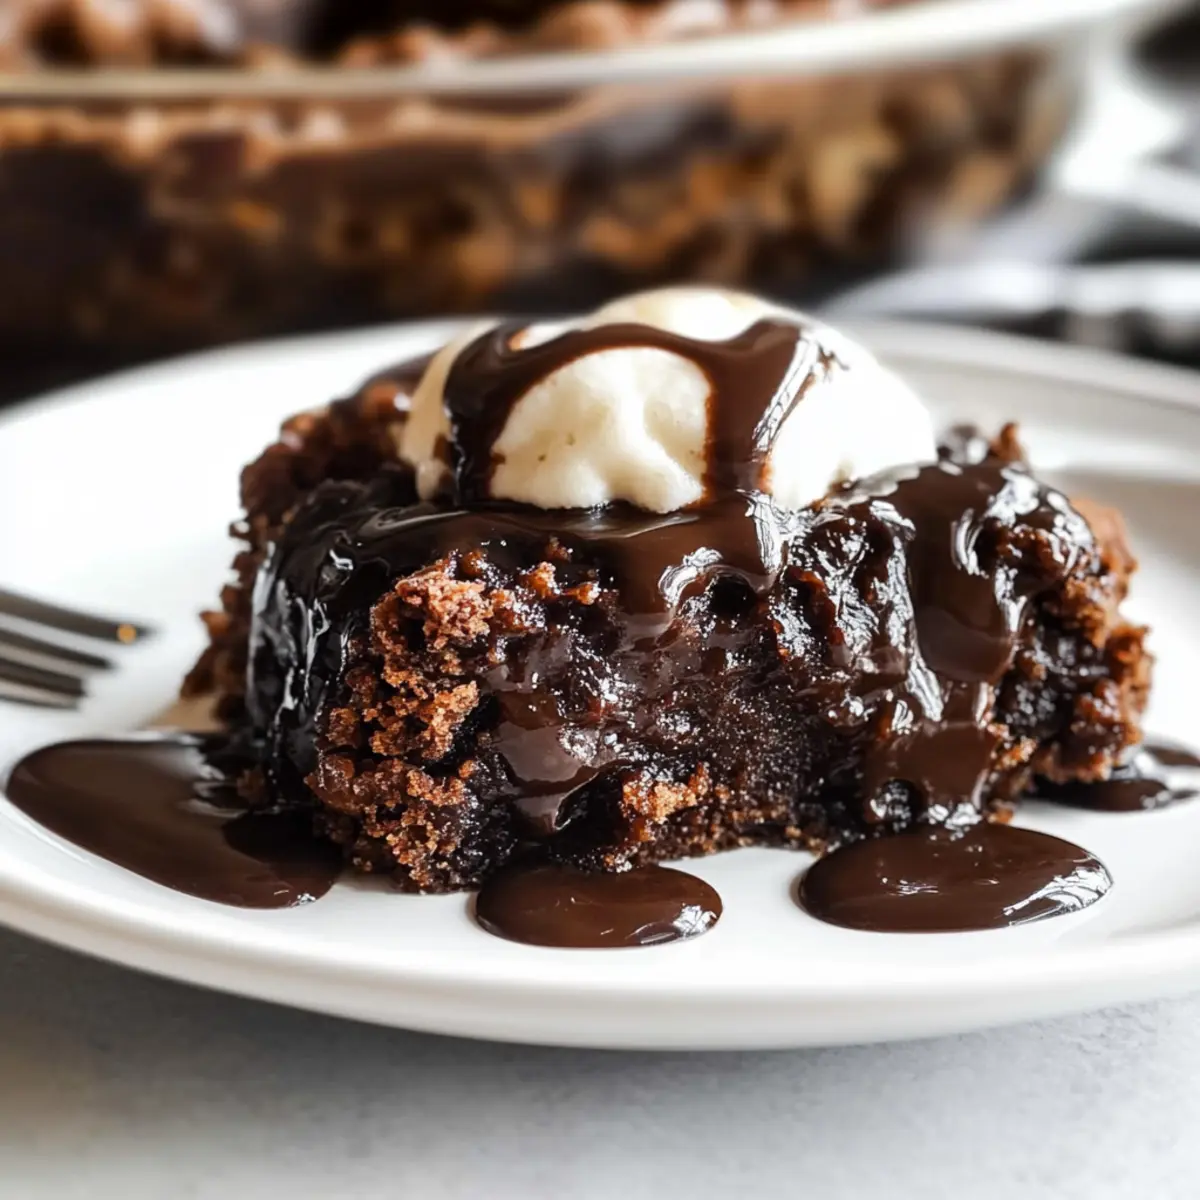
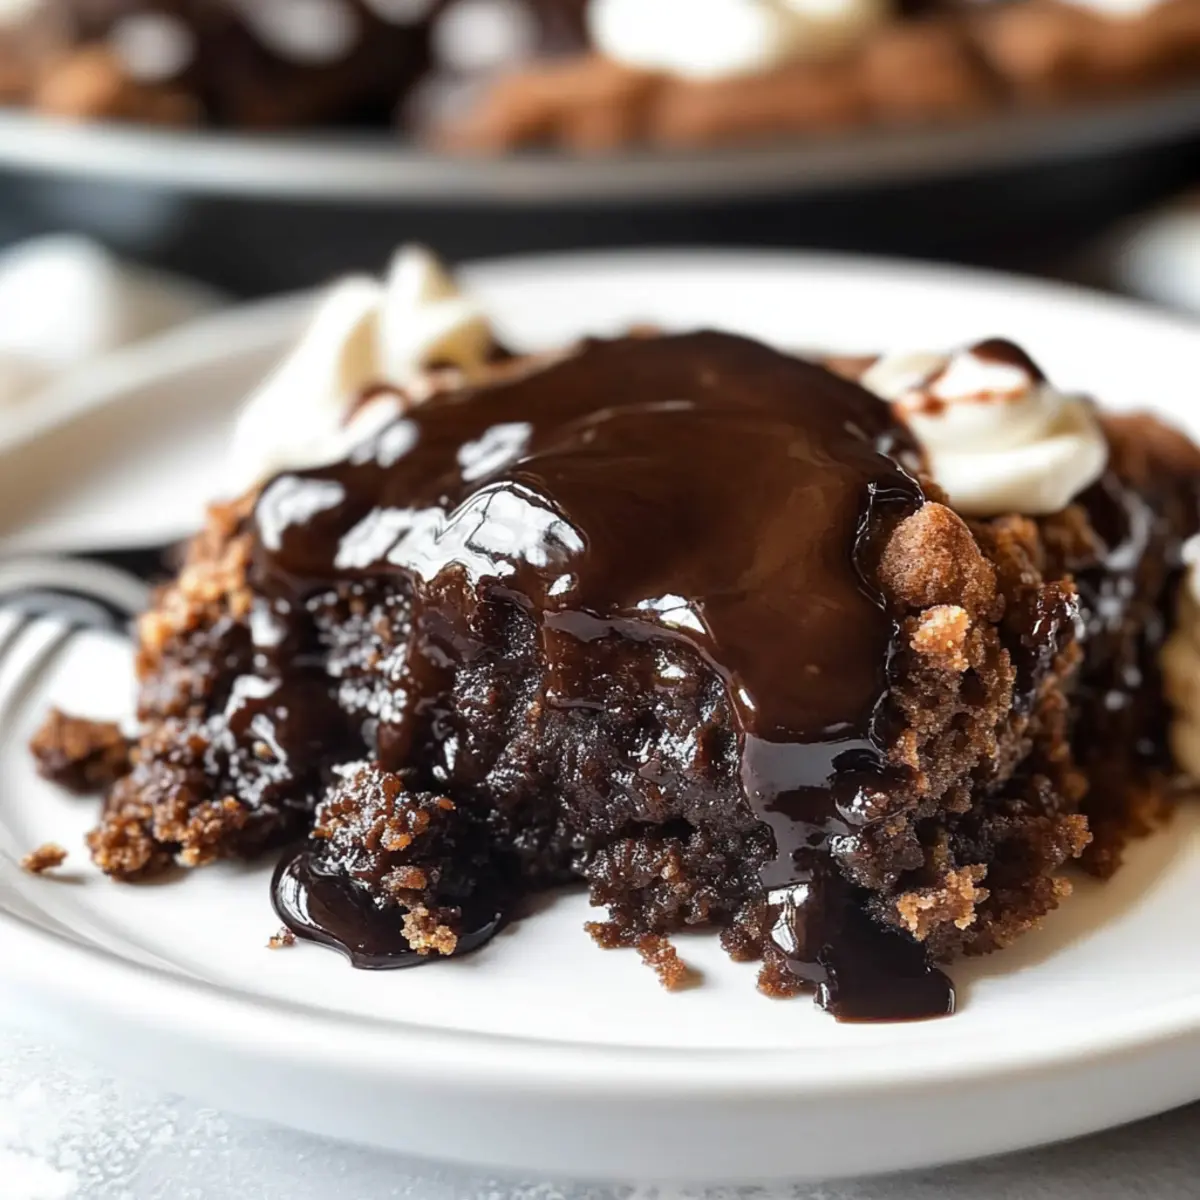
Finally, scoop out generous portions of your Chocolate Cobbler, revealing the rich, fudgy pudding layer underneath. Best served warm, consider topping each serving with a scoop of vanilla ice cream for an indulgent touch. This delightful dessert will surely satisfy any chocolate craving!
Chocolate Cobbler Variations & Substitutions
Feel free to get creative and make this Chocolate Cobbler your own with these delightful tweaks!
- Gluten-Free: Swap regular flour with gluten-free flour for a deliciously inclusive dessert. You won’t miss a thing!
- Dairy-Free: Use almond or oat milk and melted coconut oil to create a wonderfully creamy, dairy-free version. The flavor will still be rich and satisfying.
- Nut-Free: Omit the walnuts or substitute with sunflower seeds for a crunchy texture without the nuts. Everyone can enjoy this cozy treat!
- Sugar-Free: Replace sugar with a sugar alternative like erythritol or monk fruit for a guilt-free indulgence. This way, you can enjoy the sweetness without the calories.
- Flavor Infusions: Experiment with flavored extracts such as mint or orange to give your cobbler a unique twist. It’s a simple way to elevate the flavor profile.
- Fruit Fusion: Add fresh berries or sliced bananas into the batter for extra flavor and some fruity goodness. You’ll love the delightful bursts of taste!
- Chocolate Lovers: For extra decadence, mix in chocolate chips into the batter or sprinkle them on top before baking for a melty chocolate surprise. Every bite will be heavenly!
Feel inspired? With these variations, you can keep your Chocolate Cobbler fresh every time you bake it. For alternative dessert inspirations, how about making some 4-ingredient chocolate oat cookies or whipping up some delicious frozen Greek yogurt peanut butter bites with chocolate chips? Enjoy cooking!
What to Serve with Easy Chocolate Cobbler with Fudgy Pudding
Indulging in warm chocolate cobbler is a celebration in itself, but pairing it with delightful sides elevates the entire experience to a whole new level.
- Vanilla Ice Cream: A classic pairing, it melts beautifully atop the warm cobbler, creating a luscious blend of flavors and textures.
- Fresh Berries: Vibrant strawberries or blueberries add a refreshing burst of acidity, balancing the rich fudginess of the cobbler perfectly.
- Whipped Cream: Light and fluffy, this sweet topping adds an airy contrast to the dense chocolate layers, making every bite even more delightful.
- Coffee or Espresso: The deep, roasted flavors enhance the chocolate, creating a comforting warmth that makes for a cozy dessert experience.
- Chocolate Sauce Drizzle: A velvety drizzle of chocolate sauce amplifies the dessert’s sweetness, ensuring the chocolate lovers in your life are fully satisfied.
- Toasted Nuts: Sprinkle some toasted pecans or almonds on top for added crunch; they’re the perfect complement to the soft, gooey pudding layer.
- Mint Leaves: A few fresh mint leaves lend a surprising herbal note that cuts through the richness, making each forkful feel refreshing.
- Coconut Whipped Cream: For a tropical twist, this dairy-free version of whipped cream provides both sweetness and a subtle coconut flavor that pairs beautifully with chocolate.
Each pairing enhances the experience, inviting smiles and memories around the table, turning every bite of chocolate cobbler into a cherished moment.
How to Store and Freeze Chocolate Cobbler
Room Temperature: Allow the Chocolate Cobbler to cool completely, then cover it tightly with plastic wrap or foil. It can be kept at room temperature for up to 2 days.
Fridge: For longer storage, refrigerate in an airtight container for up to 5 days. This helps maintain the fudgy texture, but it’s best enjoyed fresh.
Freezer: You can freeze sliced portions of Chocolate Cobbler for up to 3 months. Wrap each slice individually in plastic wrap and place them in a freezer-safe container.
Reheating: To enjoy leftovers, microwave individual portions for about 20-30 seconds, or warm in the oven at 350°F (175°C) until heated through. Just be careful not to overheat, or it may lose its delightful fudginess.
Make Ahead Options
These Chocolate Cobbler preparations are perfect for busy home cooks who want to save time in the kitchen! You can prepare the batter up to 24 hours in advance by mixing all the cake layer ingredients and storing it in the refrigerator (to prevent browning, cover tightly). The pudding topping ingredients can also be pre-measured and kept dry in a separate container. When you’re ready to bake, simply pour the chocolate batter into your greased dish, sprinkle the topping, carefully add boiling water, and proceed with baking as instructed. This way, you’ll enjoy warm, decadent dessert goodness with minimal last-minute effort!
Expert Tips for Chocolate Cobbler
-
Layer Carefully: Pour boiling water gently to ensure that the pudding and cake layers remain distinct; stirring can lead to a muddled mess.
-
Don’t Overbake: Bake just until the top is set but the center is still slightly wobbly for the perfect fudgy consistency in your Chocolate Cobbler.
-
Storage Tips: To keep leftovers fresh, cool the cobbler, cover it, and store at room temperature for a couple of days. Refrigerate for longer storage.
-
Experiment with Flavors: Consider adding almond or orange extracts for a unique twist; it’s a fantastic way to enhance the rich chocolate flavor!
-
Double the Recipe: For celebrations, feel free to double the ingredients, but keep an eye on baking times; larger pans may require a bit longer in the oven.
Chocolate Cobbler Recipe FAQs
How do I choose the right ripeness of ingredients for my Chocolate Cobbler?
Absolutely! For the best results, ensure your ingredients are in good shape. Use fresh flour and cocoa powder; they should smell rich and cocoa-like. The butter should be high-quality, and if using walnuts, choose ones that are not stale or rancid. If you go for dairy-free options, make sure almond or oat milk is within its expiration date.
How should I store my leftover Chocolate Cobbler?
Very easy! Once your Chocolate Cobbler has cooled completely, cover it tightly with plastic wrap or aluminum foil, and it can sit at room temperature for up to 2 days. If you want to keep it longer, refrigerate in an airtight container for up to 5 days. Just remember that while it keeps well, it’s at its best when fresh!
Can I freeze Chocolate Cobbler?
Certainly! You can freeze your Chocolate Cobbler for up to 3 months. First, allow it to cool completely. Then, cut into portions, wrap each slice tightly in plastic wrap, and place them in a freezer-safe container. When you’re ready to indulge again, simply thaw in the fridge overnight and reheat gently!
What’s the best way to troubleshoot if my Chocolate Cobbler is too dry?
If you find your Chocolate Cobbler comes out dry, it might be due to overbaking. Keep a close eye on it—remove it as soon as the top is set but the center is still slightly wobbly! If it is already dry, you can revive it by serving with a generous scoop of vanilla ice cream or pouring a little warm milk over the top to moisten it up again.
Are there any dietary considerations for Chocolate Cobbler, especially for allergies?
Definitely! If you have nut allergies, it’s best to omit the walnuts or easily use seeds like sunflower seeds for added texture. For gluten-free diets, substitute the all-purpose flour with a gluten-free blend, and for dairy-free, use melted coconut oil and plant-based milk as alternatives. Always check the labels of prepared ingredients to avoid any allergic reactions.
How can I make my Chocolate Cobbler even more decadent?
For an extra twist, consider drizzling some melted chocolate over the top before serving, or sprinkle some sea salt to enhance the chocolate flavor. Additionally, you could fold in mini chocolate chips into the batter for an irresistible gooey texture that chocolate lovers will adore!
Decadent Chocolate Cobbler That Melts in Your Mouth
Ingredients
Equipment
Method
- Preheat your oven to 350°F (175°C) and gather all ingredients.
- In a mixing bowl, whisk together flour, baking powder, salt, sugar, and cocoa powder.
- Add melted butter, milk, and vanilla extract; mix until smooth. Optionally, stir in walnuts.
- Pour the batter into a greased casserole dish, smoothing the top.
- In another bowl, mix together sugar, brown sugar, salt, and cocoa powder for the pudding layer. Sprinkle over the batter without stirring.
- Pour boiling water over the top of the mixture in the dish without stirring.
- Bake in the preheated oven for 30 minutes, until the top is set but center is slightly wobbly.
- Let cool briefly, then serve warm, possibly with a scoop of ice cream.
Leave a Reply