
The aroma of freshly baked cookies wafts through the house, inviting everyone to drop whatever they’re doing and gather in the kitchen. There’s something magical about the moment when warm Classic Chewy Chocolate Chip Cookies are pulled from the oven, their golden edges promising a delightful crunch that gives way to a soft, gooey center. This quick and easy recipe is perfect for anyone craving a warm treat, and it comes together in just 30 minutes—making it an ideal fix for those cozy evenings or surprise guests. Plus, with the option to make these cookies gluten-free, everyone can enjoy this timeless classic. Are you ready to fill your home with the comforting scent of chocolatey goodness? Let’s get baking!
Why are these cookies a must-bake?
Irresistible Aroma: The scent of melting chocolate and buttery dough will draw everyone into your kitchen, creating a warm, inviting atmosphere.
Quick & Easy: These cookies come together in just 30 minutes, making them a perfect last-minute treat for any occasion!
Flexible Recipe: Enjoy the classic version or explore variations like gluten-free options—perfect for accommodating different dietary needs.
Crowd-Pleaser: Their delightful combination of chewy texture and rich chocolate flavor ensures that they will win over everyone, making any gathering feel special.
Perfect for Sharing: Pack them up in a cute box as a sweet gift or a token of appreciation, just like the delightful surprises found in my Coconut Shrimp Sweet recipe!
Classic Chewy Chocolate Chip Cookies Ingredients
For the Cookie Dough
• All-Purpose Flour – The base structure for cookies; substitute with gluten-free flour for a gluten-free option.
• Baking Soda – Provides leavening for a light texture; no substitutions needed.
• Salt – Enhances flavor; use sea salt for a gourmet touch.
• Unsalted Butter – Adds richness and moisture; replace with margarine for dairy-free cookies.
• Brown Sugar – Adds moisture and a hint of caramel flavor; can substitute half with white sugar for a lighter texture.
• Granulated Sugar – Provides sweetness and crunch.
• Eggs – Binds the ingredients together; try using flaxseed meal for vegan cookies.
• Vanilla Extract – Adds depth of flavor; no substitutes recommended if quality is key.
• Semi-Sweet Chocolate Chips – The star ingredient providing chocolatey goodness; swap with dark chocolate or white chocolate chips for variations.
For Added Texture
• Nuts (Optional) – Substitute half of the chocolate chips with walnuts or pecans for an added crunch.
• Cinnamon (Optional) – For a spice twist, add a teaspoon of cinnamon to the dry ingredients.
Step‑by‑Step Instructions for Classic Chewy Chocolate Chip Cookies
Step 1: Preheat Oven
Begin by preheating your oven to 350°F (175°C). This will ensure that your cookies bake evenly and achieve that lovely golden color. While the oven warms up, gather all your ingredients and baking equipment—like mixing bowls, a whisk, and a baking sheet lined with parchment paper—making the process smoother and more enjoyable.
Step 2: Mix Dry Ingredients
In a medium bowl, whisk together 2 cups of all-purpose flour, 1 teaspoon of baking soda, and ½ teaspoon of salt. This step is crucial for evenly distributing the leavening agent and enhancing the flavor of your Classic Chewy Chocolate Chip Cookies. Set the bowl aside as you move on to the next step.
Step 3: Cream Butter and Sugars
In a large mixing bowl, combine ¾ cup of unsalted butter with ¾ cup of brown sugar and ½ cup of granulated sugar. Using a hand mixer or stand mixer, beat on medium speed until the mixture is light and fluffy, about 2-3 minutes. You’ll know it’s ready when it has a pale color and a smooth texture that looks inviting.
Step 4: Add Egg and Vanilla
Add one large egg and 1 teaspoon of vanilla extract to the butter-sugar mixture. Mix on low speed until fully incorporated, about 30 seconds. The batter should become creamy and fragrant with the vanilla, setting the stage for those delicious Classic Chewy Chocolate Chip Cookies you’re about to create.
Step 5: Combine Mixtures
Gradually add the dry ingredient mixture to the wet ingredients, stirring gently with a spatula or wooden spoon until just combined. Be cautious not to over-mix, as this can make your cookies tough. The dough should be slightly sticky but cohesive, beckoning those chocolate chips to join in the fun.
Step 6: Fold in Chocolate Chips
Carefully fold in 1 cup of semi-sweet chocolate chips into the cookie dough, ensuring an even distribution. This is where the magic happens, as each cookie will be bursting with rich chocolatey goodness. Ensure every part of the dough has patches of chocolate to achieve that decadent experience in your Classic Chewy Chocolate Chip Cookies.
Step 7: Scoop Dough
Using a tablespoon or cookie scoop, drop rounded portions of dough onto the prepared baking sheet, leaving about 2 inches of space between each cookie. This spacing is vital, as the cookies will spread while baking. The anticipation builds as you see the globes of dough waiting to turn into delicious treats.
Step 8: Bake
Place the baking sheet in the preheated oven and bake for 10-12 minutes, or until the edges are golden brown and the centers look set. Keep an eye on them towards the end of baking, as oven times can vary. You’ll want to see a lightly crisp edge contrasting with a soft center, which is the hallmark of these Classic Chewy Chocolate Chip Cookies.
Step 9: Cool
Once baked, remove the cookies from the oven and let them cool on the baking sheet for 5 minutes. This resting period allows the cookies to firm up slightly before transferring them to a wire rack. Enjoy the tantalizing aroma wafting through the kitchen as you prepare to savor these delightful cookies.
Variations & Substitutions for Classic Chewy Chocolate Chip Cookies
Feel free to personalize these cookies with delicious twists that cater to your taste buds!
-
Gluten-Free: Substitute all-purpose flour with a gluten-free flour blend for a delightful version everyone can enjoy. Just ensure the blend contains xanthan gum for the best texture.
-
Vegan: Use flaxseed meal instead of eggs and replace the butter with your favorite dairy-free margarine for a completely plant-based treat. These cookies will still be soft and chewy!
-
Nutty Delight: Incorporate a handful of chopped walnuts, pecans, or almonds for a delightful crunch. Each bite will surprise you with nutty goodness that complements the chocolate perfectly!
-
Choco-Mix: Swap out semi-sweet chocolate chips for dark chocolate, milk chocolate, or even white chocolate chips. Experimenting with different chocolates adds fun flavor variations to this classic treat!
-
Spiced Up: Add a teaspoon of cinnamon or pumpkin spice to the dry ingredients for a warm, spice-laden aroma. Suddenly, it feels like a cozy fall day in your kitchen!
-
Caramel-Drizzled: After baking, drizzle melted caramel over the cookies for a luxurious finish. The blend of chocolate and caramel is utterly irresistible!
-
Coconut Touch: Fold in some shredded coconut or use coconut oil instead of butter for a tropical twist. The subtle coconut flavor can transport your taste buds straight to the beach!
-
S’mores Style: Incorporate mini marshmallows and crushed graham crackers into the dough for a s’mores-inspired cookie adventure. It’s a fun way to change up the classic!
No matter how you choose to customize, each batch of these cookies brings joy. You might also enjoy pairing them with a sweet treat like Garlic Chicken Noodles or indulging in my take on Steak Queso Rice. Get creative and make these your own!
Storage Tips for Classic Chewy Chocolate Chip Cookies
Room Temperature: Keep cookies in an airtight container at room temperature for up to 1 week to maintain their softness and flavor.
Fridge: If you prefer, store in the fridge for up to 2 weeks; just ensure they are well-sealed to prevent drying out.
Freezer: For longer storage, freeze cookies for up to 3 months. Place them in a freezer-safe bag or container, separating layers with parchment paper.
Reheating: To enjoy warm, simply pop frozen cookies in the microwave for about 15-20 seconds, or heat in the oven at 350°F (175°C) for 5-7 minutes to revive that fresh-baked taste!
Make Ahead Options
These Classic Chewy Chocolate Chip Cookies are perfect for meal prep enthusiasts! You can prepare the dough up to 24 hours in advance by mixing it and covering it tightly in plastic wrap before refrigerating. This step not only saves time but also enhances the flavors as they meld together. If you’re looking for even more convenience, you can scoop the dough into balls and freeze them for up to 3 months. Just place the frozen dough on a baking sheet and bake directly from the freezer, adding an extra minute or two to the baking time. To ensure they’re just as delicious, cool the cookies completely before storing them in an airtight container, which keeps that coveted chewy texture intact.
What to Serve with Classic Chewy Chocolate Chip Cookies?
The warmth of freshly baked cookies inspires delightful pairings, making your treat even more special.
-
Cold Glass of Milk: A classic pairing that balances the sweetness, enhancing every chocolatey bite while soothing the mouthful of warm cookie.
-
Vanilla Ice Cream: A scoop of creamy vanilla perfectly complements the cookies’ chewy texture, and creates a delightful contrast that’s simply irresistible.
-
Fresh Berries: Juicy strawberries or raspberries add a tart freshness that cuts through the richness of the cookies, making every bite feel light and refreshing.
-
Coffee or Espresso: The bold flavors of coffee enhance the sweetness of the cookies, providing a sophisticated touch that pairs beautifully during afternoon breaks or evening gatherings.
-
Hot Chocolate: For a cozy twist, serve these cookies alongside a steaming mug of hot chocolate, turning snack time into a decadent experience.
-
Nutty Trail Mix: A mix of nuts offers a satisfying crunch that contrasts beautifully with the soft texture of the cookies, providing a wholesome, protein-packed option.
-
Caramel Sauce: Drizzling warm caramel over cookies heightens the experience, inviting a delightful richness that elevates each bite into a dessert adventure!
Expert Tips for Classic Chewy Chocolate Chip Cookies
• Butter Temperature Matters: Ensure your butter is at room temperature to achieve a perfectly creamy mixture, essential for that tender cookie texture.
• Don’t Over-Mix: Mix the dough until just combined to avoid tough cookies; over-mixing can lead to a dense texture instead of a chewy one.
• Chill the Dough: For an extra chewy cookie, chill the dough for at least 30 minutes. This helps develop flavors and prevents excessive spreading while baking.
• Watch the Baking Time: Keep an eye on the cookies as they bake; slight under-baking is key for that soft, gooey center we all love in classic chewy chocolate chip cookies.
• Quality Ingredients Count: Use high-quality chocolate chips and pure vanilla extract for the best flavor—those little details make a big difference in your cookies!
Classic Chewy Chocolate Chip Cookies Recipe FAQs
How can I select the right ripeness for my ingredients?
Absolutely! For the ultimate flavor, ensure your butter is at room temperature—about 68°F (20°C) is perfect. Eggs should also be at room temperature for better emulsification. As for chocolate chips, choose high-quality semi-sweet or dark chocolate chips that are free from blemishes to maximize that chocolatey goodness.
What storage methods work best for my cookies, and how long can they last?
Very good question! Store your Classic Chewy Chocolate Chip Cookies in an airtight container at room temperature for up to 1 week. If you want them to last longer, they can be stored in the fridge for up to 2 weeks. Just ensure they’re well-sealed to prevent drying out!
Can I freeze these cookies, and what’s the best way to do it?
Of course! To freeze your cookies, first, let them cool completely. Then, lay them on a baking sheet in a single layer and freeze them for about 1-2 hours until firm. Once frozen, transfer them to a freezer-safe bag or container, placing squares of parchment paper between layers to avoid sticking. They can be stored for up to 3 months.
What if my cookie dough turns out too dry?
No worries! If your dough seems too dry, it could be due to too much flour. You can try adding a little bit of milk, one tablespoon at a time, and mix until it reaches the desired consistency. Alternatively, make sure you are measuring flour correctly—spoon it into the measuring cup rather than scooping directly from the bag to avoid compacting.
Are there any dietary considerations I should keep in mind?
Certainly! These cookies can easily accommodate various dietary needs. For gluten-free options, substitute the all-purpose flour with a 1:1 gluten-free baking mix. For dairy-free cookies, use margarine instead of butter. If you have egg allergies, flaxseeds can be a great egg substitute—simply mix one tablespoon of ground flaxseed with three tablespoons of water and let it sit for a few minutes before adding it to your cookie dough.
Can I adapt the recipe for my pets?
It’s best to avoid giving your pets chocolate cookies. Instead, consider making a separate batch of “pup cookies” using oat flour, peanut butter, and pumpkin—each ingredient is safe and delicious for furry friends!
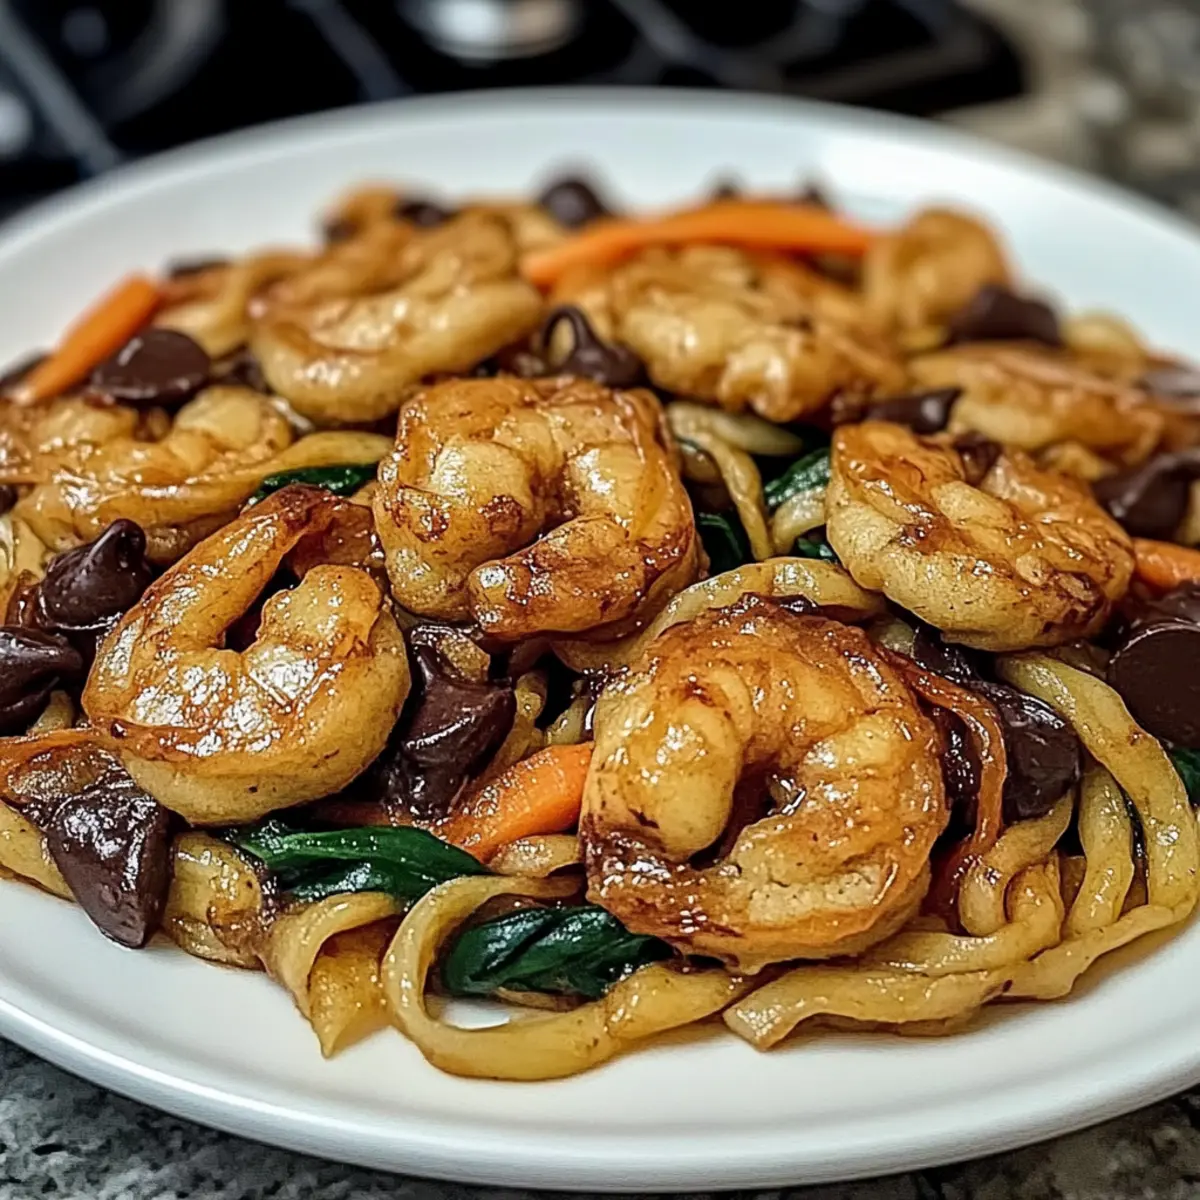
Savor Every Bite: Steak & Shrimp Stir-Fried Noodles Delight
Ingredients
Equipment
Method
- Cook the noodles according to package instructions, then drain and set aside.
- In a wok, heat the vegetable oil over medium-high heat.
- Add the steak and cook until browned. Remove and set aside.
- In the same wok, add shrimp and cook until pink, then remove and set aside.
- Add garlic, bell peppers, and broccoli to the wok. Stir-fry until tender.
- Return steak and shrimp to the wok, add the cooked noodles, soy sauce, and oyster sauce, then stir-fry everything together.
- Drizzle with sesame oil before serving.
Leave a Reply