
As I rummaged through my pantry in preparation for our Easter celebration, I suddenly remembered the fun of creating festive treats that delight both the eyes and the taste buds. The answer? Mini Chicks Cheese Balls! These adorable cheese bites are not only a whimsical addition to your holiday table, but they’re also incredibly easy to prepare. With the creamy blend of rich cream cheese, sharp cheddar, and a hint of savory bacon, this family-friendly appetizer is guaranteed to charm your guests—kids and adults alike. Plus, they can easily be adapted to suit any dietary preference, making them a versatile crowd-pleaser. Curious about how to make these festive delights come to life? Let’s dive in!
Why Are Mini Chicks Cheese Balls a Must-Try?
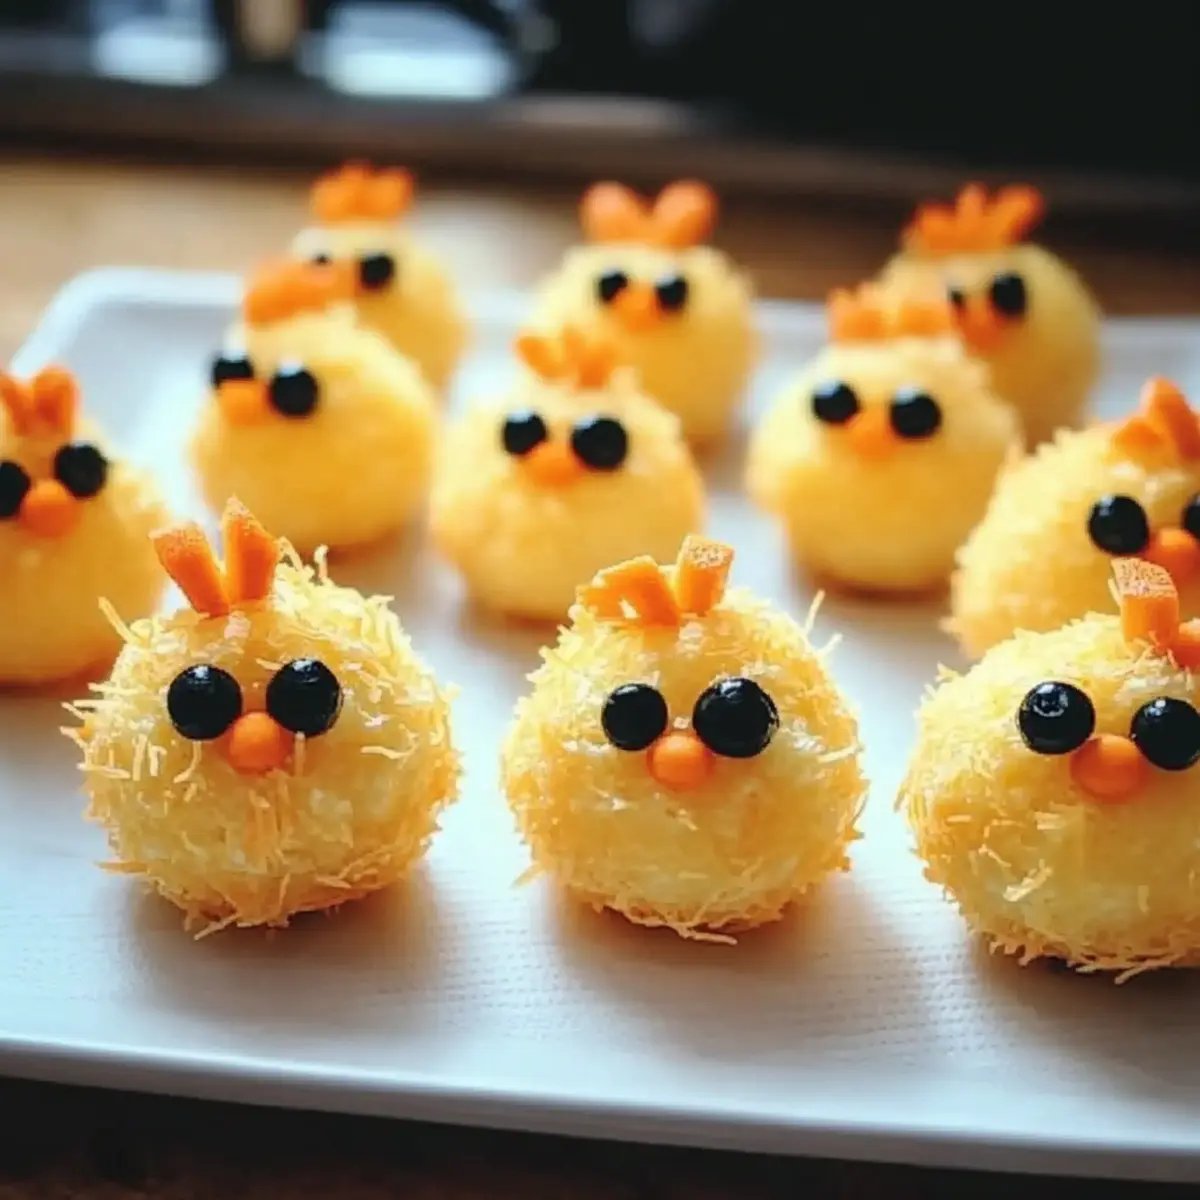
Delightful Presentation: These Mini Chicks Cheese Balls are not only tasty but also irresistibly cute, making them the star of any festive gathering.
Effortless Preparation: With just a few simple steps, you’ll have a party-ready appetizer, perfect for those who want to impress without spending hours in the kitchen.
Flavor Variations: Easily adapt the recipe by swapping cheeses—try creamy Monterey Jack or spicy pepper jack for a twist on flavor.
Kid-Friendly Fun: Perfect for families, these cheese balls are a fun way to get kids involved in the kitchen, allowing them to help with rolling and decorating.
Perfect for Any Occasion: While they shine at Easter, these adorable bites make a great addition to picnics, birthdays, or any celebration you have planned.
Try serving them alongside a refreshing Pimento Cheese Hash for a delightful spread!
Mini Chicks Cheese Balls Ingredients
For the Cheese Mixture
• Cream Cheese – Provides a smooth, creamy base; use full-fat for the richest flavor.
• Cheddar Cheese – Adds sharpness and depth; substitute with Monterey Jack, Colby, or smoked gouda for a twist.
• Bacon – Offers savory umami flavor; omit for a vegetarian option and use smoked paprika or sun-dried tomatoes instead.
• Ranch Seasoning Mix – Enhances flavor with herbs and spices; create a homemade version with dried herbs if needed.
For Decoration
• Olives – Used for eyes, giving the chicks a playful look.
• Carrots – Cut into small pieces to create beaks, adding color and whimsy to your presentation.
These Mini Chicks Cheese Balls are sure to make your festive table charming and delicious!
Step‑by‑Step Instructions for Mini Chicks Cheese Balls
Step 1: Mix Ingredients
In a mixing bowl, combine 8 ounces of softened cream cheese, 1 cup of shredded cheddar cheese, ½ cup of crumbled bacon, and 1 tablespoon of ranch seasoning mix. Use a sturdy spatula or your hands to blend everything together until the mixture is smooth and well incorporated, about 2-3 minutes. The consistency should be creamy and slightly thick, making it easy to form into balls.
Step 2: Form Balls
Once your cheese mixture is ready, use your hands to scoop out portions and roll them into small balls, approximately the size of a golf ball. Aim for uniformity in size to ensure even cooking and presentation. You should end up with around 12-15 cheese balls, which will form the base of your adorable Mini Chicks Cheese Balls.
Step 3: Coat with Cheese
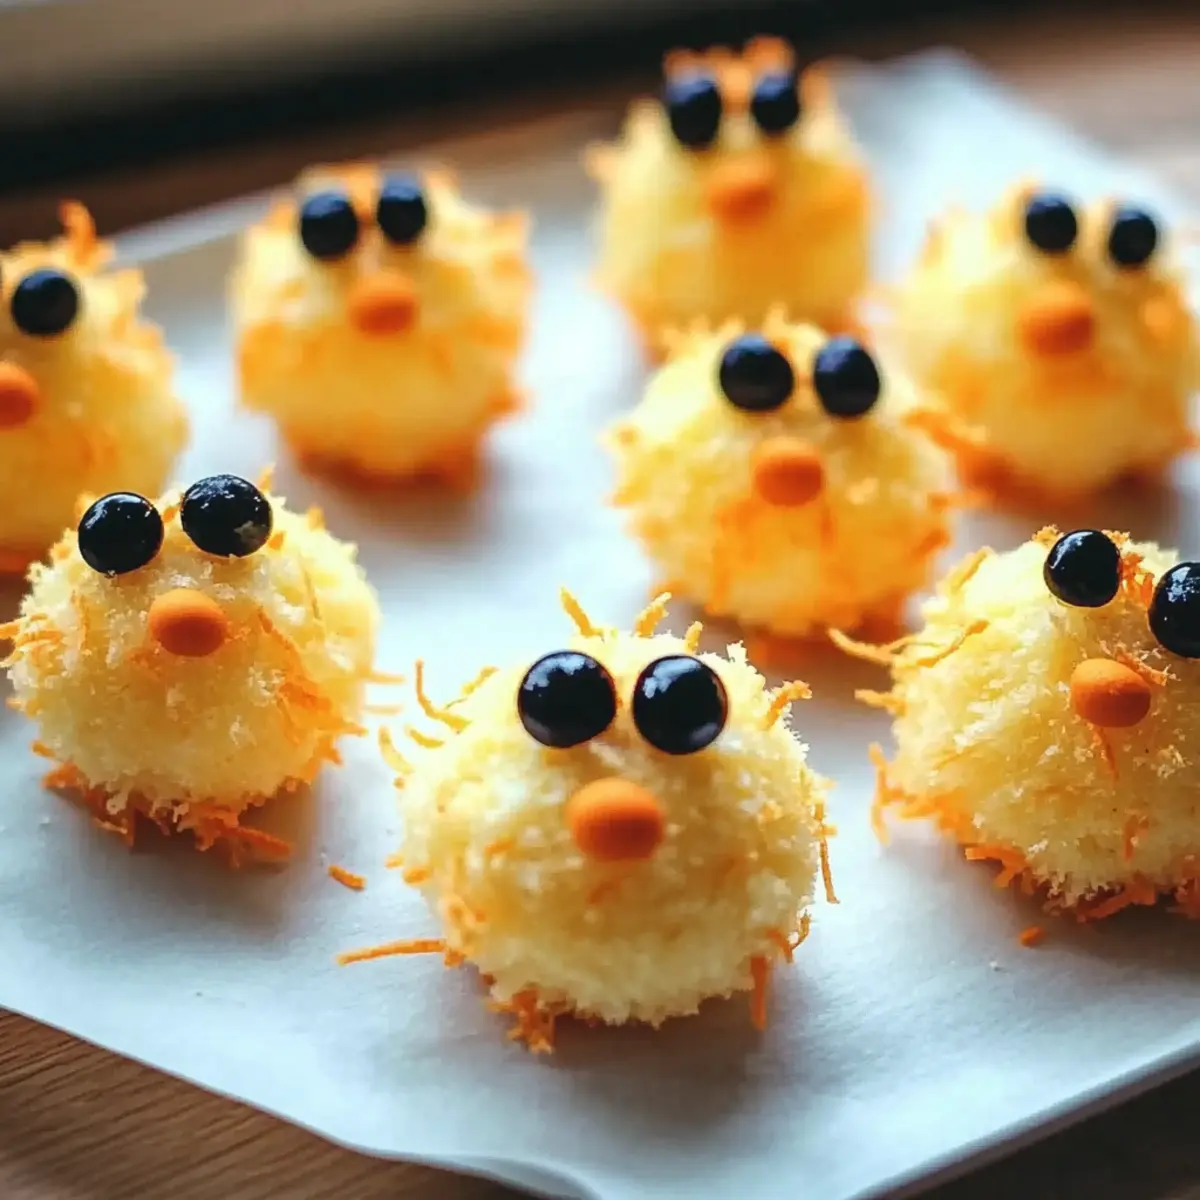
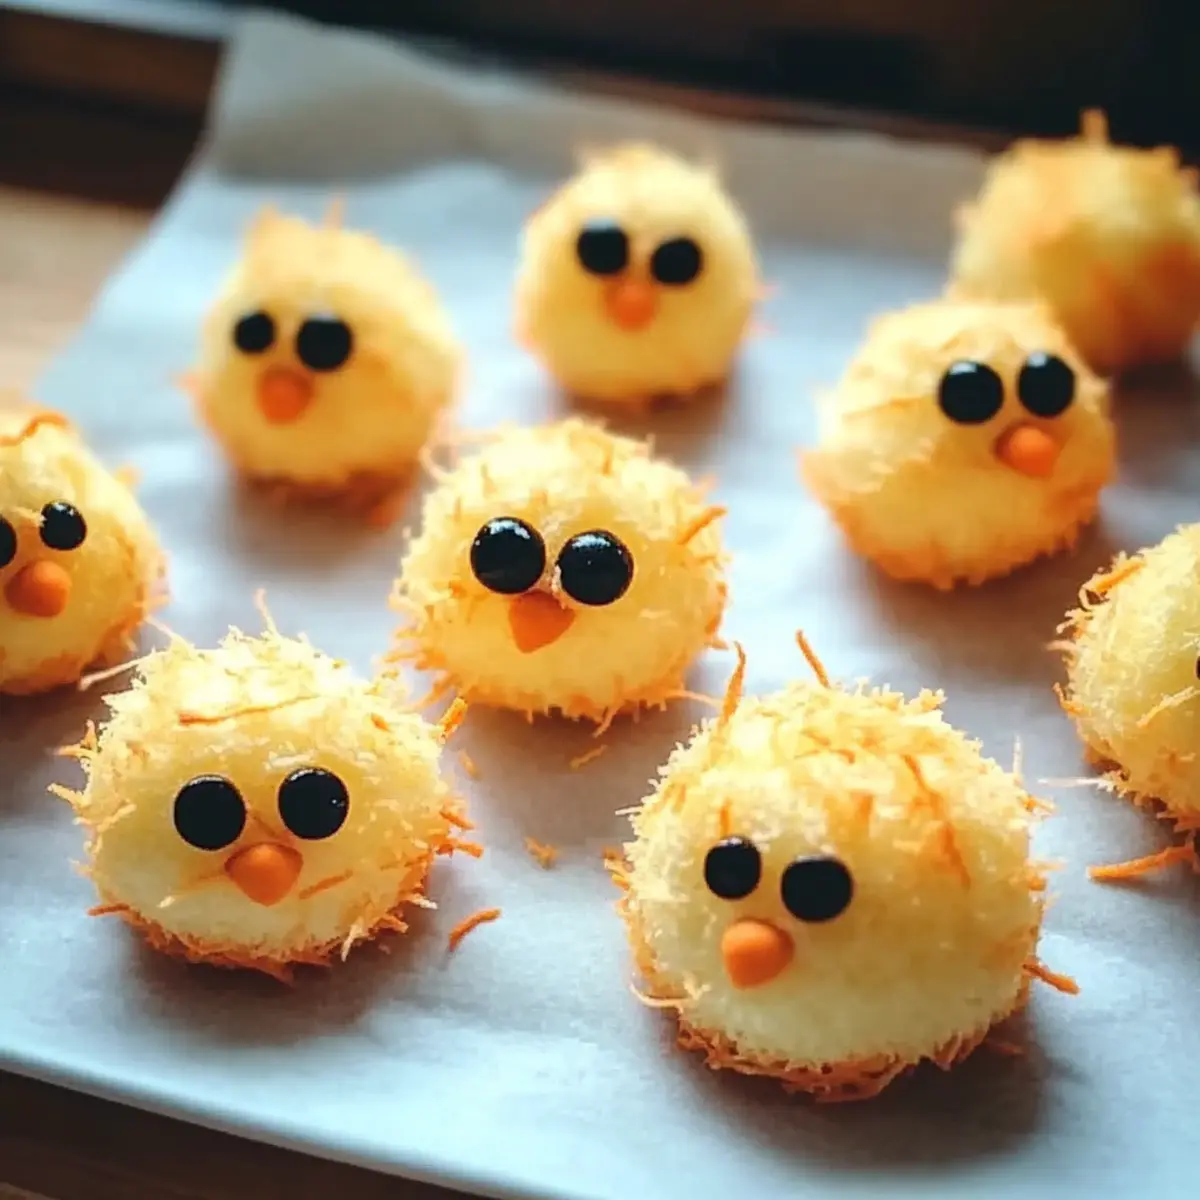
To give your Mini Chicks Cheese Balls extra flavor and a fun texture, place 1 cup of additional shredded cheddar cheese on a plate. Roll each cheese ball in the shredded cheese until thoroughly coated. This step not only adds flavor but also mimics the look of cute little chicks, making your appetizer look delightful for Easter celebrations.
Step 4: Decorate
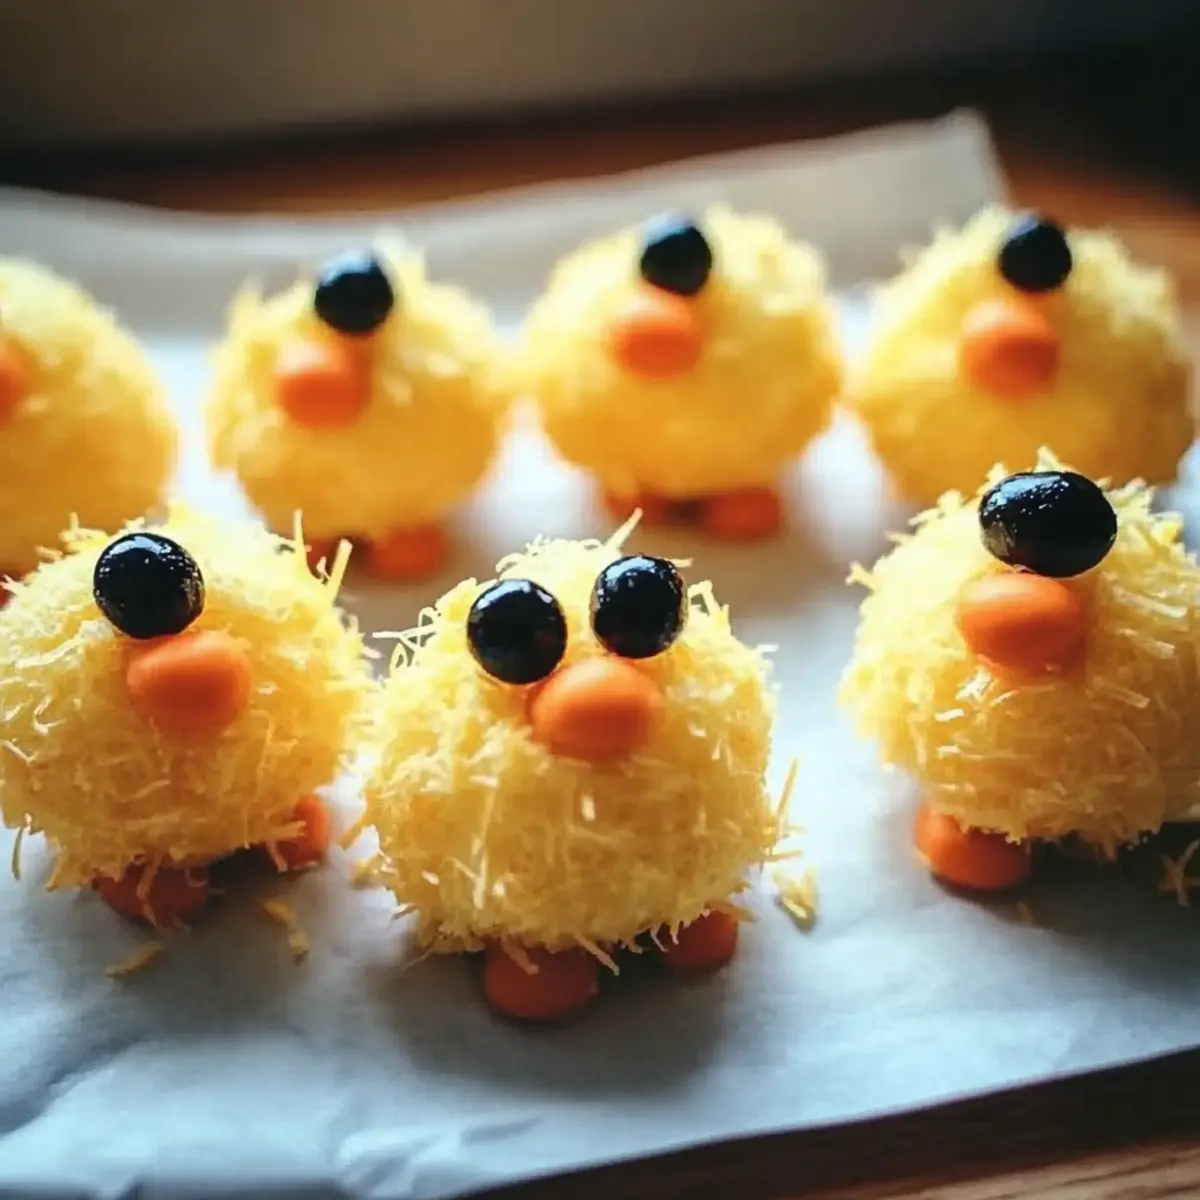
Now comes the fun part! Use sliced olives to create eyes on each cheese ball, pressing them gently into the top. Then, take small pieces of carrot and insert them to form beaks. The mix of colors will bring your Mini Chicks Cheese Balls to life, making them an eye-catching addition to any festive spread.
Step 5: Chill
After decorating your Mini Chicks Cheese Balls, transfer them to a serving platter and cover with plastic wrap. Refrigerate for at least 30 minutes to 1 hour. Chilling helps the flavors meld together and makes the cheese balls more firm, ensuring they hold their shape beautifully when served. Enjoy preparing them ahead of your gathering!
How to Store and Freeze Mini Chicks Cheese Balls
Fridge: Store your Mini Chicks Cheese Balls in an airtight container in the refrigerator for up to 2-3 days. This keeps them fresh and ready for your holiday gatherings.
Freezer: For longer storage, freeze the unadorned cheese balls in a single layer on a baking sheet until solid, then transfer to a sealed freezer bag for up to 2 months.
Reheating: When ready to enjoy, thaw in the fridge overnight and serve cold, or leave at room temperature for 30 minutes before serving. Avoid reheating to maintain their delightful texture.
Preparation Ahead: For convenience, prepare the cheese mixture and roll into balls days in advance, storing in the fridge until you’re ready to decorate and serve.
Expert Tips
- Chill Before Serving: Make sure to refrigerate your Mini Chicks Cheese Balls for at least an hour before serving to allow the flavors to meld and the texture to firm up.
- Fine Shredding: Opt for finely shredded cheese when coating your cheese balls for a smoother texture and better adherence. This prevents excess cheese from falling off during serving.
- Avoid Sogginess: Assemble the chick decorations right before serving to keep crackers crispy and prevent the cheese balls from getting soggy.
- Make Ahead: Prepare the cheese mixture and roll into balls up to 2-3 days in advance, storing them in the refrigerator for ultimate convenience.
- Vegetarian Adjustments: For a vegetarian twist, simply omit the bacon and spice up the flavor with smoked paprika or sun-dried tomatoes.
Make Ahead Options
These Mini Chicks Cheese Balls are perfect for meal prep! You can prepare the cheese mixture and roll it into balls up to 3 days in advance, ensuring you save valuable time on the day of your gathering. Simply store the rolled cheese balls covered in the refrigerator to maintain their freshness. To keep them as cute and tasty as ever, wait to assemble the decorations until just before serving—this prevents any soggy bits from forming. When you’re ready to impress your guests, coat the cheese balls in shredded cheddar, add the olives and carrots for eyes and beaks, and serve for delightful results that are just as delicious!
What to Serve with Mini Chicks Cheese Balls
The charm of Mini Chicks Cheese Balls is amplified when paired with delightful sides that balance their creamy richness.
- Fresh Veggie Platter: Crisp, colorful vegetables provide a crunchy contrast to the creamy cheese balls, adding freshness and a splash of color to your spread.
- Zesty Crackers: Offer a variety of crackers, from buttery to whole grain. Their textures enhance the cheese balls’ rich flavor while providing a satisfying crunch.
- Tangy Dipping Sauce: Serve with a ranch or yogurt-based dip to complement the cheese balls. The tanginess will brighten each bite and keep guests reaching for more.
- Fruit Salad: A medley of seasonal fruits adds a refreshing sweetness that pairs nicely with the salty cheese, creating a balanced appetizer experience.
- Crispy Bacon-Wrapped Asparagus: The salty crunch of bacon-wrapped asparagus echoes the savory notes of the cheese balls, creating a mouthwatering pairing that guests will love.
- Chilled Sparkling Wine: A glass of bubbly elevates your gathering. The effervescence works wonders to cleanse the palate between bites of the decadent cheese balls.
- Light Green Salad: A simple salad with a light vinaigrette gives a bright, refreshing note that beautifully complements the richness of the cheese balls.
Mix and match these delightful options for a festive table that will leave your guests talking long after the last bite!
Mini Chicks Cheese Balls Variations
Feel free to explore these delicious variations that will make your Mini Chicks Cheese Balls even more fun and tailored to your taste!
-
Cheese Swap: Replace cheddar with Monterey Jack for a creamier experience. Alternatively, try sharp white cheddar for a bolder kick, or go adventurous with smoked gouda for that delightful smoky flavor.
-
Vegetarian Delight: Omit the bacon and use sun-dried tomatoes or a sprinkle of smoked paprika for a taste boost. These swaps will bring a unique twist without compromising on flavor; your guests won’t even miss the meat!
-
Spicy Kick: Amp up the flavor with spicy pepper jack cheese, or add diced jalapeños for a warming sensation. This variation is perfect for those who crave a little heat in every bite.
-
Flavorful Herbs: Incorporate fresh herbs like chives or dill into your cheese mixture. A burst of fresh herbiness will elevate the creamy foundation and make your Mini Chicks Cheese Balls taste vibrant and refreshing.
-
Nutty Twist: Mix in finely chopped nuts, like pecans or walnuts, to the cheese mixture for an unexpected crunchy texture. This adds dimension to your bites that will surprise and delight those who take a nibble!
-
Dairy-Free Version: Use vegan cream cheese and dairy-free cheeses like cashew or almond-based options to create a delectable dairy-free version. With all the same flavors, everyone can enjoy this festive treat.
-
Mini Chicks on a Stick: Assemble your cheese balls on skewers with cherry tomatoes and olives for a fun presentation. Perfect for parties, this variation will spark conversation and keep your guests nibbling!
-
Pair with Dips: Consider serving your cheese balls alongside a zesty dip, like ranch or a refreshing cucumber yogurt sauce, for added flavor. Once you try this, you might also want to check out these delightful Cottage Cheese Egg Salad bites to accompany your festive spread!
With these variations, your Mini Chicks Cheese Balls will not only charm the guests but also cater to various dietary preferences, ensuring everyone feels welcome at the table!
Mini Chicks Cheese Balls Recipe FAQs
What type of cream cheese should I use?
It’s best to use full-fat cream cheese for a richer flavor and creamier texture. This will help create a delightful base for your Mini Chicks Cheese Balls that is both smooth and delicious!
How should I store leftover Mini Chicks Cheese Balls?
You can keep your Mini Chicks Cheese Balls in an airtight container in the refrigerator for up to 2-3 days. This ensures they maintain their freshness and are ready for snacking anytime.
Can I freeze Mini Chicks Cheese Balls?
Absolutely! To freeze them, first, form the cheese balls without decoration and place them in a single layer on a baking sheet. Freeze until solid, then transfer to a sealed freezer bag. They can be stored for up to 2 months. When you’re ready to enjoy, simply thaw them overnight in the refrigerator.
What if my cheese mixture is too soft?
If you find your cheese mixture is too soft to hold its shape, try chilling it in the refrigerator for about 30 minutes. This will help firm it up and make it easier to roll into balls. You can also add a bit more shredded cheese to the mixture to thicken it up.
Are there any dietary considerations to keep in mind?
For vegetarians, you can easily switch out the bacon for smoked paprika or sun-dried tomatoes to maintain a flavorful profile. Additionally, always check for allergies, especially concerning the ranch seasoning and substitution options if you’re catering to guests with dietary restrictions.
How can I enhance the flavor?
You can easily amp up the flavor by using different cheese or adding herbs to the cheese mixture. Experimenting with a pepper jack or including fresh chives can take your Mini Chicks Cheese Balls to the next level of taste, making them even more delightful for everyone at your gathering.
Mini Chicks Cheese Balls: Fun and Flavorful Easter Treats
Ingredients
Equipment
Method
- In a mixing bowl, combine 8 ounces of softened cream cheese, 1 cup of shredded cheddar cheese, ½ cup of crumbled bacon, and 1 tablespoon of ranch seasoning mix until smooth.
- Use your hands to scoop out portions and roll them into small balls, approximately the size of a golf ball, about 12-15 cheese balls total.
- Roll each cheese ball in 1 cup of additional shredded cheddar cheese until thoroughly coated.
- Use sliced olives to create eyes and small pieces of carrot for beaks on each cheese ball.
- Transfer to a serving platter, cover with plastic wrap, and refrigerate for at least 30 minutes to 1 hour.
Leave a Reply