
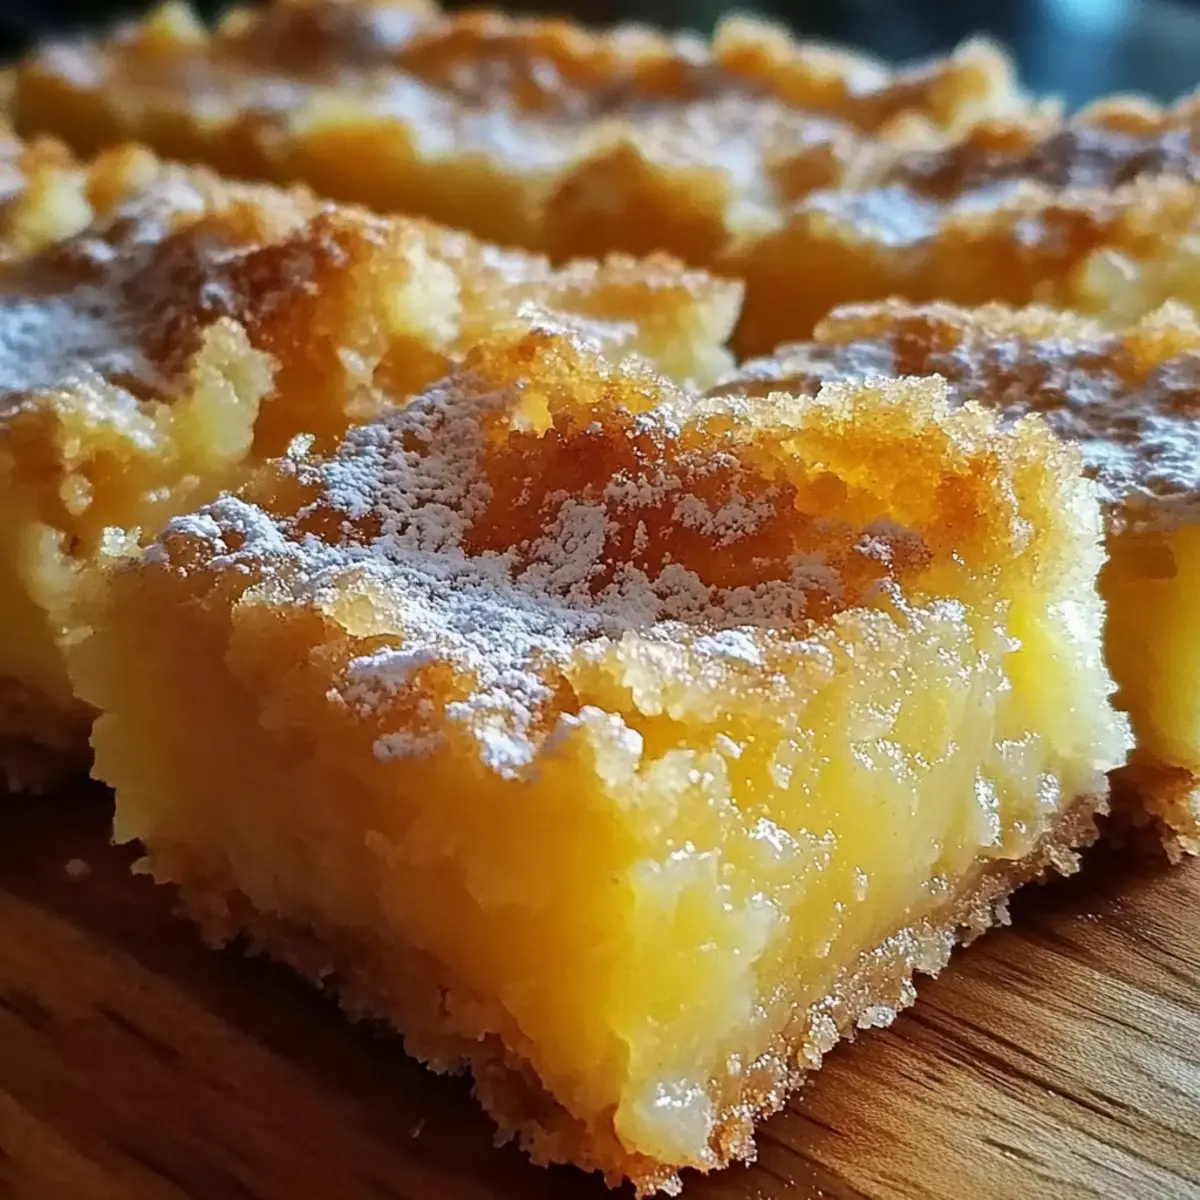
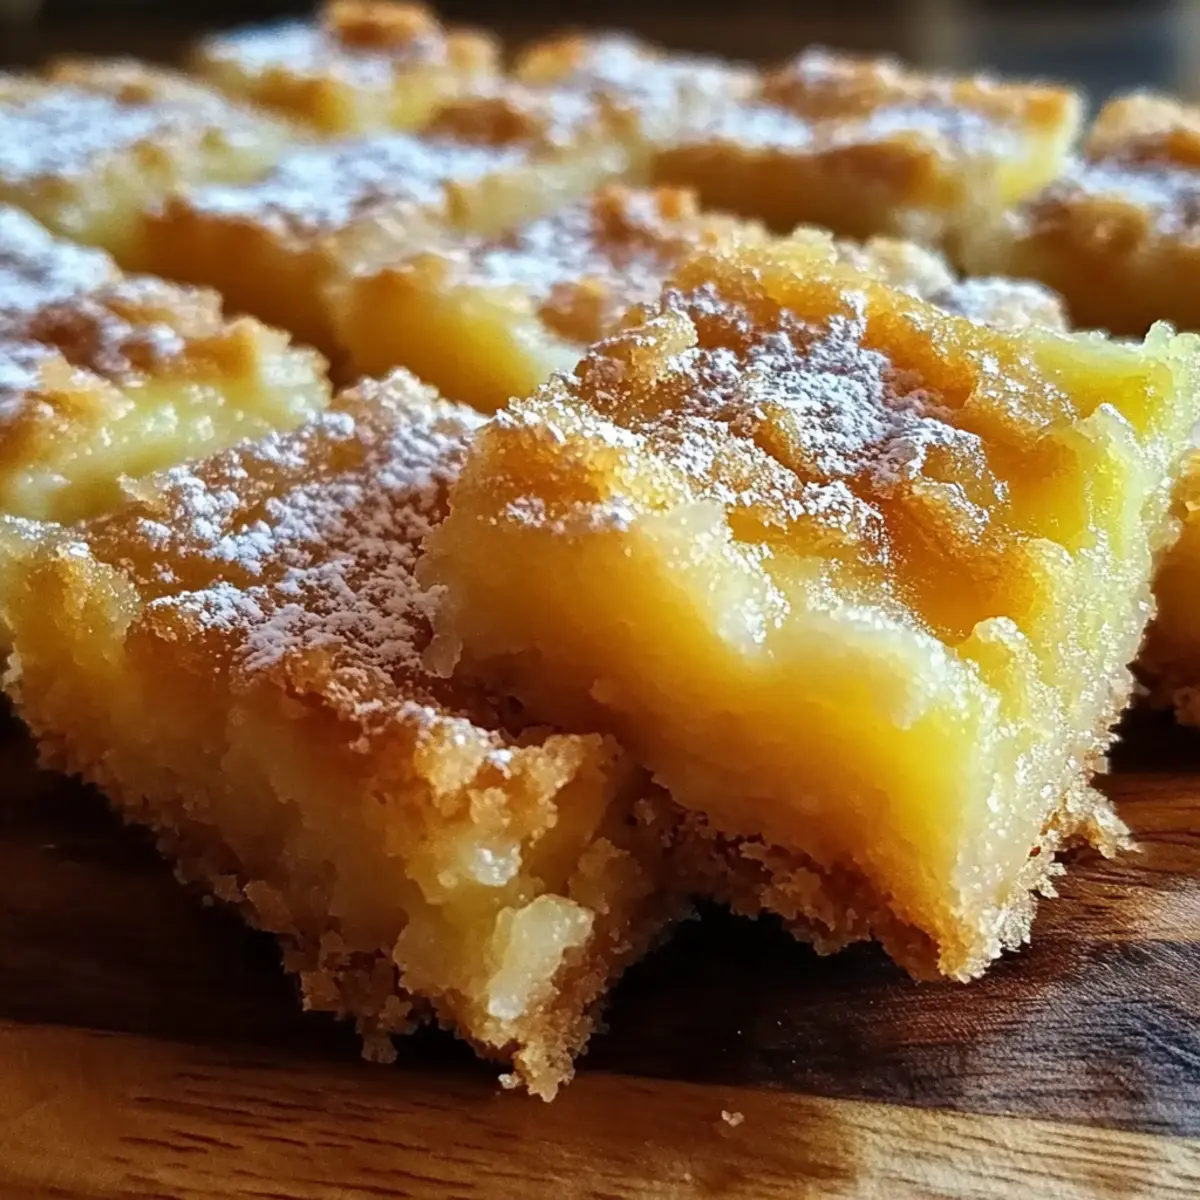
As I stood in my kitchen, the warm breeze wafting through the window, I felt like I’d been transported to a sun-soaked beach—just from the vibrant aroma of my latest creation: Pineapple Bliss Bars. This tropical dessert is a true delight, combining the creamy filling and buttery crust that together provide a little slice of paradise. Not only are they easy to make, but they also pack a refreshing punch that makes them perfect for any gathering or a soothing afternoon indulgence. With just 45 minutes of preparation, you’ll have a treat that will brighten up any dessert table. Curious about how these flavors meld together? Let’s dive into the deliciousness!
Why are Pineapple Bliss Bars irresistible?
Tropical Flavor: Each bite is a burst of sunshine, thanks to the sweet, juicy crushed pineapple.
Quick and Easy: In just 45 minutes, you can create a delightful dessert that impresses your guests.
Creamy Filling: The smooth, creamy center perfectly complements the buttery crust for a satisfying experience.
Versatile Options: Feel free to customize with different fruits or enhance with coconut for added flavor!
Crowd-Pleaser: These bars are bound to be a hit, making them perfect for parties or family gatherings—pair them with a scoop of ice cream for unbeatable bliss.
Check out these tasty variations like Spaghetti Ground Beef One Pot Meal for a full-flavored meal idea to complement your sweet treats!
Pineapple Bliss Bars Ingredients
For the Crust
- All-purpose flour – Base structure for the crust; substitute with gluten-free flour for a gluten-free option.
- Unsalted butter – Provides richness and a flaky texture for the crust; use coconut oil for a dairy-free variation.
- Granulated sugar – Sweetens the crust; coconut sugar can be used for a less refined option.
For the Filling
- Crushed pineapple – Main flavor contributor for the Pineapple Bliss Bars; ensure it is drained for the best texture.
- Eggs – Binds the filling together and adds moisture; for a vegan option, use flax eggs or silken tofu.
- Vanilla extract – Adds depth to the creamy filling; almond extract can provide a different twist.
- Shredded coconut (optional) – Enhances flavor and texture; feel free to omit if coconut isn’t your thing.
For Dusting
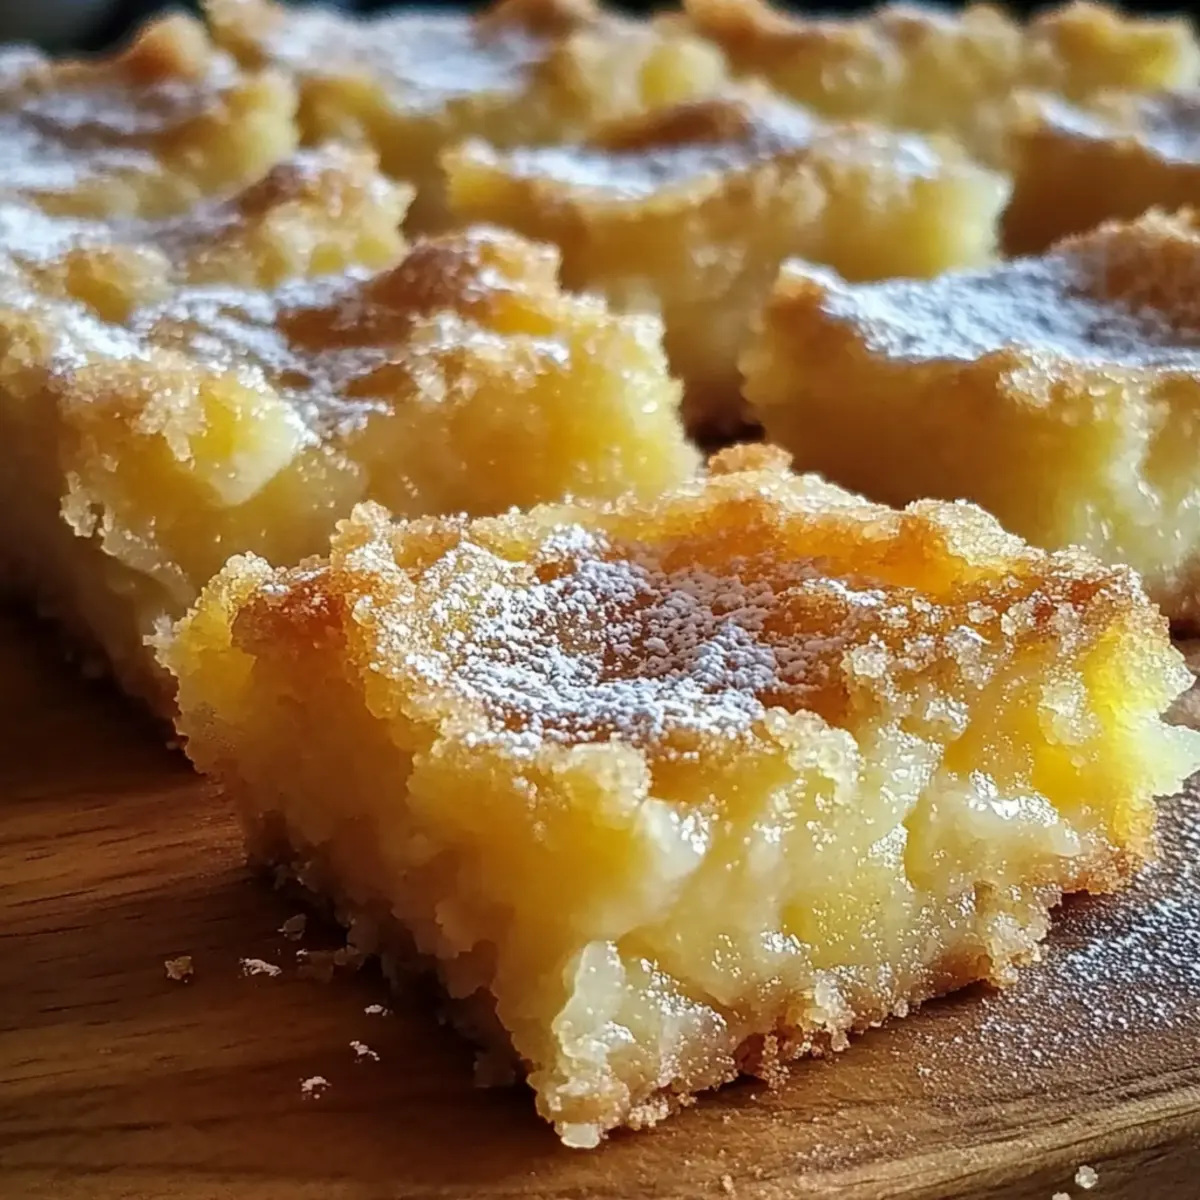
- Powdered sugar – A sweet touch for presentation; dust over the bars just before serving to make them extra inviting.
Step‑by‑Step Instructions for Pineapple Bliss Bars
Step 1: Preheat the Oven
Begin by preheating your oven to 350°F (175°C). While the oven warms up, grab an 8×8-inch baking pan and generously grease it with butter or non-stick spray. This ensures your Pineapple Bliss Bars will release easily after baking.
Step 2: Prepare the Crust
In a mixing bowl, combine melted unsalted butter, all-purpose flour, and 1/4 cup of granulated sugar. Stir these ingredients together until the mixture resembles coarse crumbs. Once combined, press the crumbly mixture evenly into the bottom of the greased baking pan, creating a solid base for your bars.
Step 3: Bake the Crust
Slide the prepared crust into your preheated oven and bake for 10–12 minutes. Keep an eye on it as it bakes; you’re aiming for a light golden color. This initial baking step helps form a deliciously flaky and buttery crust for your Pineapple Bliss Bars.
Step 4: Make the Filling
While the crust is baking, use a separate bowl to whisk together 3 eggs, 1/2 cup of sugar, the well-drained crushed pineapple, and a splash of vanilla extract. Whisk until the ingredients are smooth and well incorporated. If you’re including shredded coconut, gently fold it into the mixture for an added tropical flair.
Step 5: Combine and Bake Again
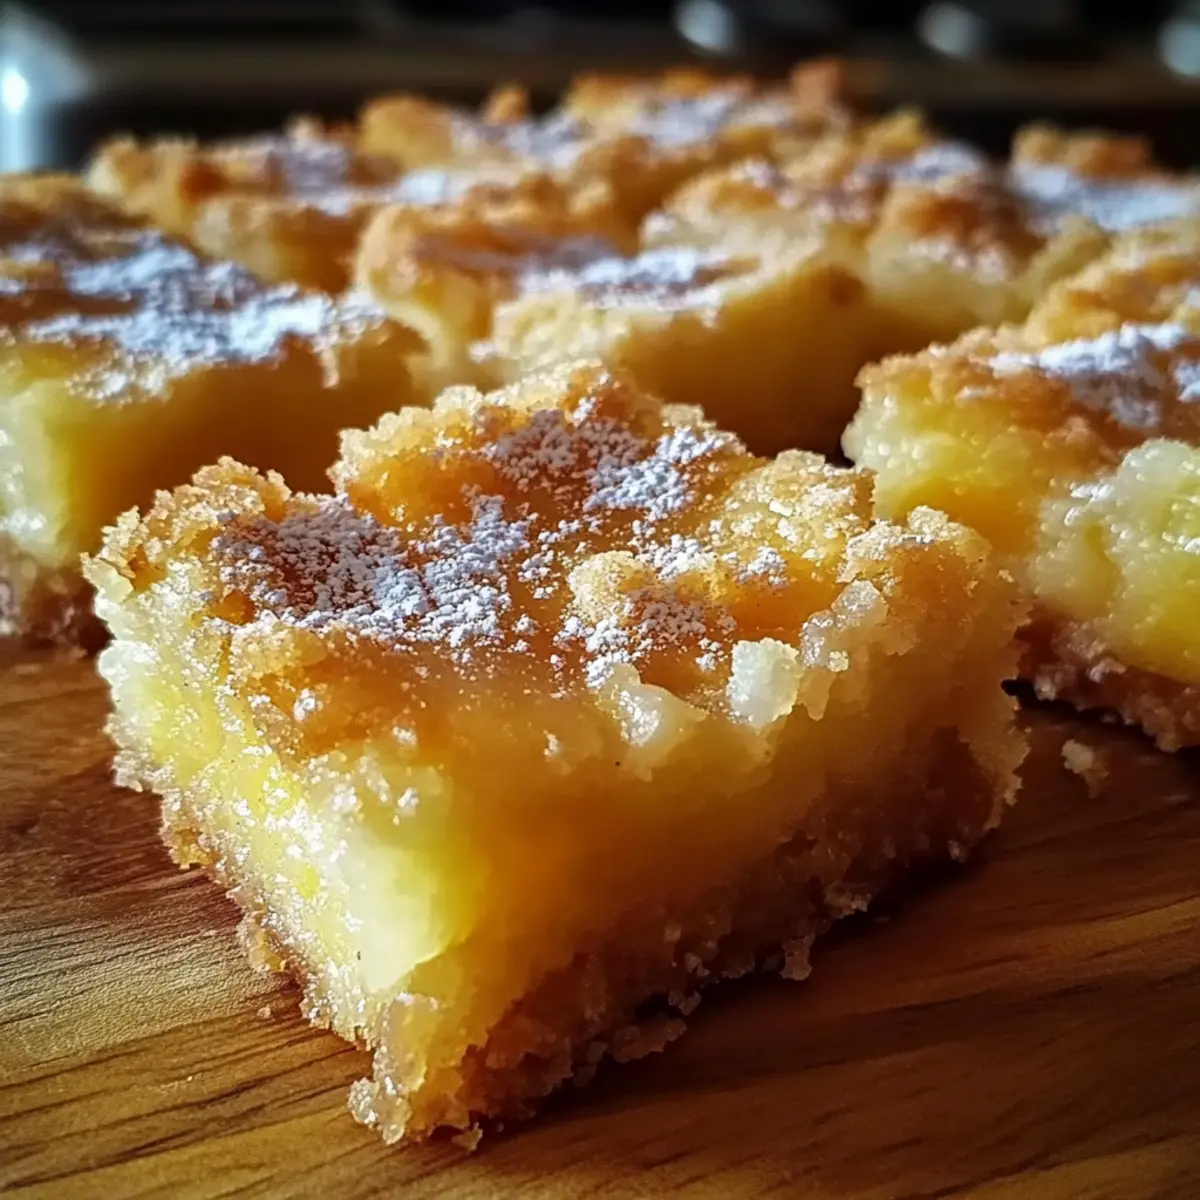
Once the crust is out of the oven and cooled slightly, pour the creamy filling mixture carefully over it. Return the pan to the oven and bake for an additional 20–25 minutes. You’ll know the Pineapple Bliss Bars are ready when the filling is set and the edges start to turn a lovely brown color.
Step 6: Cool and Serve
After baking, allow the bars to cool completely in the pan on a wire rack. This cooling process is crucial for achieving the perfect texture. Once chilled, cut into squares and dust with powdered sugar for an extra touch of sweetness before serving. Enjoy your delightful Pineapple Bliss Bars!
Make Ahead Options
These Pineapple Bliss Bars are a fantastic choice for busy home cooks looking to save time without sacrificing flavor! You can prepare the crust up to 24 hours in advance by mixing the melted butter, flour, and sugar, then press it into the pan, covering it tightly with plastic wrap before refrigerating. The creamy filling can also be mixed and stored in the refrigerator for up to 3 days if you prefer, just be sure to give it a good stir before pouring it onto the chilled crust. When you’re ready to serve, simply bake the filled bars as per the recipe, and you’ll enjoy deliciously fresh and vibrant Pineapple Bliss Bars with minimal effort!
What to Serve with Pineapple Bliss Bars
Indulging in a tropical treat opens up a beautiful world of pairing possibilities to elevate your dessert experience.
- Vanilla Ice Cream: A scoop on the side adds a creamy contrast, enhancing the tropical flavors of the bars.
- Coconut Whipped Cream: Light and fluffy, this topping enhances the coconut flavor, creating a luscious bite.
- Tropical Fruit Salad: A refreshing mix of mango, kiwi, and berries brightens the experience and complements the bar’s sweetness.
- Fresh Mint Leaves: A sprinkle of mint provides a burst of freshness that balances the rich, creamy filling beautifully.
- Lemonade or Iced Tea: The tartness of these beverages cuts through the sweetness, making them perfect companions for your dessert.
- Grilled Pineapple Slices: Adding a grilled element brings out the fruit’s natural sweetness and adds a delightfully smoky flavor.
- Chocolate Drizzle: A light drizzle of melted chocolate introduces a luxurious dimension that plays beautifully with the tropical notes.
- Chia Pudding: This subtly sweet, textured pudding serves as a healthy contrast that aligns with the decadent bars.
- Almond Biscotti: For a crunchy side, biscotti offers a lovely texture and nutty flavor that pairs wonderfully with the creamy element.
How to Store and Freeze Pineapple Bliss Bars
Fridge: Store leftovers in an airtight container for up to 5 days to maintain freshness and flavor.
Freezer: Wrap individual bars tightly in plastic wrap or aluminum foil, then place in a freezer-safe bag for up to 2 months.
Thawing: For optimal taste, thaw frozen Pineapple Bliss Bars in the refrigerator overnight before serving.
Reheating: Enjoy them chilled or warm them gently in the microwave for 10–15 seconds for a cozy treat.
Pineapple Bliss Bars Variations & Substitutions
Feel free to explore these delicious alternatives to make the Pineapple Bliss Bars uniquely yours!
- Gluten-Free: Use a gluten-free all-purpose flour blend to create a delectable crust without gluten.
- Dairy-Free: Substitute unsalted butter with coconut oil for a rich, dairy-free crust that maintains that wonderful texture.
- Sweetener Swap: Replace granulated sugar with coconut sugar for a hint of caramel flavor that complements the tropical elements beautifully.
- Tropical Twist: Switch out crushed pineapple for crushed mango or peach, adding a delightful fruity variation that’ll surprise your taste buds.
- Vegan Option: Use flax eggs or silken tofu in place of eggs for a totally plant-based filling that’s just as creamy and delicious.
- Flavor Enhance: Add a couple of tablespoons of lime juice to the filling for a zesty contrast that brightens up the tropical sweetness.
- Coconut Boost: For an extra coconut flavor, layer in coconut cream instead of butter and sprinkle more shredded coconut on top before baking.
- Exotic Glaze: Drizzle a light passion fruit glaze over the bars once cooled for an extra touch of tropical elegance that’s sure to impress!
Explore more delightful recipes, like Blueberry Grilled Cheese or indulge in a comforting Pumpkin Spice Gooey.
Expert Tips for Pineapple Bliss Bars
-
Drain Pineapple Well: Ensure the crushed pineapple is thoroughly drained to avoid a soggy filling that can ruin your bars’ texture.
-
Cool Completely: Allow the bars to cool completely in the pan for the best texture. Cutting them too soon can lead to messy squares.
-
Test Coconut Flavor: If using shredded coconut for the first time, start with a small amount in the filling. This way, you can gauge if you enjoy the tropical flavor in your Pineapple Bliss Bars.
-
Use Fresh Ingredients: Opt for fresh eggs and high-quality vanilla extract for a creamier filling with a richer flavor profile.
-
Store Properly: Keep leftovers in an airtight container in the refrigerator for up to 5 days, ensuring your bars remain fresh and delightful.
Pineapple Bliss Bars Recipe FAQs
What type of pineapple should I use for Pineapple Bliss Bars?
Absolutely! For the best flavor, use ripe, sweet, and well-drained crushed pineapple. Fresh pineapple can be crushed for a more vibrant taste, but canned pineapple works just fine; just ensure to drain it well to avoid excess moisture in the filling.
How should I store my Pineapple Bliss Bars?
To keep your Pineapple Bliss Bars fresh, store them in an airtight container in the refrigerator for up to 5 days. This helps retain their delightful texture and flavor. If you want to keep them longer, freezing is a great option!
Can I freeze Pineapple Bliss Bars?
Yes! To freeze, wrap each bar tightly in plastic wrap or aluminum foil and then place them in a freezer-safe bag. They can be stored like this for up to 2 months. When you’re ready to enjoy them, simply thaw overnight in the refrigerator for the best taste!
What should I do if the filling is too runny?
If you’re finding that your filling doesn’t seem to set properly, ensure your crushed pineapple is well-drained before mixing. You can also try baking it a little longer; just keep an eye on it, as every oven is slightly different. If still uncertain, adding a little cornstarch can help thicken the filling.
Can I make Pineapple Bliss Bars vegan?
Very! To make your bars vegan, simply replace the eggs with flax eggs (1 tablespoon of ground flaxseed mixed with 3 tablespoons of water per egg, let it sit until thick) or silken tofu blended until smooth. Also, substitute the butter with coconut oil to keep that creamy texture while keeping it dairy-free!
Are Pineapple Bliss Bars suitable for pets?
While Pineapple Bliss Bars are delightful for human consumption, they are not suitable for pets. Ingredients like sugar and eggs can upset their digestion, so it’s best to keep these delectable treats for yourself!
Pineapple Bliss Bars: A Creamy Tropical Delight You'll Love
Ingredients
Equipment
Method
- Preheat your oven to 350°F (175°C). Grease an 8×8-inch baking pan with butter or non-stick spray.
- Combine melted unsalted butter, all-purpose flour, and 1/4 cup of granulated sugar in a mixing bowl. Press the mixture into the bottom of the greased baking pan.
- Bake the crust for 10–12 minutes until lightly golden.
- Whisk together eggs, 1/2 cup of sugar, the drained crushed pineapple, and vanilla extract in a separate bowl. If using, fold in shredded coconut.
- Pour the filling over the baked crust and return to the oven for an additional 20–25 minutes or until set.
- Allow to cool completely, cut into squares, and dust with powdered sugar before serving.
Leave a Reply