
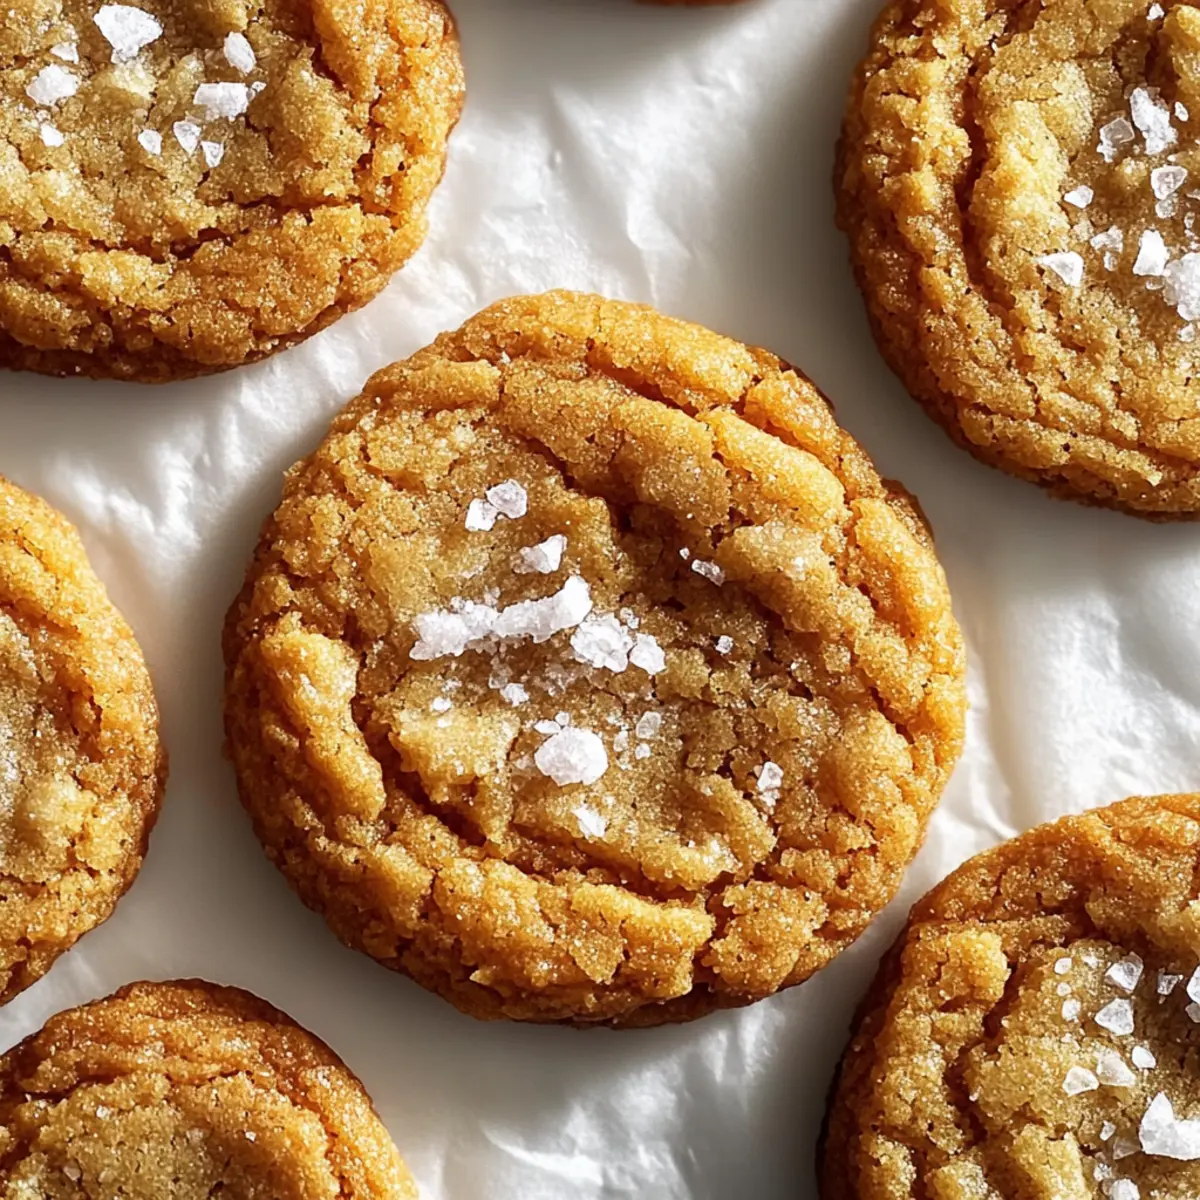
Amidst the hustle of everyday life, there’s a sense of joy that comes from crafting something special in your kitchen. Enter the realm of Salted Honey Cookies, where rich, buttery goodness meets the perfect balance of sweet and savory. With their crispy caramelized edges and delightfully chewy centers, these cookies are not just a treat; they’re a small triumph you can bake at home in under an hour. Plus, they are freezer-friendly, giving you the freedom to enjoy bakery-quality cookies whenever the craving strikes. Whether you’re sharing them at a gathering or savoring them solo with a cup of tea, you’ll be pleasantly surprised by how easily they elevate your cookie game. Ready to indulge in this simple yet satisfying recipe? Let’s dive in!

Why You’ll Crave These Cookies
Irresistible Texture: The combination of crispy edges and chewy centers makes these cookies a delight in every bite.
Quick and Simple: You’ll appreciate how easy it is to whip up these treats in under an hour, making them perfect for last-minute gatherings or cozy nights in.
Freezer-Friendly: Feel free to prepare a batch ahead of time! The cookie dough can be stored for up to three months, letting you enjoy fresh cookies at a moment’s notice.
Elevate Your Treats: Nothing says “chef special” like homemade goodies! Pair them with Pumpkin Smores Cookies for dessert or enjoy them alone with your favorite warm beverage.
Perfect for Sharing: Whether you’re hosting a cookie exchange or simply surprising friends, these cookies will surely impress!
Salted Honey Cookies Ingredients
For the Cookies
• Unsalted Butter – Provides richness and a dense, chewy texture; use melted and slightly cooled for best results.
• Pure Honey – Acts as a binder and adds moisture, enhancing the cookies’ glossy cracked surface; use clover or wildflower varieties.
• Dark Brown Sugar – Contributes moisture and chewiness, thanks to its molasses content.
• Granulated Sugar – Balances sweetness and helps achieve crispy edges, creating that perfect cookie contrast.
• Large Egg – Binds the mixture and enriches flavor; remember to use room temperature for better integration.
• Vanilla Extract – Enhances sweetness and adds delightful floral notes; opt for pure vanilla for the best flavor.
• All-Purpose Flour – Provides essential structure; weigh 210g for accuracy to avoid dry cookies.
• Baking Soda – Ensures proper spread and rise during baking, crucial for those chewy cookie interiors.
• Kosher Salt – Balances sweetness in the dough and enhances overall flavor.
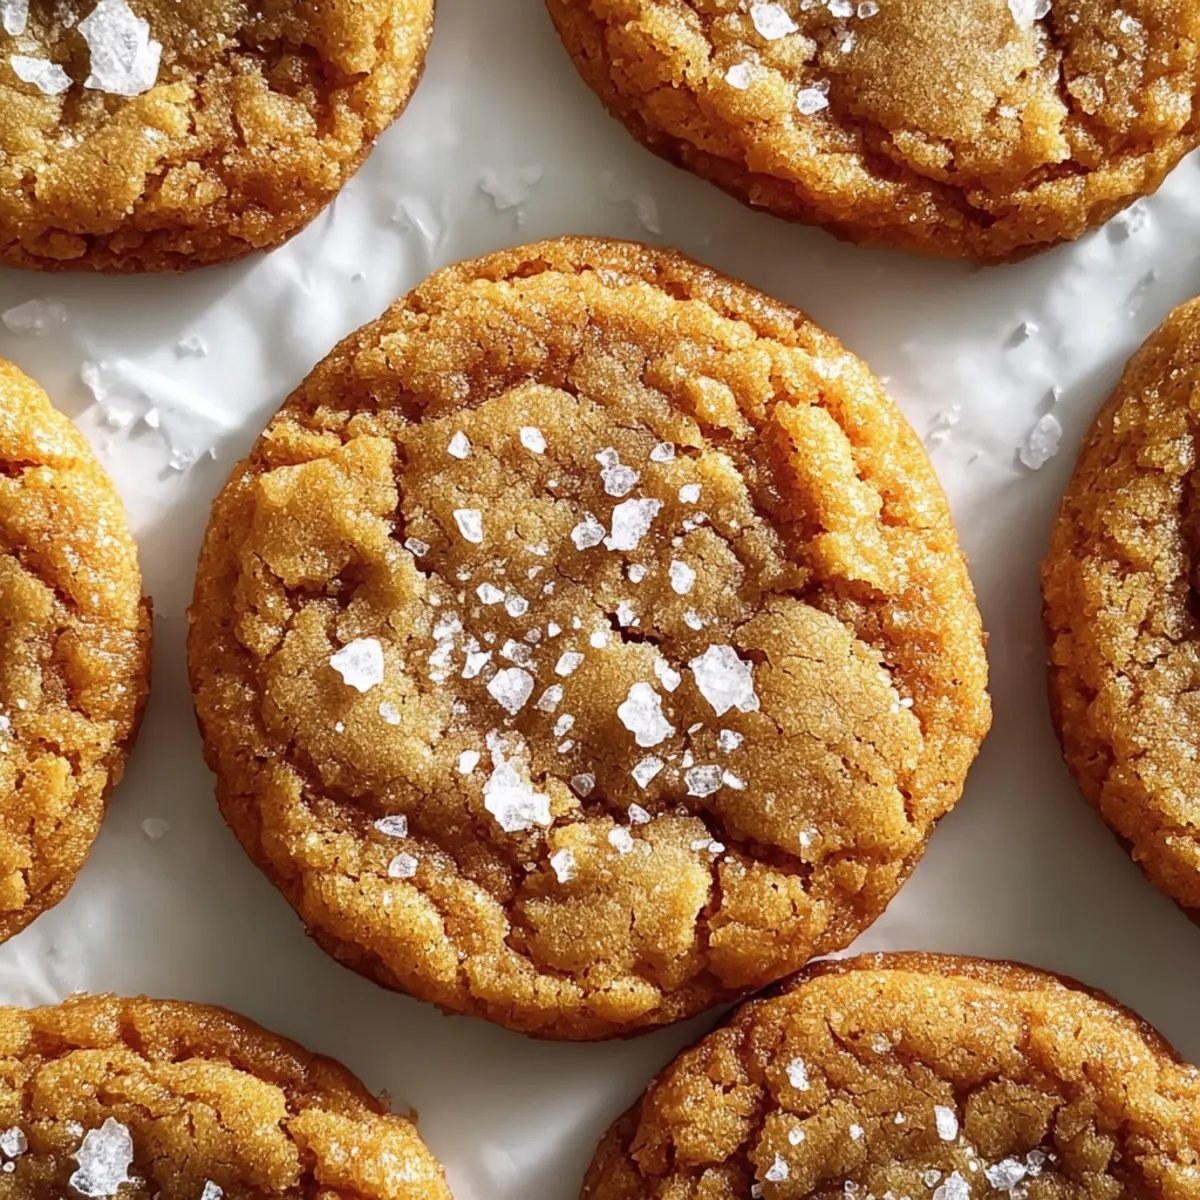
• Flaky Sea Salt – Added for garnish to bring a crunchy, savory contrast post-baking, making these Salted Honey Cookies irresistible.
Step‑by‑Step Instructions for Salted Honey Cookies
Step 1: Whisk the Wet Ingredients
In a mixing bowl, combine the melted butter with pure honey, dark brown sugar, and granulated sugar. Whisk vigorously for about 2 minutes until the mixture lightens in color and appears smooth and creamy. This step is essential for creating the rich base of your Salted Honey Cookies, so ensure everything is well blended before proceeding.
Step 2: Add Egg and Vanilla
Next, integrate one large room-temperature egg and a splash of pure vanilla extract into the buttery mixture. Continue to whisk until the ingredients are fully emulsified, creating a glossy batter. The egg and vanilla will enhance the flavor profile while helping to bind the cookie dough together beautifully.
Step 3: Combine Dry Ingredients
In a separate bowl, whisk together all-purpose flour, baking soda, and kosher salt. Gradually fold this dry mixture into your wet ingredients until no streaks remain. Take care not to overmix, as this could lead to tough cookies. The dough should look thick and cohesive, ready to be chilled for optimal texture.
Step 4: Chill the Dough
Cover the bowl with plastic wrap and chill the cookie dough in the refrigerator for 30 minutes. This step is crucial, as it allows the butter to solidify, resulting in the desired chewy texture for your Salted Honey Cookies. While the dough chills, you can prepare your baking sheet.
Step 5: Prepare the Baking Sheet
Preheat your oven to 350°F (175°C). Line a baking sheet with crinkled parchment paper to help the cookies bake evenly and release easily. The parchment paper provides both a non-stick surface and an appealing presentation, ensuring your Salted Honey Cookies turn out perfectly.
Step 6: Scoop the Dough
Once the dough has chilled, use a 2-tablespoon cookie scoop to portion the dough onto your prepared baking sheet. Space the dough balls about 2 inches apart to allow for spreading. The cookies will expand while baking, so giving them adequate room is essential for achieving those delightful caramelized edges.
Step 7: Bake the Cookies
Place the baking sheet in the preheated oven and bake for 10-12 minutes. Keep an eye on the cookies; they are done when the edges are set and lightly caramelized, while the centers remain slightly soft. This contrast will ensure that the final product has a chewy texture that everyone loves.
Step 8: Finish with Sea Salt
After removing the cookies from the oven, gently tap the baking sheet against the counter twice to deflate the cookies slightly. Immediately sprinkle flaky sea salt over the warm cookies to enhance their flavor with a sophisticated salty touch. Let them cool on the baking sheet for a few minutes before transferring them to a wire rack.
Step 9: Prepare for Enjoyment
Allow your Salted Honey Cookies to cool completely before serving. Alternatively, dig in while they’re still slightly warm for the ultimate treat! These cookies are perfect for sharing or enjoying solo with a warm cup of tea. Don’t forget to store any leftovers in an airtight container to maintain their delightful texture.

Expert Tips for Salted Honey Cookies
-
Weigh Your Flour: Accurate measurements will ensure your cookies are chewy, not dry. Use 210g of all-purpose flour for the best results.
-
Chill Thoroughly: Don’t skip the 30-minute chilling time; it solidifies the butter, enhancing the texture of your Salted Honey Cookies for that perfect chew.
-
Mind the Baking Time: Keep an eye on your cookies while they bake. Remove them when the edges are golden but the centers are still soft for optimal chewiness.
-
Tap for Glossy Finish: Gently tap the baking sheet on the counter right after baking to create the signature glossy, cracked tops that make these cookies irresistible.
-
Use Quality Honey: The flavor of your honey impacts the cookies significantly. Opt for high-quality pure honey for the best taste in your Salted Honey Cookies.
-
Experiment with Sea Salt: Adjust the amount of flaky sea salt on top to your liking, adding a delightful crunch and enhancing the sweet-savory experience.
How to Store and Freeze Salted Honey Cookies
Airtight Container: Store fully cooled salted honey cookies in an airtight container at room temperature for up to 4 days. This keeps them fresh and chewy.
Freezer: For longer storage, freeze the cookies in a single layer on a baking sheet, then transfer to a freezer bag for up to 3 months. This allows you to enjoy homemade cookies anytime.
Reheating: To revive the cookies, simply thaw them at room temperature, or warm them in the microwave for 10-15 seconds. This restores their lovely chewy texture!
Dough Storage: If you have leftover dough, keep it in the refrigerator for up to 48 hours or freeze it for quick baking sessions later. Just bake straight from frozen!
Salted Honey Cookies Variations
Feel free to get creative with these salted honey cookies and customize them to suit your taste!
-
Spicy Twist: Substitute honey with an equal amount of hot honey for a delightful kick. The sweet and spicy combination will surprise your taste buds and bring an exciting twist to your cookies.
-
Nutty Addition: Fold in 1/2 cup of chopped nuts, like pecans or walnuts, for added texture and flavor. The crunch from the nuts will contrast beautifully with the chewy cookie, making each bite even more satisfying.
-
Chocolate Lovers: Mix in 1/2 cup of dark chocolate chips or chunks into the dough for a decadent treat. Chocolate and honey create a perfect harmony of flavors that is simply irresistible.
-
Dairy-Free: Replace the unsalted butter with coconut oil for a vegan twist. Ensure to use a dairy-free chocolate option as well if you’re adding chocolate chips. These cookies stay delicious while catering to dairy sensitivities!
-
Almond Extract Boost: Swap vanilla extract with almond extract for a fragrant flavor change. The almond notes add a delicious depth that pairs beautifully with the sweet honey.
-
Cinnamon Spice: Add 1/2 teaspoon of ground cinnamon to the dry ingredients for a warm, aromatic flavor. This little touch elevates the classic cookie with hints of warmth, perfect for cozy baking sessions.
-
Zest it Up: Incorporate the zest of one orange or lemon to the dough for a fresh citrusy note. The brightness of citrus enhances the overall flavor profile, making the cookies feel light and refreshing.
-
Crunchy Topping: Before baking, sprinkle a few extra flakes of sea salt on top for an extra crunch. This added texture will enhance the salty-sweet flavor combination that makes these cookies so addictive.
As you explore these variations, don’t forget to enjoy them alongside a warm cup of tea or coffee. Fancy a sweet twist on dessert? Why not try this delectable Salted Honey Pie as well! Happy baking!
Make Ahead Options
These Salted Honey Cookies are perfect for busy bakers who love to prep in advance! You can make the cookie dough ahead of time and refrigerate it for up to 48 hours. To maximize freshness, wrap the dough tightly in plastic wrap, ensuring no air escapes. Alternatively, freeze the dough for up to 3 months—just scoop the dough into balls and place them in a freezer-safe bag. When you’re ready to bake, simply take the frozen dough straight from the freezer and add an extra 2-3 minutes to the baking time. This way, you’ll enjoy warm, chewy cookies with minimal effort whenever cravings strike!
What to Serve with Salted Honey Cookies
The warm, rich aroma of freshly baked cookies fills your kitchen, inviting everyone to gather around and indulge in a delightful treat.
-
Creamy Vanilla Ice Cream: A scoop of vanilla ice cream complements the cookies’ sweetness while adding a cool, creamy contrast that enhances each bite. Enjoy the delightful marriage of flavors as the warm cookies melt into the ice cream.
-
Fresh Berries: The tartness of strawberries or blueberries provides a refreshing balance to the cookies’ rich, buttery flavor. Toss them with a hint of mint for an extra burst of freshness that lightens the overall indulgence.
-
Caramel Sauce: Drizzling warm caramel on top of your salted honey cookies adds a luscious sweetness and a glossy finish. The combination of buttery cookies and silky caramel is simply irresistible.
-
Nutty Coffee: A cup of freshly brewed coffee with nutty undertones pairs wonderfully with the sweet and salty profile of the cookies. The warmth and richness of the coffee enhance the overall experience, making every bite even more satisfying.
-
Spiced Chai Tea: The warm spices in chai tea create a cozy environment that beautifully complements the honey and buttery flavor of the cookies. Sip on this aromatic beverage as you savor each chewy morsel for a truly comforting experience.
-
Homemade Cookie Butter: Spreading a layer of cookie butter on these cookies takes them to another level of sweetness and spice. The creamy texture creates a dreamy blend of flavors that’s hard to resist.
Salted Honey Cookies Recipe FAQs
How do I choose the right honey for these cookies?
Absolutely! When selecting honey, opt for high-quality pure varieties like clover or wildflower. The flavor of the honey will greatly influence the taste of your salted honey cookies. Look for honey that’s not overly processed, which can sometimes lose its rich flavor and aroma.
How long can I store Salted Honey Cookies?
You can store fully cooled salted honey cookies in an airtight container at room temperature for up to 4 days. To maintain their chewyness, I recommend adding a slice of bread to the container; it helps retain moisture beautifully.
Can I freeze Salted Honey Cookies?
Yes, indeed! To freeze the cookies, spread them in a single layer on a baking sheet lined with parchment paper. Once frozen solid, transfer them to a freezer bag where they can be kept for up to 3 months. When you’re ready for a treat, simply microwave them for 10-15 seconds to enjoy that fresh, chewy goodness again!
What common problems should I watch out for?
The most common issue is that cookies can turn out too dry. Make sure to accurately weigh 210g of all-purpose flour and avoid overmixing the dough. Also, don’t skip the chilling step—this helps solidify the butter for that chewy texture. If you see dark spots all over your cookies, they may be overbaked!
Are these cookies safe for pets or those with allergies?
It’s vital to note that the cookies contain honey and eggs, which are not safe for pets, particularly dogs. For allergies, always check the labels if your guests have sensitivities, specifically with ingredients like gluten in the flour or potential cross-contaminants in the honey.
Can I make the cookie dough ahead of time?
Absolutely! You can prepare the cookie dough and keep it in the refrigerator for up to 48 hours. Alternatively, if you want to make a larger batch, the dough freezes exceptionally well for up to 3 months. Just scoop, freeze, and bake straight from frozen, adding a couple of extra minutes to the baking time!
Salted Honey Cookies that Melt in Your Mouth Every Time
Ingredients
Equipment
Method
- Whisk the melted butter, honey, brown sugar, and granulated sugar in a bowl until smooth.
- Add the egg and vanilla extract, whisk until fully combined.
- In another bowl, whisk together flour, baking soda, and salt, then fold into wet ingredients.
- Chill the dough in the refrigerator for 30 minutes.
- Preheat oven to 350°F (175°C) and line a baking sheet with parchment paper.
- Scoop dough onto baking sheet, spacing 2 inches apart.
- Bake for 10-12 minutes until edges are set and slightly caramelized.
- After baking, sprinkle flaky sea salt on the warm cookies.
- Let cool before serving or enjoy warm.
Leave a Reply