
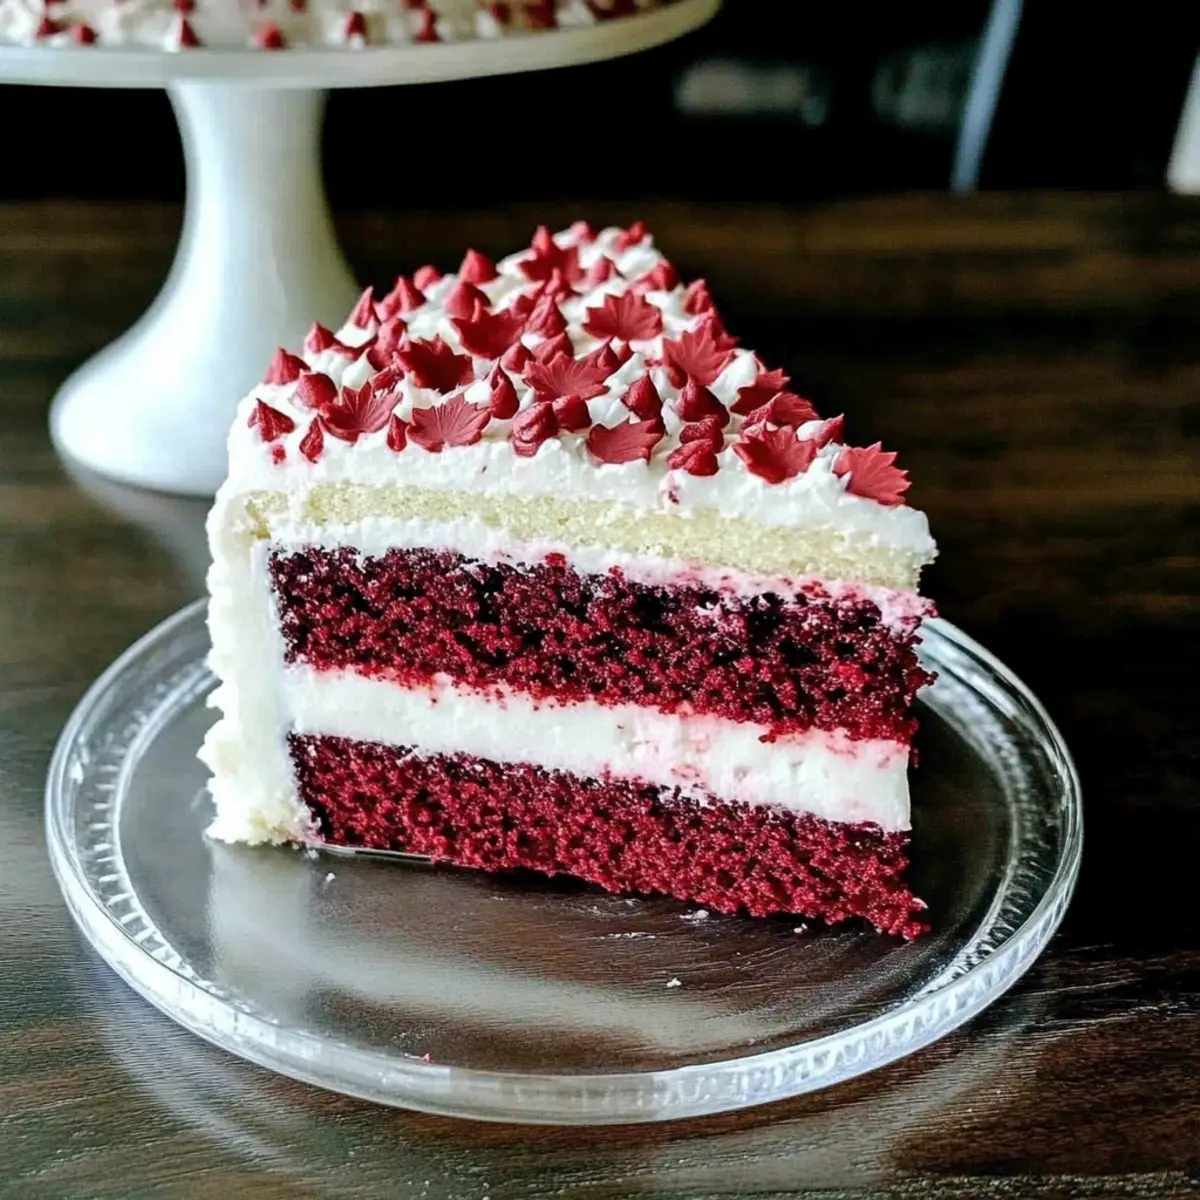
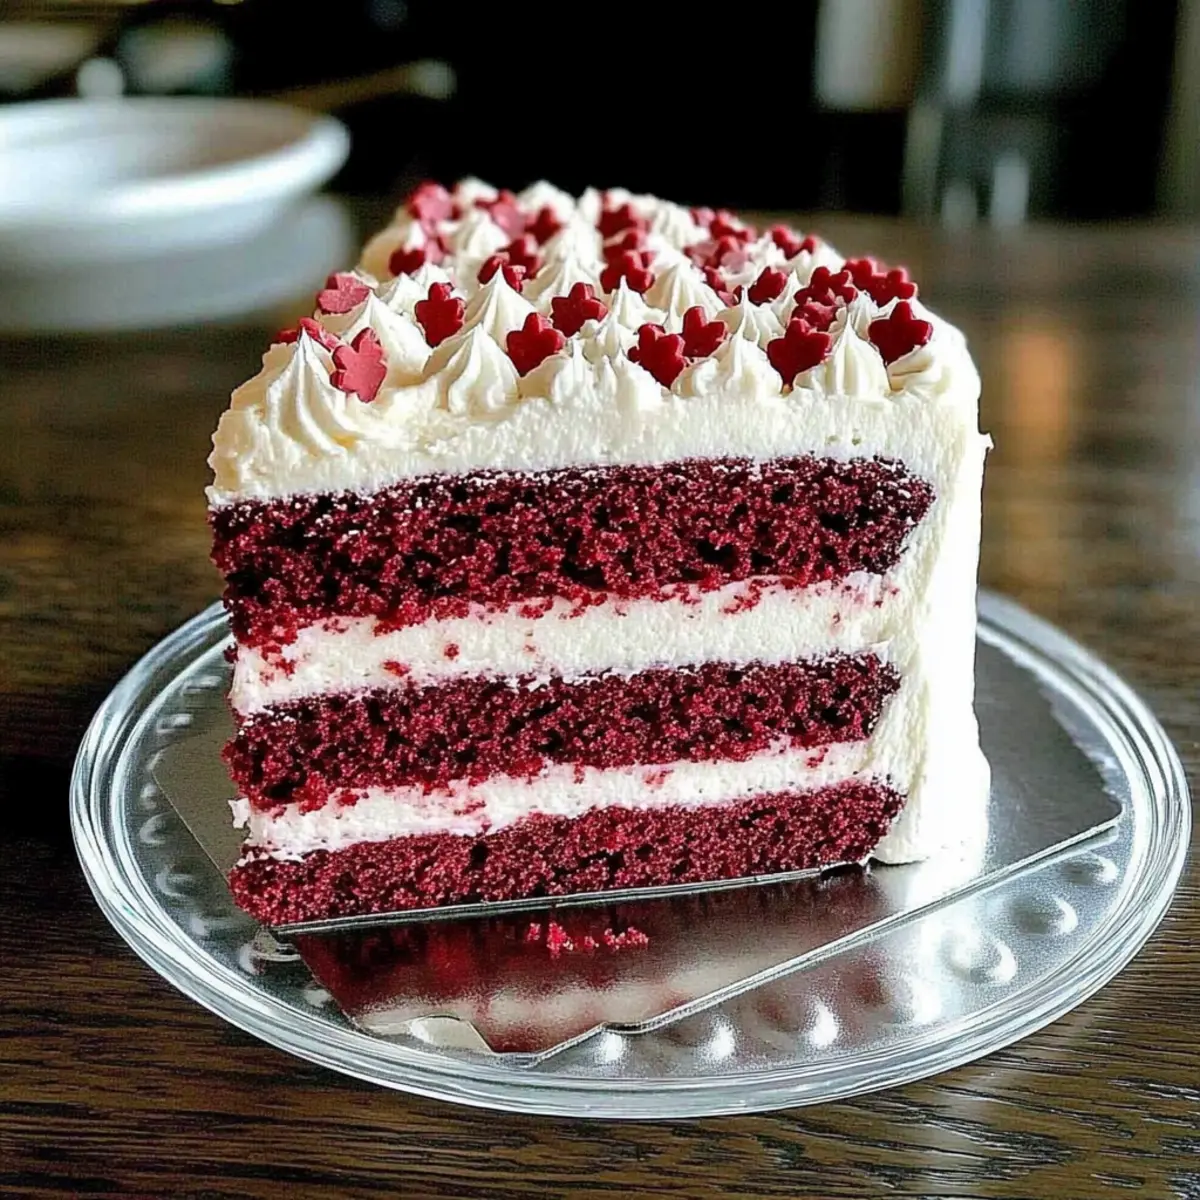
As the vibrant fireworks light up the sky, I can’t help but think of the sweet celebrations that bring families and friends together. This Simple Canada Day Cake is not just a treat—it’s a showstopper that effortlessly steals the spotlight at any gathering. Designed with alternating layers of fluffy white and rich red velvet cake, it offers a moist texture that pairs perfectly with creamy buttercream icing. The best part? It’s a breeze to whip up, making it a perfect choice for busy home chefs eager to impress. Whether you’re planning a backyard BBQ or a festive picnic, this cake is sure to be the highlight of your feast. Curious about how to make this stunning dessert? Let’s dive into the recipe!
Why is this cake a must-try?
Effortless Elegance: This Simple Canada Day Cake is a truly striking dessert that doesn’t require advanced baking skills, making it perfect for beginners.
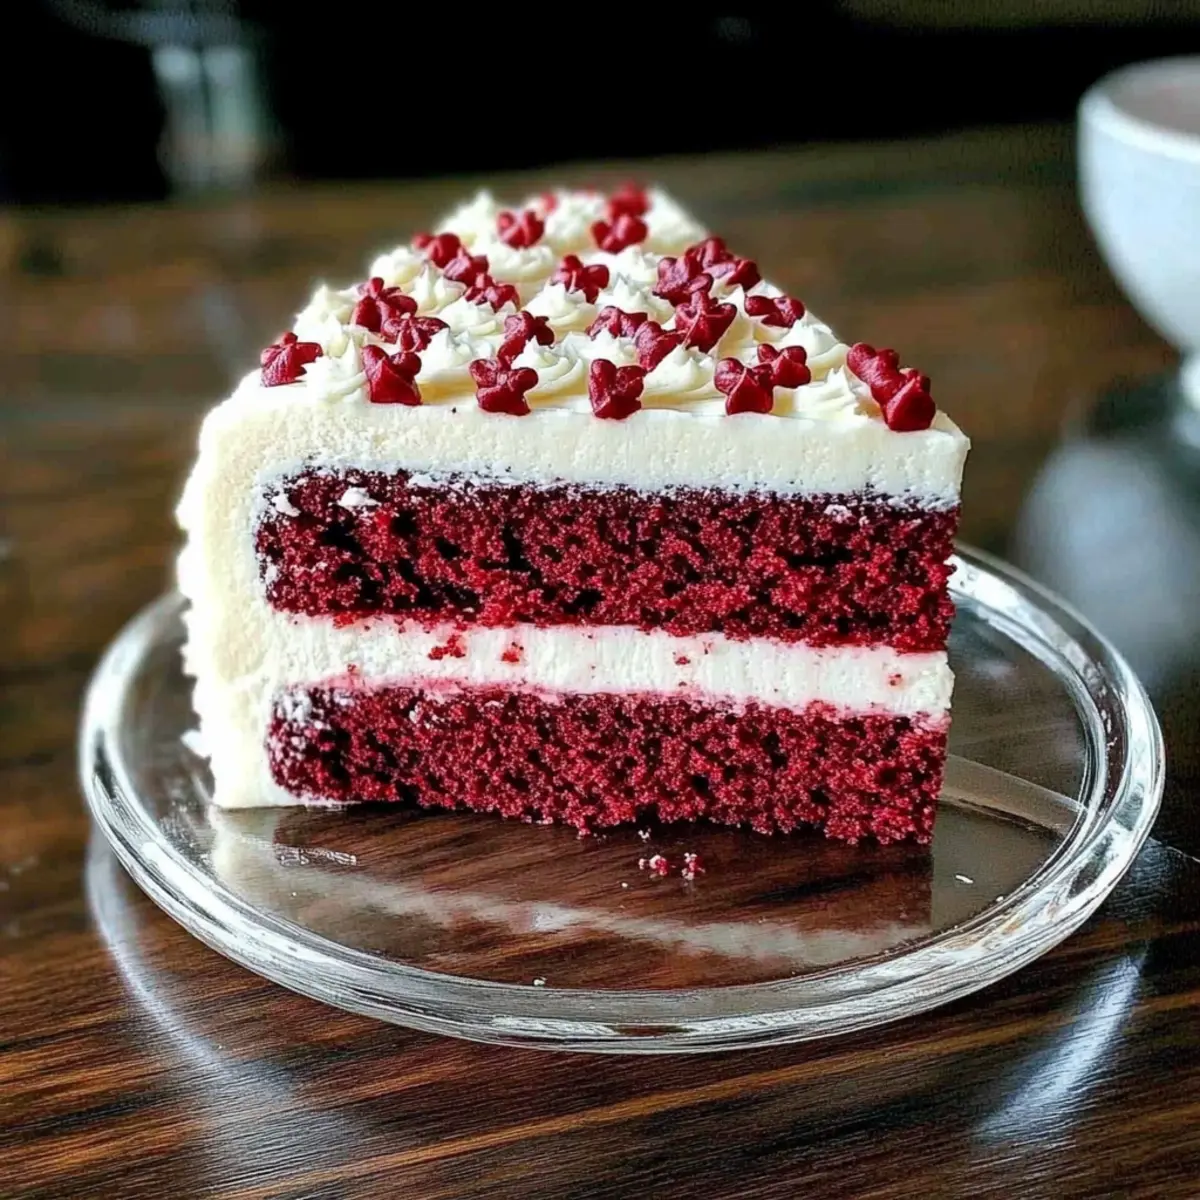
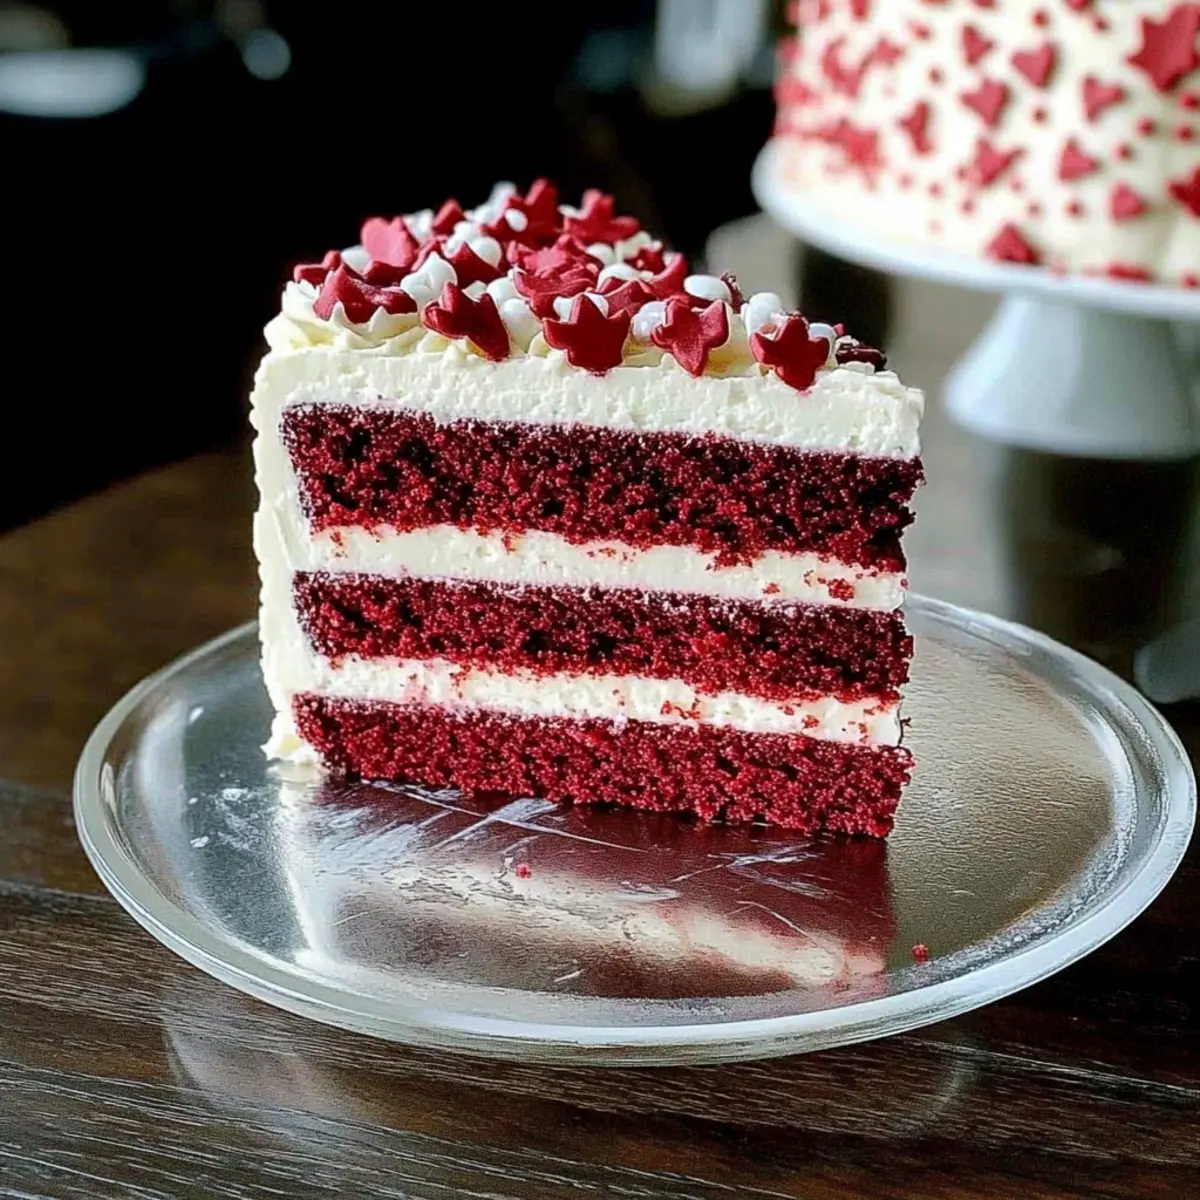
Deliciously Festive: With vibrant layers of white and red velvet, it captures the essence of Canada Day, delighting your guests with every slice.
Time-Saver: You can prepare this cake in no time, freeing up your schedule for other festivities—what’s not to love?
Pairing Possibilities: Serve it at summer BBQs or picnics, and consider pairing it with refreshing fruit or even a scoop of ice cream for an extra treat, just like with my Coconut Cream Pancakes!
Crowd-Pleasing Delight: Its beautiful layers and rich buttercream icing make it a guaranteed hit, ensuring compliments will flow as freely as the celebrations!
Don’t forget, you can also check out the delicious Oreo Cheesecake Cookie Cups for another impressive dessert option!
Simple Canada Day Cake Ingredients
Get ready to whip up something special with these simple ingredients!
For the Cake
- White cake mix – A versatile base that sets the stage for this fantastic dessert.
- Red velvet cake mix – Adds a luxurious flavor and vibrant color that celebrates Canada Day beautifully.
For the Buttercream Icing
- Best Buttercream Icing (two batches) – A sweet and creamy layer that brings everything together; you can substitute with cream cheese frosting for a tangy twist.
For Decorating
- Wilton icing tips (size 18 or 172) – Perfect for achieving those lovely piping designs to adorn your cake.
For Baking
- 9” cake pans (2) – Ideal for creating the perfect layers; any similar-sized round pans will also do the trick.
Step‑by‑Step Instructions for Simple Canada Day Cake
Step 1: Bake the Cake Layers
Preheat your oven to the temperature specified on the cake mix packages. Prepare two 9” round cake pans by greasing them or lining them with parchment paper. In separate bowls, mix the white cake mix and the red velvet cake mix according to package instructions. Pour each batter into its respective pan, then bake for the recommended time until a toothpick inserted in the center comes out clean.
Step 2: Cool and Freeze the Cakes
Once baked, remove the cake layers from the oven and let them cool in the pans for about 10 minutes. Carefully turn them out onto a wire rack to cool completely. For easier decorating later, wrap each cooled layer tightly in plastic wrap and place them in the freezer for several hours or overnight to firm up.
Step 3: Prepare the Buttercream Icing
While the cake layers are chilling, it’s time to whip up your best buttercream icing. In a large mixing bowl, beat together softened butter and powdered sugar, adding a bit of milk and vanilla extract until the mixture is fluffy and smooth. Prepare two batches, ensuring there’s enough for layering and decorating the Simple Canada Day Cake.
Step 4: Stack the Cakes
Once the cake layers are completely frozen and firm, remove them from the freezer. Place the white cake layer on a serving plate or cake stand. Using a spatula, spread a layer of buttercream icing evenly on top. Carefully place the red velvet layer on top of the icing and repeat the process, alternating between the two flavors, until all layers are stacked.
Step 5: Trim and Level the Cakes
To create a smooth and professional-looking finish for your Simple Canada Day Cake, use a serrated knife to carefully trim the tops of each layer if they have domed. Aim for a flat surface that will help your icing adhere well. This step is crucial for both the aesthetics and stability of the cake.
Step 6: Apply a Crumb Coat
Next, apply a thin layer of buttercream icing to the entire outside of the stacked cake, known as a crumb coat. This layer traps any crumbs and creates a smooth base for the final icing. Once you have an even coating, place the cake in the freezer for about 30 minutes to set the crumb coat and make the final decoration easier.
Step 7: Color the Icing
While the cake is chilling, prepare your decorative icing. Color about 1 cup of buttercream icing with no-taste red food coloring until the desired shade is achieved. Fill one icing bag with this red icing, and prepare a second bag with the remaining white buttercream for piping the decorative elements of your Simple Canada Day Cake.
Step 8: Pipe the Decoration
Remove the cake from the freezer and begin piping with the white icing using a Wilton #18 tip. Create decorative patterns around the sides and top of the cake, filling in any gaps as desired. Make sure to vary your designs for a festive look. If you’re feeling adventurous, switch to the red icing for added visual interest.
Step 9: Serve and Celebrate
Once you’ve finished piping your decorations, your beautiful Simple Canada Day Cake is ready to be served. Slice into this stunning dessert and enjoy the delightful layers of flavor with your friends and family. Get ready for plenty of compliments on this festive, eye-catching treat!
How to Store and Freeze Simple Canada Day Cake
Fridge: Store any leftover cake in an airtight container in the fridge for up to 3 days, ensuring it stays fresh and moist.
Freezer: For longer storage, wrap the cake tightly in plastic wrap and foil to prevent freezer burn, and freeze for up to a month.
Thawing: When you’re ready to enjoy your Simple Canada Day Cake again, move it to the fridge the night before to thaw slowly for the best texture.
Reheating: If you prefer a warm slice, microwave a piece for about 10-15 seconds for a deliciously cozy treat!
Expert Tips for Simple Canada Day Cake
• Chill for Success: Always freeze your cake layers before stacking and decorating to prevent them from crumbling. A firm cake is much easier to work with.
• Serrated Knife Magic: Use a serrated knife for trimming the edges. This ensures a level finish, enhancing the overall look of your Simple Canada Day Cake.
• Balance Your Colors: When decorating, use more white icing than red. This not only improves visibility but also enhances the festive appearance.
• Embrace Mistakes: The beauty of this cake is in its forgiving design. If you make a mistake while piping, don’t stress—just adjust the design to cover it up!
• Layer Carefully: Make sure to spread your buttercream evenly between layers to help hold the cake together and maintain a stunning presentation.
Simple Canada Day Cake Variations
Feel free to explore these delightful twists and substitutions to make our Simple Canada Day Cake your own!
-
Chocolate Layer: Substitute brownie mix for one of the layers for a rich chocolate twist that’s sure to please chocolate lovers.
-
Almond Extract Boost: Add a hint of almond extract to the buttercream for an added layer of flavor that’ll surprise your taste buds.
-
Custom Color Palettes: Use food coloring to create unique shades that fit your theme or event, perfect for birthday parties or tea gatherings.
-
Fruit Filling: Add a layer of fresh berries or fruit jam between the cake layers for a sweet surprise that enhances flavor and texture.
-
Whipped Cream Icing: Swap the buttercream for a light whipped cream icing for a fluffier, less sweet finish that’s perfect for summer celebrations.
-
Nutty Crunch: Incorporate crushed nuts into the buttercream for added texture and delightful crunch. This twist adds a delicious surprise in every bite.
-
Spicy Kick: Sprinkle cinnamon or nutmeg in the batter or buttercream for a warm spice that brings cozy vibes to your cake.
-
Coconut Flakes: Stir in toasted coconut flakes into the white cake batter for an exotic twist that pairs beautifully with the festive colors.
And while you’re feeling creative, why not also check out my Fried Strawberry Cheesecake Sandwiches or even the Spice Gooey Cake for more delightful dessert inspiration? Enjoy your baking journey!
Make Ahead Options
These Simple Canada Day Cake layers are perfect for meal prep enthusiasts! You can bake the white and red velvet cake mixes up to 24 hours in advance. After cooling, simply wrap each layer tightly in plastic wrap and refrigerate or freeze them for optimal freshness. The buttercream icing can also be made up to 3 days ahead and stored in the refrigerator; just give it a quick whip before using to restore its fluffiness. When you’re ready to assemble, layer the chilled cakes with the icing, apply the crumb coat, and finish decorating. Enjoy the time savings and still serve a cake that’s just as delicious and eye-catching!
What to Serve with Simple Canada Day Cake
Looking to create a complete, delightful meal that pairs perfectly with this vibrant festive dessert?
- Fresh Fruit Salad: A medley of seasonal berries and citrus complements the cake’s sweetness while adding a refreshing crunch.
- Vanilla Ice Cream: A classic pairing, its creamy texture balances the rich buttercream, creating a dreamy dessert experience.
- Whipped Cream: Light and airy, it enhances the cake’s flavors without overpowering, inviting attendees to indulge in every bite.
- Grilled Corn on the Cob: A savory side that introduces a smoky sweetness, ideal for a summer BBQ gathering.
- Sparkling Lemonade: The bright and zesty drink complements the cake beautifully, keeping the festive spirit alive throughout the gathering.
- Chocolate-Dipped Strawberries: These treat-sized desserts add a touch of elegance, their rich chocolate contrasting wonderfully with the cake’s flavors.
- Pineapple Skewers: Grilled or fresh, they bring a tropical flair and vibrant color, heightening the overall celebration theme.
- Red Velvet Cookies: Reinforce the theme with these soft treats, echoing the flavors of the cake and allowing variety on the dessert table.
- Iced Coffee or Tea: Refreshing beverages that provide a caffeine kick, perfect for keeping energy levels up during summer festivities.
Simple Canada Day Cake Recipe FAQs
How do I select the right ripeness for my cake mixes?
Absolutely! When choosing your cake mixes, aim for those with a longer shelf life and check for any visible damage or expired dates. A fresh cake mix ensures the best taste and texture.
How should I store leftover Simple Canada Day Cake?
Very! Store any leftover cake in an airtight container in the fridge for up to 3 days to keep it fresh and moist. If you want to enjoy it for longer, you can freeze it; just wrap it tightly in plastic wrap and foil to prevent freezer burn.
Can I freeze the Simple Canada Day Cake? If so, how?
Of course! To freeze your cake, wrap it tightly in plastic wrap and then in aluminum foil to prevent freezer burn. It can be stored in the freezer for up to 1 month. When you’re ready to indulge, simply transfer it to the fridge the night before for gradual thawing. This way, it retains its soft, moist texture!
What should I do if my cake layers are uneven or domed?
No problem at all! Use a serrated knife to carefully trim the tops of the cake layers to create a flat, even surface. This is an important step for a professional-looking finish and helps the icing adhere better. Just take your time, and you’ll achieve perfect layers!
Is the buttercream icing safe for people with allergies?
Great question! The buttercream icing contains butter, powdered sugar, and vanilla extract, which is generally safe, but be sure to check the labels for any specific allergies. If anyone has dairy allergies, you could substitute with a dairy-free margarine or use a whipped coconut cream alternative for a delicious dairy-free frosting option.
Festive Simple Canada Day Cake You Can Whip Up Easily
Ingredients
Equipment
Method
- Preheat your oven to the temperature specified on the cake mix packages. Prepare two 9” round cake pans by greasing them or lining them with parchment paper. In separate bowls, mix the white cake mix and the red velvet cake mix according to package instructions. Pour each batter into its respective pan, then bake for the recommended time until a toothpick inserted in the center comes out clean.
- Once baked, remove the cake layers from the oven and let them cool in the pans for about 10 minutes. Carefully turn them out onto a wire rack to cool completely. For easier decorating later, wrap each cooled layer tightly in plastic wrap and place them in the freezer for several hours or overnight to firm up.
- While the cake layers are chilling, it's time to whip up your best buttercream icing. In a large mixing bowl, beat together softened butter and powdered sugar, adding a bit of milk and vanilla extract until the mixture is fluffy and smooth. Prepare two batches, ensuring there’s enough for layering and decorating the Simple Canada Day Cake.
- Once the cake layers are completely frozen and firm, remove them from the freezer. Place the white cake layer on a serving plate or cake stand. Using a spatula, spread a layer of buttercream icing evenly on top. Carefully place the red velvet layer on top of the icing and repeat the process, alternating between the two flavors, until all layers are stacked.
- To create a smooth and professional-looking finish for your Simple Canada Day Cake, use a serrated knife to carefully trim the tops of each layer if they have domed. Aim for a flat surface that will help your icing adhere well. This step is crucial for both the aesthetics and stability of the cake.
- Next, apply a thin layer of buttercream icing to the entire outside of the stacked cake, known as a crumb coat. This layer traps any crumbs and creates a smooth base for the final icing. Once you have an even coating, place the cake in the freezer for about 30 minutes to set the crumb coat and make the final decoration easier.
- While the cake is chilling, prepare your decorative icing. Color about 1 cup of buttercream icing with no-taste red food coloring until the desired shade is achieved. Fill one icing bag with this red icing, and prepare a second bag with the remaining white buttercream for piping the decorative elements of your Simple Canada Day Cake.
- Remove the cake from the freezer and begin piping with the white icing using a Wilton #18 tip. Create decorative patterns around the sides and top of the cake, filling in any gaps as desired. Make sure to vary your designs for a festive look. If you're feeling adventurous, switch to the red icing for added visual interest.
- Once you've finished piping your decorations, your beautiful Simple Canada Day Cake is ready to be served. Slice into this stunning dessert and enjoy the delightful layers of flavor with your friends and family. Get ready for plenty of compliments on this festive, eye-catching treat!
Leave a Reply