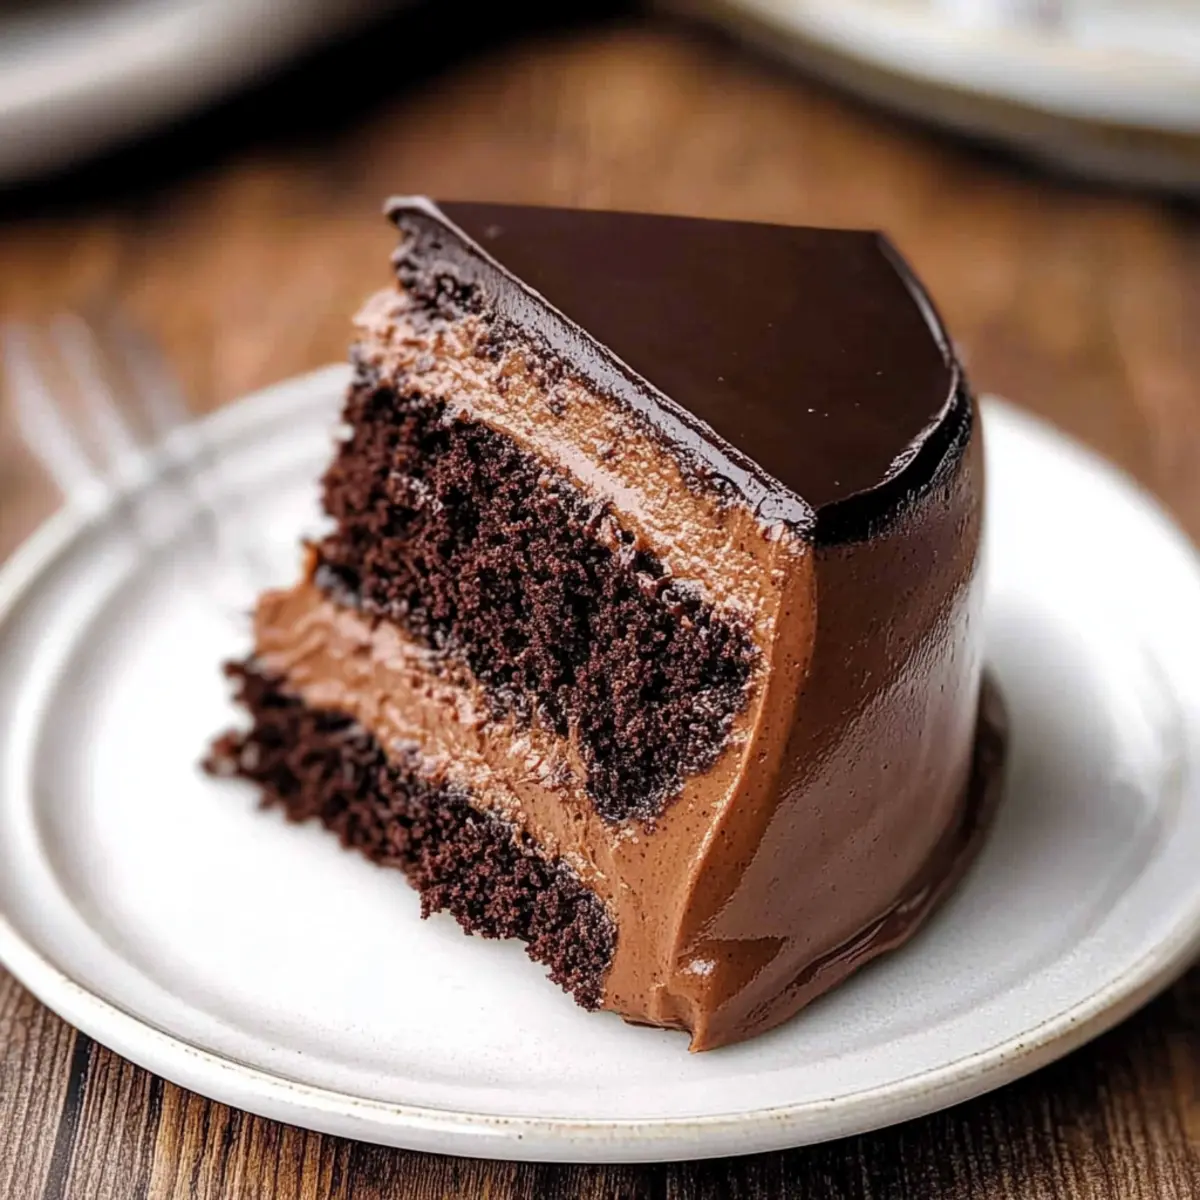
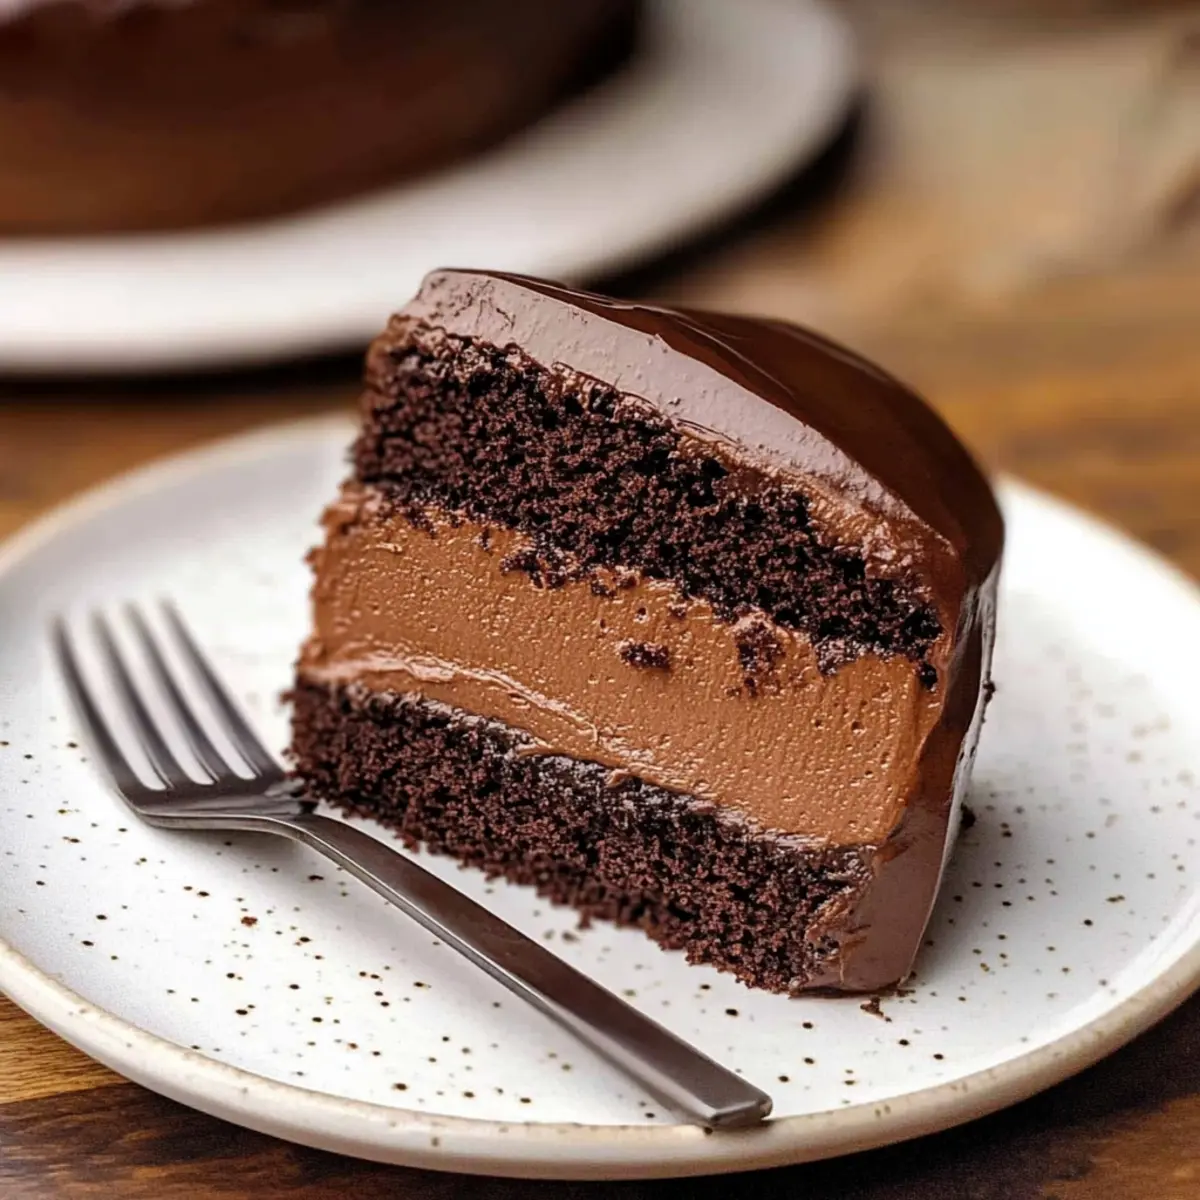
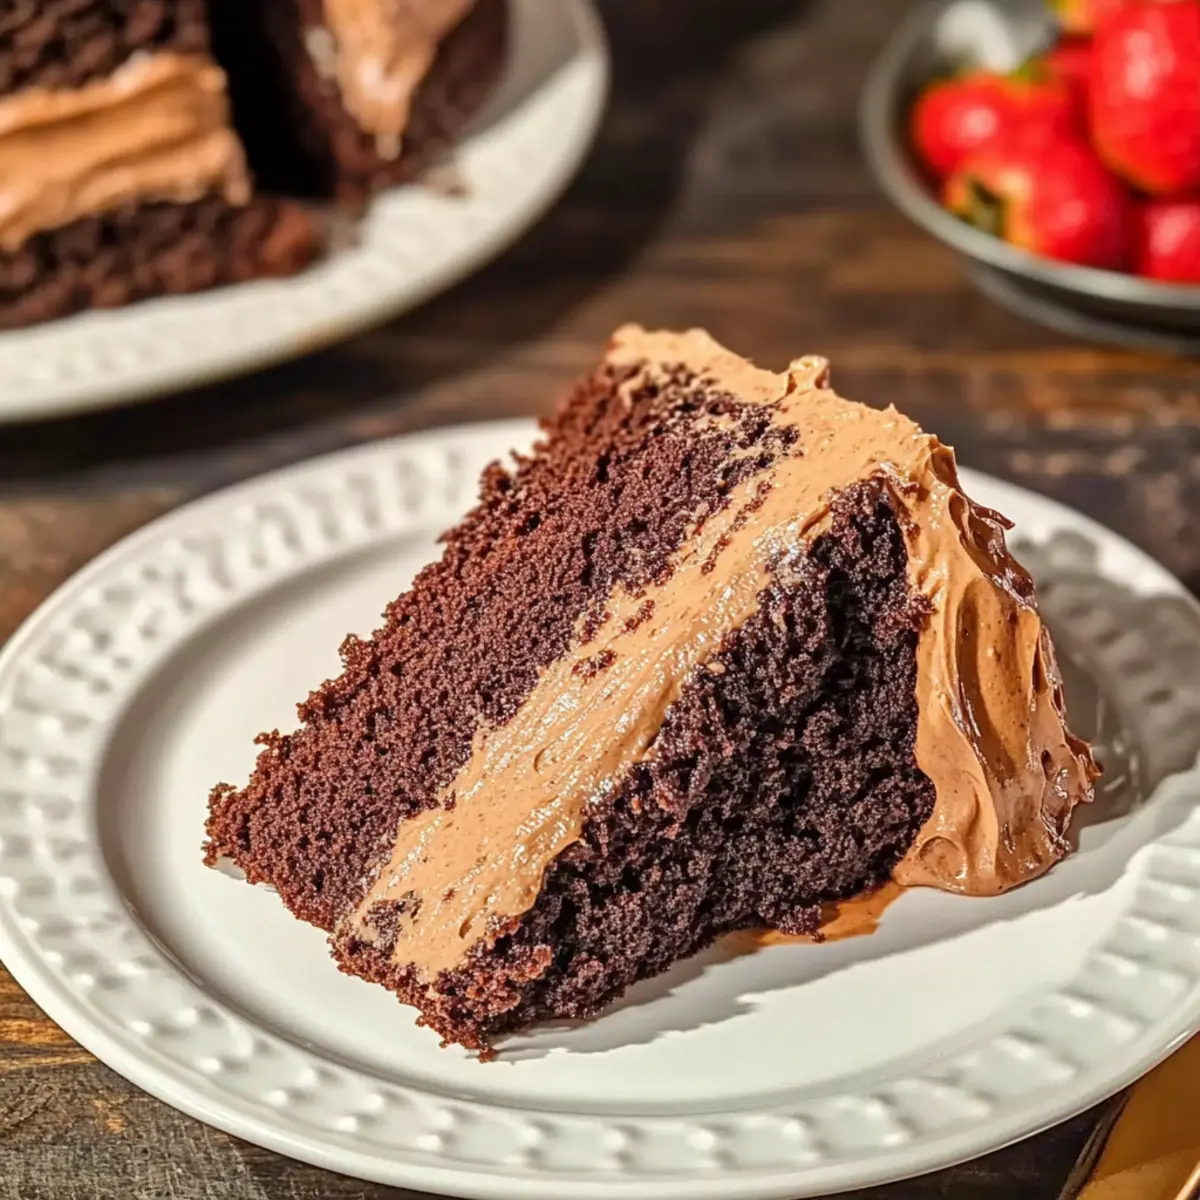
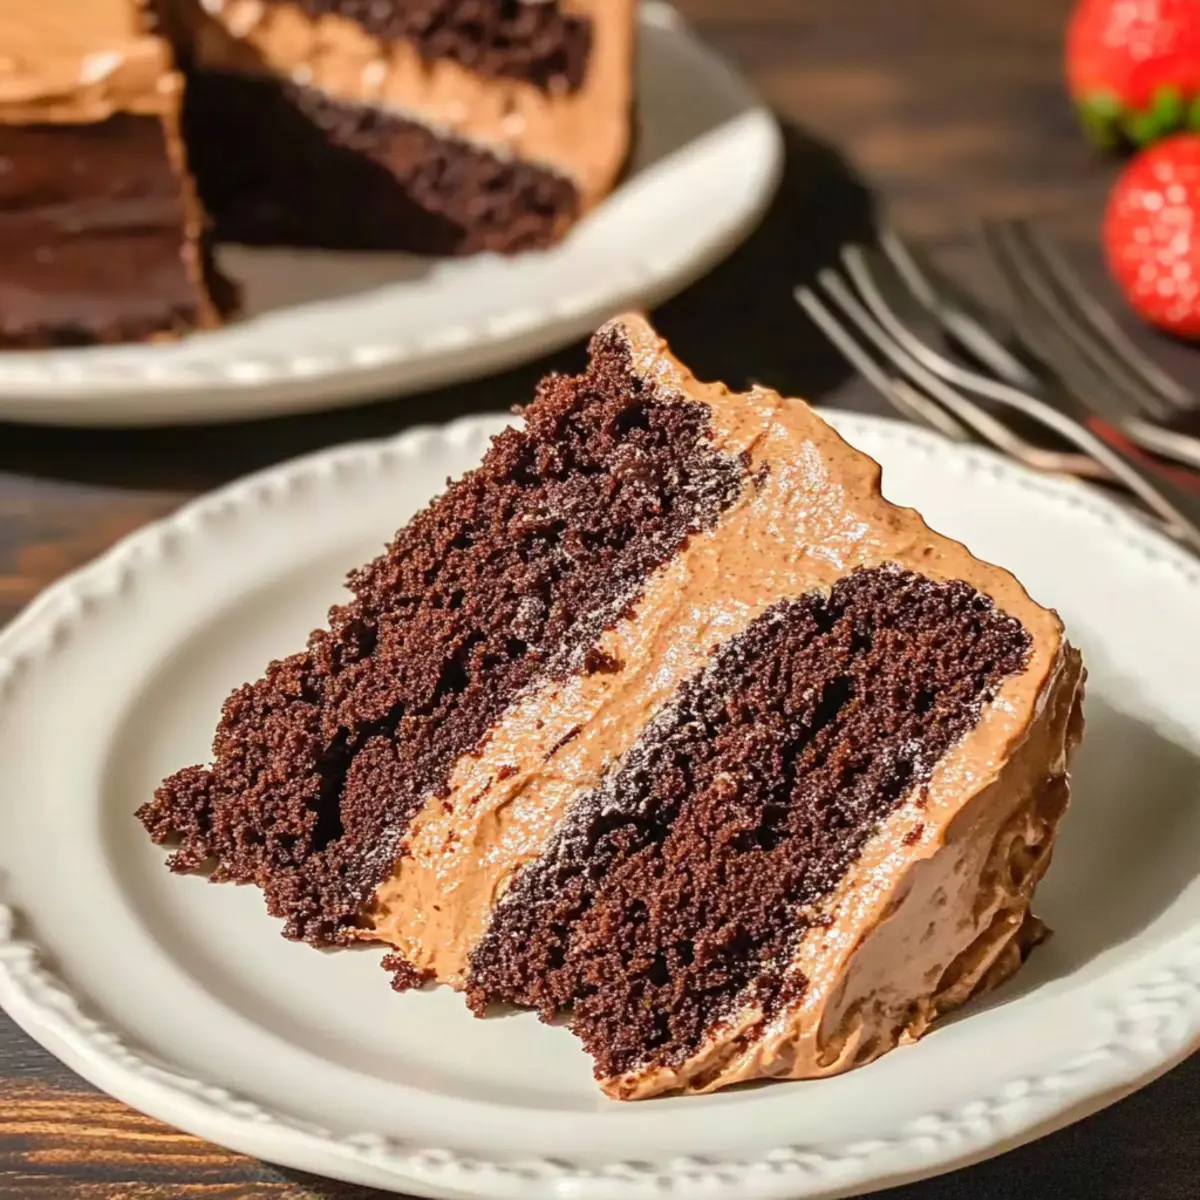
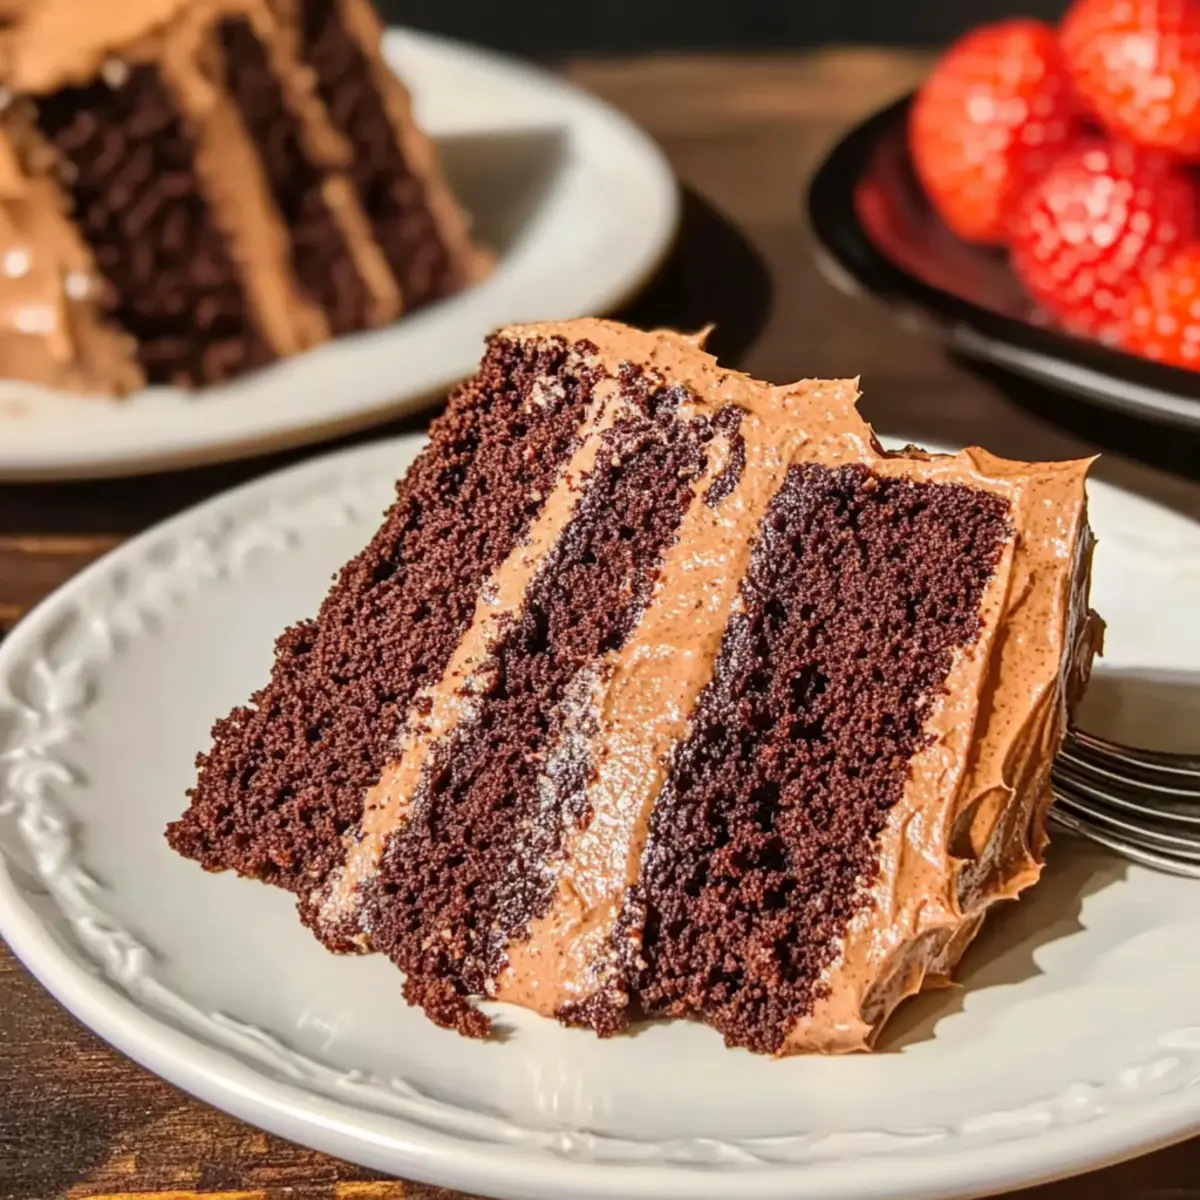
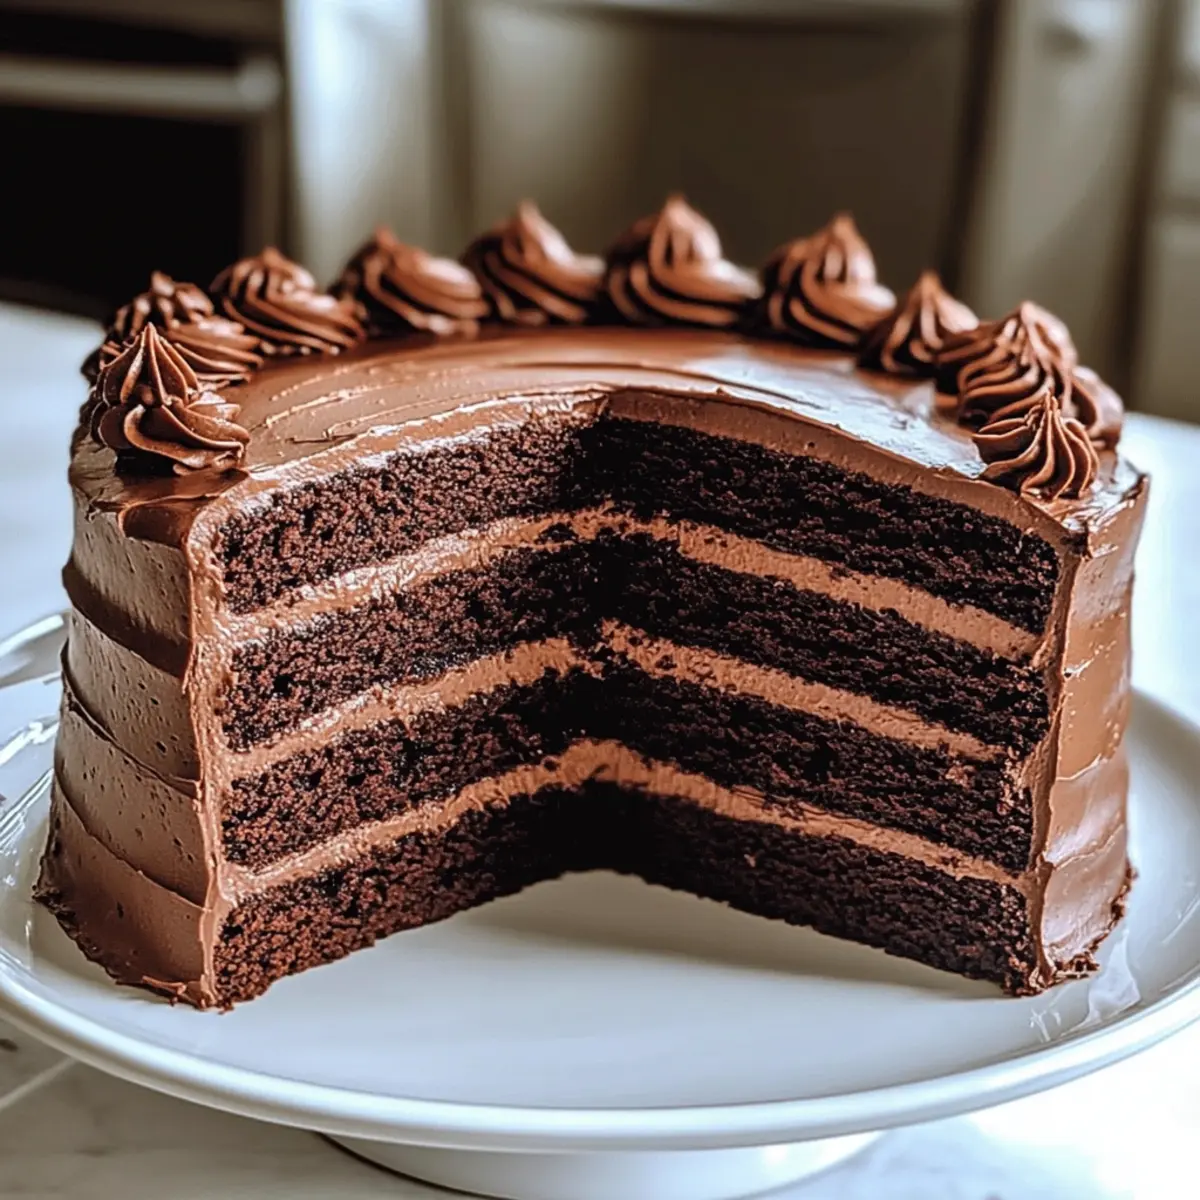
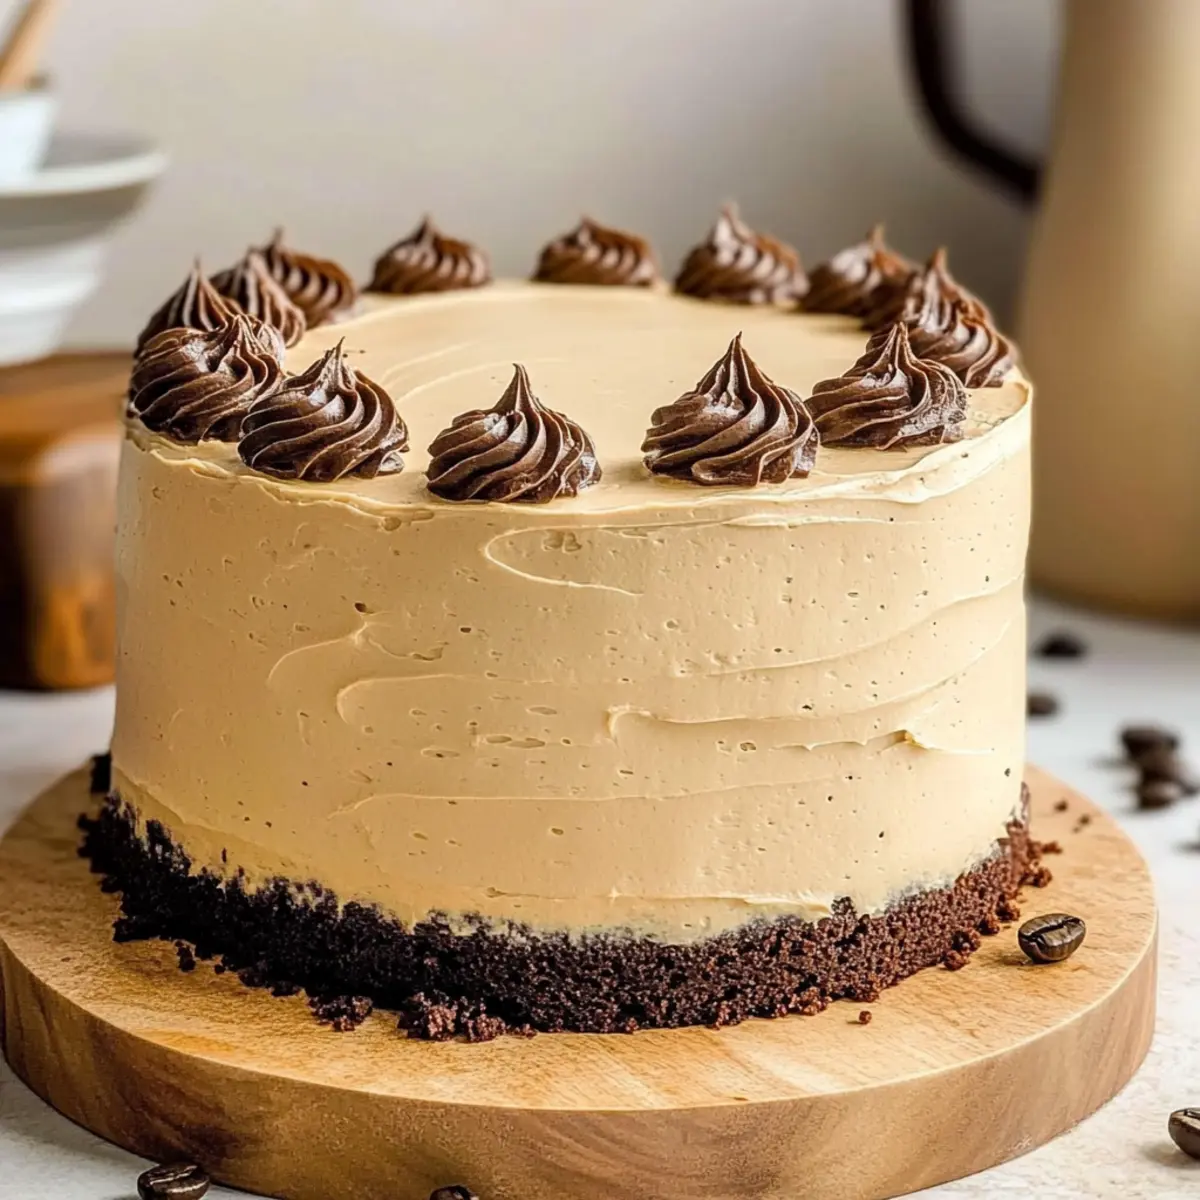
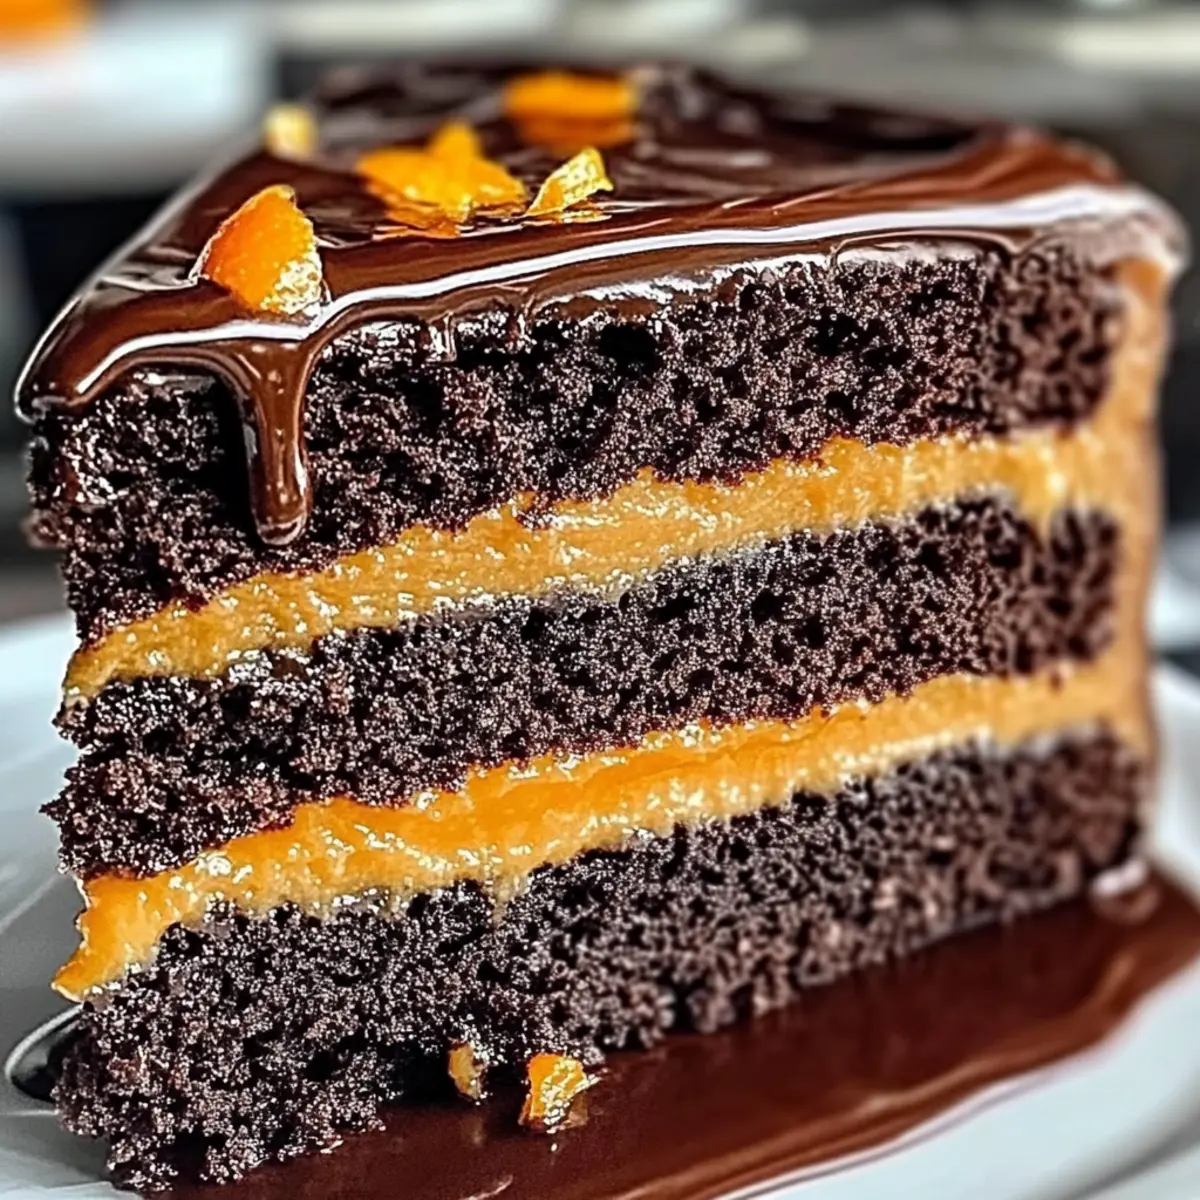
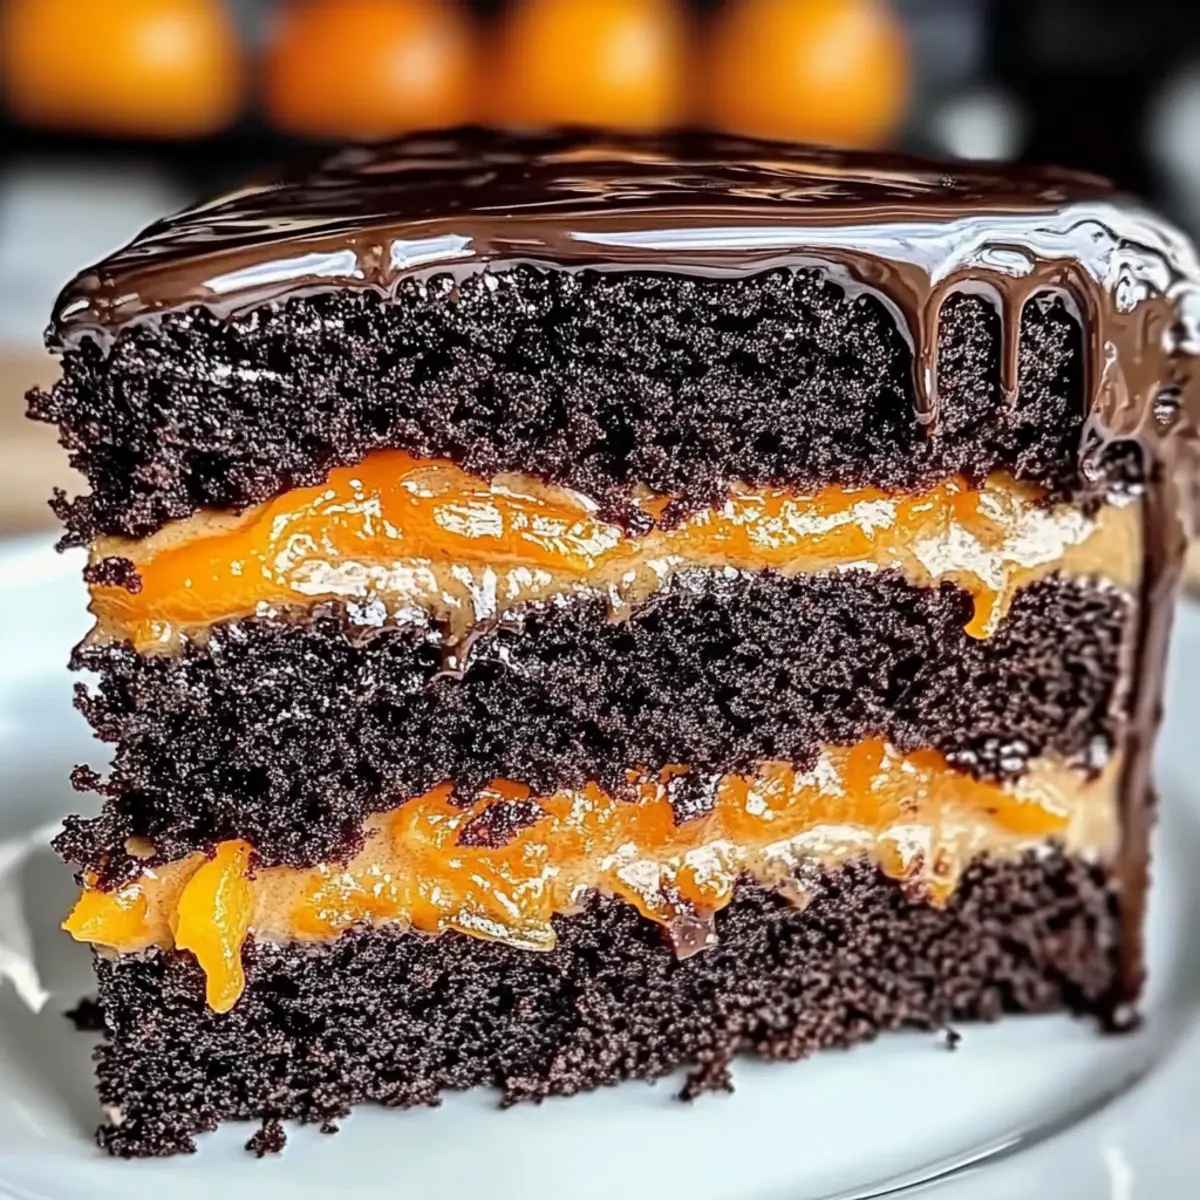
As I pulled the cake out of the oven, an enchanting aroma filled my kitchen, mingling the deep richness of chocolate with a bright citrus charm that promised to awaken my senses. This Chocolate-Orange Glaze Cake isn’t just any dessert; it’s a delectable fusion of flavors that creates an irresistible treat for any occasion. With just 45 minutes of prep time, this cake is perfect for those moments when you want something impressive yet simple. It’s not only a showstopper for gatherings, but it also offers a delightful escape from mundane desserts for your everyday enjoyment. So, are you ready to bake something unforgettable and share a slice of joy with your loved ones? Let’s dive into this scrumptious recipe!
Why is this cake a must-try?
Irresistible chocolate and citrus blend: This cake showcases a unique combination that elevates traditional flavors, making each bite a delightful experience.
Quick and easy: Perfect for both novice bakers and seasoned chefs, it comes together in just 45 minutes, allowing you to whip up a masterpiece without the fuss.
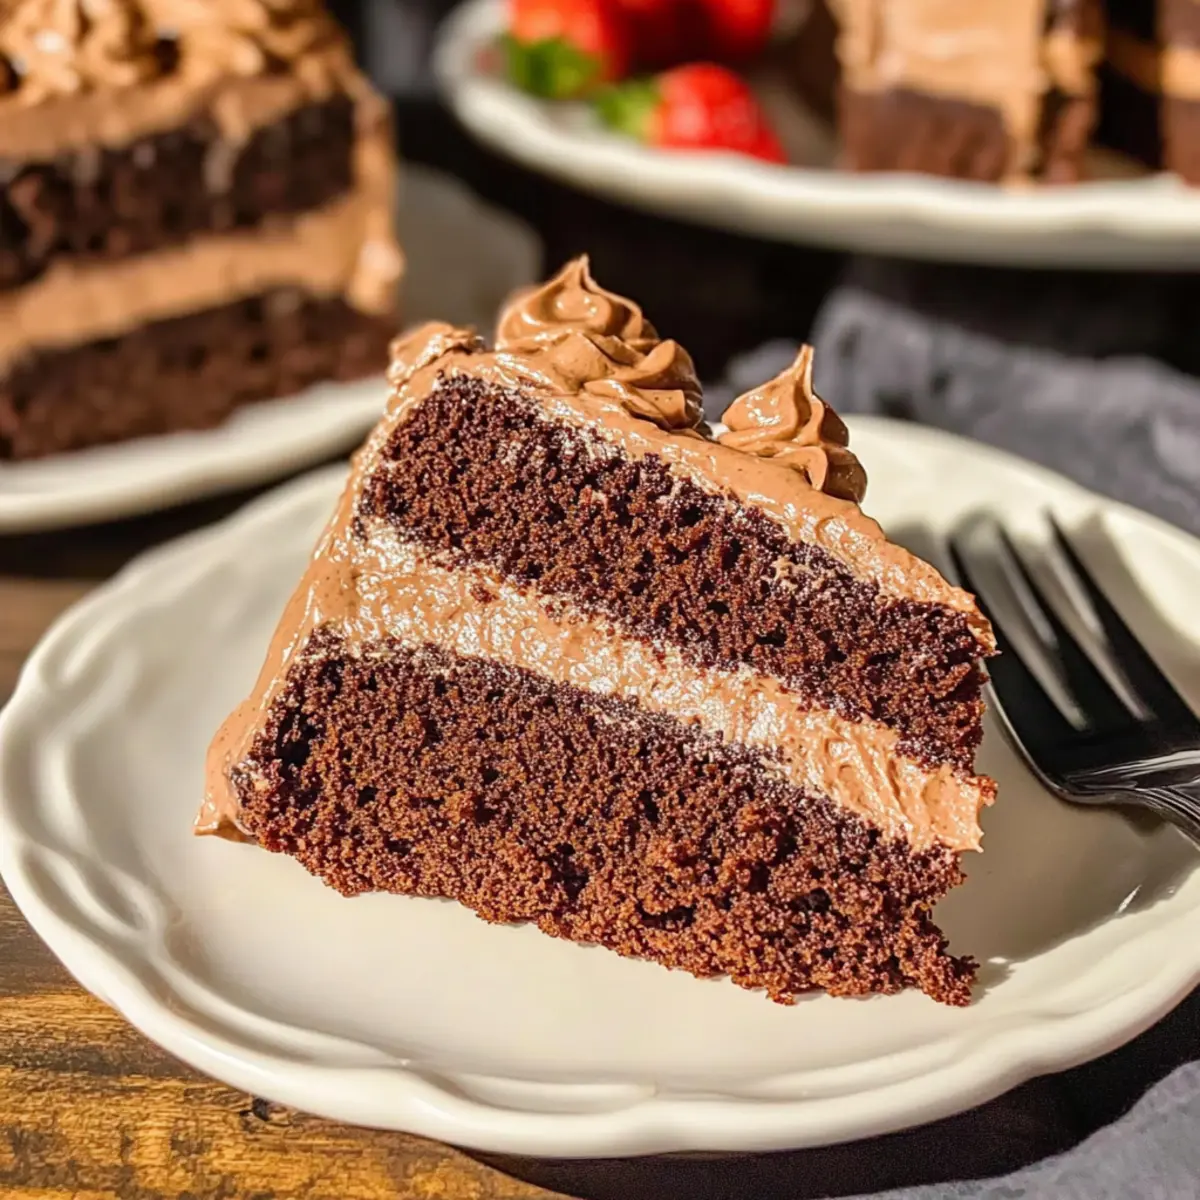
Versatile serving suggestions: Pair it with a dollop of whipped cream or a scoop of ice cream to enhance its decadence even further.
Crowd-pleaser appeal: Whether for celebrations or an everyday treat, this cake is sure to impress family and friends, creating memorable moments.
If you love the combination of rich flavors, be sure to check out my earlier post on Coconut Cream Pancakes for another delightful dessert experience!
Chocolate-Orange Glaze Cake Ingredients
• Get ready to savor this delightful dessert!
For the Cake
- All-Purpose Flour – Provides structure and a light crumb; you can swap it with gluten-free flour for a gluten-free option.
- Granulated Sugar – Adds necessary sweetness and moisture; use a sugar substitute for a lower-calorie version.
- Unsweetened Cocoa Powder – Infuses rich chocolate flavor; no direct substitutes exist, but try Dutch-processed for a milder taste.
- Baking Powder – Acts as a leavening agent for a perfect rise; always check freshness for the best results.
- Eggs – Contribute moisture and richness; flax eggs or aquafaba can replace them for a vegan alternative.
- Unsalted Butter – Enhances moisture and flavor; coconut oil serves as a great dairy-free substitute.
- Milk – Keeps the cake tender; feel free to use almond or oat milk for a dairy-free version.
- Orange Zest – Infuses a zesty freshness and aroma; lemon zest can be a lovely alternative for a twist.
For the Glaze
- Powdered Sugar – Ensures the glaze has the perfect sweetness; only substitute if you’re using a sugar alternative.
- Heavy Cream – Gives the glaze a silky texture; opt for coconut cream for a delightful dairy-free option.
Step‑by‑Step Instructions for Irresistible Chocolate-Orange Glaze Cake
Step 1: Preheat and Prepare
Begin by preheating your oven to 350°F (175°C). While the oven warms, take a 9-inch round cake pan and grease it with butter or non-stick spray to ensure easy release. You can also line the bottom with parchment paper for additional assurance. This step sets the foundation for your Chocolate-Orange Glaze Cake to bake evenly and come out perfectly.
Step 2: Combine Dry Ingredients
In a medium bowl, whisk together 1 and ¾ cups of all-purpose flour, ¾ cup of unsweetened cocoa powder, 1 tablespoon of baking powder, and a pinch of salt. Make sure there are no lumps, and your mixture is fluffy; this ensures that your cake will have the perfect texture. Set this bowl aside while you prepare the wet ingredients, keeping it all within reach for an easy transition.
Step 3: Prepare Wet Ingredients
In a separate large mixing bowl, beat together 3 large eggs and 1 cup of granulated sugar with an electric mixer on medium speed. Continue beating until the mixture turns pale and fluffy, about 4-5 minutes. Next, gradually add in ½ cup of melted unsalted butter and 1 cup of milk, mixing gently until everything is fully incorporated. This batter will create a rich and moist base for your Chocolate-Orange Glaze Cake.
Step 4: Mix Dry and Wet Ingredients
Carefully fold the dry flour mixture into the wet ingredients using a spatula or wooden spoon. Mix until just combined—be cautious not to overmix, as a tender crumb is key to a delicious cake. Once combined, gently fold in the zest of 1 large orange to infuse that bright citrus flavor that enriches the chocolate experience. Your batter should be smooth and well-combined.
Step 5: Bake the Cake
Pour the prepared batter into the greased cake pan. Smooth the top with a spatula to create an even surface. Place the pan in the preheated oven and bake for 30 minutes, or until a toothpick inserted into the center comes out clean. Keep an eye on it towards the end; you’ll notice the cake’s edges pulling away from the pan slightly when it’s done.
Step 6: Cool the Cake
Once baked, remove the Chocolate-Orange Glaze Cake from the oven and allow it to cool in the pan for about 10 minutes. After that, carefully transfer the cake to a wire rack to cool completely. This is crucial; rushing the cooling process can lead to a soggy base or cause your glaze to melt when applied.
Step 7: Prepare the Glaze
In a medium bowl, whisk together 1 cup of powdered sugar, ¼ cup of unsweetened cocoa powder, and ¼ cup of heavy cream until the mixture is smooth and glossy. This rich glaze will add a luscious finishing touch to your cake. If it’s too thick, add a splash more cream until your desired consistency is reached, keeping it pourable yet rich.
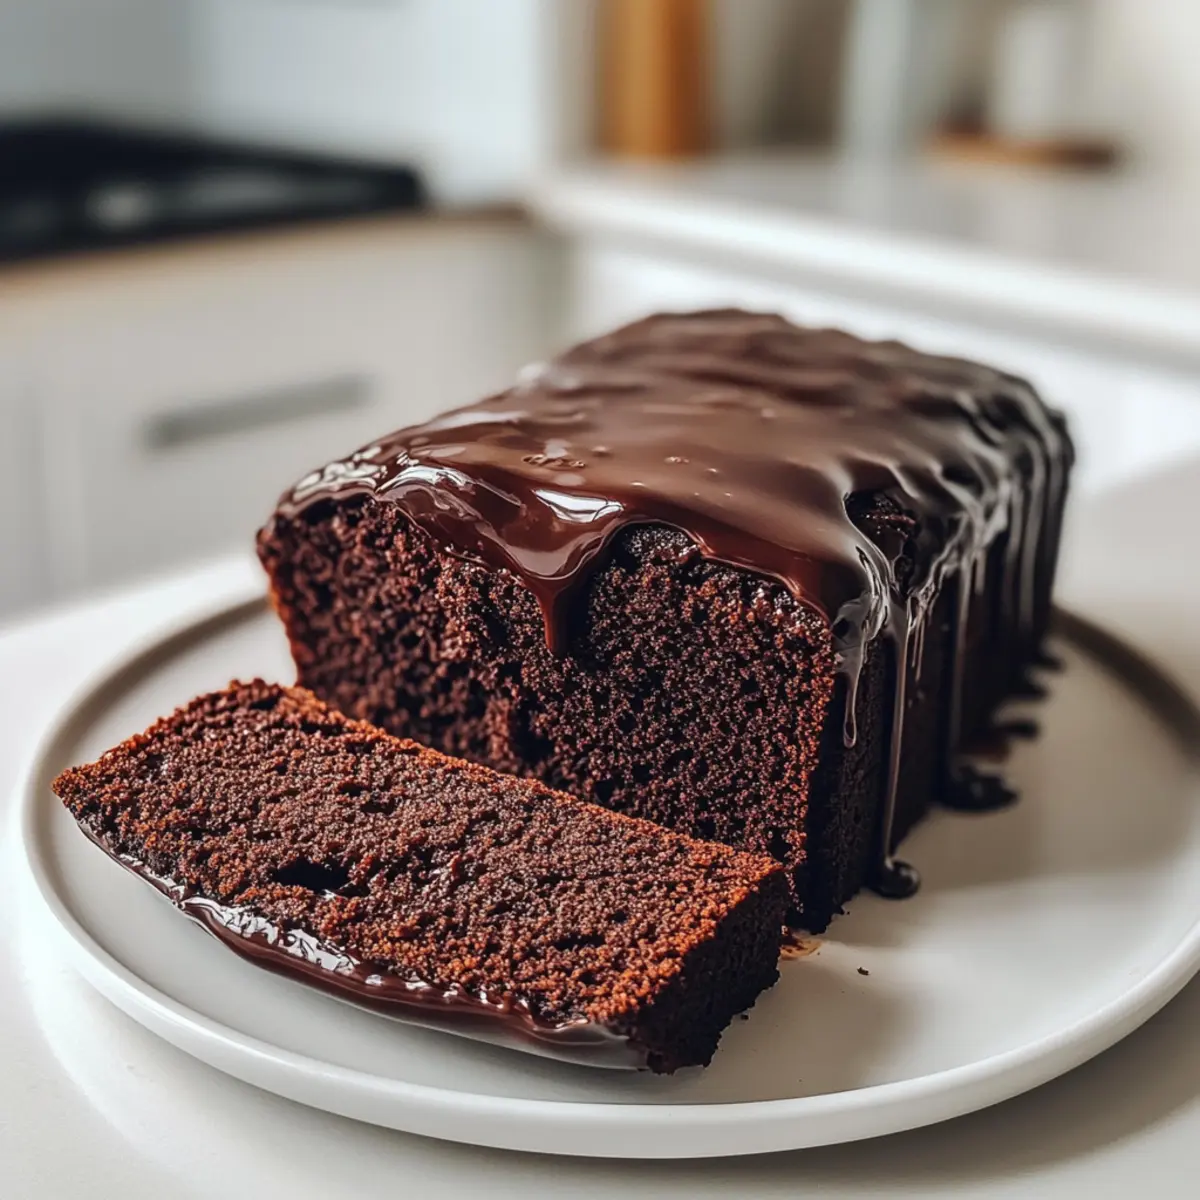
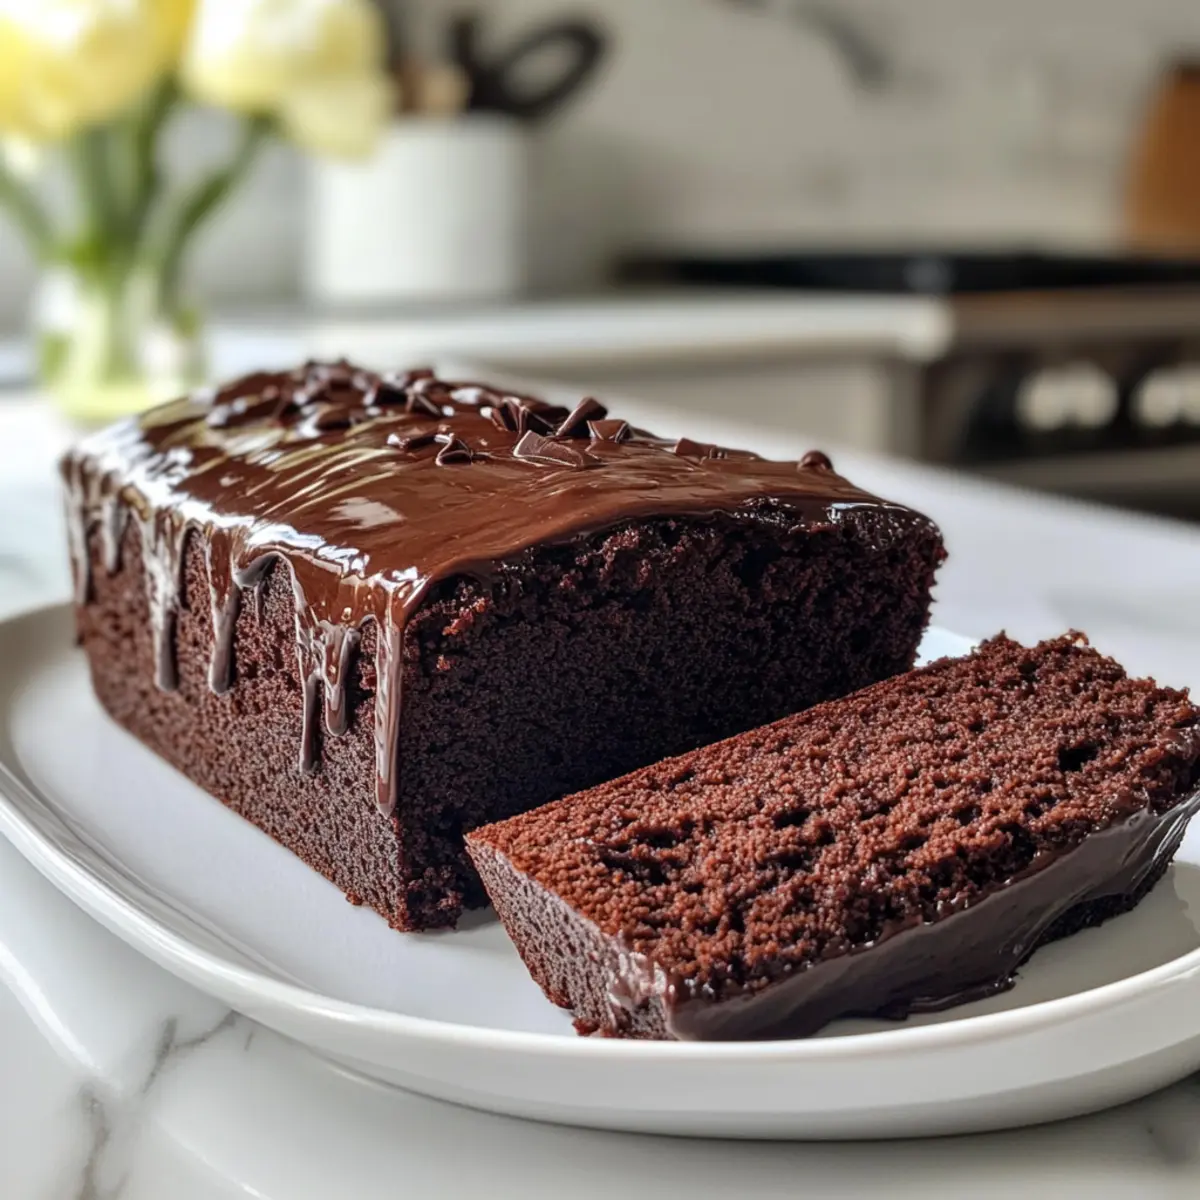
Step 8: Drizzle and Serve
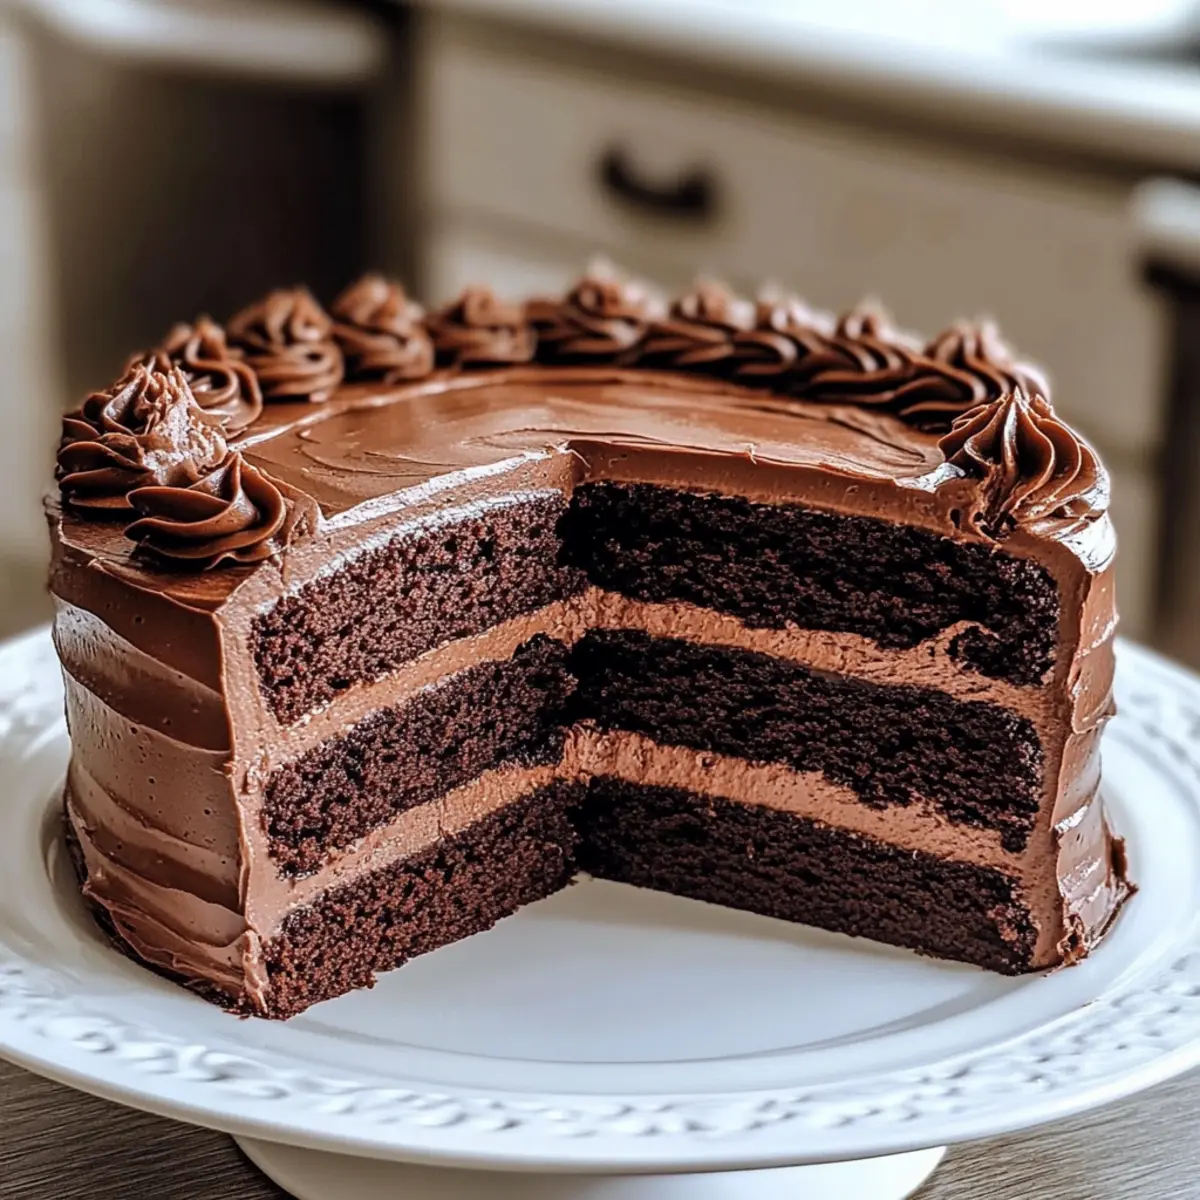
Once your cake is completely cooled, place it on a serving plate. Drizzle the prepared chocolate-orange glaze evenly over the top, allowing it to cascade down the sides for a beautiful presentation. Let it set for a few minutes, then slice it into wedges. Your Irresistible Chocolate-Orange Glaze Cake is now ready to be shared, delighting everyone with its decadent flavors!
What to Serve with Irresistible Chocolate-Orange Glaze Cake
As you embark on the delightful journey of enjoying this luxurious cake, consider these wonderful pairings that can elevate your dessert experience.
-
Whipped Cream: A light and airy dollop adds a creamy texture, enhancing the rich chocolate and zesty flavors beautifully.
-
Vanilla Ice Cream: The cold, smooth sweetness of vanilla ice cream perfectly complements the moist warmth of the cake. It’s a classic combo that never fails!
-
Fresh Berries: Strawberries, raspberries, or blueberries introduce a burst of freshness and acidity, balancing the cake’s sweetness for vibrant contrast.
-
Espresso or Coffee: The boldness of a hot cup of coffee enhances the chocolatey richness, creating a comforting and satisfying pairing that warms the soul.
-
Chocolate-Covered Oranges: For the ultimate indulgence, serve chocolate-covered orange slices that mirror the cake’s flavors, adding an elegant touch to your dessert spread.
-
Citrus Sorbet: A refreshing citrus sorbet brings a cool, zesty contrast that cleanses the palate and highlights the cake’s orange notes.
-
Nutty Biscotti: Crunchy biscotti pairs wonderfully with the cake, offering a complementary texture and nutty flavor that works well with chocolate and orange.
-
Mint Tea: The soothing aroma of mint tea can be a delightful way to end your dessert experience, refreshing your palate and uplifting your senses.
By exploring these pairings, you’ll create a memorable dessert experience that so many will love!
Make Ahead Options
Preparing the Irresistible Chocolate-Orange Glaze Cake ahead of time is a savvy choice for busy home cooks! You can bake the cake up to 3 days in advance. Simply allow it to cool completely, then wrap it tightly in plastic wrap and refrigerate to maintain its moisture. The glaze can also be prepared up to 24 hours in advance—store it in an airtight container in the fridge. When you’re ready to serve, drizzle the glaze over the cake right before presenting for optimal freshness and visual appeal. With these make-ahead options, you’ll enjoy a stress-free dessert that’s just as delicious as when it was freshly baked!
Chocolate-Orange Glaze Cake Customizations
Feel free to unleash your creativity and adapt this cake to suit your taste buds with these delightful variations!
- Dairy-Free: Replace heavy cream with coconut cream for a wonderfully smooth glaze that’s completely dairy-free.
- Gluten-Free: Use a gluten-free all-purpose flour blend for a gluten-free Chocolate-Orange Glaze Cake that everyone can enjoy.
- Nutty Twist: Swap half the all-purpose flour with almond meal for an added nutty flavor and slightly denser texture.
- Citrus Surprise: Add lemon or lime zest in place of orange zest for a refreshing citrus variation that brightens up the chocolate flavor beautifully.
- Chocolate Chip Bliss: Stir in a handful of chocolate chips into the batter before baking for an extra layer of gooey chocolate goodness.
- Spicy Kick: Dust a pinch of cayenne or chili powder into the glaze to bring an unexpected heat that pairs surprisingly well with chocolate.
- Fruit Fusion: Top the finished cake with fresh berries or candied orange slices for a burst of color and added flavor complexity.
- Zesty Glaze: Mix in a tablespoon of orange juice or extract into the glaze for an extra punch of citrus flavor that enhances the overall cake experience.
And if you’re looking for even more dessert inspiration, don’t miss my delightful Sweet Coconut Cream Pancakes or indulge in a rich Oreo Cheesecake Cookie for a unique flavor experience.
Expert Tips for Chocolate-Orange Glaze Cake
-
Room Temperature Ingredients: Ensure eggs and butter are at room temperature for better incorporation, leading to a smoother batter for your Chocolate-Orange Glaze Cake.
-
Don’t Overmix: When combining wet and dry ingredients, mix until just combined to avoid a dense cake. Gentle folding helps maintain its airy texture.
-
Check Freshness: Always use fresh baking powder to guarantee the proper rise. A simple test is to mix it with vinegar; it should fizz if fresh!
-
Cooling Time: Let the cake cool completely before glazing. If it’s still warm, the glaze may melt and run off, preventing that lovely finish.
-
Zest Wisely: For the brightest flavor, make sure to only grate the orange’s zest, avoiding the bitter white pith underneath.
-
Storage Matters: To keep your Chocolate-Orange Glaze Cake fresh, store it in an airtight container. It’ll stay delicious for up to a week!
How to Store and Freeze Chocolate-Orange Glaze Cake
Room Temperature: Store the cake in an airtight container at room temperature for up to 3 days. This keeps it moist and allows the flavors to meld beautifully.
Fridge: If you wish to prolong its freshness, refrigerate the cake for up to a week in an airtight container. Just let it come to room temperature before serving for optimal flavor.
Freezer: You can freeze the Chocolate-Orange Glaze Cake for up to 3 months. Wrap it tightly in plastic wrap and aluminum foil, then label with the date. To enjoy, thaw overnight in the fridge and let it sit out for an hour before serving.
Reheating: If you’d like a warm slice, gently microwave it for about 10-15 seconds. This refreshes the cake while maintaining its lovely flavors.
Chocolate-Orange Glaze Cake Recipe FAQs
How do I choose ripe oranges for the best flavor?
Absolutely! When selecting oranges, look for ones that are firm and fragrant, with a smooth, vibrant skin. They should feel heavy for their size, indicating juiciness. Avoid any with dark spots or blemishes.
How should I store my Chocolate-Orange Glaze Cake after baking?
For optimal freshness, store your cake in an airtight container at room temperature for up to 3 days. If you need to keep it longer, refrigerate it in an airtight container for up to a week. Just remember to let it come to room temperature before serving!
Can I freeze the Chocolate-Orange Glaze Cake?
Absolutely! To freeze, wrap the cooled cake tightly in plastic wrap and then in aluminum foil to prevent freezer burn. It can last for up to 3 months. When you’re ready to enjoy, thaw it overnight in the refrigerator, then let it sit at room temperature for about an hour before serving.
What if my glaze is too thick?
Very! If your glaze turns out too thick, simply add a splash of heavy cream or milk, a teaspoon at a time, and whisk until you reach your desired smooth consistency. This will ensure a lovely glossy finish when you drizzle it over the cake.
Can my pets eat chocolate-orange cake?
No, unfortunately. Chocolate is toxic to pets, so it’s best to keep this delicious dessert out of their reach. Always consult your vet about any human food before sharing with your furry friends.
How can I make the Chocolate-Orange Glaze Cake vegan?
To make this delectable cake vegan, simply replace the eggs with flax eggs or aquafaba (3 tablespoons of aquafaba equals one egg). Use coconut oil instead of unsalted butter, and swap cow’s milk for almond or oat milk. Following these steps will keep the cake moist and delightful without any animal products!
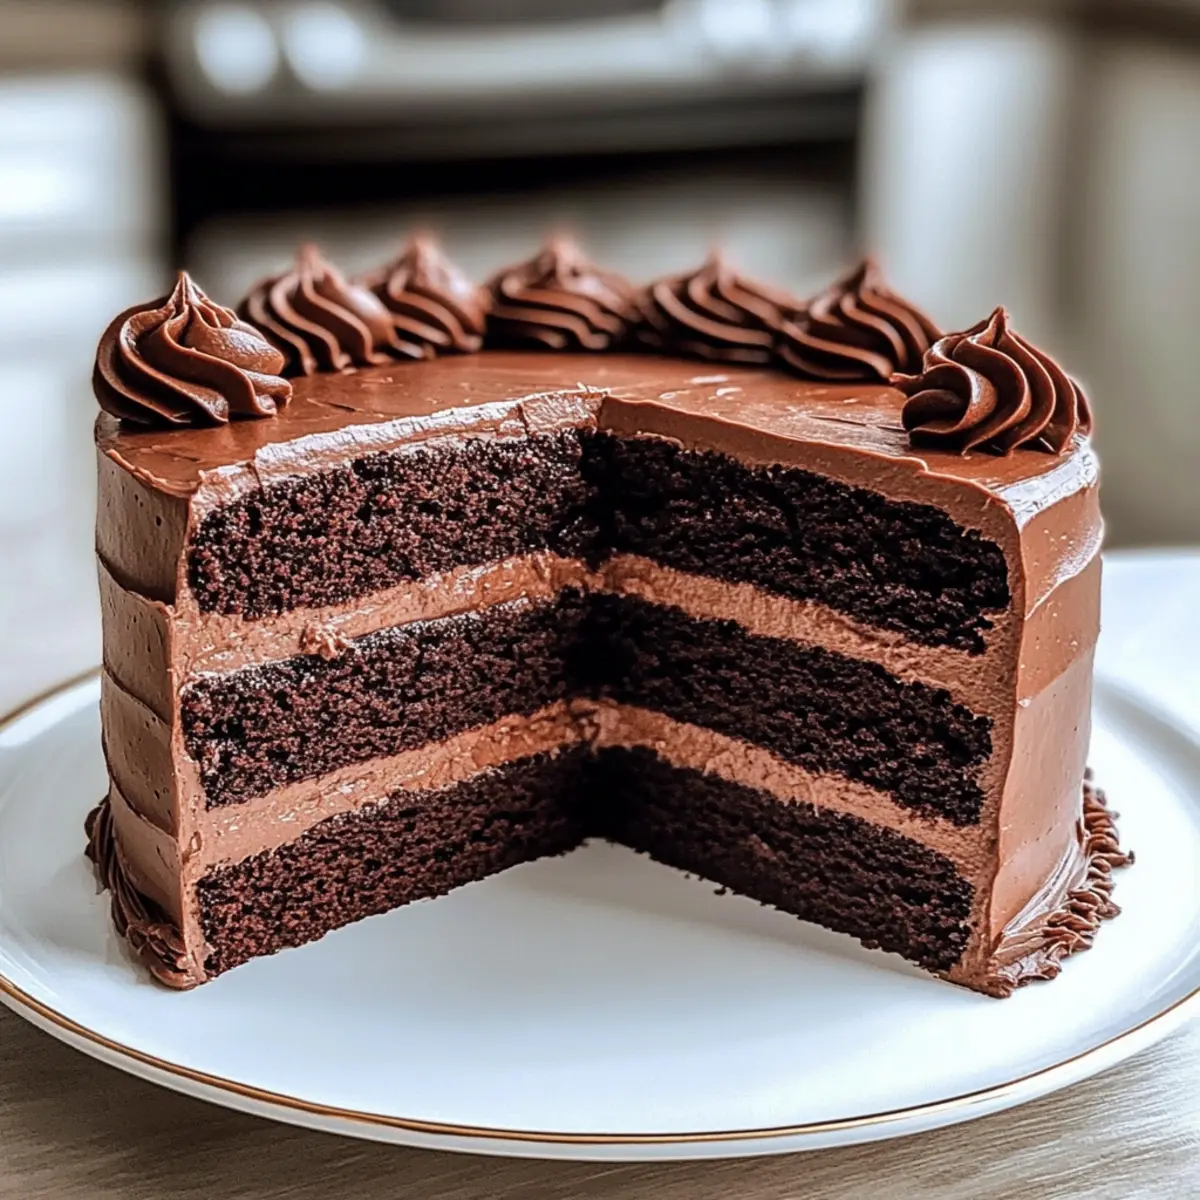
Decadent Chocolate-Orange Glaze Cake You'll Crave Daily
Ingredients
Equipment
Method
- Preheat your oven to 350°F (175°C) and grease a 9-inch round cake pan with butter or non-stick spray.
- In a medium bowl, whisk together the all-purpose flour, cocoa powder, baking powder, and a pinch of salt.
- In a large mixing bowl, beat the eggs and sugar until pale and fluffy, then mix in melted butter and milk.
- Fold the dry ingredients into the wet mixture until just combined, then fold in the orange zest.
- Pour the batter into the greased cake pan and smooth the top. Bake for 30 minutes or until a toothpick comes out clean.
- Allow the cake to cool in the pan for 10 minutes, then transfer to a wire rack to cool completely.
- In a medium bowl, whisk together powdered sugar, cocoa powder, and heavy cream until smooth and glossy.
- Once the cake is cooled, drizzle the glaze over the top and let it set for a few minutes before slicing.